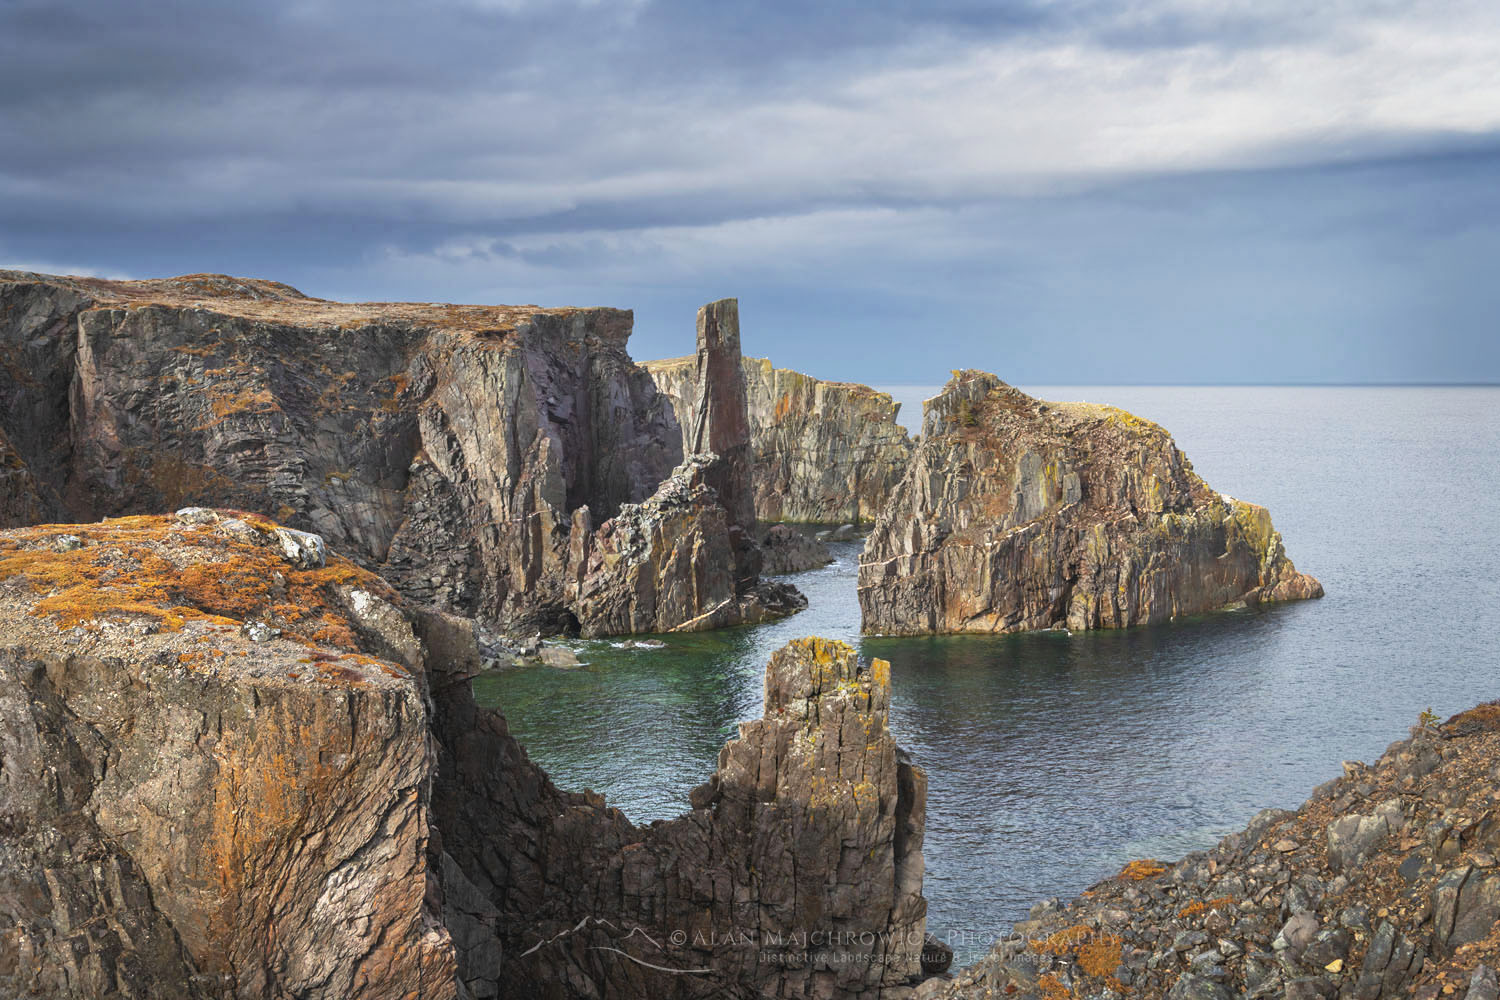
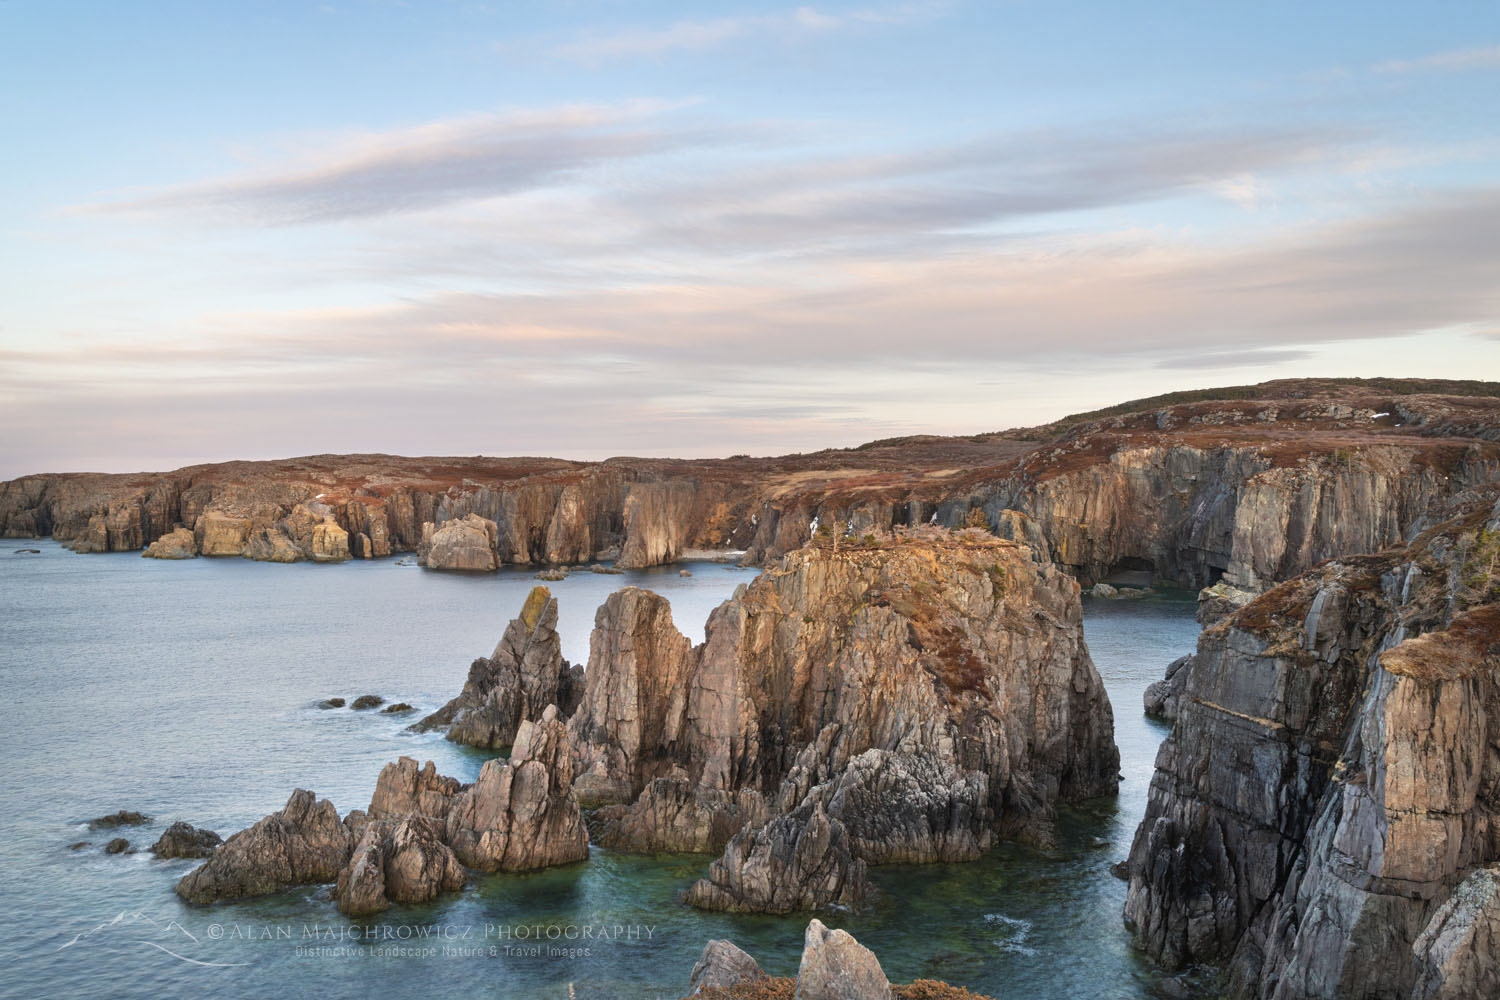
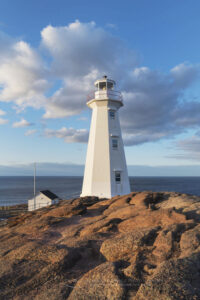
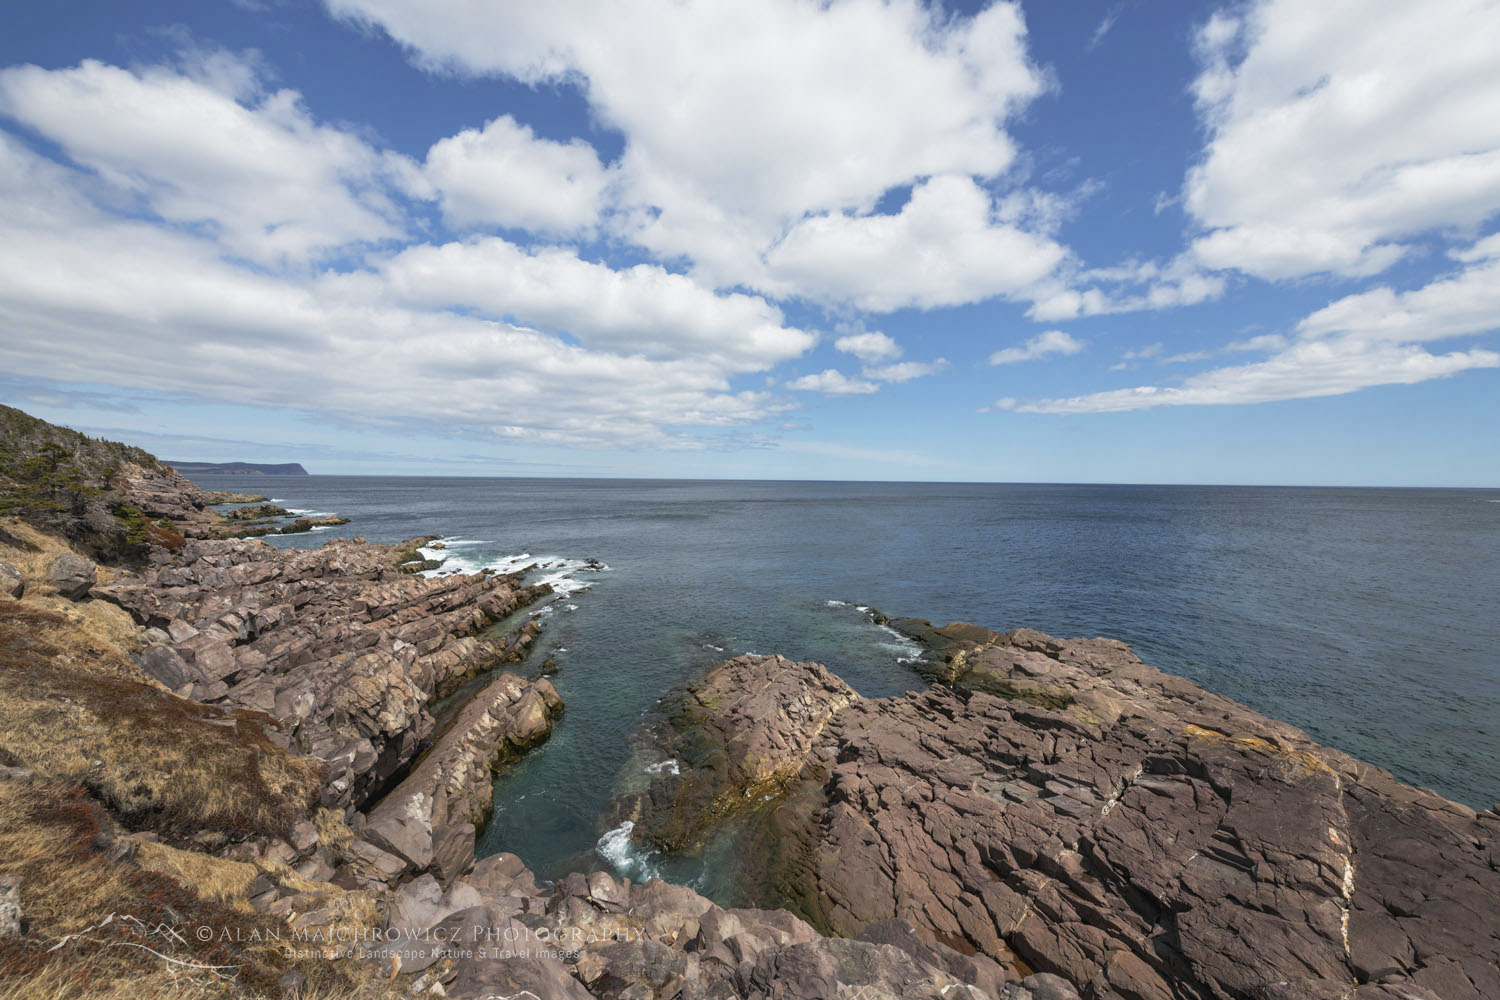
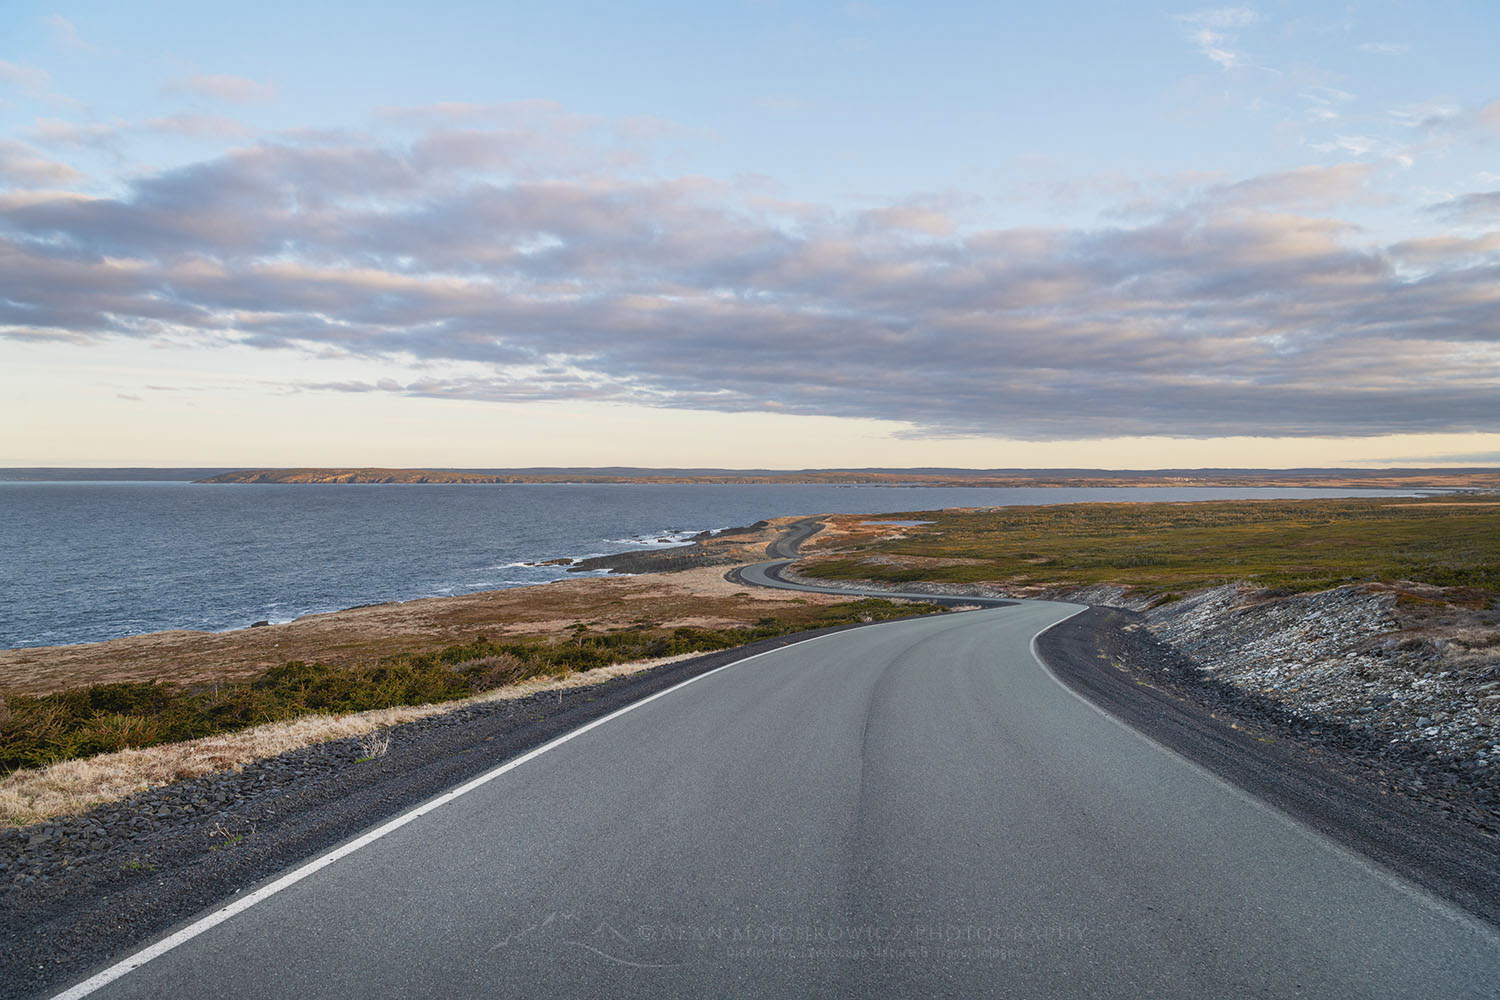
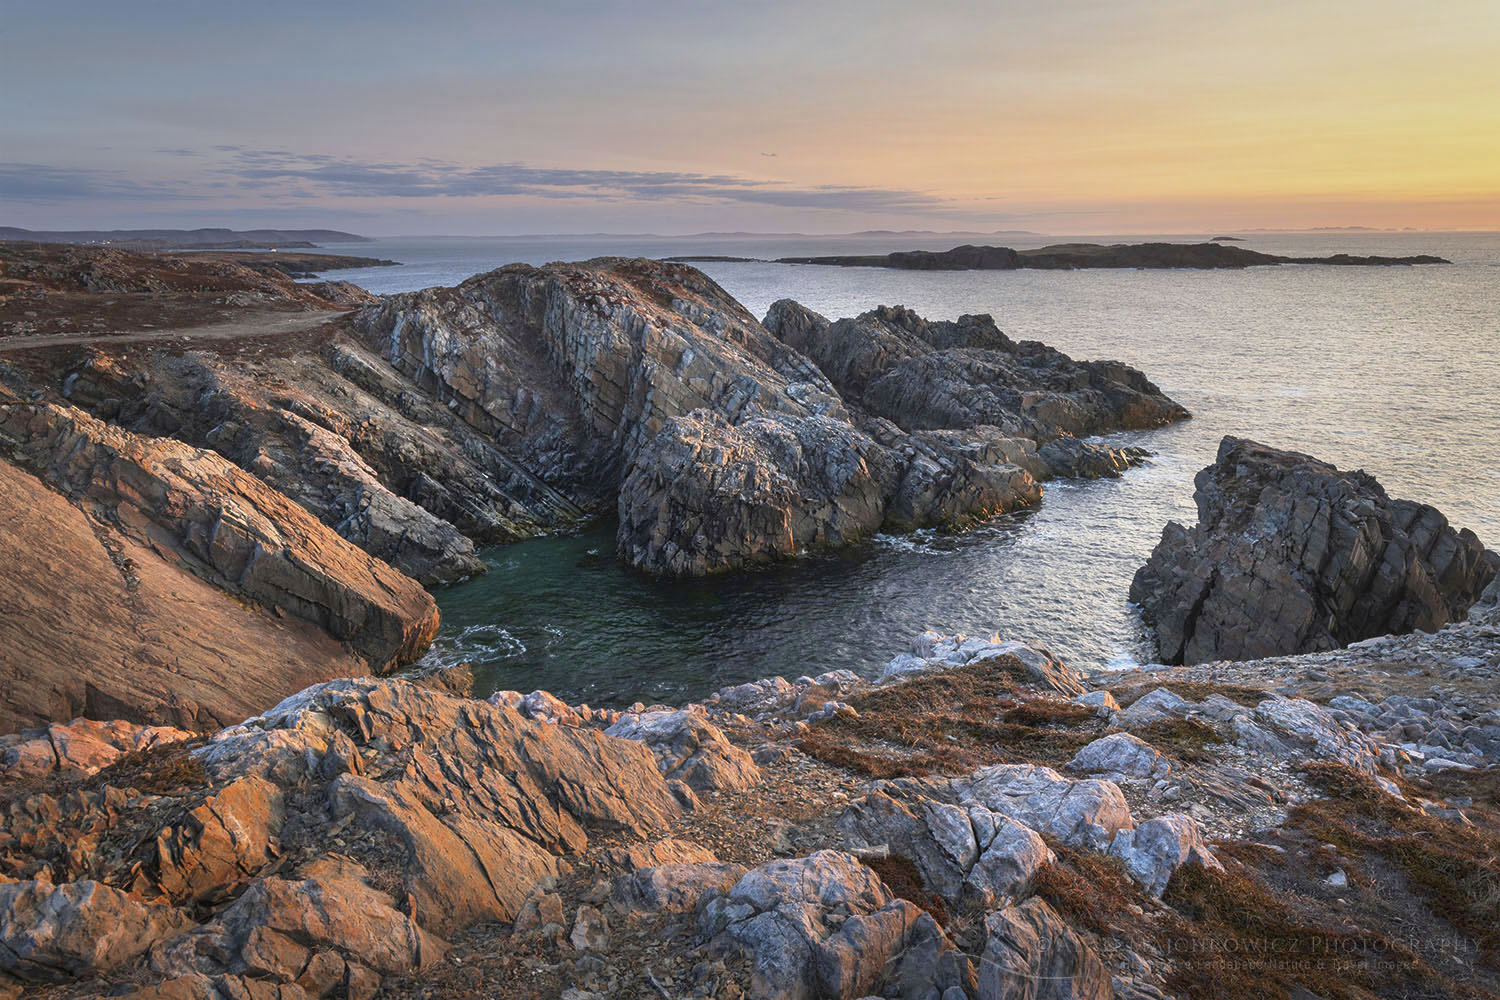
Rugged headlands near Spillars Cove, Bonavista Peninsula, Newfoundland #79693

Photographing Bonavista Peninsula Newfoundland

Photographing Bonavista Peninsula Newfoundland

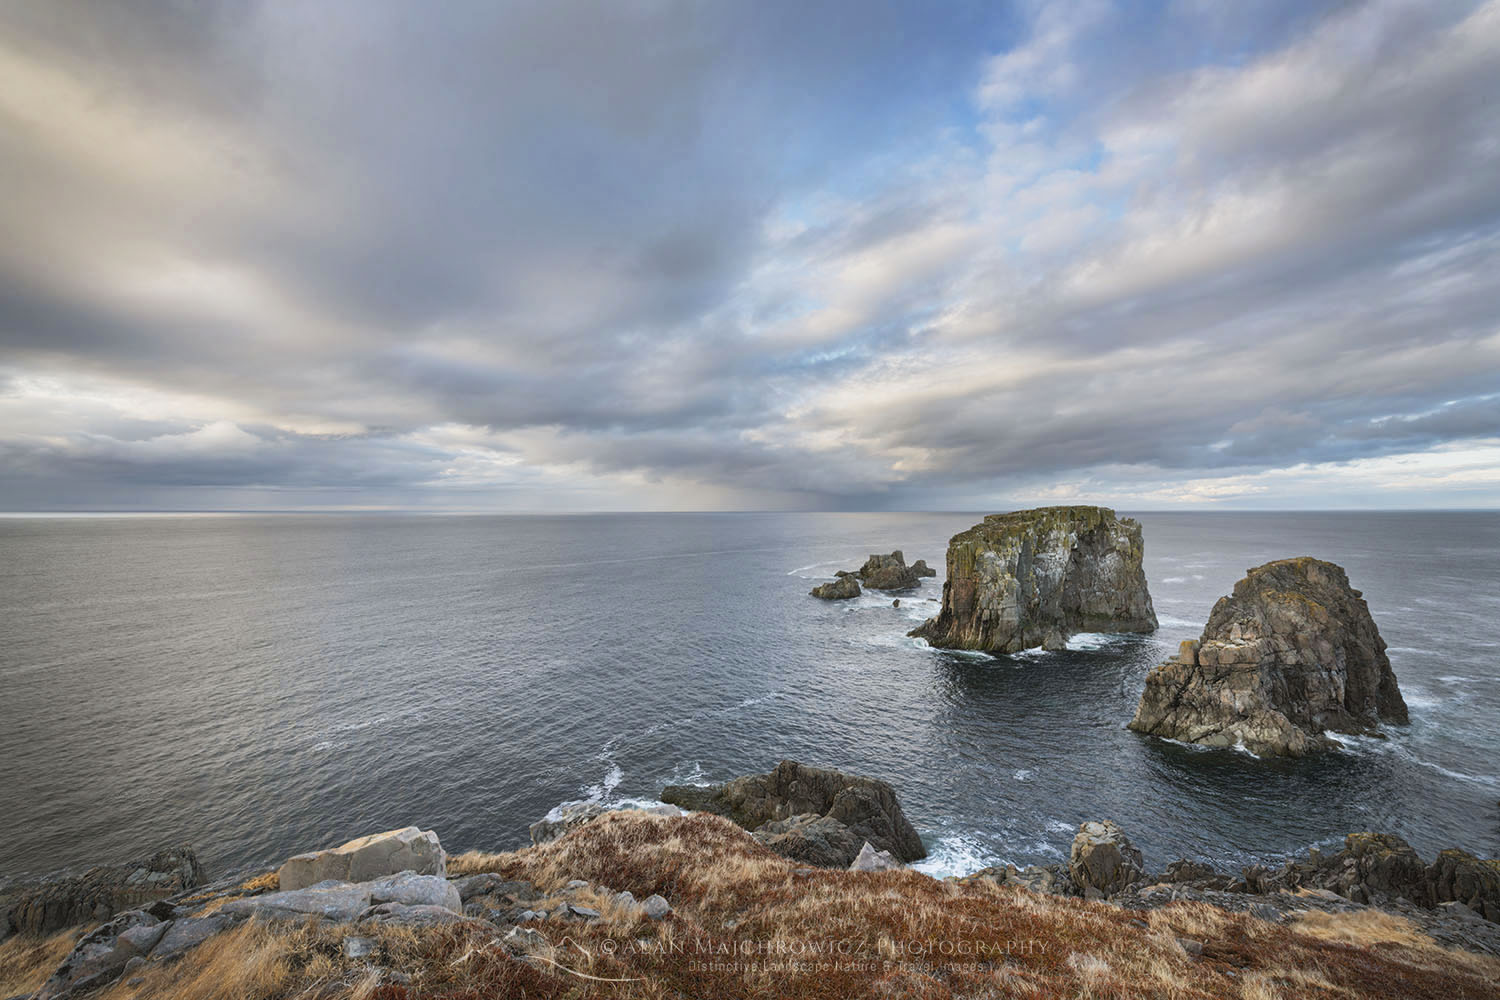
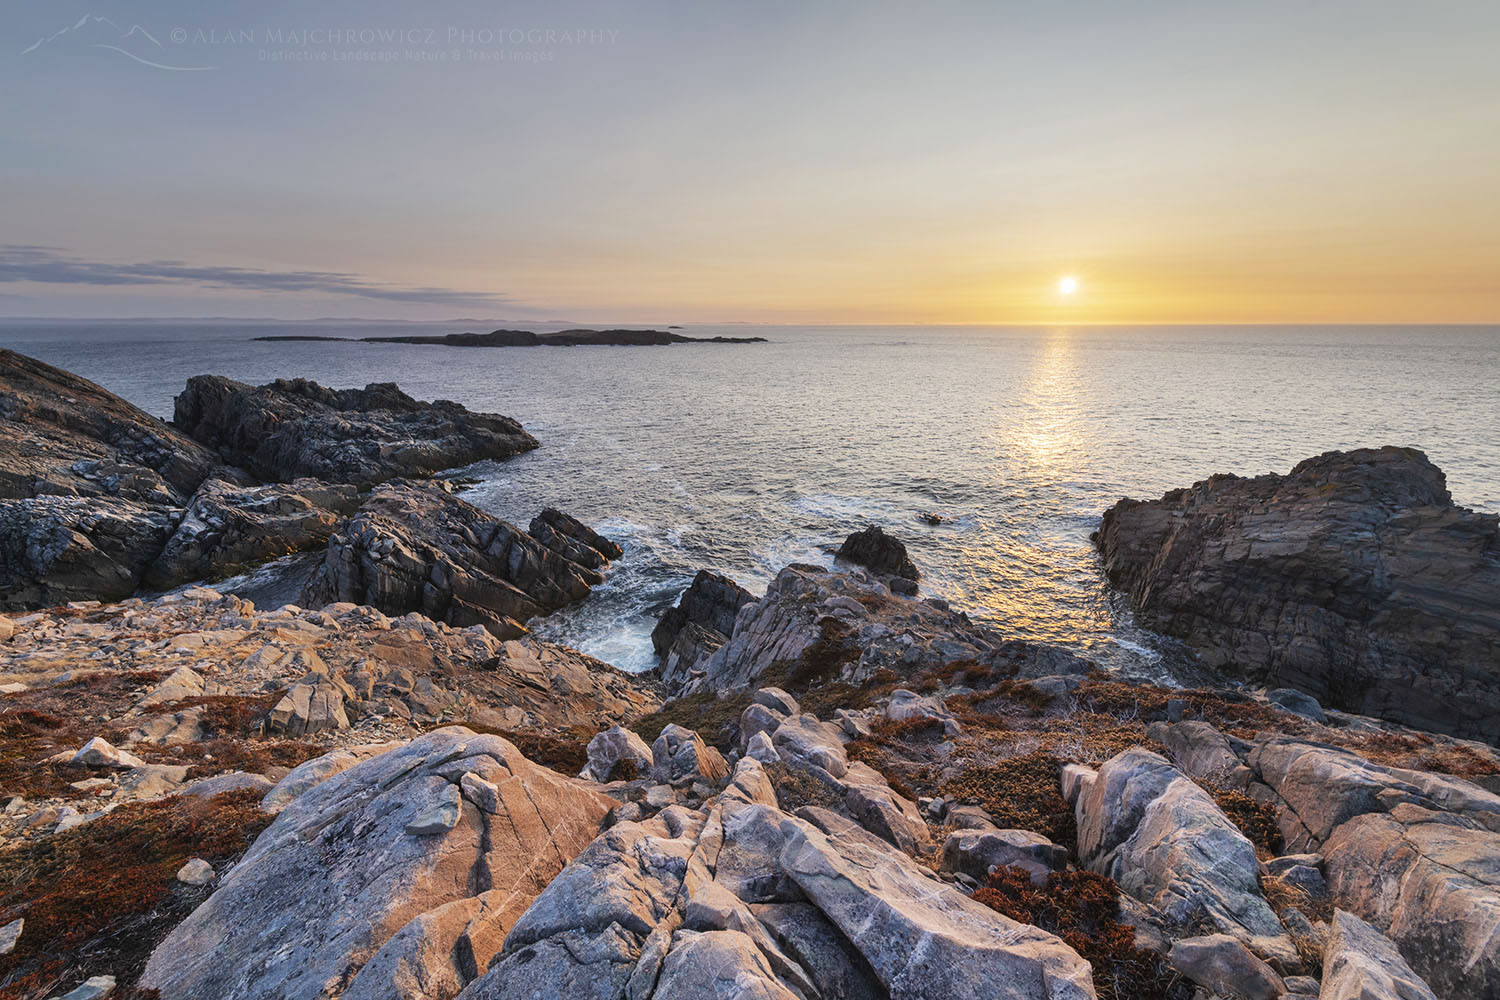
Sunset from the rugged coast of Cape Bonavista Newfoundland #79571Cape Bonavista Newfoundland #79571  Purchase

This post is the second of several detailing and giving tips for photographing in Newfoundland and Labrador.

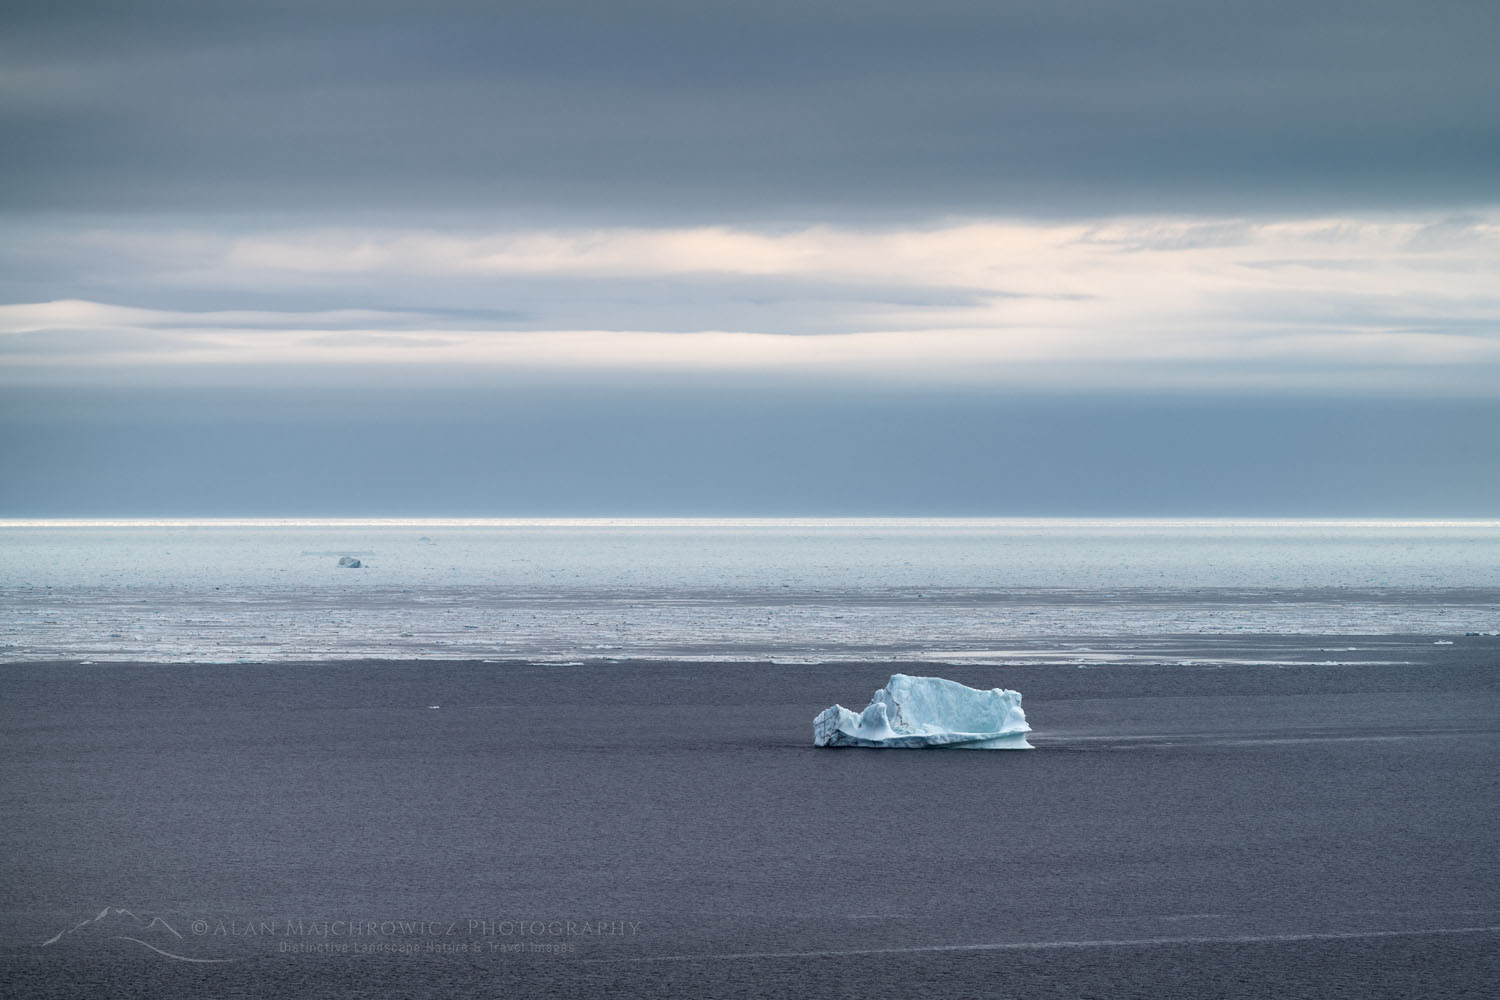
Canada’s Atlantic province of Newfoundland and Labrador has some of the most beautiful rugged coastlines in all of North America. And the Central Region of Newfoundland arguably has some of the scenic coastal areas in the province. A visitor can spend weeks exploring the area’s countless coves, peninsulas, inlets, and villages. All of these features are perfect for capturing another famous attraction, icebergs. Riding the Labrador Current down Iceberg Alley many of these icebergs and packs of sea ice end up trapped in the maze of inlets. From May through June icebergs of all sizes and shapes can often be seen moving along the coast or grounded in coves.

For Photographers traveling to Newfoundland for the first time, Bonavista Peninsula, Twillingate Islands, and Fogo Island are great places to photograph icebergs. But there is also much more to photograph. Colorful fishing villages, puffin colonies, historic sites, and spectacular coastal trails, to name a few.

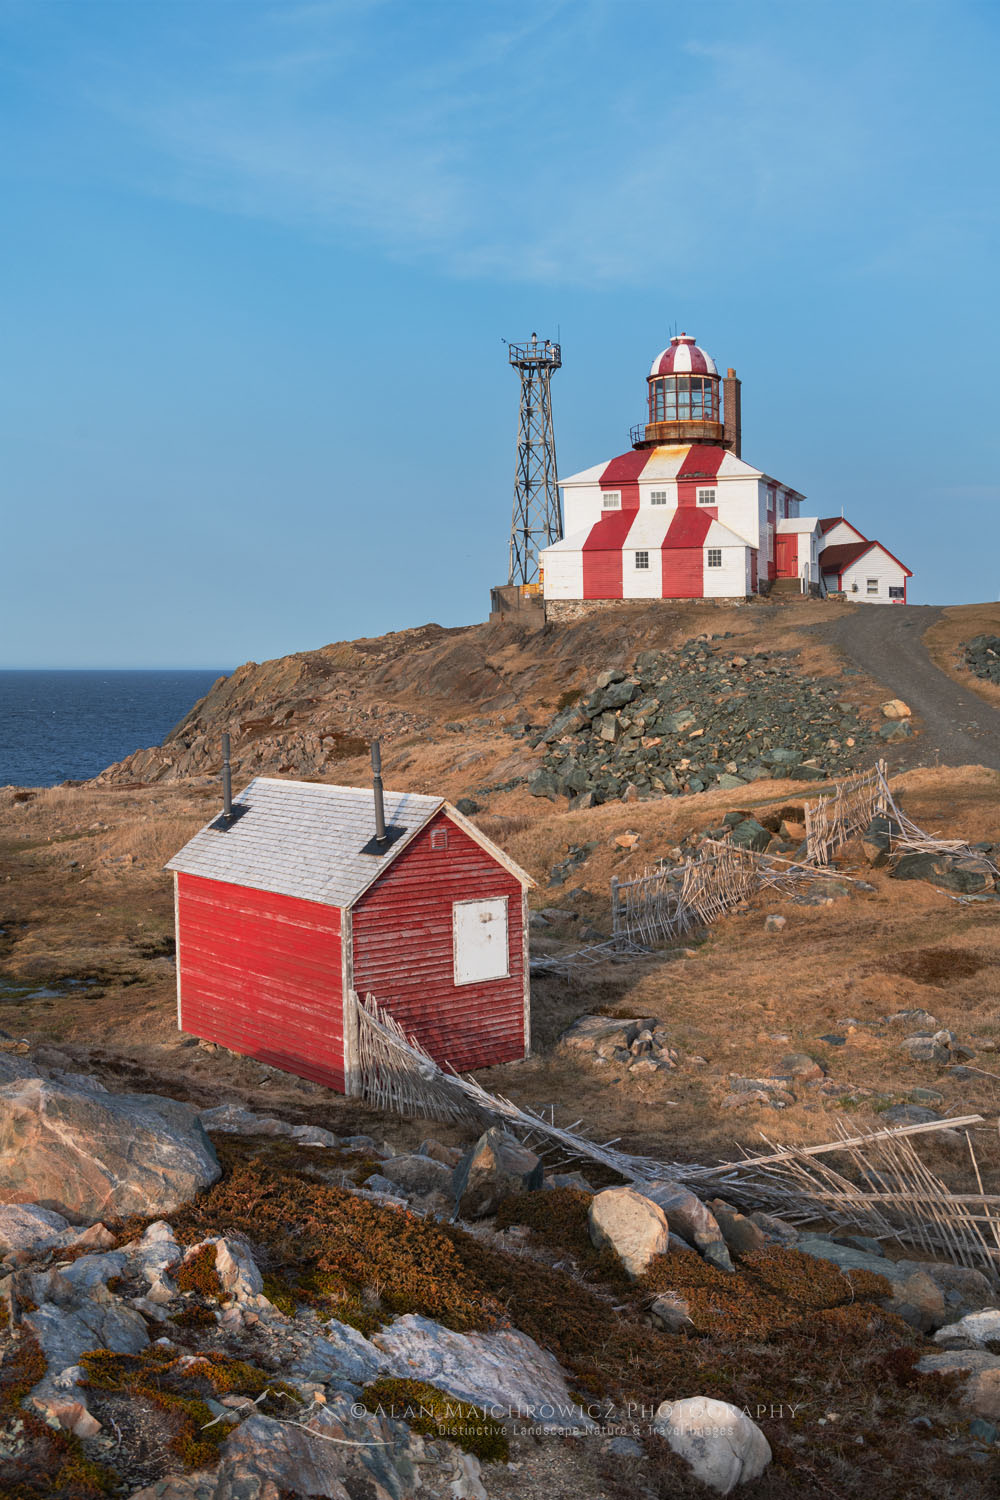
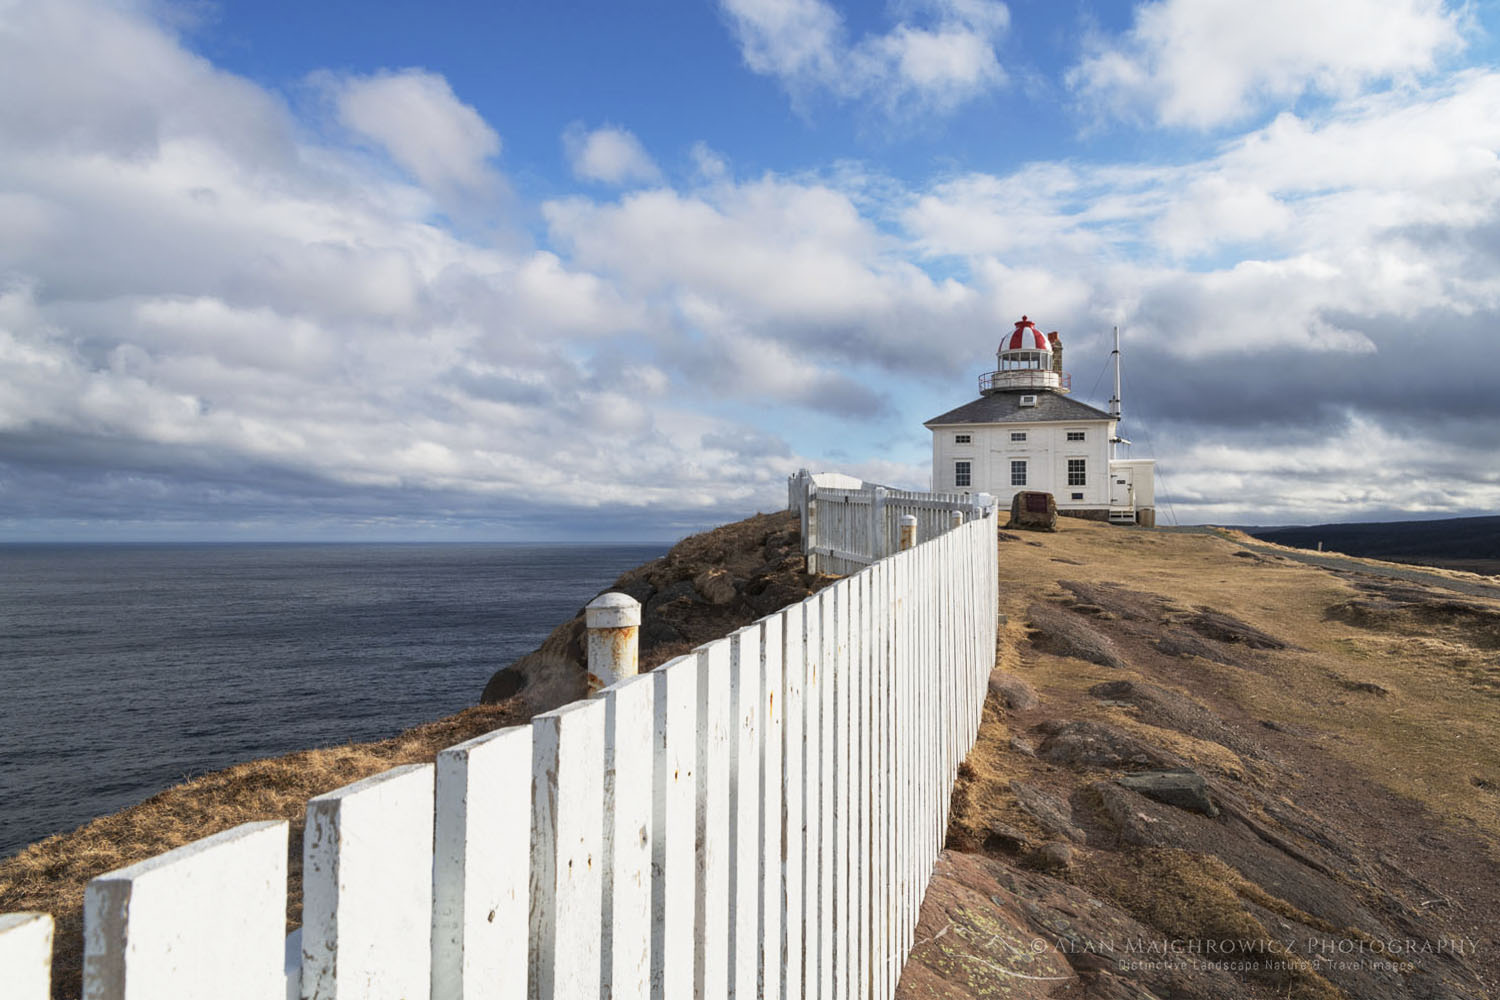
Cape Bonavista Lighthouse on the Bonavista Peninsula Newfoundland and Labrador Canada #79620Cape Bonavista Lighthouse Newfoundland #79620  Purchase

Photographing Bonavista Peninsula: Cape Bonavista 

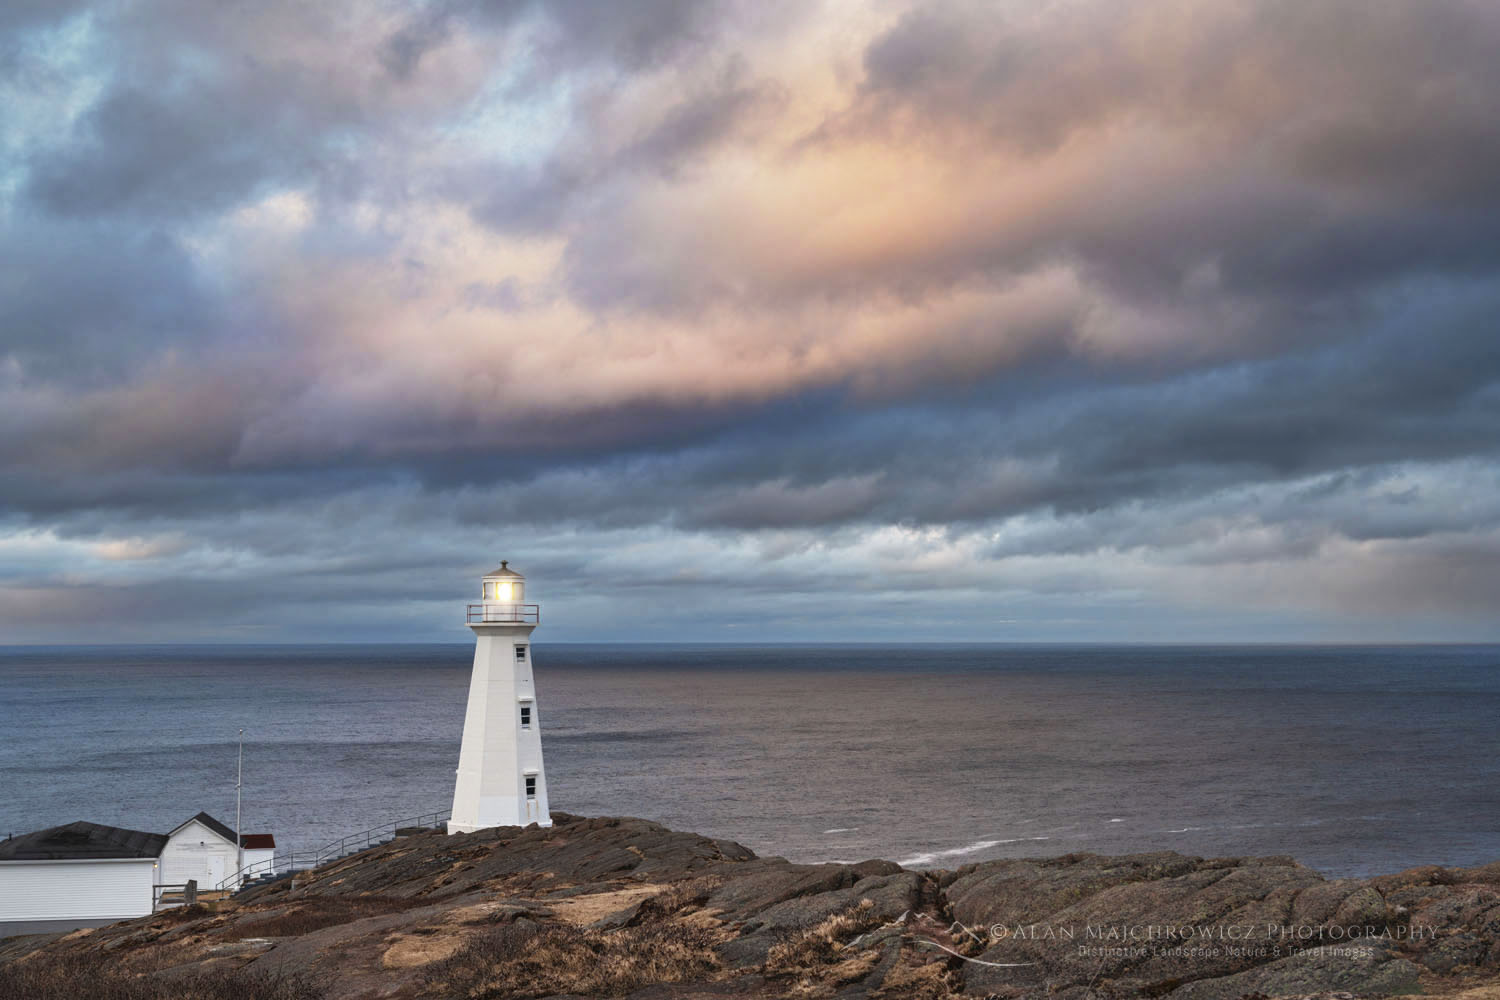
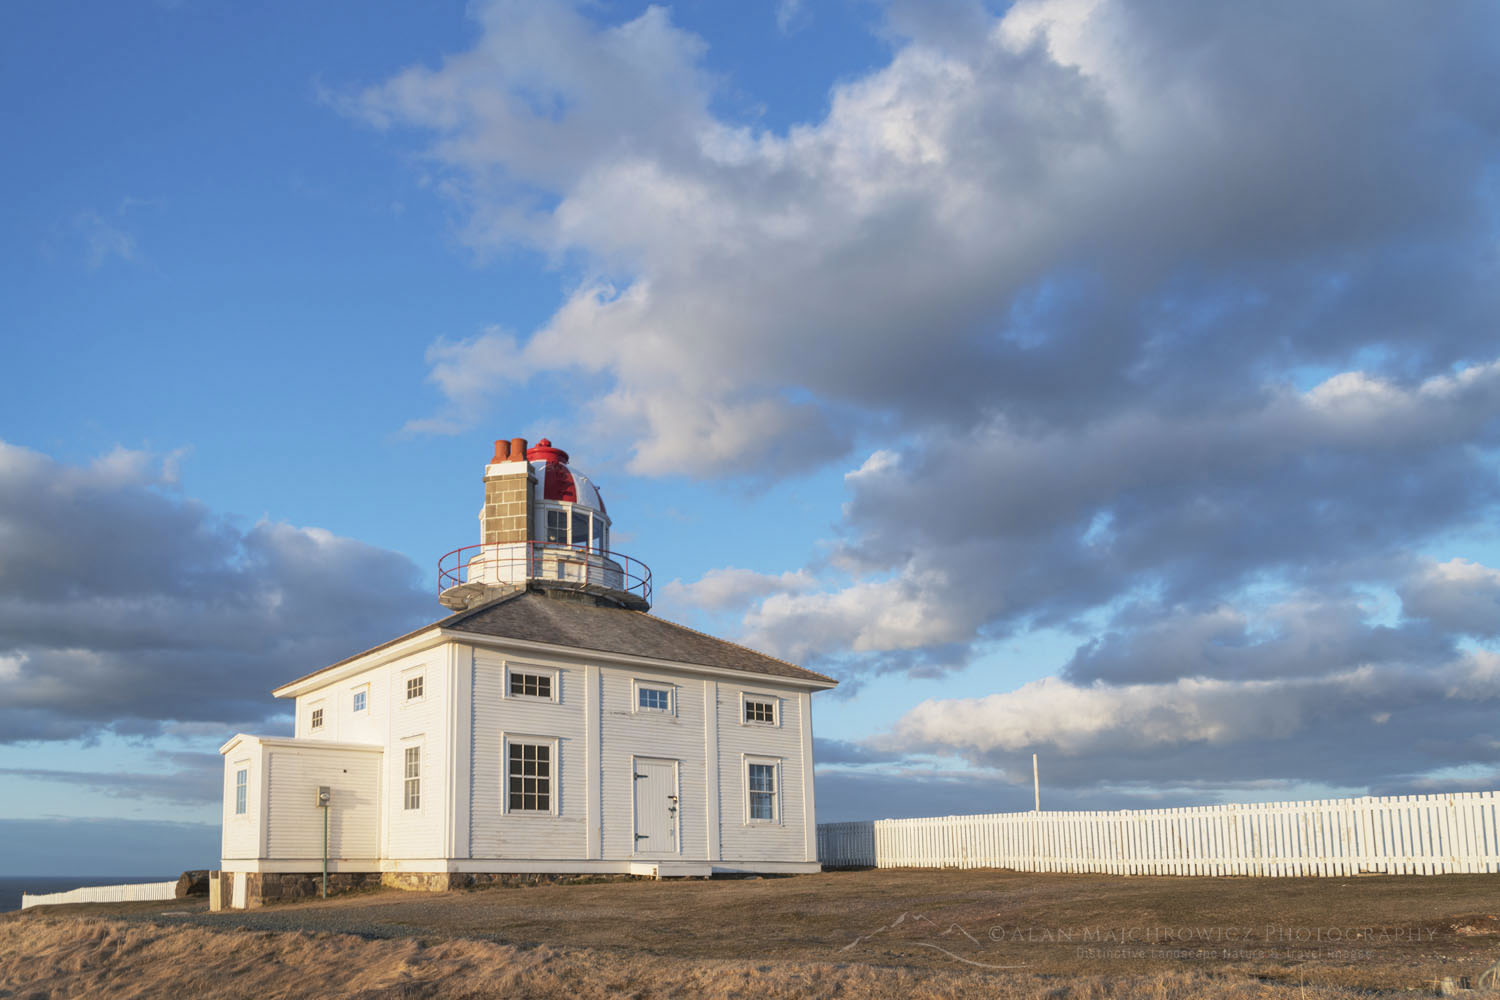
On my recent photo tour of Newfoundland and Labrador, the Bonavista Peninsula was one of my first main stops. At the head of the peninsula, Cape Bonavista has several great spots for photography.  Firstly, there is the squat red and white striped Cape Bonavista Lighthouse. This very photogenic lighthouse sits above the edge of the cape, with the best angles just below its western side. Many photographers also include an old red shack and a wooden fence in disrepair. If there is no wind present good photos can be made of the lighthouse during blue hour light.

Adjacent to it is a monument to John Cabot’s historic first landing on North America in 1497. Although he landed in Newfoundland in 1497, the exact location is still undetermined and disputed.

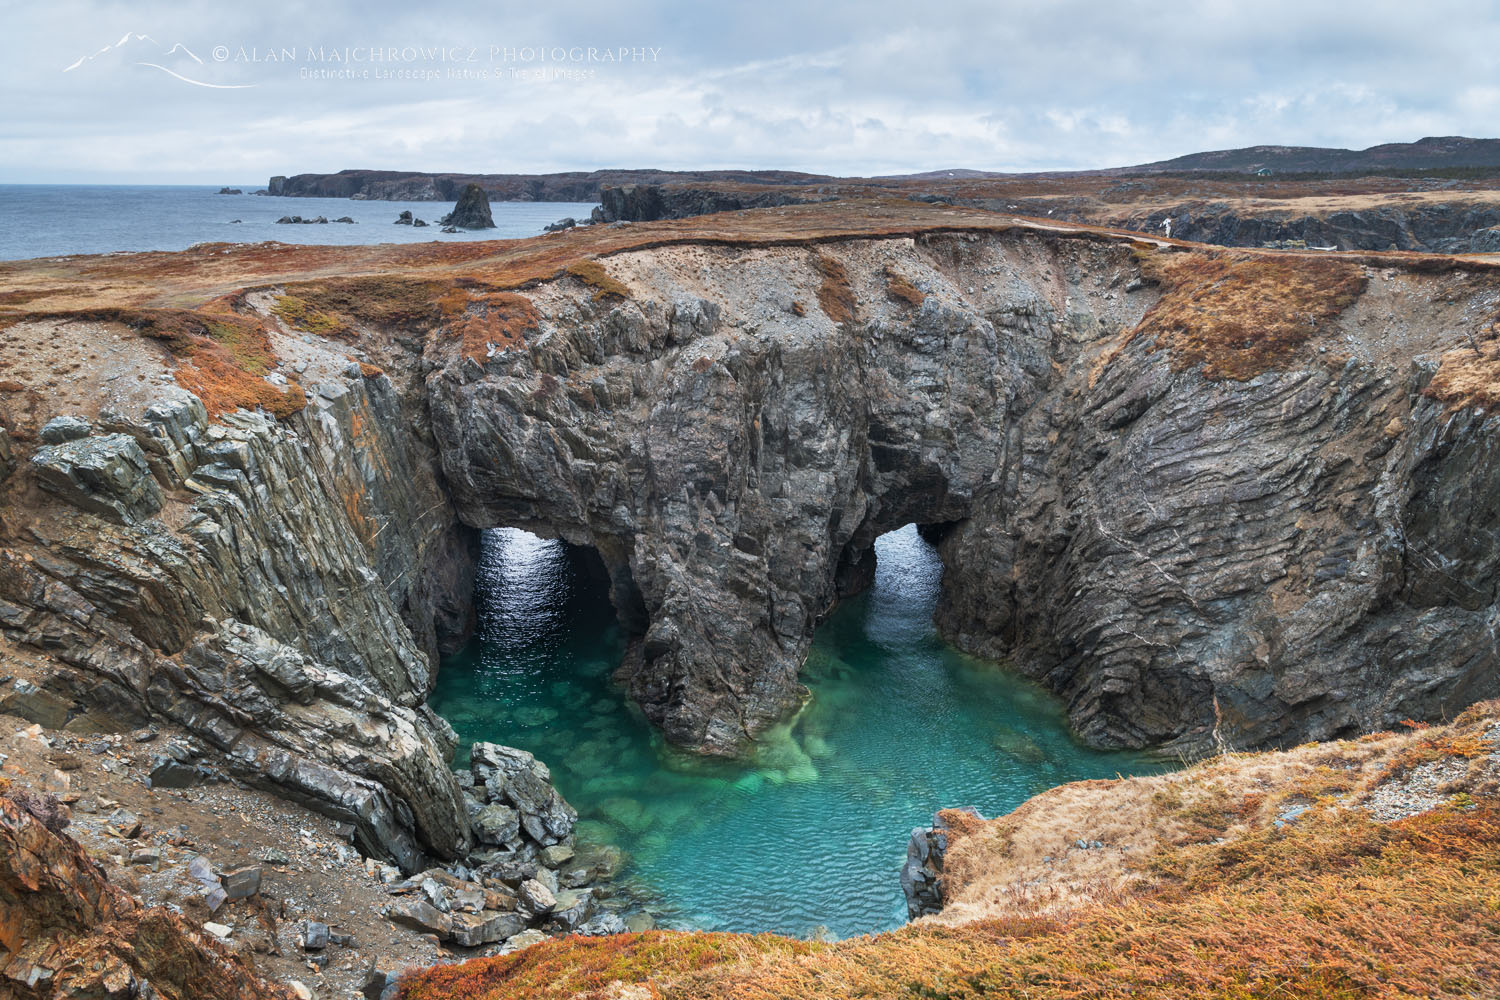
Double sea cave at Dungeon Provincial Park. Bonavista Peninsula, Newfoundland and Labrador Canada #79637Dungeon Provincial Park Newfoundland #79637  Purchase

South of the lighthouse on the unpaved Dungeon/Lance Cove Road are numerous excellent places to pull over and just gaze in wonder at the scenery. This road follows a rugged coastline with endless sea stacks and mini coves. One of the highlights here is Dungeon Provincial Park with its angry-looking double sea cave. This is also a UNESCO Discovery Global Geopark site.

Photographing Bonavista Peninsula: The Klondike Trail

A few miles further south is Spillars Cove and the Klondike Trail. The Klondike Trail traverses some of the most spectacular scenery in all of Newfoundland. It traverses the edge of cliffs with incredible views high above the Atlantic. The terrain is a mixture of rocks, heather, mosses, and grass reminiscent of Scotland, or the Arctic.

Cable John Cove, a Discovery UNESCO Global Geopark, Bonavista Peninsula, Newfoundland #79648Cable John Cove Newfoundland #79648 Purchase

At its east end the trail winds around Cable John Cove. For photographers, this cove is where some of the best compositions are, including The Chimney, an eye-popping tall and slender sea stack, which is also a UNESCO Discovery Global Geopark site. A small colony of Atlantic Puffins also nests on a seas tack in this cove.

Photographing Bonavista Peninsula: Elliston and Puffins

A few miles further south on the main road is the picturesque town of Elliston. Also known as “The Root Cellar Capitol of the World” with 133 documented root cellars. A few of them, like the ones near the puffin viewing site, are worth photographing. The town also has a memorial to the 251 sealers who lost their lives in the Sealing Disaster of 1914. In addition, there is the John C. Crosbie Sealers Interpretation Center. It exists to help bring to life the lives and hardships of sealers in a bygone era. Unfortunately, it was still closed for the season during my visit.

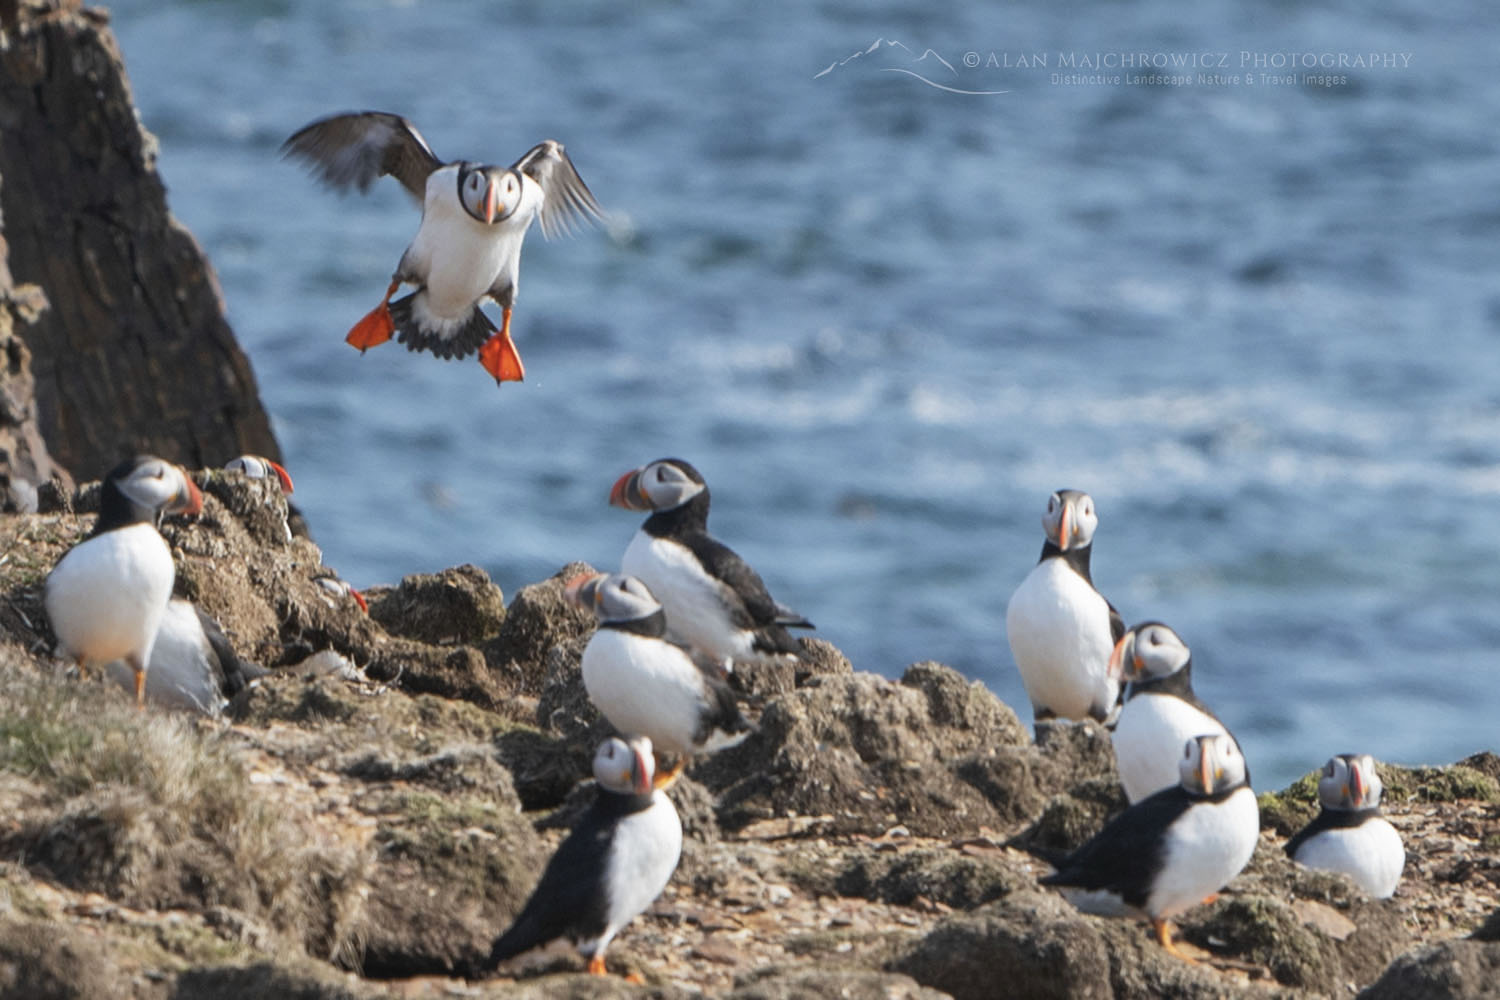
Puffin colony at the Elliston Puffin Site Newfoundland #79588Puffin Colony Elliston Newfoundland #79588

But the real attraction here is the puffin viewing site. The site offers the closest accessible views of a colony of nesting puffins in all of North America. Atlantic Puffins are also the official bird of the province of Newfoundland and Labrador. A short trail leads to a wonderful cliff-edge view of these squat comical seabirds.

Although on my trip in May, I didn’t see any icebergs in the Bonavista area this is a good location to photograph them. May, June, and early are the prime months to see them throughout Newfoundland and Labrador. Check out Iceberg Finder to keep track of current sightings.

Cable John Cove, a Discovery UNESCO Global Geopark, Bonavista Peninsula, Newfoundland #79713Cable John Cove Newfoundland #79713 Purchase

Essential Tips:

  • cape Bonavista is a great area to photograph long-exposure seascapes. Bring a Big and or Little Stopper Neutral Density Filter, or their equivalent.
  • For photographing Puffins, you’ll need at least a 200mm lens. For isolating individual birds a 400mm lens would be the minimum. The photo appearing in this post is heavily cropped from a photo using a 200mm lens.
  • Cape Bonavista is a good location for both morning/sunrise light and evening/sunset light.
  • Iceberg and whale viewing tours are available in the town of Bonavista.
  • Like most of coastal Newfoundland, the Bonavista Peninsula can be very windy. Dress appropriately and be extremely cautious near cliffs.
  • There is ample free primitive camping at John Cabot Municipal Park adjacent to the lighthouse and along the Dungeon/Lance Cove Road.
  • The town of Bonavista has plenty of lodging and all standard amenities.

Rugged headlands near Spillars Cove, Bonavista Peninsula, Newfoundland #79693Cape Bonavista Peninsula #79693  Purchase

Tips for Traveling in Newfoundland

Seasonal Closures: After the weather, seasonal closures were my next introduction to Newfoundland. The official summer/tourist season doesn’t begin here until June 1.

Nearly every provincial park, historic site, visitor’s center, campground, restroom, gift shop, etc., is shut tight until then. Of course, there are exceptions, but they are far and few between. On the other hand, all of this pretty much guarantees that you’ll escape the summer crowds and have most places all to yourself!

Lodging: Since I nearly always car camp on my photo tours, I can’t say much about lodging. However, there are only a few large towns/cities in the province, so you’ll most likely be looking for lodging in very small towns with limited accommodations. Book very early!

Camping: I didn’t find many campgrounds anywhere, aside from provincial and national parks, which were closed. However, free camping is available just about anywhere that isn’t private property. This mainly consists of gravel roads on Crown Land and trailheads.

Rest Areas: There are none! I have to include this since it was such a shock to me. Even driving from St. John’s on the Trans-Canada Highway to the other end of the province there was not one rest area or port-a-potty. Secondary and backroads? Forget about it! Keep that in mind when starting out in the morning after drinking a big mug of coffee, or that breakfast burrito!

Cable John Cove, a Discovery UNESCO Global Geopark, Bonavista Peninsula, Newfoundland #79695Cable John Cove Bonavista Peninsula #79695  Purchase

To see more images check out these galleries:
Newfoundland and Labrador 1
Newfoundland and Labrador 2

Check out our new Newfoundland Sea, Sky Land, Ice Fine Art Folio

Also, Check out the first post in this series:
Photographing in Newfoundland and Labrador/Cape Spear

Coming up next: Photographing, Twillingate, and Fogo Island 

All photos appearing in Photographing in Newfoundland and Labrador/ Cape Spear are available for Commercial Licensing and Fine Art Prints. Click on any image to purchase, or contact me for more info!

Photographing in Newfoundland

One of two lighthouses at Cape Spear Lighthouse National Historic Site in St. John's, Newfoundland and Labrador, Canada #79487

Photographing in Newfoundland and Labrador/ Cape Spear

Photographing in Newfoundland and Labrador/Cape Spear

One of two lighthouses at Cape Spear Lighthouse National Historic Site in St. John's, Newfoundland and Labrador, Canada #79487 Cape Spear Newfoundland #79487  Purchase

This post is the first of several detailing and giving tips for photographing in Newfoundland and Labrador.

Canada’s Atlantic Province of Newfoundland and Labrador is a destination that will thrill any photographer. It has many characteristics of more popular North Atlantic destinations, such as Scotland and Iceland, including miles of beautiful rugged coastline, colonies of seabirds, and quaint towns with a rich cultural history. It also has very friendly locals with delightfully unique accents. But unfortunately Newfoundland doesn’t have active volcanoes or haggis.

Newfoundland and Labrador also have one other big attraction that the aforementioned destinations don’t: Icebergs. Throughout the year, the Labrador Current reliably transports icebergs from Greenland and the Arctic down Iceberg Alley, to the coast of Newfoundland. The ever-changing shapes and sizes of the bergs provide an additional element of drama to photo compositions. And considering the exorbitant cost of travel to the high Arctic or Antarctica, photographing icebergs in Newfoundland is a hard-to-pass-up bargain!

Iceberg and Pack Ice near Twillingate, Newfoundland and Labrador Canada #79746Iceberg and Pack Ice Newfoundland  #79746 Purchase

This spring, I was able to plan my first extended trip to Newfoundland and Labrador. I began by compiling a list of subject matter I wanted to photograph. Topping the list were icebergs, rugged coastlines, seabird colonies, lighthouses, and finally, fishing villages. After countless hours of poring over maps, tourism websites, and extensive Google searches, I came up with a rough itinerary. As always, I built in lots of flexibility to work around bad weather and other unforeseen circumstances.

I had 24 days allotted for photographing in Newfoundland, and the plan was to fly to St. John’s and then drive to my main destinations of Bonavista Peninsula, Twillingate, and Fogo Island. If time allows, I would take a ferry to Labrador, then return to photograph L’anse Aux Meadows and surrounding areas. Lastly came several locations on the Avalon Peninsula south of St. John’s. In the end, I photographed nearly every location and subject on my list.

One of two lighthouses at Cape Spear Lighthouse National Historic Site in St. John's, Newfoundland and Labrador, Canada #79534Cape Spear Lighthouse Newfoundland #79534  Purchase

Cape Spear Lighthouse National Historic Site

Since I was flying into St. John’s I wanted my first destination to be nearby so I could get my bearings after a long travel day.  Cape Spear Lighthouse National Historic Site was the logical choice, as it was just outside of the city and very photogenic. It turned out to be a great choice and also a harsh introduction to Newfoundland weather.

My home in Bellingham, Washington, and St. John’s are nearly the same latitude. But while at home, there was beautiful spring weather, Newfoundland was still gripped in late winter conditions. Temperatures were in the low 40s, vegetation was still winter brown, and the wind was nonstop and piercing cold. I was glad all my winter clothing came with me!

Cape Spear is a headland on the eastern edge of the Avalon Peninsula. It is also the easternmost point of land in Canada and the North American continent, excluding Greenland. It is so far east that you can almost imagine seeing Ireland on the horizon. There is a lot to see at Cape Spear Lighthouse National Historic Site. It sports two picturesque but distinctly different historic lighthouses. The site also has a WWII gun battery and radar station. You can also start for a hike on the East Coast Trail or just sit and watch for whales.

Cape Spear also has a visitor center with guided tours of the lighthouses. However, these amenities, and every other throughout Newfoundland and Labrador, as I was to find out, were still closed for the season.

Stairway below Cape Spear Lighthouse. Cape Spear Lighthouse National Historic Site in St. John's, Newfoundland and Labrador, Canada #79521Cape Spear Lighthouse Newfoundland #79521  Purchase

Photographing at Cape Spear

Cape Spear Lighthouse National Historic Site and the immediate surrounding area can be explored in a few hours. The lighthouses, of course, are the main attractions for photographers. But hiking a mile or so north or south from the parking lot on the East Coast Trail is also rewarding with additional photo opportunities.

Essential Tip:  This is a location that is good for both morning/sunrise and evening/sunset light. If the weather is poor and you have time, like I did, it’s worth trying to stick around an extra day or two for good light.

One of two lighthouses at Cape Spear Lighthouse National Historic Site in St. John's, Newfoundland and Labrador, Canada #79526Cape Spear Lighthouse Newfoundland #79526  Purchase

Essential Tip: There are many elements here that you can utilize for excellent compositions. Most notably, the stairs on the trail to and below the lighthouses and the white picket fence along the original upper lighthouse. The bedrock along the bluff, which glows reddish brown in evening and morning light, is also worth including.

Essential Tip: You’re nearly guaranteed to have windy conditions here, so make sure to bring a sturdy tripod. And don’t forget to bring a warm, windproof jacket or coat. Leave your hat in the car because it’ll easily be blown away. In fact, use utmost caution along the top of the bluffs as the winds can easily be strong enough to blow you and or your gear over the cliffs! There are a few compositions here that can tempt photographers to inch dangerously close to the edge.

Cape Bay near St. John's, Newfoundland and Labrador, Canada #79492Cape Bay Newfoundland #79492 Purchase

Back down at Cape Bay, it’s worth hiking a short way to Cantwells Cove. The slanted rock formations here and the finger-like inlets are great in the right light, especially for sunrise.

Aside from a steady tripod, lenses from ultra-wide to telephoto will come in handy. Seabirds aren’t plentiful at Cape Spear, but if whales are present, a long telephoto could be useful.

White fence at Cape Spear Lighthouse National Historic Site in St. John's, Newfoundland and Labrador, Canada #79461Cape Spear Lighthouse Newfoundland #79461  Purchase

Practicalities for Photographing in Newfoundland

Since this was my first photo tour of Newfoundland and Labrador, I don’t profess to be an expert on the location. However, as you might expect, I did come away with some very useful information to pass on.

Weather:  Newfoundland and Labrador weather has a temperate marine climate. Summer temperatures are generally cooler and rarely hot and humid. During my trip in May, the wind, sometimes very strong and sustained, was a nearly constant companion. Temperatures reached into the low 60s on only a few rare days and were mostly in the 40s to low 50s. One morning in Twillingate I even woke up to an inch of snow!

Warm wind and rainproof clothing are essential. Boggy, marshy terrain is present nearly everywhere in the province, so good waterproof footwear is also a must.

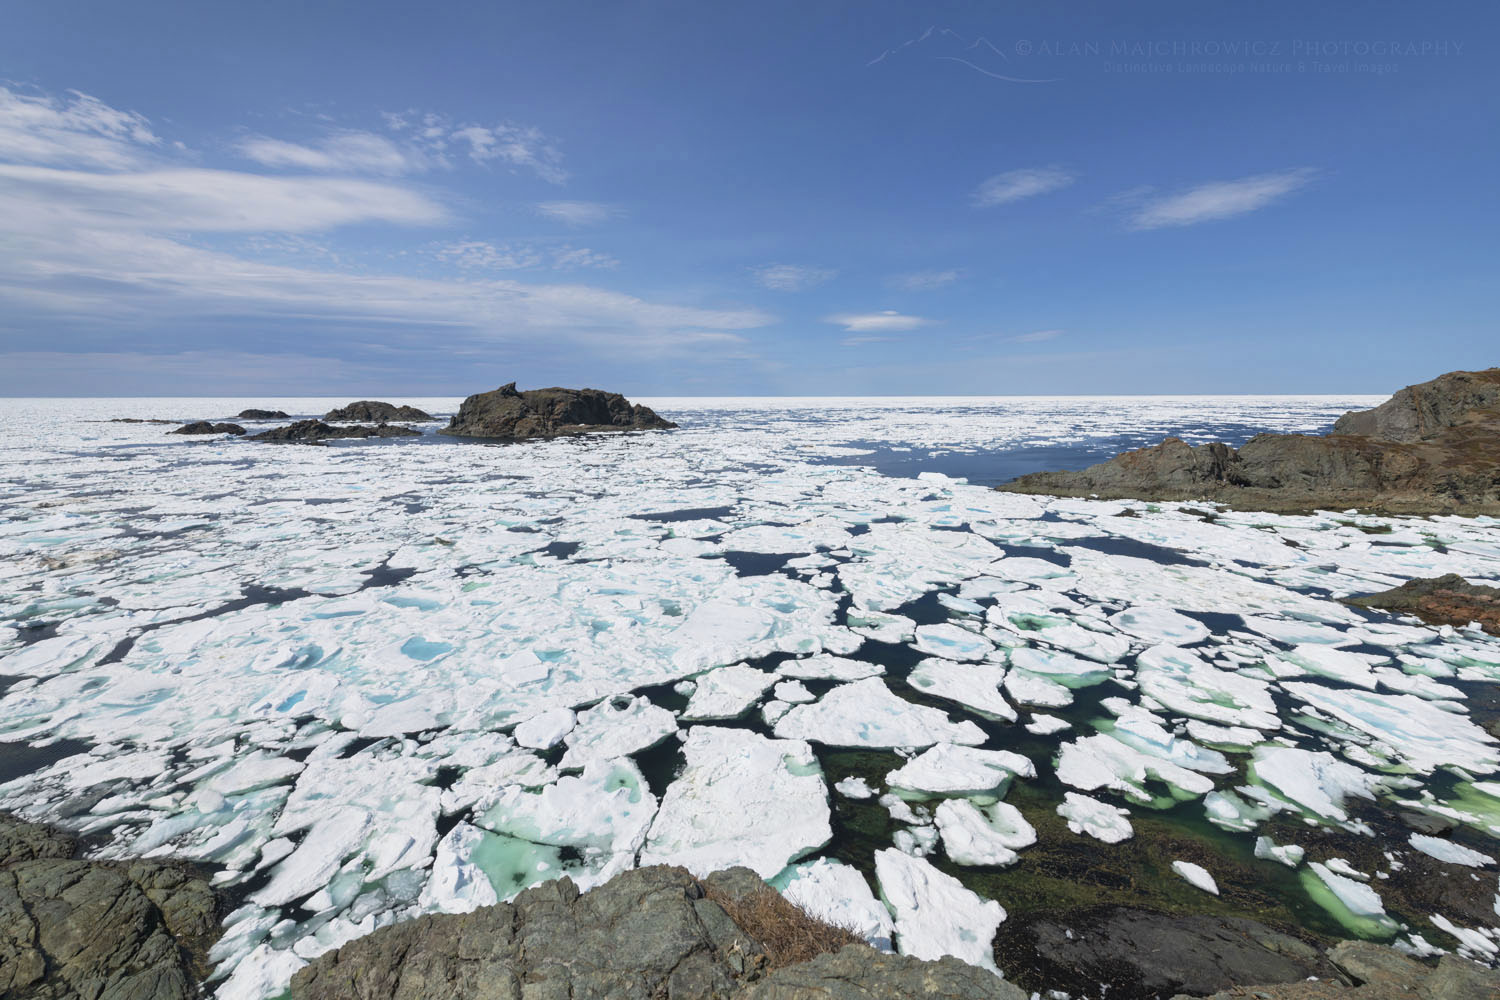
Sea ice in Sleepy Cove Newfoundland and Labrador Canada #79988Pack Ice Twillingate Island Newfoundland #79988  Purchase

Icebergs: Research advised me that May through June was the best time for viewing icebergs. That appears to be true, but I could add a bit to that. In addition to icebergs, there was quite a lot of pack ice present in some locations, which added another dramatic element to my images. Pack ice is most likely an early-season phenomenon and not present during summer. It also moves around quite a bit, especially when the wind changes direction. One day a cove can be choked with ice, and the next day it can be completely free of it.

Coastal areas of central Newfoundland, such as Twillingate, appear to receive the lion’s share of icebergs. There are many iceberg boat tour companies in the area, and I highly advise booking a tour on one. You’ll safely get much closer to bergs this way, and it’s fascinating to see one up close.

Iceberg Finder is an excellent source to keep track of where iceberg are located before, during, and after a Newfoundland visit.

Cape Race Road Newfoundland #80608Cape Race Road Newfoundland #80608 Purchase

Traveling while Photographing in Newfoundland

Seasonal Closures: After the weather, seasonal closures were my next introduction to Newfoundland. The official summer/tourist season doesn’t begin here until June 1.

Nearly every provincial park, historic site, visitor’s center, campground, restroom, gift shop, etc., is shut tight until then. Of course, there are exceptions, but they are far and few between. On the other hand, all of this pretty much guarantees that you’ll escape the summer crowds and have most places all to yourself!

Lodging: Since I nearly always car camp on my photo tours, I can’t say much about lodging. However, there are only a few large towns/cities in the province, so you’ll most likely be looking for lodging in very small towns with limited accommodations. Book very early!

Camping: I didn’t find many campgrounds anywhere, aside from provincial and national parks, which were closed. However, free camping is available just about anywhere that isn’t private property. This mainly consists of gravel roads on Crown Land and trailheads.

Rest Areas: There are none! I have to include this since it was such a shock to me. Even driving from St. John’s on the Trans-Canada Highway to the other end of the province there was not one rest area or port-a-potty. Secondary and backroads? Forget about it! Keep that in mind when starting out in the morning after drinking a big mug of coffee, or that breakfast burrito!

To see more images check out these galleries:
Newfoundland and Labrador 1
Newfoundland and Labrador 2

Check out our new Newfoundland Sea, Sky Land, Ice Fine Art Folio

Also, check out the next post in this series:
Photographing Bonavista Peninsula Newfoundland

Sunset at the rocky and rugged coast of Cape Bonavista Newfoundland #79565Cape Bonavista Sunset Newfoundland #79565 Purchase

All photos appearing in Photographing in Newfoundland and Labrador/ Cape Spear are available for Commercial Licensing and Fine Art Prints. Click on any image to purchase, or contact me for more info!

Photographing in Newfoundland

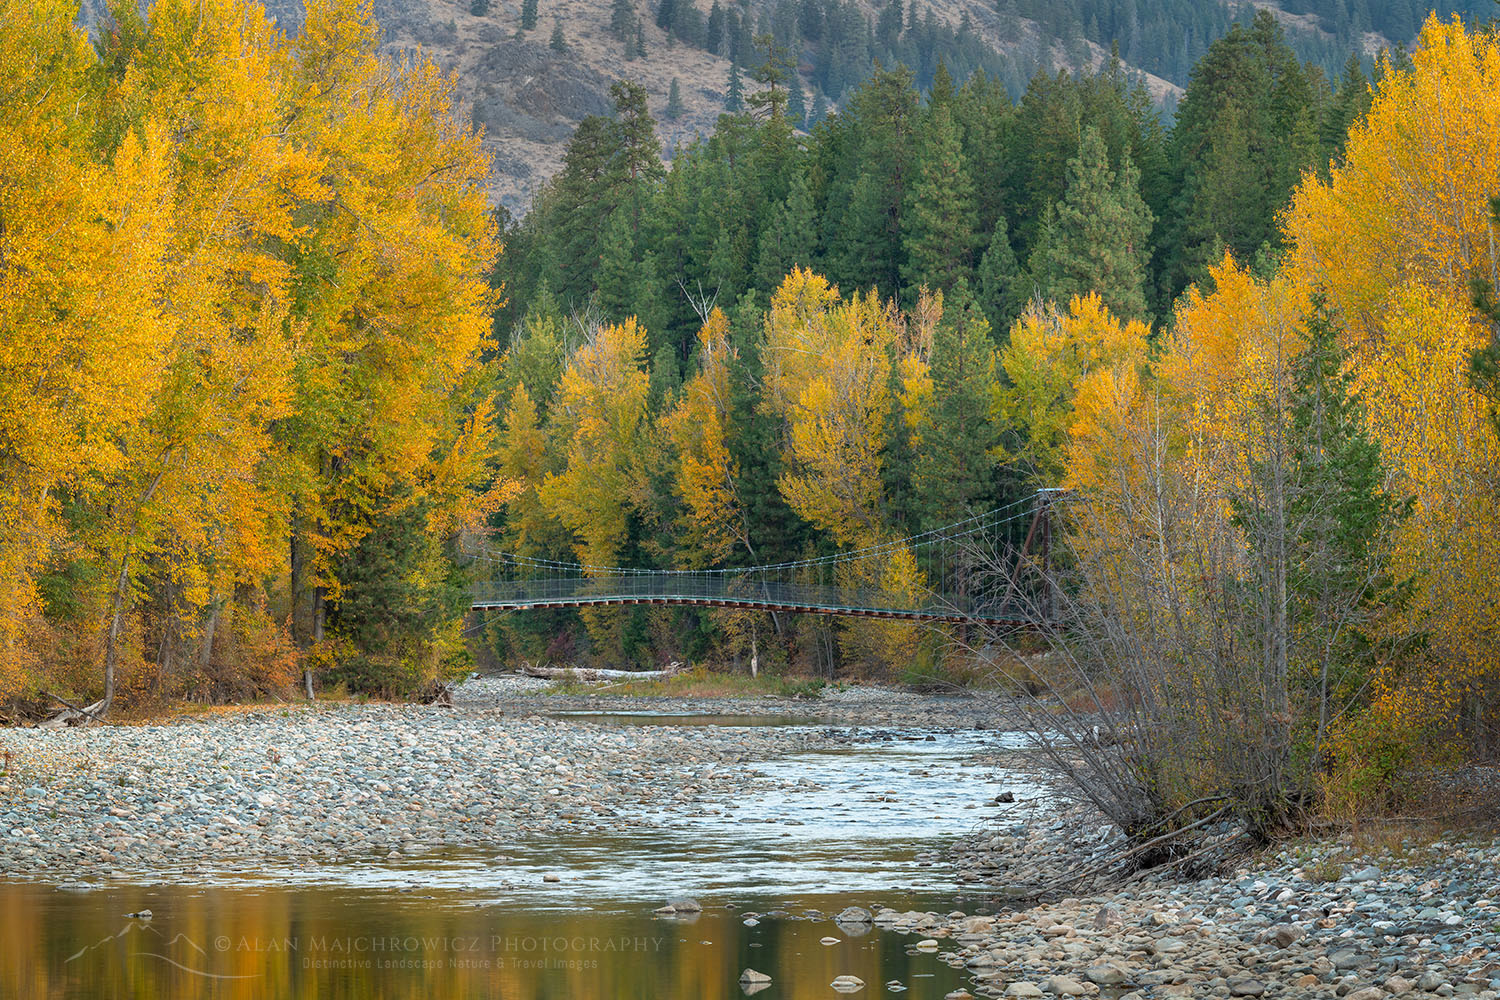
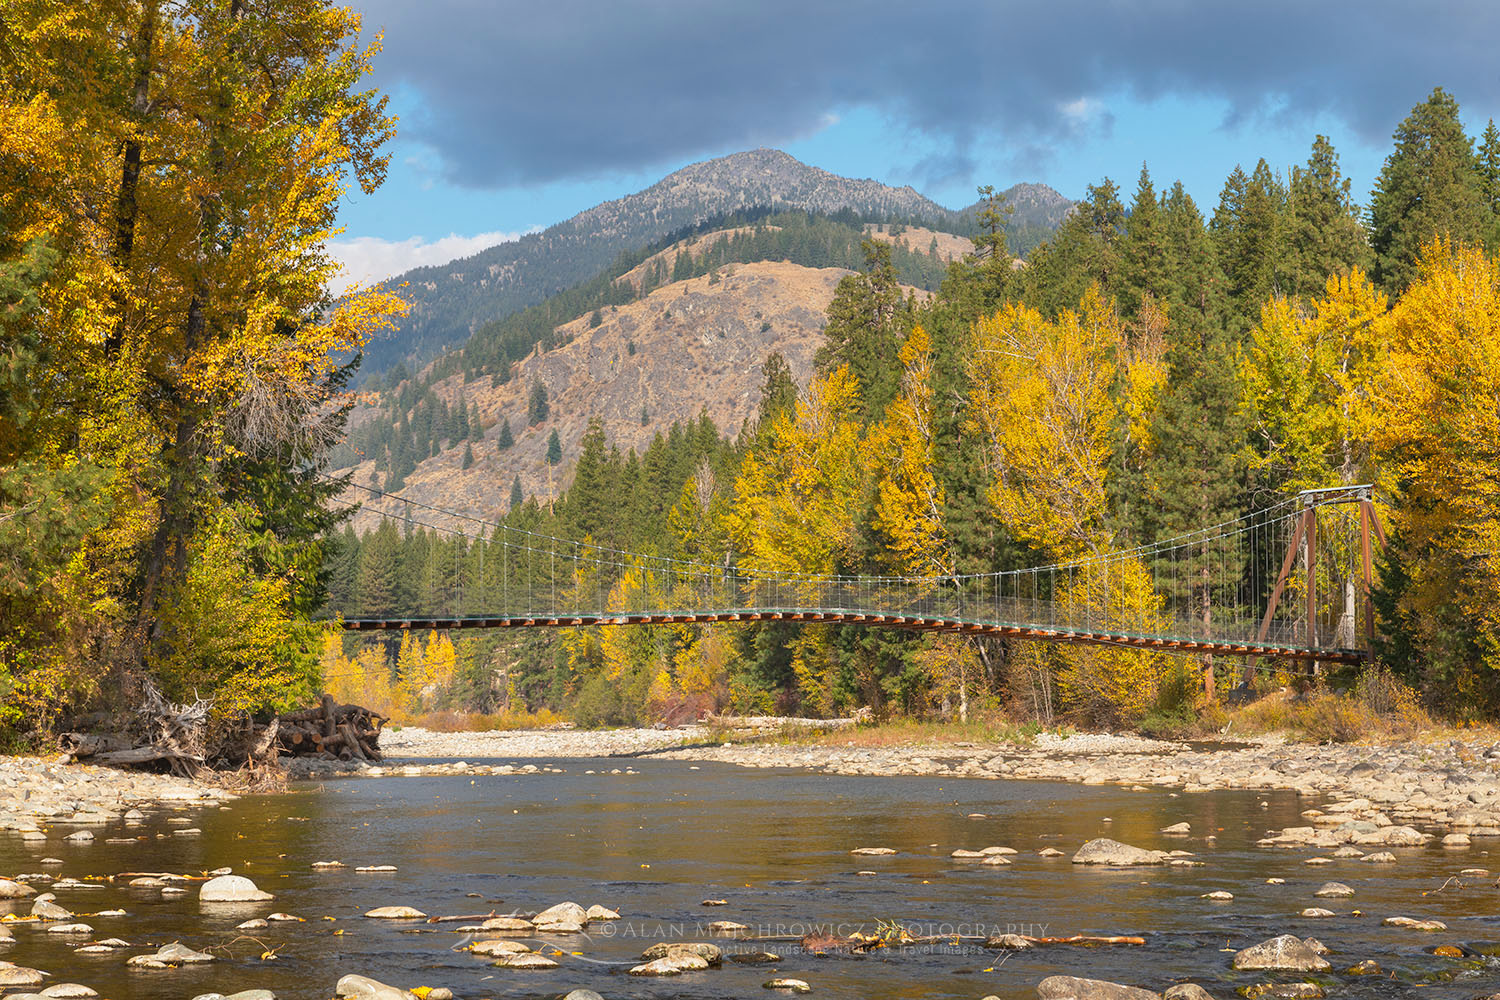
Tawlks-Foster Suspension Bridge and fall foliage along the Methow River near Mazama Washington

Methow Valley Fall Foliage

Methow Valley Fall Foliage

Tawlks-Foster Suspension Bridge and fall foliage along the Methow River near Mazama WashingtonFall Foliage along the Methow River #78824  Purchase

One of the premier destinations of the North Cascades is the Methow Valley. This beautiful mountain valley is a paradise for outdoor enthusiasts in all four seasons. There are great trails for hiking and biking in spring, summer, and fall. And in winter Methow Trails boasts the largest cross-country ski trail system in North America. In support of all these activities, there are numerous options for lodging, great dining, and plenty of places to rent gear.

Just outside the Methow Valley in Okanogan National Forest are the Pasayten Wilderness, the Chelan-Sawtooth Wilderness, North Cascades Scenic Highway, and North Cascades National Park. All of this natural beauty is also a magnet for landscape, nature, and wildlife photographers like me. I’ve been coming to the Methow Valley and its surroundings for nearly 40 years and still find new places to hike and photograph!

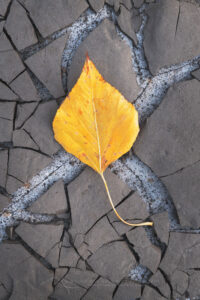
Cottonwood leaf on cracked mud along the Methow River near Mazama WashingtonCottonwood leaf #78721  

In this post, I aim to provide a short introductory guide for photographing fall colors in the Methow Valley. It focuses on only a small segment of a large area and certainly is not all-inclusive. This is one of those places you’ll end up returning to over and over again in all seasons. So part of the fun is exploring and making your own discoveries!

This October I made a short excursion to the valley in search of fall color. Most of the excitement in the area during this time of the year is around the subalpine larches. However, these gorgeous trees are found at higher elevations, with their needles turning bright gold in early fall. Fall color in the Methow Valley itself comes a few weeks after the larch show has faded.

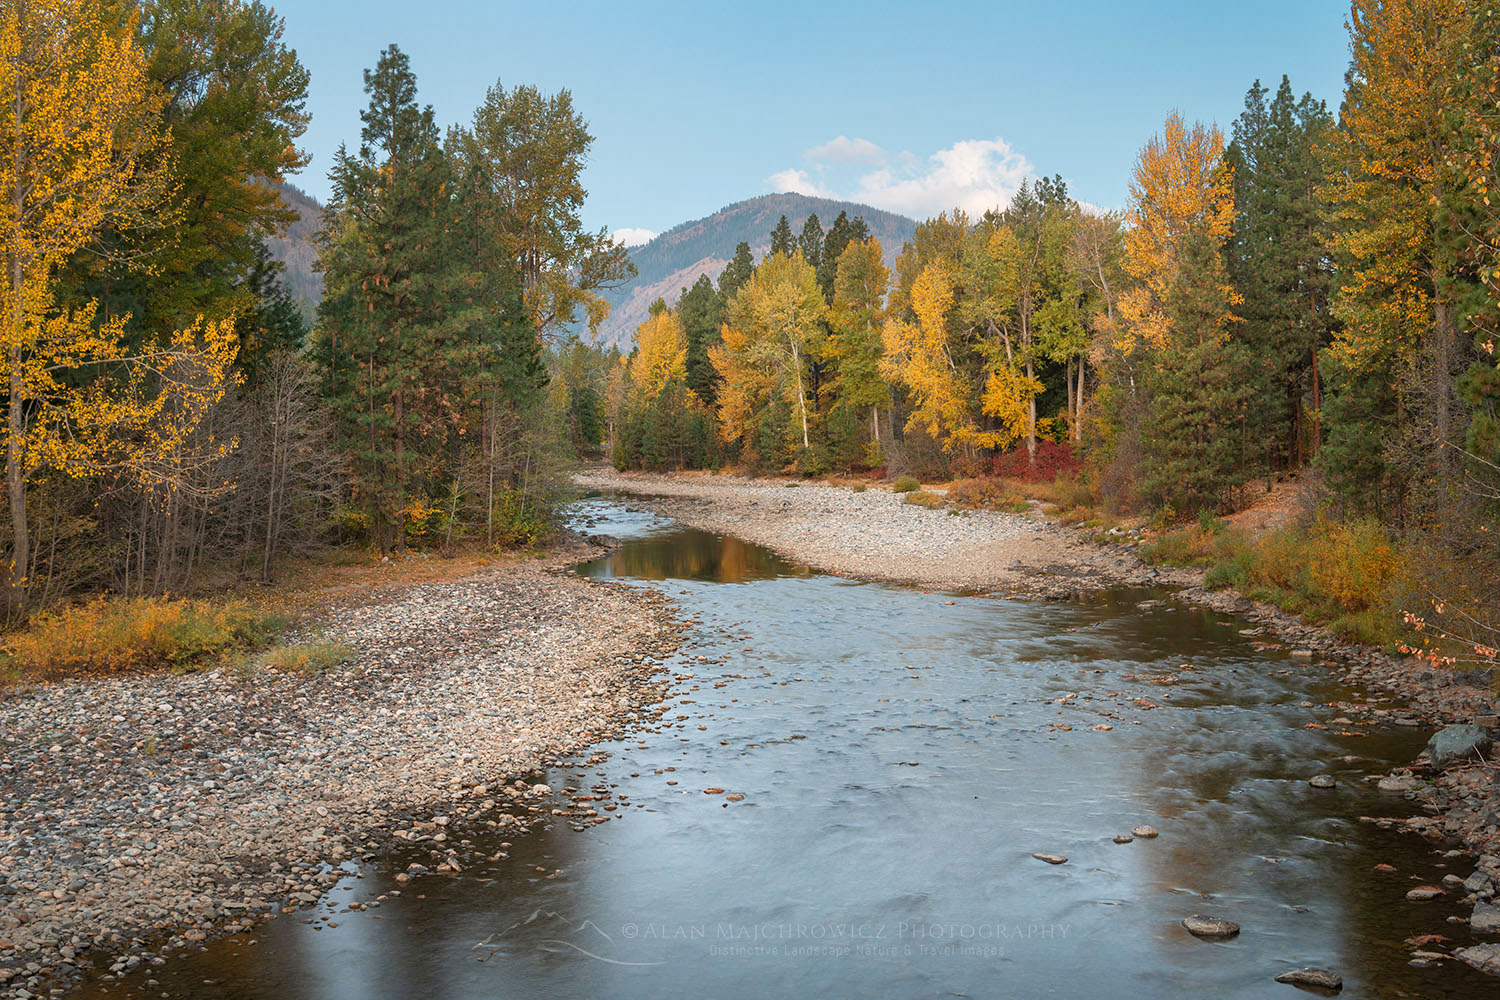
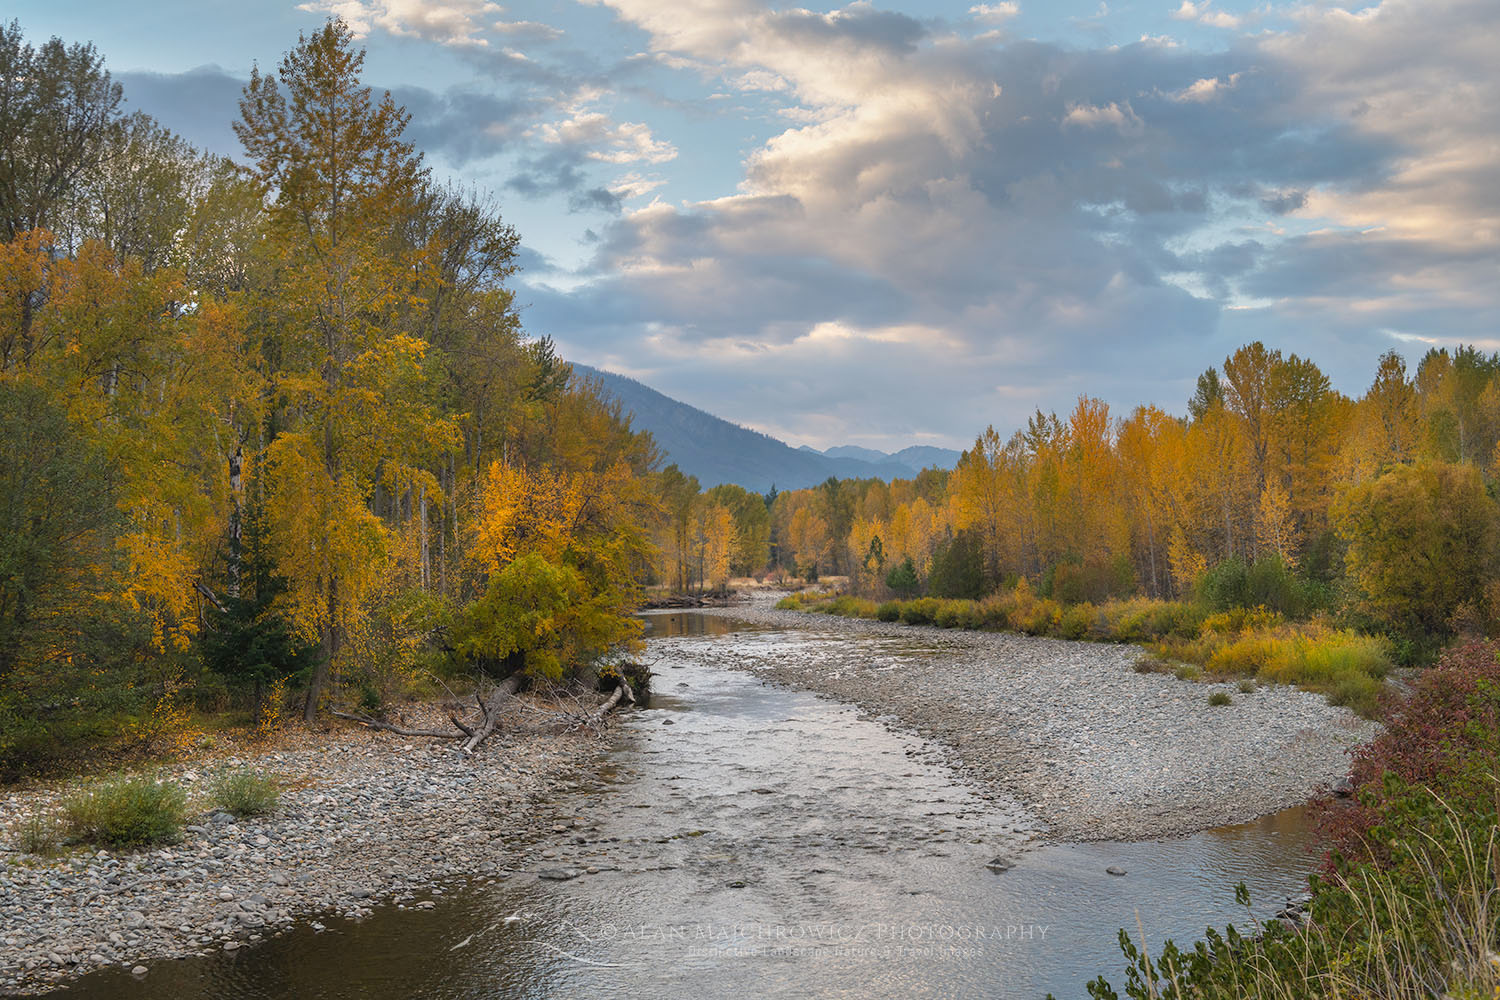
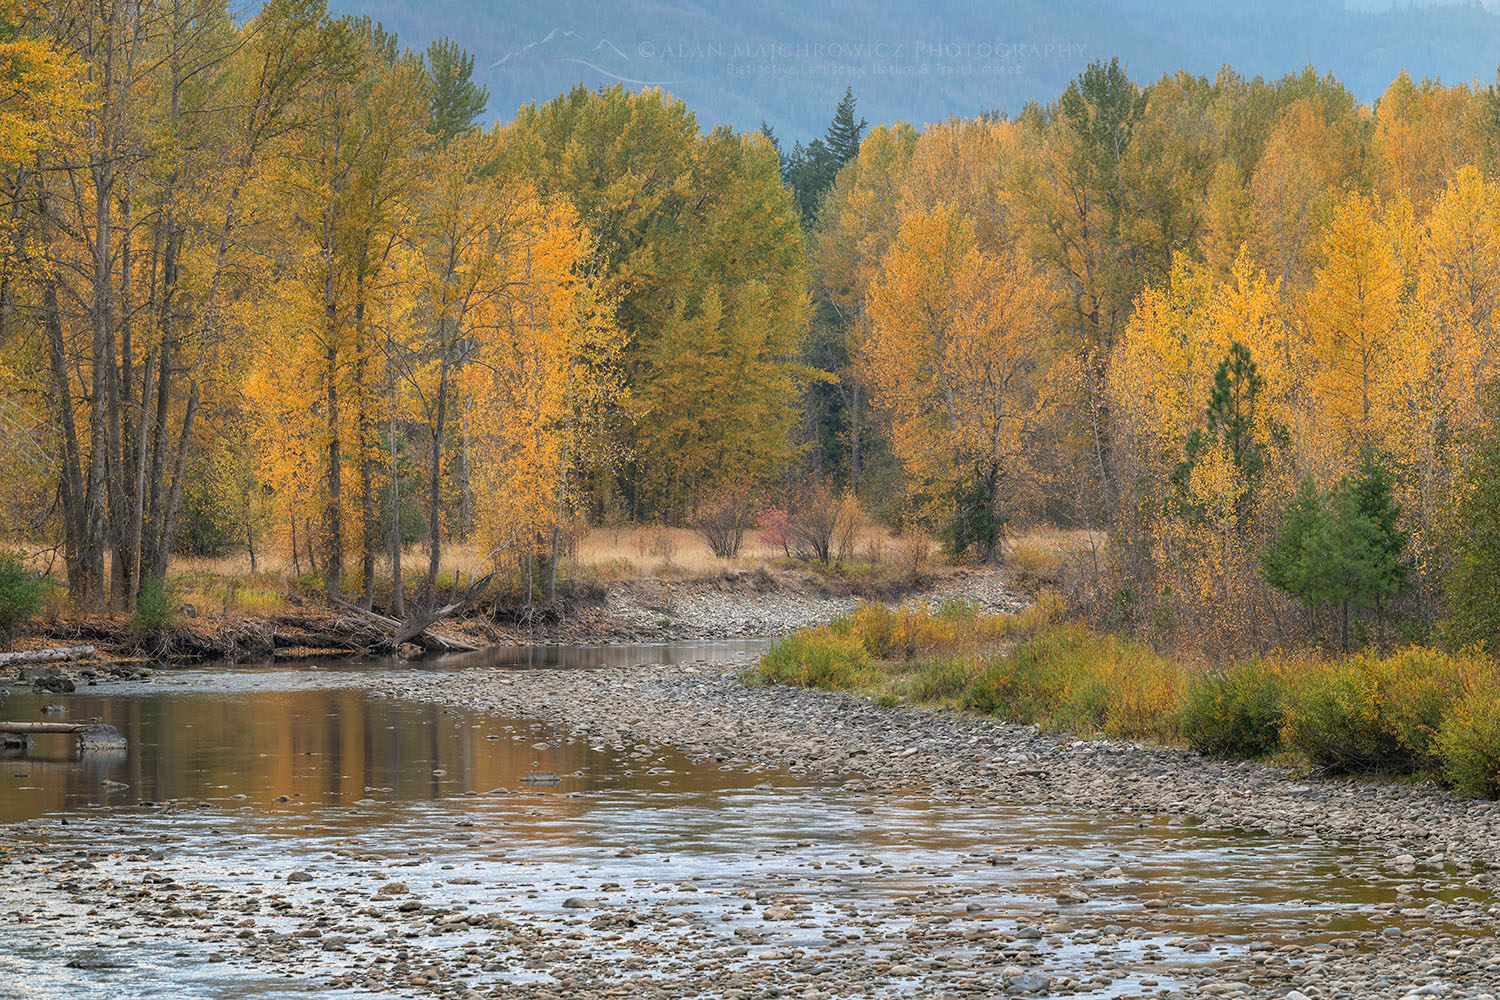
Fall foliage along the Methow River near Mazama WashingtonMethow River near Mazama #78724  

Methow River along Lost River Road

On this trip, my focus was mainly on the Methow River in the vicinity of the small hamlet of Mazama. And of course, the obligatory stop at Washington Pass was also part of the itinerary. For photographers, there are several good spots to photograph far color along the river.

The first spot is from the bridge on Lost River Road between Highway 20 and Mazama. From the bridge, there is a nice curve to the river to give a bit of movement in compositions. Although there are nice compositions along the riverbed one must be careful to observe private property in the area. It’s really not too clear if property lines here include gravel bars along the river.

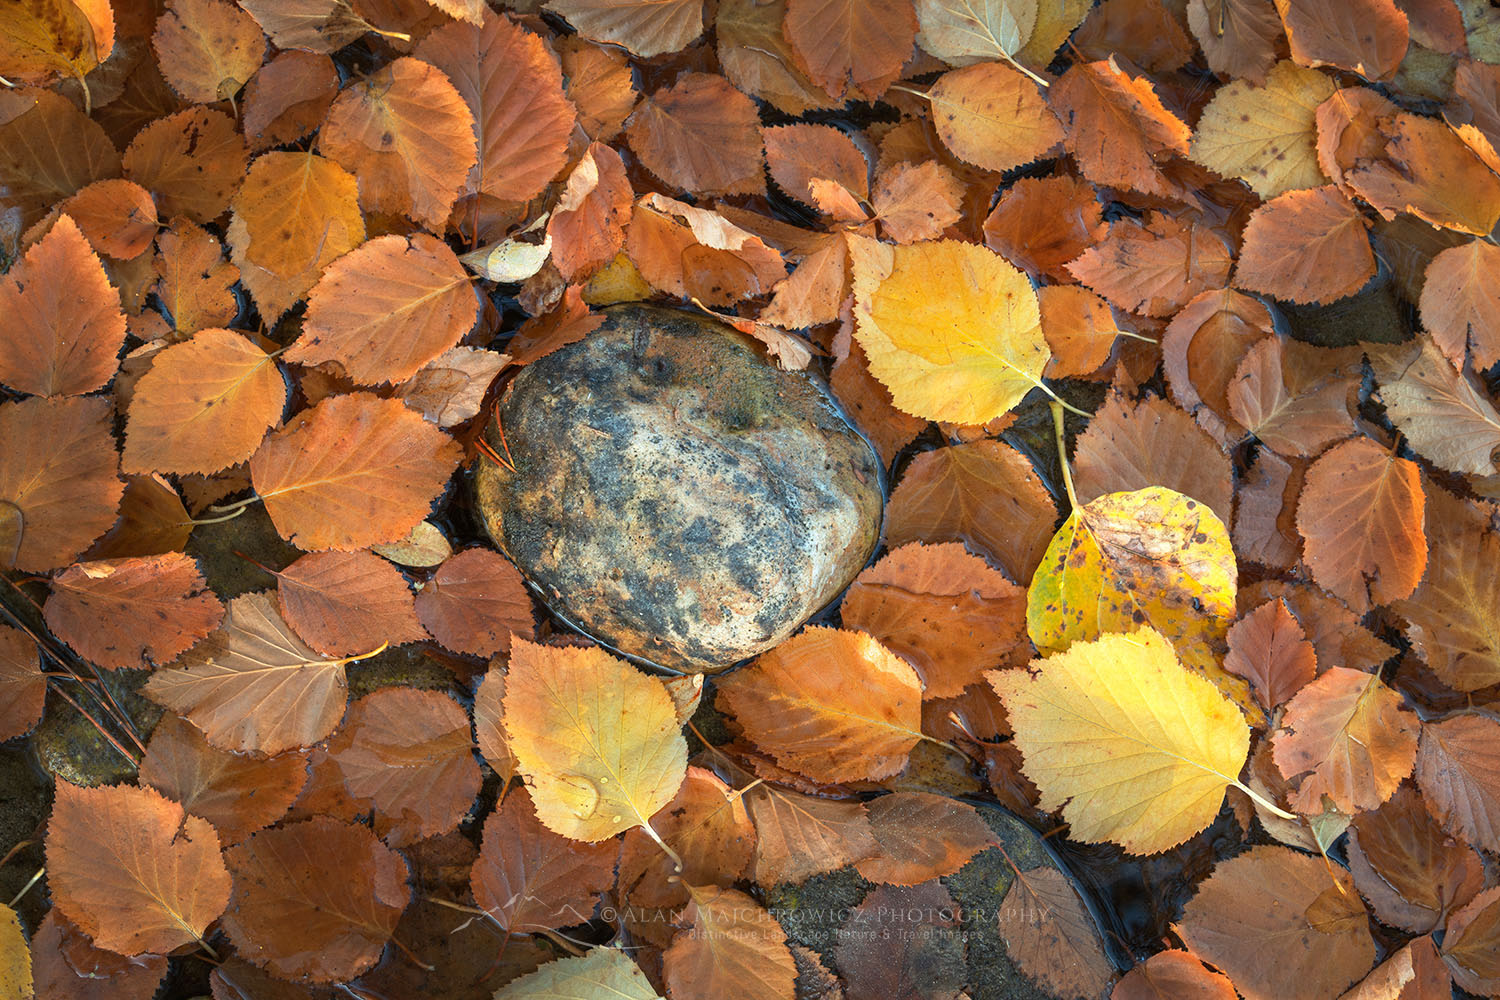
Fallen leaves along the Methow River WashingtonFallen leaves along Methow River #78829  

Following Lost River Road northwest towards the upper Methow River and Hart’s Pass, there are a few more photo opportunities. There are plenty of colorful aspens and cottonwoods along the river here. Although in a dry year in the fall the river can often disappear under gravel bars in this vicinity. Further on the road enters national forest land and gives access to a number of outstanding backcountry trails.

After the road becomes gravel the forest is mostly coniferous with only sparse color from deciduous trees. The forest understory here has a sprinkling of color, but for the most part, isn’t great for foliage photography.

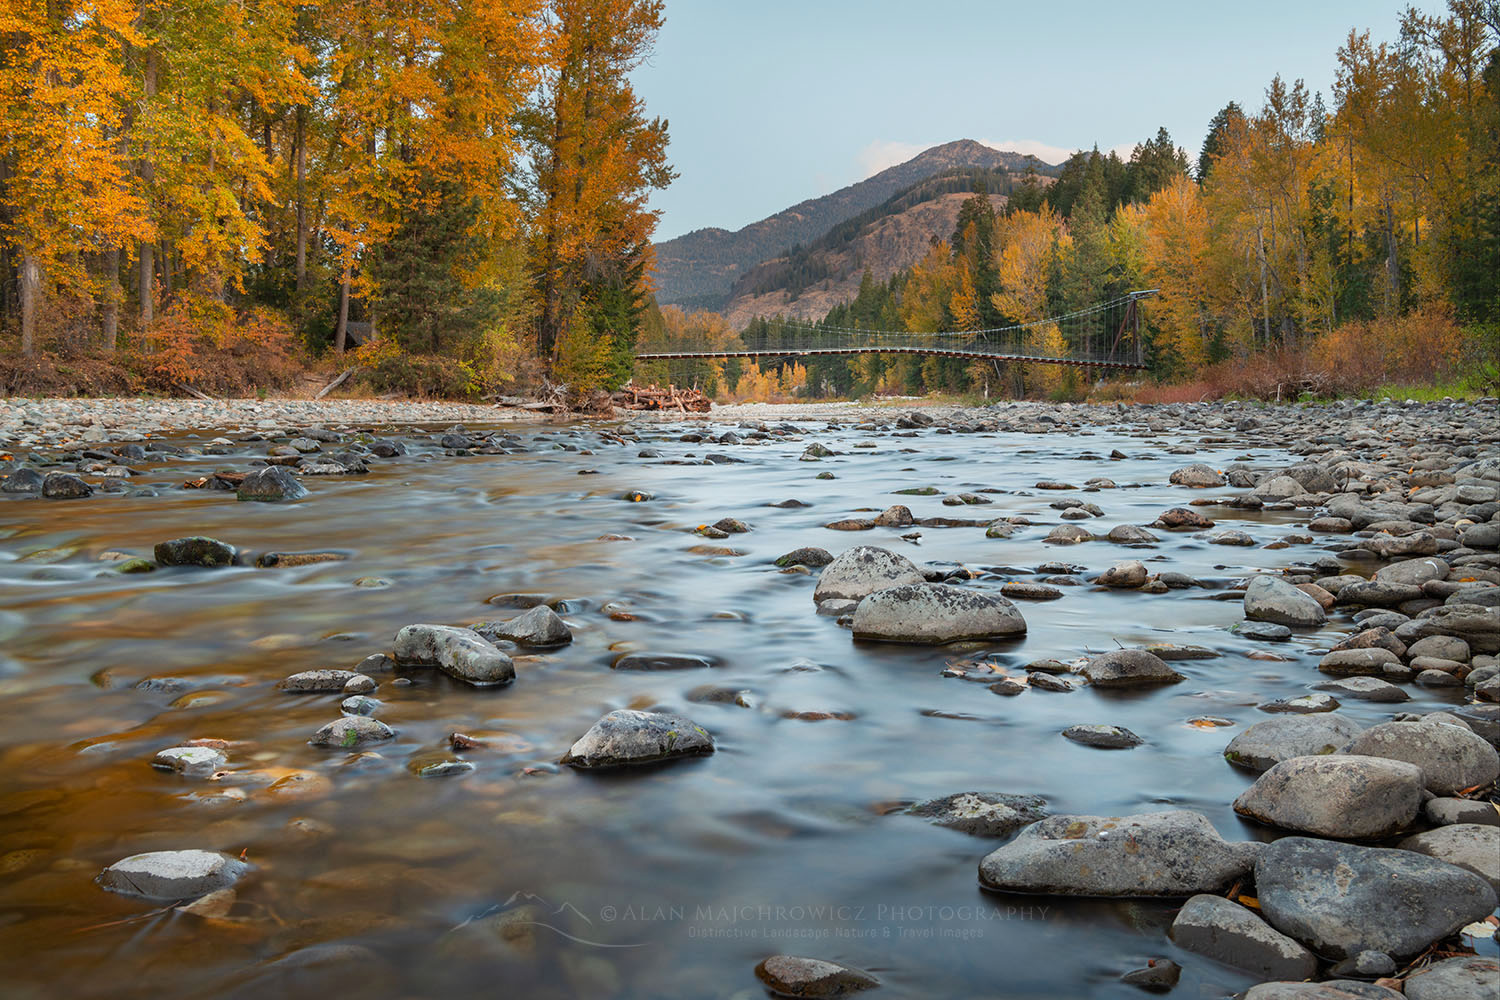
Tawlks-Foster Suspension Bridge and fall foliage along the Methow River near Mazama WashingtonMethow River and Talks-Foster Bridge #78810  

Methow River along Goat Creek Road

In the opposite direction from Mazama, the route to follow is Goat Creek Road.  This short paved road heads southeast toward Winthrop and joins Highway 20 near the Goat Creek Bridge. Along the way are a few more good photo ops, including some nice open fields and a few roadside pullouts.

Tawlks-Foster Suspension Bridge and fall foliage along the Methow River near Mazama WashingtonTalks-Foster Suspension Bridge #78784  

One of the nicest spots to check out is at the Tawlks-Foster Suspension Bridge over the Methow River. This lovely location is accessible by a short half-mile walk on the Methow Community Trail. This trail is also part of the greater winter-summer network of trails in the valley. Off Goat Creek Road there is a small trailhead parking area that you can easily miss if you blink an eye.

Further down Goat Creek Road near its end by Highway 20 is one especially nice pullout along the river. It’s similar to the bridge view at Mazama but there is more color and the view is a bit wider.

Fall foliage along the Methow River near Mazama WashingtonFall Foliage along the Methow River #78789 

Methow Valley Along Highway 20 and Beyond

Along Highway 20 from Early Winters campsites to Winthrop are several good displays of fall color in various settings in forests and meadows. Unfortunately, fall color isn’t uniform throughout the valley. There may be good color in the vicinity of Mazama and little color nearer the town of Winthrop.

Fall foliage along the Methow River near Mazama WashingtonAspens Methow Valley #78753 

Driving south from Winthrop to Twisp and further on to the Columbia River offers more possibilities. And of course, there is also good color up Highway 20 at Loup-Loup Pass. However, those areas will have to be part of a future post.

Cottonwood trees in fall foliage along the Methow River near Mazama WashingtonCottonwood Tree Methow Valley #78830  

If you Go to the Methow Valley

Timing:  Good fall color depends of course on many factors and there are no set days for peak color. However, generally in the valley towards the end of October is best. If Larch season is your goal then the last week of September until around October 10 is usually best. See my post, North Cascades Larch Madness for more info.

Access:  Drive either from the west over North Cascades Highway 20, or from Wenatchee in the south take U.S. Highway 97 north to Pateros then Highway 153-Methow Valley Highway.

*Highway 20 is closed during winter. Depending on fall storms it can close as early as October or as late as December. When planning your trip it’s worth keeping an eye on the weather forecast. It’s a long drive back over the mountains via Stevens Pass if North Cascades Highway suddenly shuts down due to storms.

Lodging:  For those like me who prefer camping there are numerous options. Early Winters Campground on Highway 20 is the most accessible. There are also two National Forest campgrounds on Lost River Road, plus primitive random camping in Okanogan National Forest.

There are plenty of motel and resort options throughout the valley and Winthrop area. Arguably the premier lodging is at Sun Mountain Lodge and Freestone Inn. Part of the winter-summer trail system can also be accessed from your room door at both Sun Mountain Lodge and Freestone Inn.

Helpful Links:
Methow Trails
Okanogan National Forest
Winthrop Washington
Freestone Inn
Sun Mountain Lodge
North Cascades Highway/Cascade Loop Scenic Drive

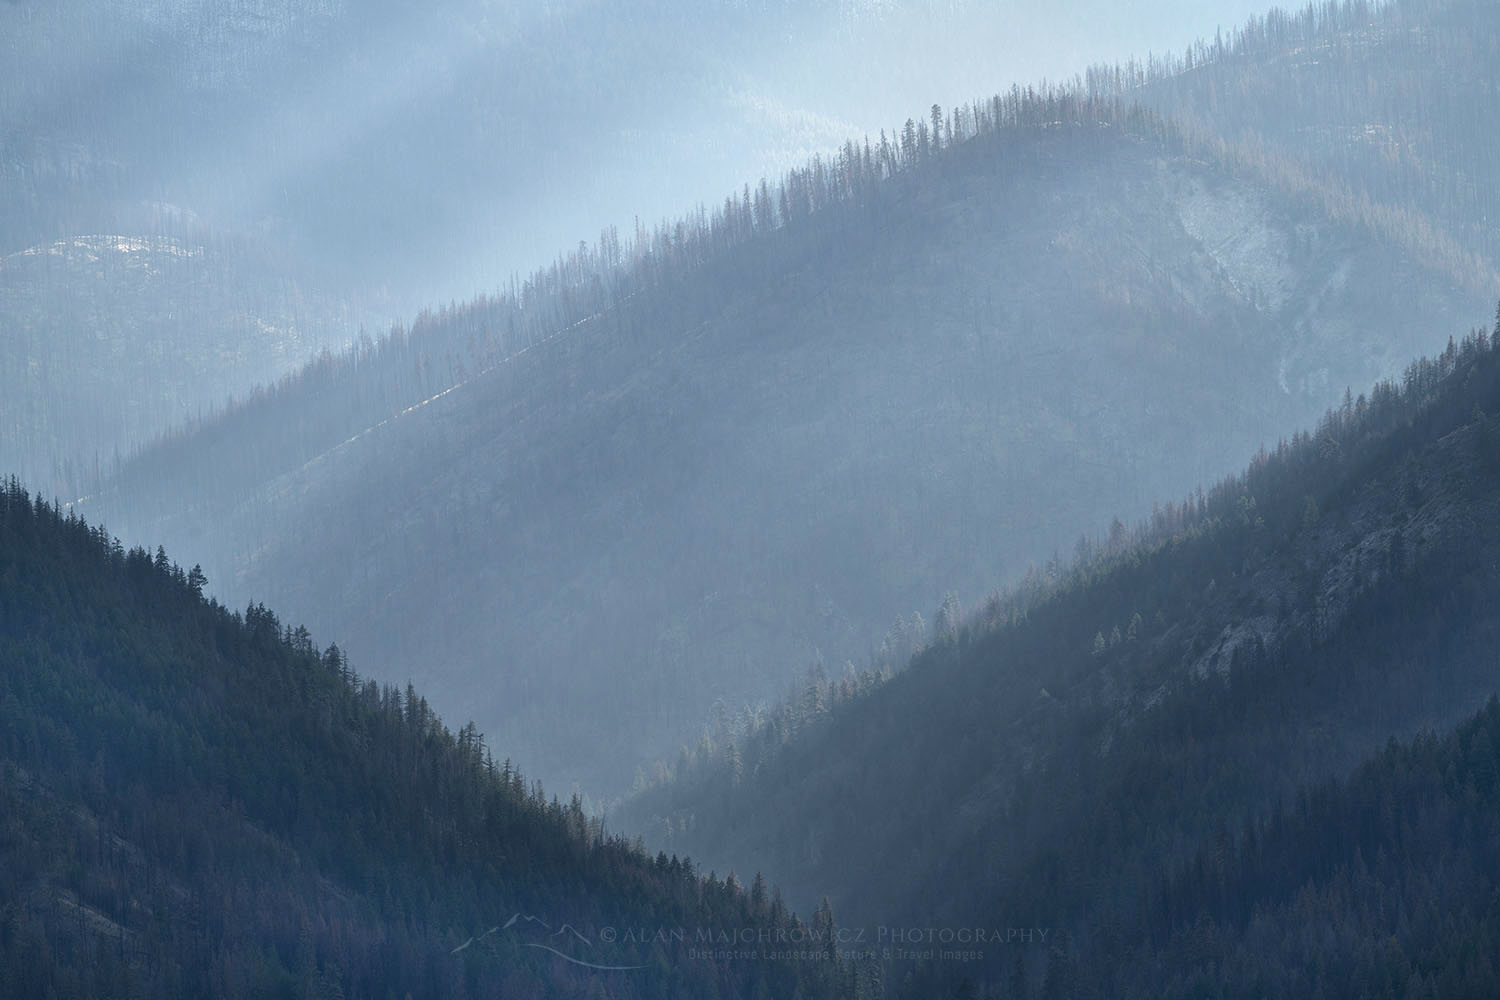
Hazy ridges North CascadesHazy ridges North Cascades #78787  

Photography Gear Tips:

Since this area is mostly accessed by driving or short easy trails I would recommend bringing everything you have. My personal kit includes the following and covers most opportunities. Of course, wildlife photographers will want to bring longer telephoto lenses.

Nikon D850
Nikkor Lens:
14-24mm 2.8G ED
24-70mm 2.8E ED
70-200mm 2.8E FL ED
Gitzo 1532 Tripod
Really Right Stuff B-55 Ball Head
B+H Polarizing Filter
Vello FWM-N2 Remote Shutter Release

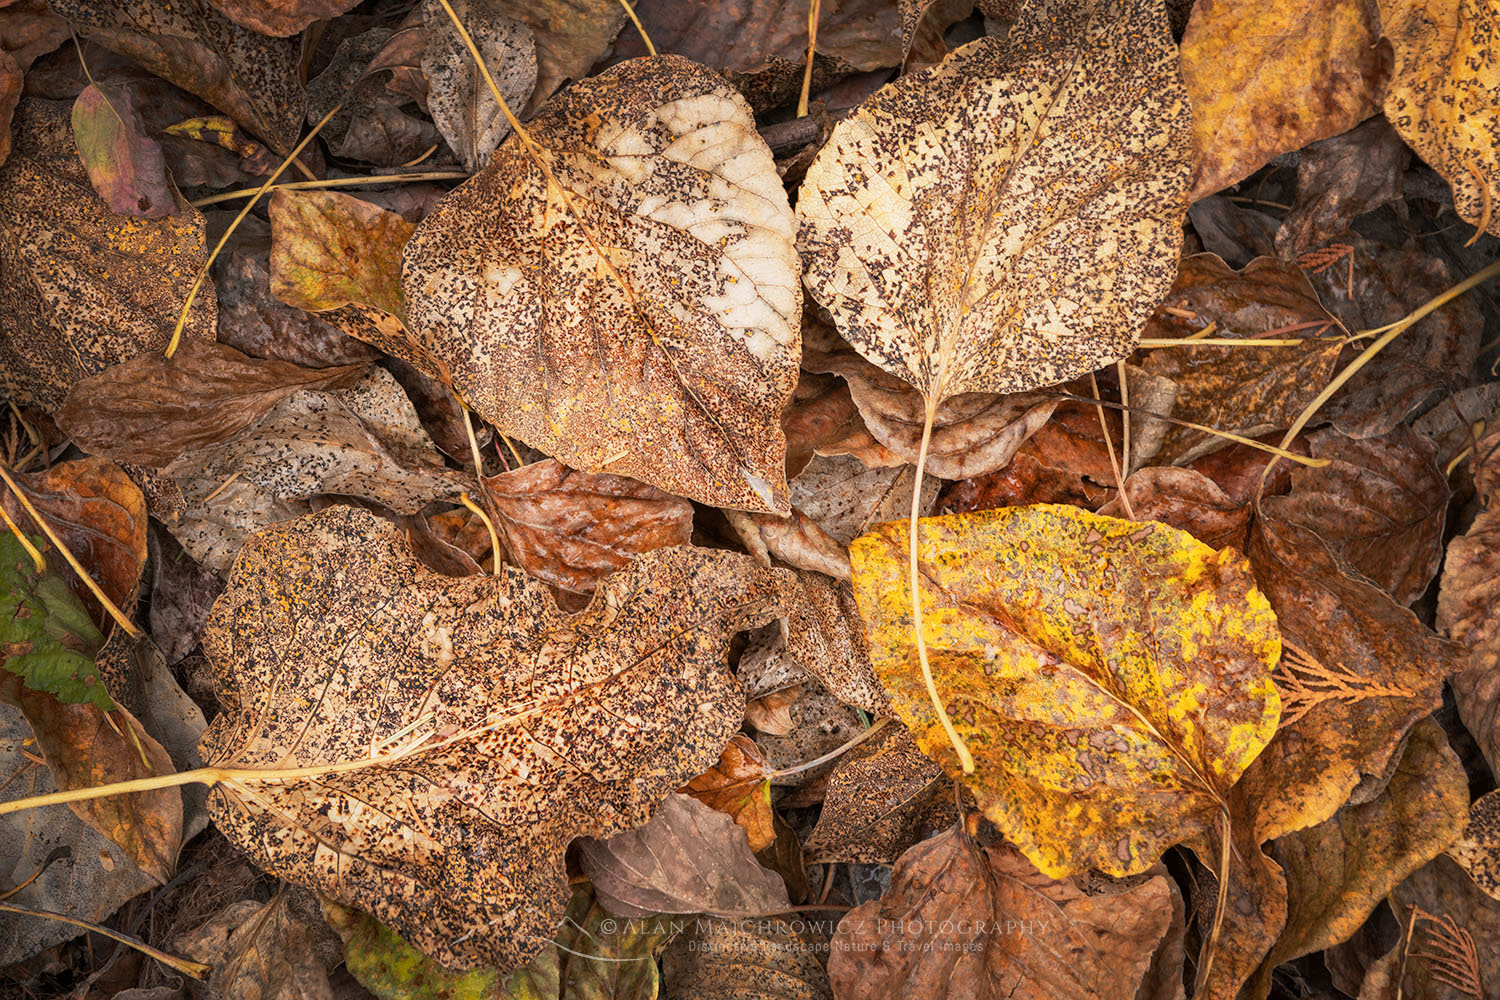
Fallen Cottonwood leaves in the Methow Valley WashingtonFallen leaves Methow Valley #78718  

Leave No Trace

Please follow the guidelines of Leave No Trace (LNT). The Methow Valley and all other natural areas throughout the world are under incredible pressure from growing amounts of visitors. Please do your part to help preserve these precious areas for future generations!

To learn more about the principles and practicing LNT please take a few minutes to visit the Leave No Trace Center for Outdoor Ethics. Your children and grandchildren will thank you!

LEAVE NO TRACE SEVEN PRINCIPLES

1. Plan Ahead and Prepare
2. Travel and Camp on Durable Surfaces
3. Dispose of Waste Properly
4. Leave What You Find
5. Minimize Campfire Impacts
6. Respect Wildlife
7. Be Considerate of Other Visitors
© Leave No Trace: www.LNT.org

*Also, be respectful of private property. Many of the locations in this post are adjacent to private property. The Methow Valley Trail system often crosses private property boundaries and exists due to the blessing of local property owners. 

Fall foliage along the Methow River near Mazama WashingtonFall foliage along the Methow River #78802 

If you enjoyed reading Methow Valley Fall Foliage please share it with your friends and family. 

Photos appearing in Methow Valley Fall Foliage are available for Commercial Licensing and Fine Art Prints. Click on any image to purchase, or contact me for more info!

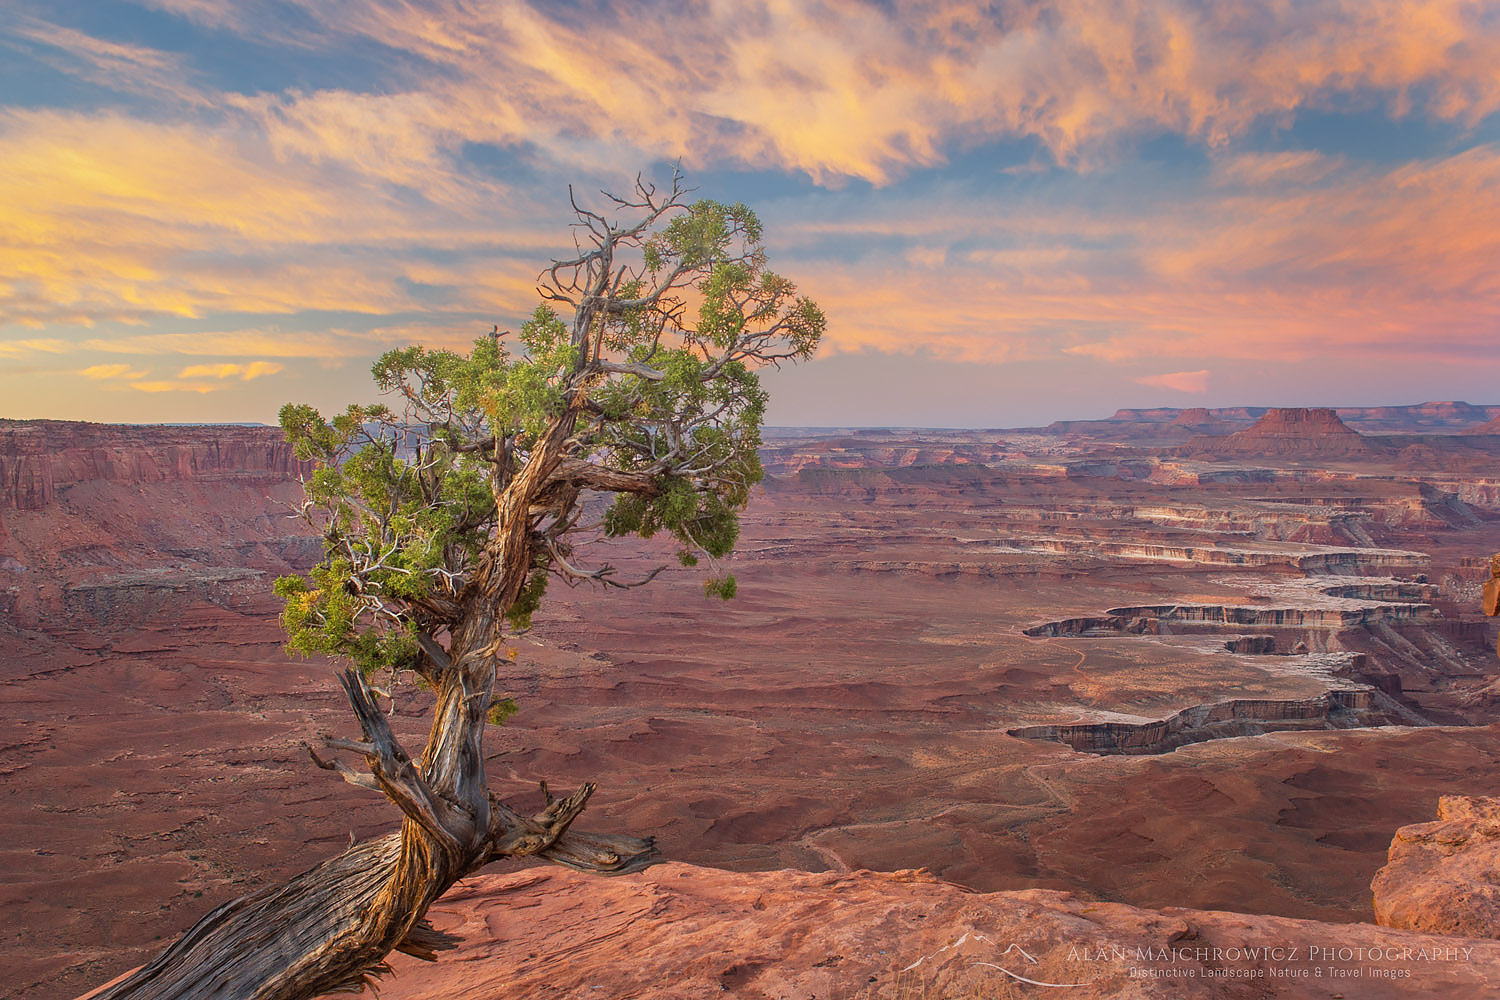
Weathered and twisted Juniper tree (Juniperus osteosperma) at dawn on rim Green River Overlook, Canyonlands National Park Utah

Fall Southwest Photography Tour 2021

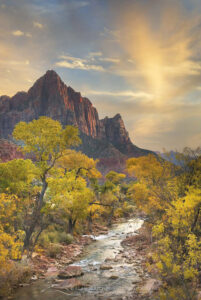
Autumn along the Virgin River, The Watchman in the distance, Zion National Park Utah Fall Southwest Photography TourVirgin River Zion National Park #09187   Purchase

Fall is here and the air is finally free of wildfire smoke! So after delaying several summer photo trips we’re excited to get back on the road for a lengthy photo tour. This year the bulk of the trip will be to locations in Red Rock Canyon Country and the National Parks of Southern Utah. Listed below are some of the locations on the itinerary, generally in order from beginning to end.

If you have any locations or subject matter which interests you in, and we can include them in our itinerary, let us know. Also let us know if you will be in any of these areas in October, it would be great to meet up with you!

  • Craters of the Moon National Monument
  • Grand Teton National Park
  • Flaming Gorge
  • Dinosaur National Monument
  • Arches National Park
  • Canyonlands National Park
  • Cedar Mesa/Bears Ears Wilderness, Anasazi Ruins
  • Capitol Reef National Park
  • Grand Staircase-Escalante National Monument, slot canyons, and arches
  • Bryce Canyon National Park
  • Zion National Park
  • Great Basin National Park

*This is an ambitious trip so some locations may be omitted due to time and weather considerations.

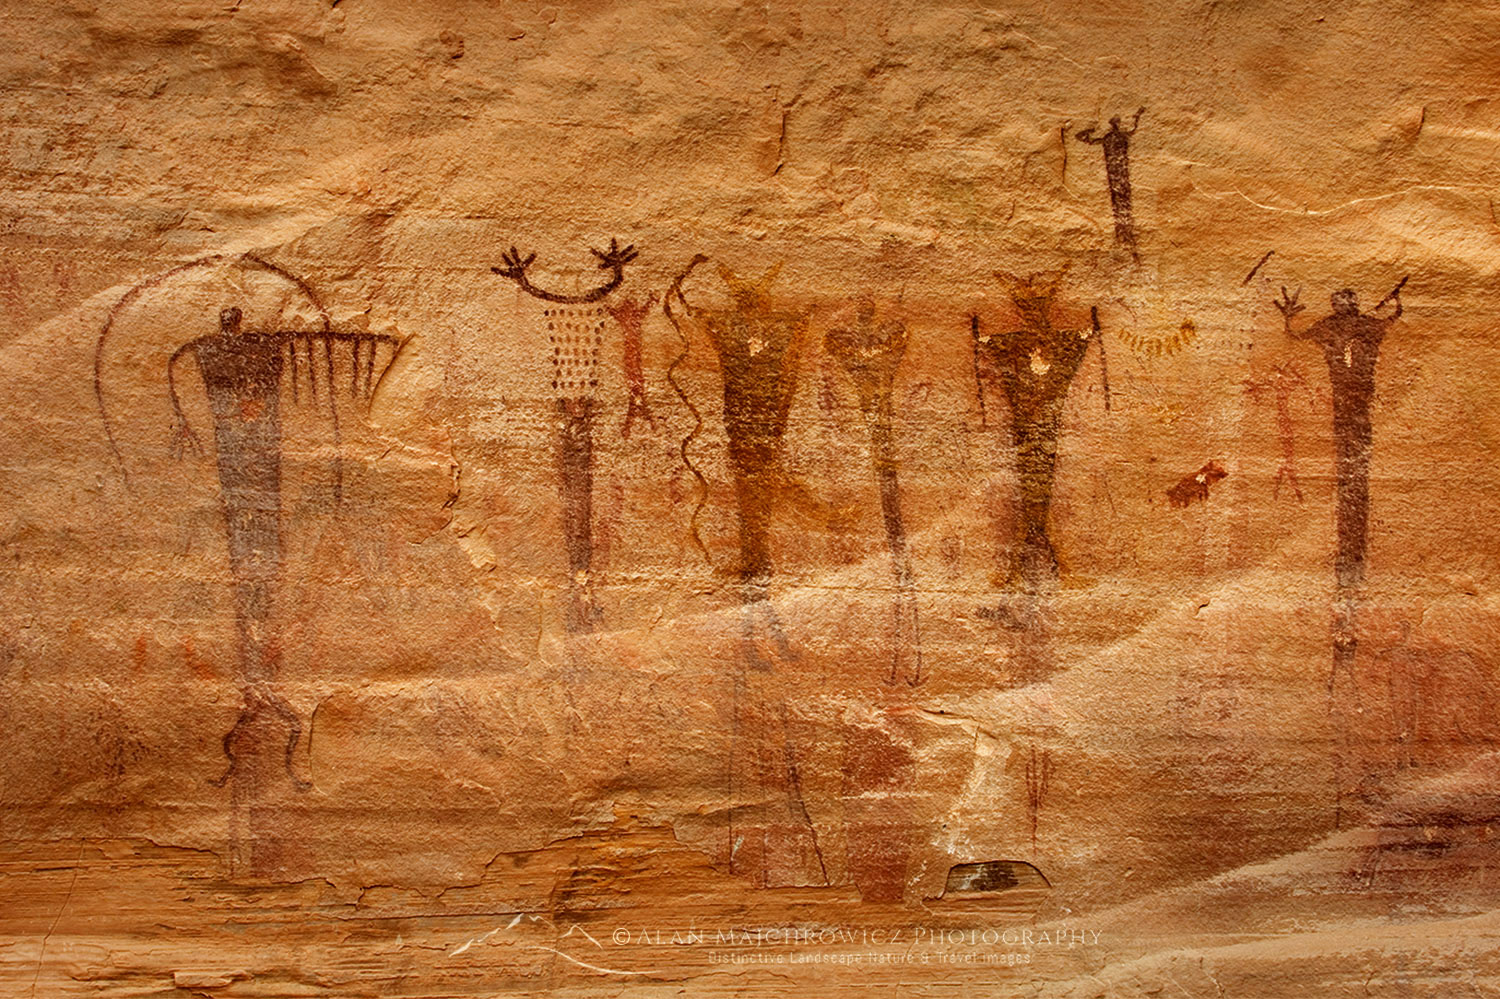
Buckhorn Wash barrier style pictographs, San Rafael Swell Utah Fall Southwest Photography TourBuckhorn Wash Pictographs, San Rafael Swell Utah #42086  Purchase

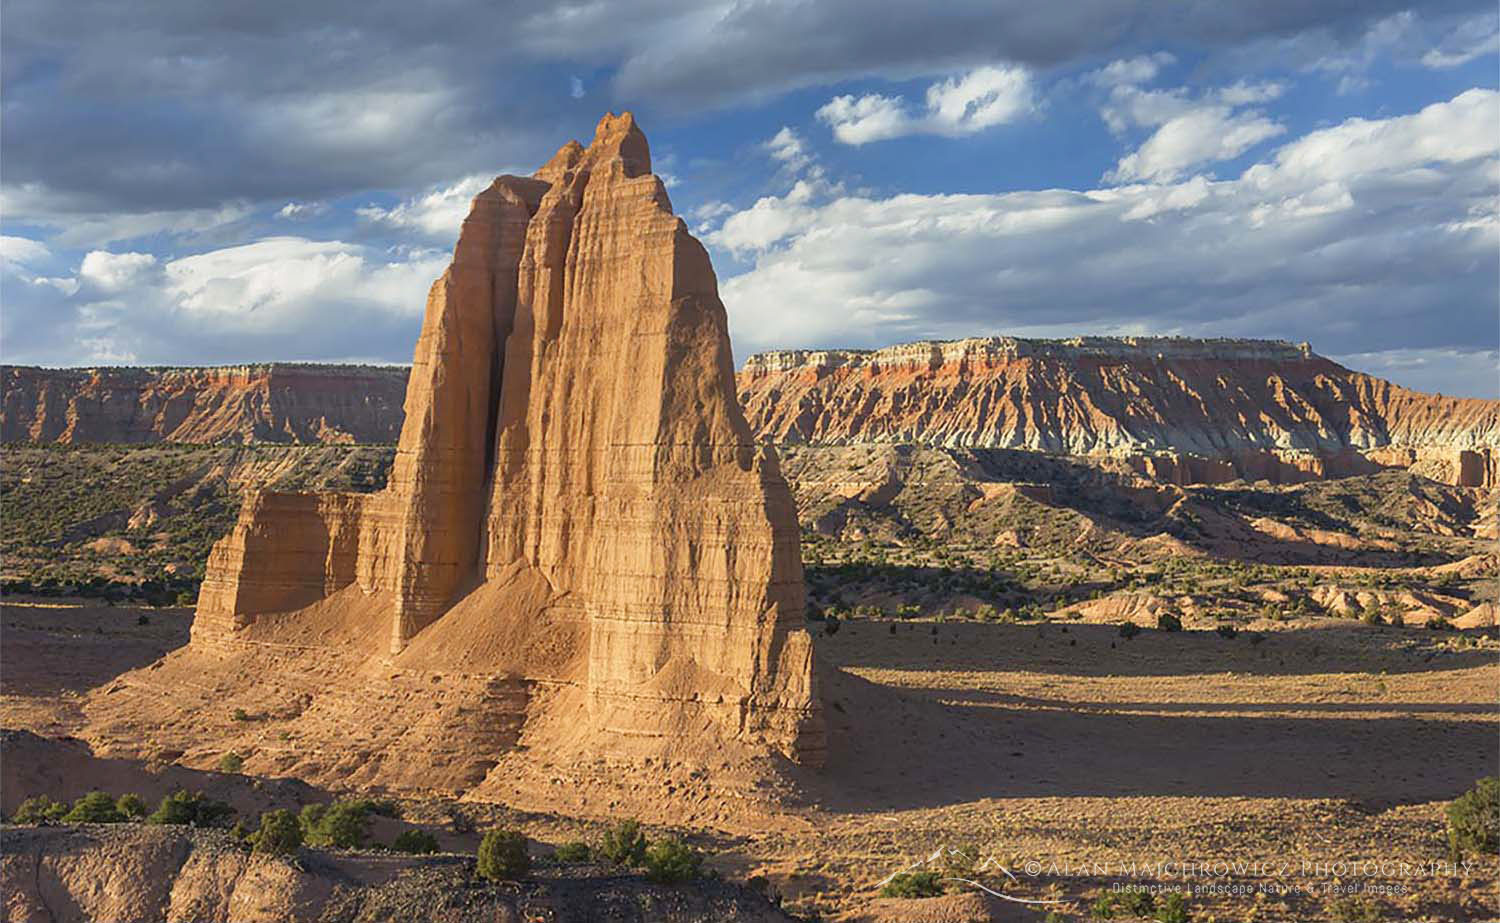
Sandstone Monoliths of the Upper Cathedral Valley in evening light, Capitol Reef National Park UtahCapitol Reef National Park #2901  Purchase

Weathered and twisted Juniper tree (Juniperus osteosperma) at dawn on rim Green River Overlook, Canyonlands National Park UtahCanyonlands National Park  #27457  Purchase

Want to learn more, or have a professional photographer guide you in the field? Then take your Creative Photography to the next level with  Private Instruction and Guided Photo Tours.

All photos appearing in Fall Southwest Photography Tour 2021 are available for Commercial Licensing and Fine Art Prints. Click on any image to purchase, or contact me for more info!

Backpacker Bugaboo Provincial Park

Backpacking Photography Gear Tips

Backpacking Photography Gear Tips

Backpacker Bugaboo Provincial Park Backpacking Photography Gear TipsBugaboo Provincial Park British Columbia 

For most people bringing back photos from a backpacking trip is essential. Who doesn’t want to share their adventure with friends and family on the social media beast?

The big question is what is the end use for those photos, and what photo gear should you take to meet that end? Ask 100 photographers that question and you’ll get 100 different answers. And there really are no wrong answers here.

For the purpose of this post, I’ll focus on backpacking photography gear tips for photographers that may be in the advanced amateur to aspiring pro levels.

Mount Baker Wilderness campsite North Cascades Washington Backpacking Photography Gear TipsMount Baker Wilderness North Cascades

It’s All About Weight

Get used to it, if you’re into serious photography while backpacking your pack will be heavy, period.

Only you can determine how much weight you can comfortably carry and for how far. There are endless variables that determine what you should or shouldn’t bring, such as photography goals, trip length, elevation gain, trail or off-trail routes, and seasons, to name a few.

Basically though, carrying too much weight can turn your trip into a grueling muscle cramping ordeal. And at the end of the day, you won’t have any energy left for photography. Believe me, I know what I’m talking about here. For 20 years I lugged around a 4×5 film camera with four lenses, 18 film holders, a film-changing tent, extra film, a light meter, a tripod, filters, etc. All this photo gear alone was well over 35 pounds.

So here are my gear tips for helping to make your backpacking photography trip more successful and enjoyable.

Disclaimer: The following tips are offered from my personal experience and preferences after many years of backpacking photography. What works for me may not work for you.

Backcountry camp North Cascades National ParkBackcountry camp North Cascades National Park

Photo Gear

There isn’t much you can do here for weight savings. You can’t shave off pieces of your camera or lens to cut down on weight. And this isn’t the category for scrimping on quality to save weight. My choice of photo gear may be on the heavy side, but it ensures high-quality results.

  • Camera:

    One camera body. The best you can afford. It doesn’t matter if it’s digital or film or, which brand, as long you can change lenses. Make sure it has a high-quality sensor with enough megapixels sufficient for your end-use. A 20-megapixel body may be good enough for social media sharing, but not probably for making large-format fine art prints.

    Pro Tip:   Pro or Prosumer level cameras are much more rugged, and have better weather seals than consumer-level cameras. Something to consider if you regularly visit dusty, and or rainy environments, or are hard on your gear.

My Gear:
Nikon D850 Yes, it’s heavy, but it’s well-built with all the features I need and more. Its 45.7-megapixel sensor is outstanding for night sky photography and mural-size prints.
Really Right Stuff L Plate Used for quick release in conjunction with Really Right Stuff Tripod Ballhead.

Alice Lake camp Sawtooth MountainsIlluminated tent, Sawtooth Mountains Idaho

  • Lenses:

    Wide or ultra-wide to short telephoto lenses will cover most situations. Again, go with the highest quality you can afford. It would be ideal to bring just one zoom lens with a focal length of 20-200mm. However, the quality of such a lens may not be optimum.

    Many photographers will swear by the quality of prime lenses, but for our purpose bringing an armload of them isn’t practical. One wide-angle zoom lens, plus a normal to short telephoto zoom lens would be a good option.

    Pro Tip:  High-quality lenses are always more important than the camera body. The most expensive camera or post-processing editing app can’t make up for an inferior-quality lens.

My Gear: 
Nikon 14-24mm 2.8 This lens is considered by many landscape photographers to be the gold standard of wide-angle zooms. I can attest that it is extremely sharp, and has minimal distortion and chromatic aberration.
Nikon 24-70mm 2.8E ED VR  There are arguably smaller, lighter-weight, and cheaper lenses in this focal length. But for me, this lens has proven its worth many times over. It’s tack sharp, and the VR feature is outstanding for handheld work.
Nikon 70-200mm 2.8E FL ED VR  Again, it’s a heavy and expensive lens, but for me, its high-quality glass and features are worth every ounce.

  • Tripod:

    A tripod is an essential piece of photo gear. Night photography would be impossible without it. So would close-ups of flowers, long exposures of flowing water, and techniques such as focus stacking.

A tripod is also one item where you may be able to get away with choosing a lighter-weight model. This is especially true if your camera body and lens combination is on the lighter side.

Many manufacturers offer tripods with three or four-section legs. I prefer three, simpler, fewer parts that can fail. Also, make sure your tripod is tall enough for your needs. Carbon fiber tripods are your best option, they’re slightly lighter than metal and very durable. They also won’t freeze your hands in cold weather light metal does.

In recent years ball heads have become the standard, and I find them to be a vast improvement over older-style handles and knobs.

Pro Tip:   Do not opt for an inexpensive poorly-made tripod with plastic components! They are not stable and break very easily. I was once in desperate need of a replacement tripod while on location. All I could purchase was a cheap lightweight model. Even with everything locked down as much as possible, it was like using a wet noodle to support my camera!

My Gear:
Gitzo GT 1532 Mountaineer Series 1
Really Right Stuff BH-55 Ballhead with quick release plate.

Backcountry camp North CascadesMount Baker Wilderness North Cascades

  • Filters:

Polarizing Filter. Probably one of the most indispensable filters to bring along. Just be careful not to overdo the effect of darkening a sky. Also, keep in mind their limited effect when using wide-angle lenses.
Graduated Neutral Density Filters. I still find them extremely useful. But If you’re looking to save weight you could leave these at home, and produce their effect in post-processing. They are not always the best option in certain circumstances. However, when possible I will always prefer to use them to make the best exposure in the field, and not rely on post-processing techniques.

My Gear:
B+H Polarizing Filter
Lee Graduated Neutral Density Filters: Four filters; 1 & 2 Stop soft and hard edge.
Lee SW150 Mark II Filter System, necessary to accommodate Nikon 14-24mm lens

  • Miscellaneous Gear

    Extra Batteries. I always take three fully charged batteries, one in the camera and two extras. On a recent 10-day backpack, I still had about half power left on my last spare. Be aware that mirrorless cameras may consume more battery power.
    Extra Memory Cards. 
    Remote Shutter Release. Weighs next to nothing and helps in reducing camera shake.
    Micro Fiber Cleaning Cloth. Essential for cleaning lenses and filters
    Camera Chest Pack. I find this optional item to be extremely useful. Not only does it give me quick access to my camera while on the trail, but it also has room for small items such as trail snacks and maps.
    My Gear:
    Lowepro Toploader Pro 75 AWII

Backpacker Glacier Peak Wilderness Backpacking Photography Gear TipsBackpacker Glacier Peak Wilderness

Backpacking Gear

Here is where you’ll have the most opportunities for saving weight while on the trail. It’s also where you can spend or save lots of money. Once again how light you go depends on your destination, how long you will be out, and what season you’ll be backpacking in.

Going Ultralight is the catchword of the day, and gear manufacturers are cashing in on it big time. Just be aware that ultra-expensive ultralight gear may not be ultra-durable, especially when the weather turns nasty, and after a few seasons of use.

Absolutely nothing is worse than sitting out wind, rain, and or snow for days at a time in a flimsy leaking tent.

Nearly every tent, backpack, or rain jacket on the market today will perform well in adverse conditions, at least for their first season. What gear reviewers won’t tell you is how well they hold up after a few seasons of use!

  • Backpack

    A high-quality good fitting backpack is one of the most essential pieces of gear you’ll need for a successful and enjoyable backpacking trip.

    Pro Tip:   Forget that fancy expensive photo gear backpack. They are designed foremost to protect your camera and lenses while on the trial, everything else is secondary. You’ll quickly find that out when you’re several miles into a steep climb when that backpack has suddenly turned itself into a medieval torture device.

    Go with a pack specifically designed for backpacking. Use soft items in your pack, like clothes to protect your gear. Visit a reputable outdoor gear store and try on different packs. Speak with a knowledgeable salesperson about what you need, a good one will help choose and fit the ideal pack. Keep in mind that to accommodate all your photo gear you may need a larger pack than you initially think.

    Pro Tip:   Do not buy a backpack from an online retailer until you have already physically checked it out and tried it on! Ideally, borrow a friend’s for a short trip first to see if it works for you.

    My Gear: 
    Osprey Zenith 88 Osprey makes high-quality packs for every type of adventurer. This is the most comfortable pack I’ve ever used.  Its suspension system is much more comfortable for carrying heavier loads than its popular Aether 85. Perfect size for trips over three or four days in length. Although it is a bit on the large size for a weekend trip.

North Cascades backcountry campBackcountry camp North Cascades

  • Shelter

    A good shelter is the next most important piece of backpacking gear.

    If you’re traveling light and fast, and are only concerned about making miles in gorgeous summer weather without any flying insects to bother you, then even a thin nylon tarp will do.

    But it’s a different story when you’re out for a week and the weather turns sour, with mosquitoes, flies, and gnats out in biblical proportions. Then you’ll wish for something a bit more substantial to protect you and your camera gear.

Look for a lightweight tent with a silicone-treated rain fly. I also like a tent with a vestibule large enough to protect items you don’t want inside the tent. Like boots and a dirty backpack.

My Gear:
Big Agnes Copper Spur 2. Super lightweight, easy to pitch, with two doors and large vestibules. This tent also comes in a one-person size, but I like a little more elbow room.

  • Sleeping Bag and Pad

    For years I steered clear of down bags, mainly because  I felt they were a poor option in the rainy Pacific Northwest. However, now I’m an enthusiastic supporter of down. They’re like sleeping enveloped in a warm cloud. And they’re generally much lighter and more compressible than synthetic bags. A high-quality down sleeping bag is not cheap so look at it as an investment. However, with proper care, a well-made bag will last for many years. Feathered Friends and Western Mountaineering make some of the finest bags around.

    Sleeping pads are essential for keeping those roots from poking into your back while sleeping, or for insulation when camped on snow. Options here are either a foam pad or an inflatable. I’ve used Therm-a-Rest pads exclusively for many years. They are incredibly comfortable with adjustable firmness, are lightweight, and compress down very well.

    My Gear:
    Western Mountaineering Badger 
    Therm-a-rest Classic

Backcountry Camp North Cascades National Park Backpacking Photography Gear TipsNorth Cascades National Park

  • Stove

    Another essential item for any overnight trip. The days of preparing your meals over an open campfire are long gone. Campfires above timberline are banned just about everywhere, and for many good reasons. Besides, cooking over an open fire takes an long time and is messy and dangerous.

    The two options are liquid white gas (Coleman Fuel) and butane mix canisters. Canister stoves are all the rage right now and some are much better than others.  The biggest drawback with canister stoves is that they lose their power output in colder weather. You’ll need to keep the canisters warm for maximum performance.

    Liquid fuel stoves perform well at any temperature and do so to the last drop of fuel. For this reason, they are the better option for winter trips. They weigh only slightly more than canister stoves, and there are no empty canisters to dispose of. However, canisters can be recycled in some areas if prepared properly. Check with your local recycling facility for regulations.

    My Gear:
    MSR Reactor I recently switched from my trusty MSR XGK stove to the reactor, and so far I have been very pleased. This stove system with fuel canisters is lighter weight, and it boils water very quickly. However, one drawback is that in cold weather it is necessary to keep fuel canisters warm. Ideally, you can accomplish this by keeping them in your sleeping bag at night.

Titcomb Basin backcountry campWind River Range

  • Footwear

    Proper footwear is only second to a good backpack for comfort on the trail. There is a strong debate on leather boots vs lightweight trail runners. For years I’ve sworn by stiff leather boots with lugged soles. But on recent trips, I’ve gone with lighter-weight boots, and will probably move more toward trail runners shortly.

    Pro Tip:  Be aware that if you’re backpacking in the mountains early in the season lightweight shoes may not be the best option. Hiking in snow for only a few minutes will result in very wet cold feet. On steep snow slopes, you also won’t get much traction, and step-kicking will be very difficult.

  • Other Gear

    Here is a list of other necessary items. They’re all important, but I won’t go into detail about them since it would require a separate article.

    Weather appropriate clothing
    Cookware
    Water bottle or hydration bag
    Water filters or other purification methods
    Food, including trail snacks
    Map
    Headlamp
    Ten Essentials

Limestone Lakes Basin Height of the Rockies Provincial Park British ColumbiaHeight of the Rockies Provincial Park

In Conclusion

This should provide you with enough gear tips to begin planning for your next backpacking photography trip. As I mentioned many times in this article, cutting down on weight is important. But so is your comfort level. This isn’t a contest to see who can have the lightest pack and hike the farthest. So what if you choose a slightly beefier tent, or need to bring another lens? It’s your trip and you can always make adjustments to your preferences in the future.

Now get out there and have fun!

Also, check out these blog posts for hiking and backpacking, and photography destinations:
Mount Baker Wilderness Destinations
Hannegan Peak Ruth Mountain Mount Baker Wilderness
Lake Ann Ptarmigan Ridge Mount Baker Wilderness

Thanks for reading, feel free to share this post with your friends and colleagues! And make sure to check out my next post in this series: Backpacking Photography Tips

Backpacker on Titcomb Basin Trail Wind River Range Wyoming Backpacking Photography Gear TipsTitcomb Basin Wind River Range

If you found reading Backpacking Photography Gear Tips to be  enjoyable and informative please feel free to share it with friends and family

Ever wonder what it’s like photographing landscapes and nature for a living? Check out my blog post:
What is it like to be a Professional Landscape Photographer?

All photos appearing in Backpacking Photography Gear Tips are available for Commercial Licensing and Fine Art Prints

Want to learn more? Take your Creative Photography to the next level with  Private Instruction and Guided Photo Tours.

Backpacking Photography Gear Tips

Oxbow Bend Grand Teton National Park

Grand Teton Photography Locations

Grand Teton Photography Locations

Oxbow Bend Grand Teton National ParkOxbow Bend Grand Teton National Park #67724  Purchase

A photography trip to Grand Teton National Park can be a once-in-a-lifetime experience. It can also be one in a series of return trips to photograph the park in-depth, and in all seasons. Whichever it is for you, photographing this gem in the national park system can be a daunting challenge. This is especially true if it is your first visit to Grand Teton.

As I mentioned in my previous post, Grand Teton National Park Trip Planning, a visit to photograph this or any other national park can be a very rewarding experience. It can also be a disappointing exercise in frustration. Good planning and having enough time available to meet your photography goals increase your chances of success.

Since I’ve already outlined trip planning in my previous post, let’s start talking about locations. Grand Teton is a big park with dozens of great areas to photograph in. However, for this post, I’m going to focus only on some of the more popular front-country road accessed locations. But first.

Grand Teton in clearing stormGrand Teton in Clearing Storm #67405  Purchase

Some Essential Tips To Remember

 Essential Tip #1:   Nearly all photography locations in Grand Teton National Park are best photographed in early morning light and sunrise. Of course, this means you’ll need to accustom yourself to rising very early and setting up on location before dawn. However, most of those same locations are also great for evening and sunset photography. But in Grand Teton sunrise has the edge.

Essential Tip #2:   Scout out your desired locations ahead of time. Leisurely walk around and previsualize compositions in advance. That way when you return in the morning or evening you won’t waste precious time and light scrambling around wondering where the best compositions are.

Essential Tip #3:   Throughout this post, I reiterate the value of photographing during the morning and evening golden hours. However certain lighting conditions can make excellent photography possible during every part of the day. Just because the golden hour is over is no reason to stop photographing. Have an open mind and be creative!

Essential Tip #4:   Be ready to encounter hordes of other photographers nearly everywhere you go.  Plan to arrive and set up in your chosen spot an hour and a half to two hours early. Yes, that means for sunrise photography you’ll be there in position while the stars are still out. Dress warmly, you’ll be standing there for a while! And expect to be elbow to elbow and lock tripod legs with other photographers.

Essential Tip #5:   Be respectful of other photographers and park visitors. For many of them, this literally can be a once-in-a-lifetime trip that they scrimped and saved for. Everybody wants to get that perfect photo from the best spot. But don’t be one of those jerks that pushes and shoves their way into the front. If you arrive late that’s your fault, come back the next day, or better yet get creative and find a new composition nearby. And please be friendly. So many photographers can be reluctant to converse as if they’re going to reveal a special photo secret or technique by talking to their neighbor. Grow up, we’re all here for the same reason, have fun you may make some new friends.

Essential Tip #6:   PLEASE, PLEASE PLEASE, be respectful of the environment! All of our parks and wildlands are being loved and photographed to death. If there are signs prohibiting entry or are roped off for restoration, don’t ignore them, no matter how tempting it may be to get that photo. It also should go without saying, don’t alter the scene by cutting down branches that get in your way. If necessary retouch unwanted objects out in Photoshop. Read more about Outdoor Ethics here.

Essential Tip #7:   Wildlife such as bison, moose, and elk are abundant in Grand Teton National Park. All wildlife from bison and elk to squirrels and birds have difficult lives just trying to survive on a daily basis. Please give them a wide berth and strictly observe park regulations. Never ever, under any circumstances, for any reason, approach wildlife. They can easily be stressed and provoked into attacking. While you’re recuperating in the hospital, park officials will be busy destroying that animal. I’m sure that’s not in your trip plan.

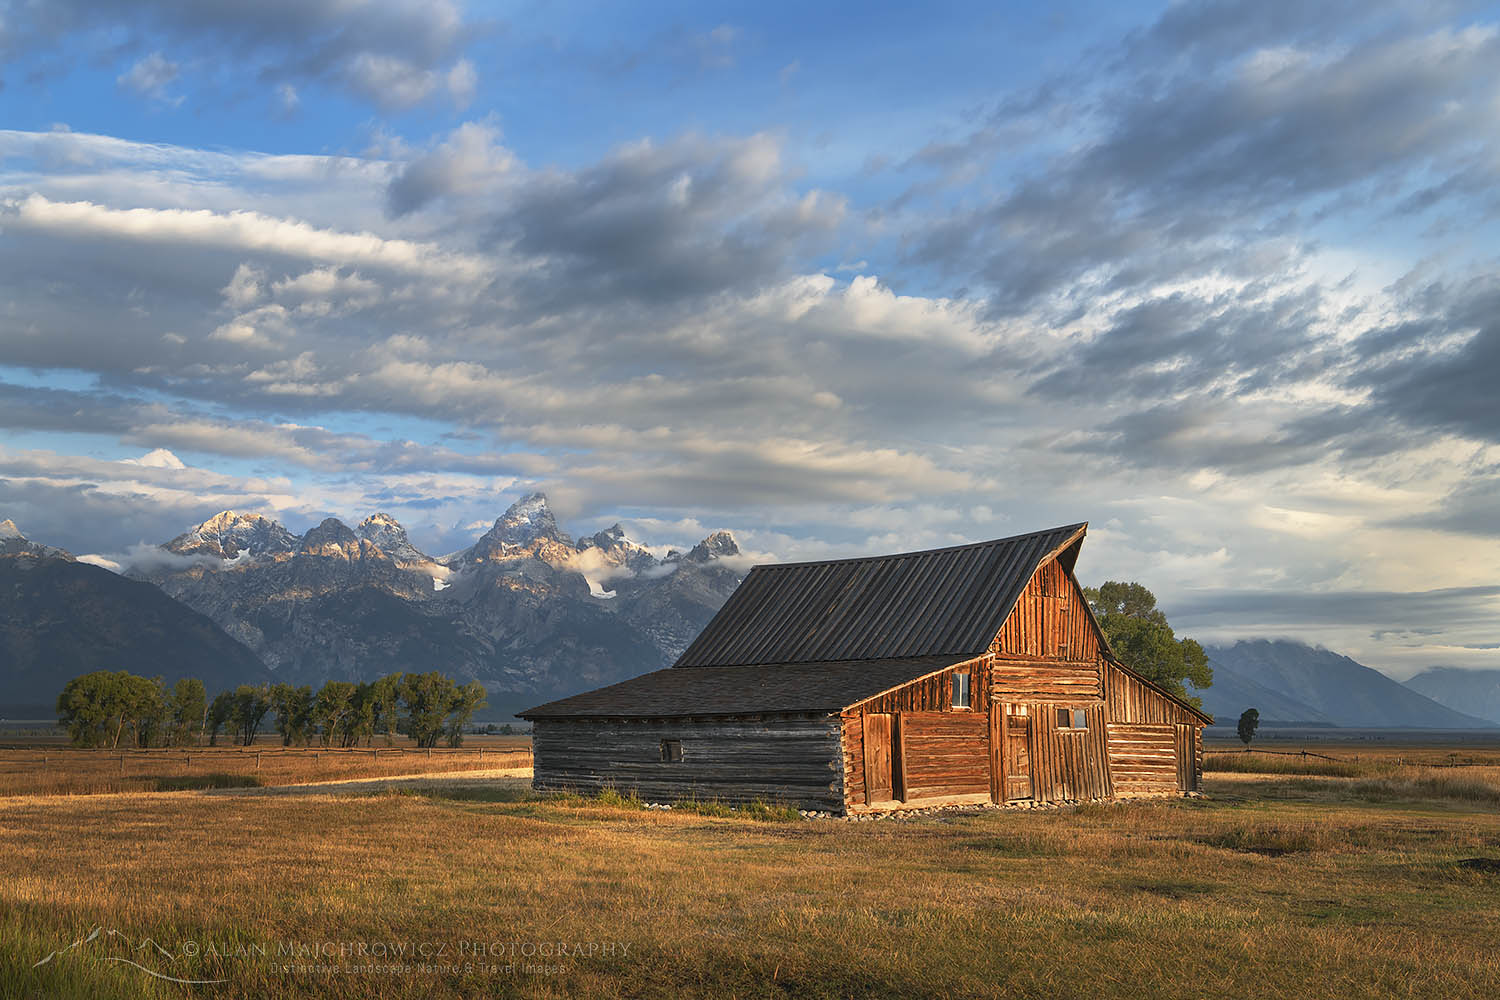
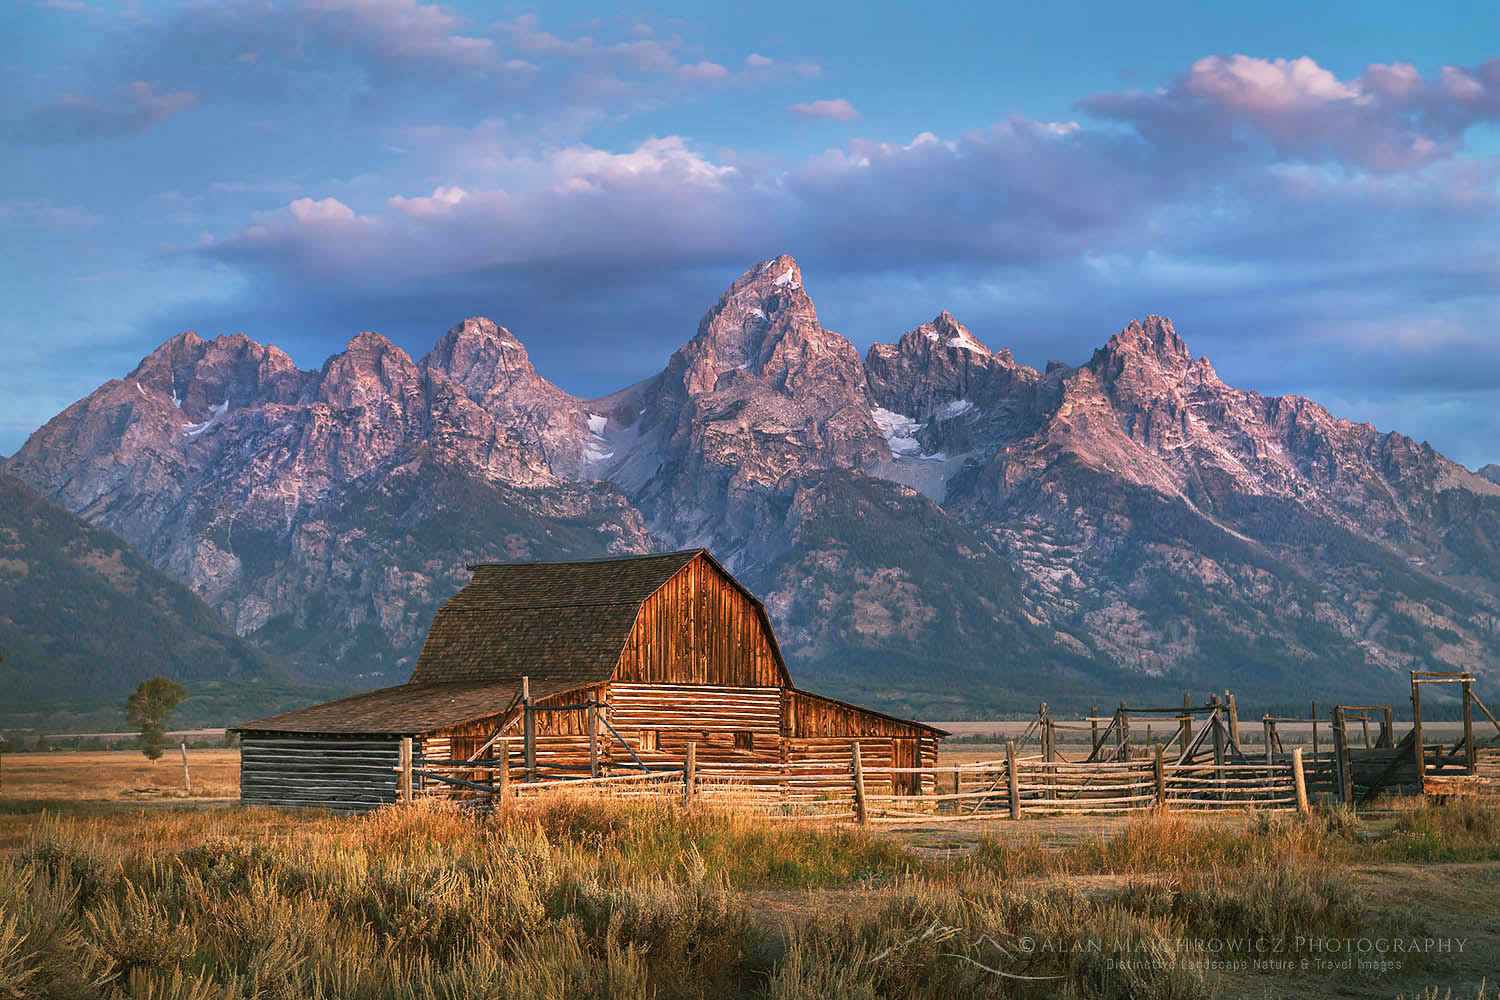
Moulton Barn Grand Teton National ParkT.A. Moulton Barn Grand Teton National Park #67410  Purchase

Mormon Row Barns / Antelope Flats

This is is one of the closest locations to the town of Jackson and offers a variety of photographic opportunities. Historic Mormon Row has several noteworthy structures, but the two iconic Moulton Barns are the biggest attractions here. Both barns are close enough that you can photograph both of them during the same golden hour session. However, if you have time available try for one and return the next day for the other. That way you can avoid rushing and finding another parking in the limited parking areas. This area also has some attractive old cottonwood trees to aid in compositions, which are especially nice in fall color.

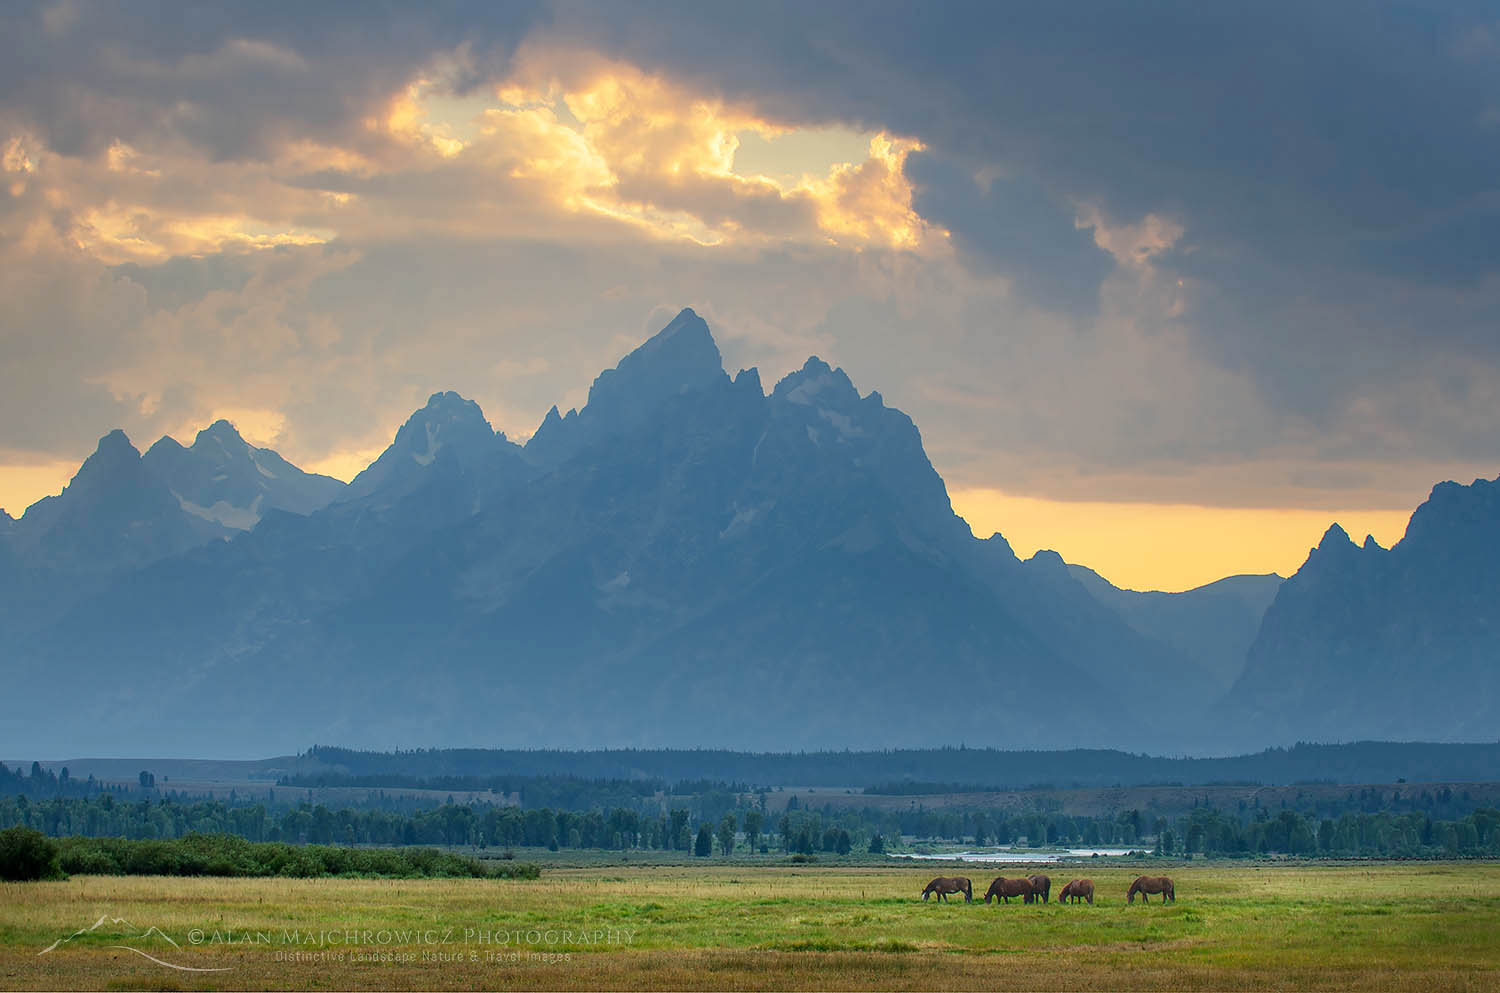
Antelope Flats Wildflowers Grand Teton National Park WyomingAntelope Flats Wildflowers Grand Teton National Park #52085 

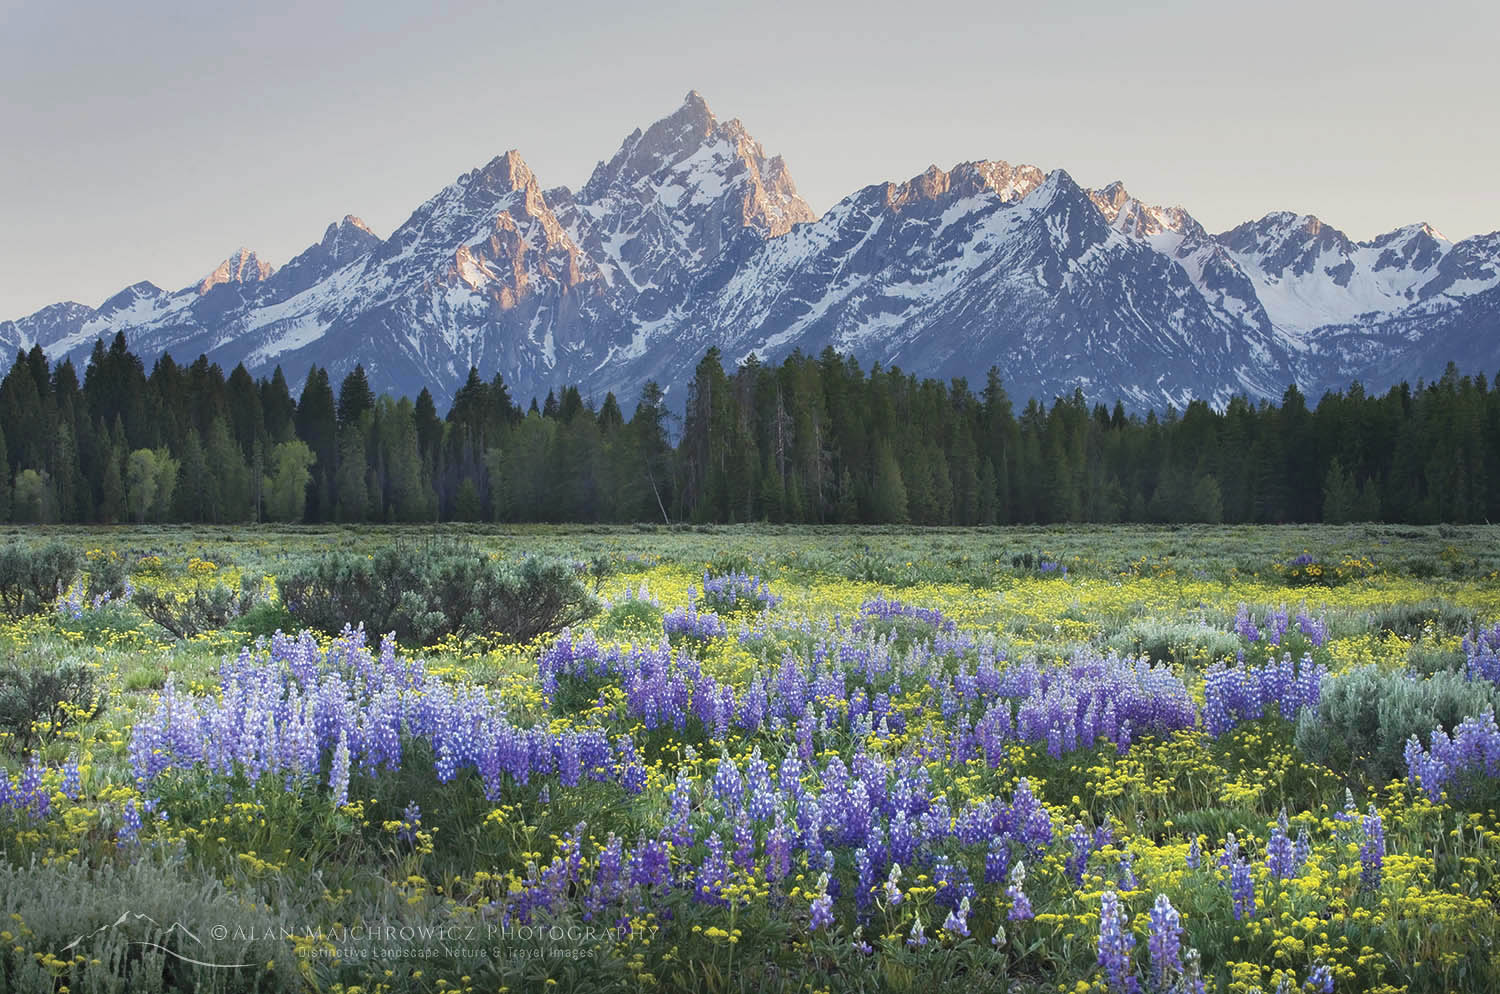
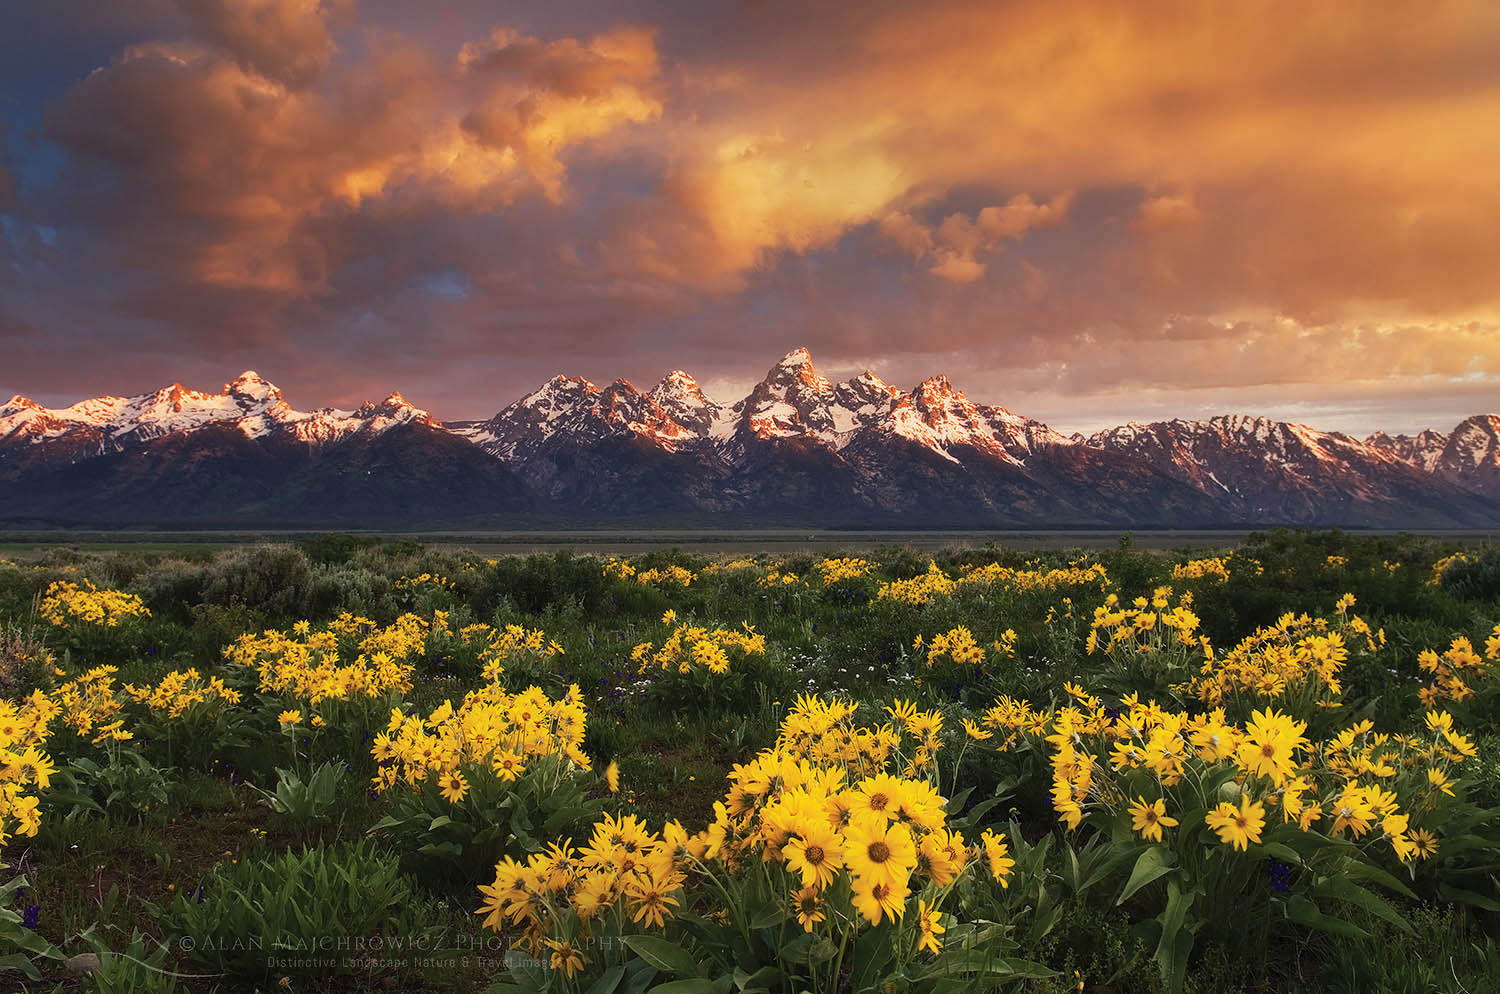
Antelope Flats is a great area to photograph carpets of yellow balsamroot wildflowers in spring. They make a wonderful foreground element to the dramatic snow-covered Teton Range. Some of the best displays are in the vicinity of the Gros Ventre (pronounced “Grow Vaunt”) road. Early June is the best time of the year to photograph balsamroot and lupines in the Teton Valley. Again, you’ll want to thoroughly check out the entire area the day before to find where the best displays are.

Best time of day for photography:  Morning, though excellent in the evening.
Best season for photography: Moron Row spring, summer, fall. Antelope Flats wildflowers, late May-June.

Snake River Overlook Grant Teton National ParkSnake River Overlook #67652  Purchase

Overlooks Along U.S. Highway 191/89

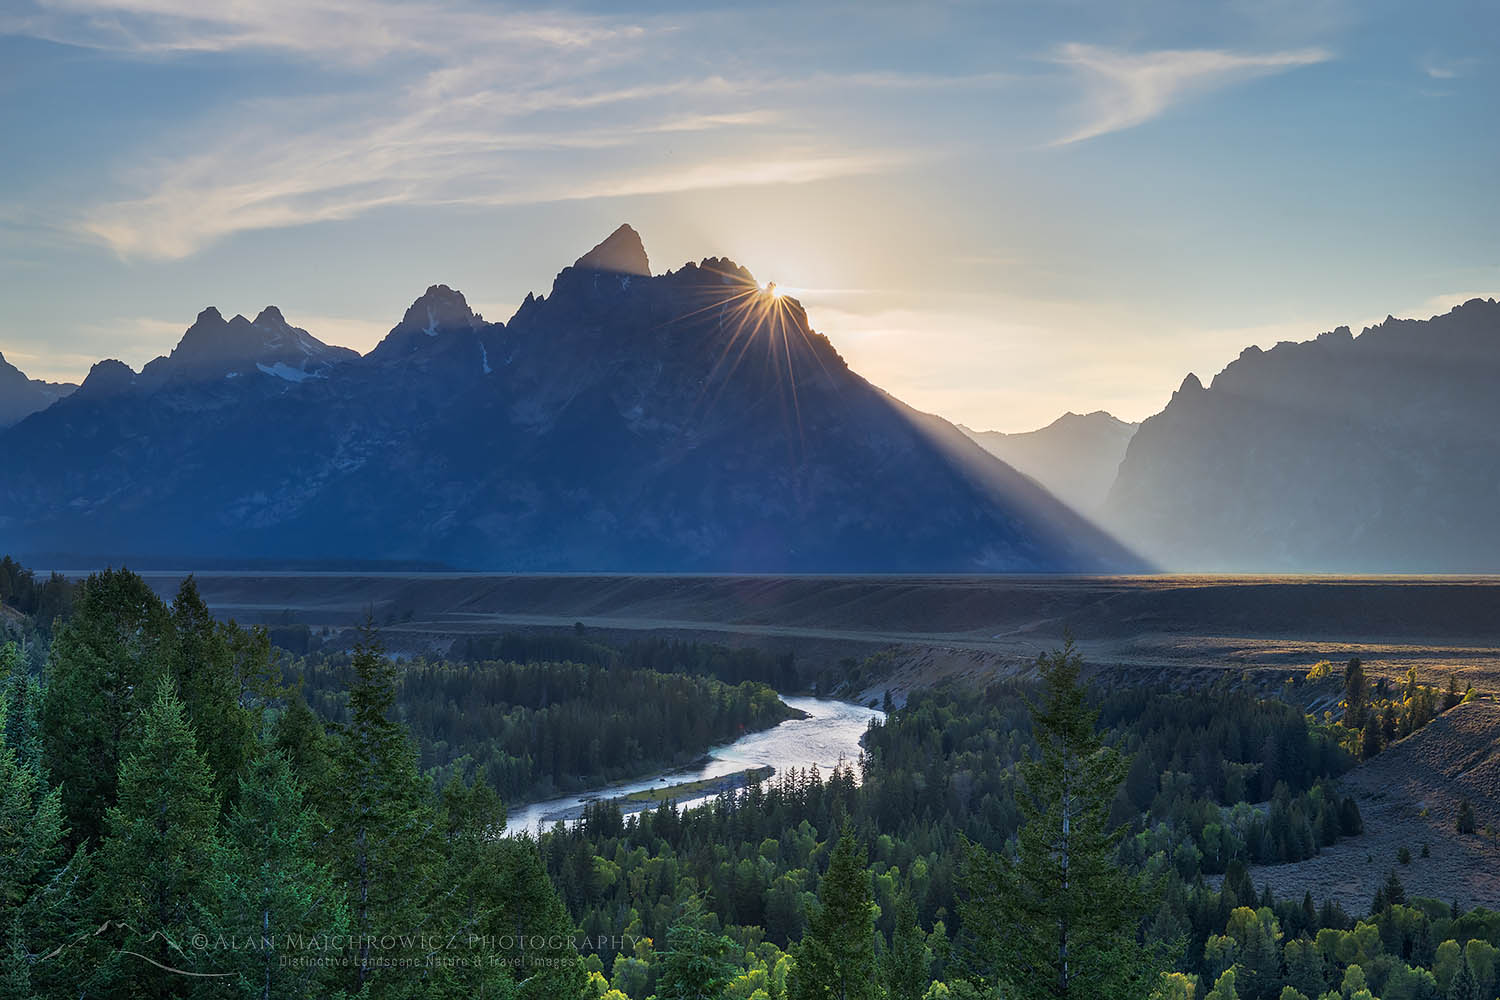
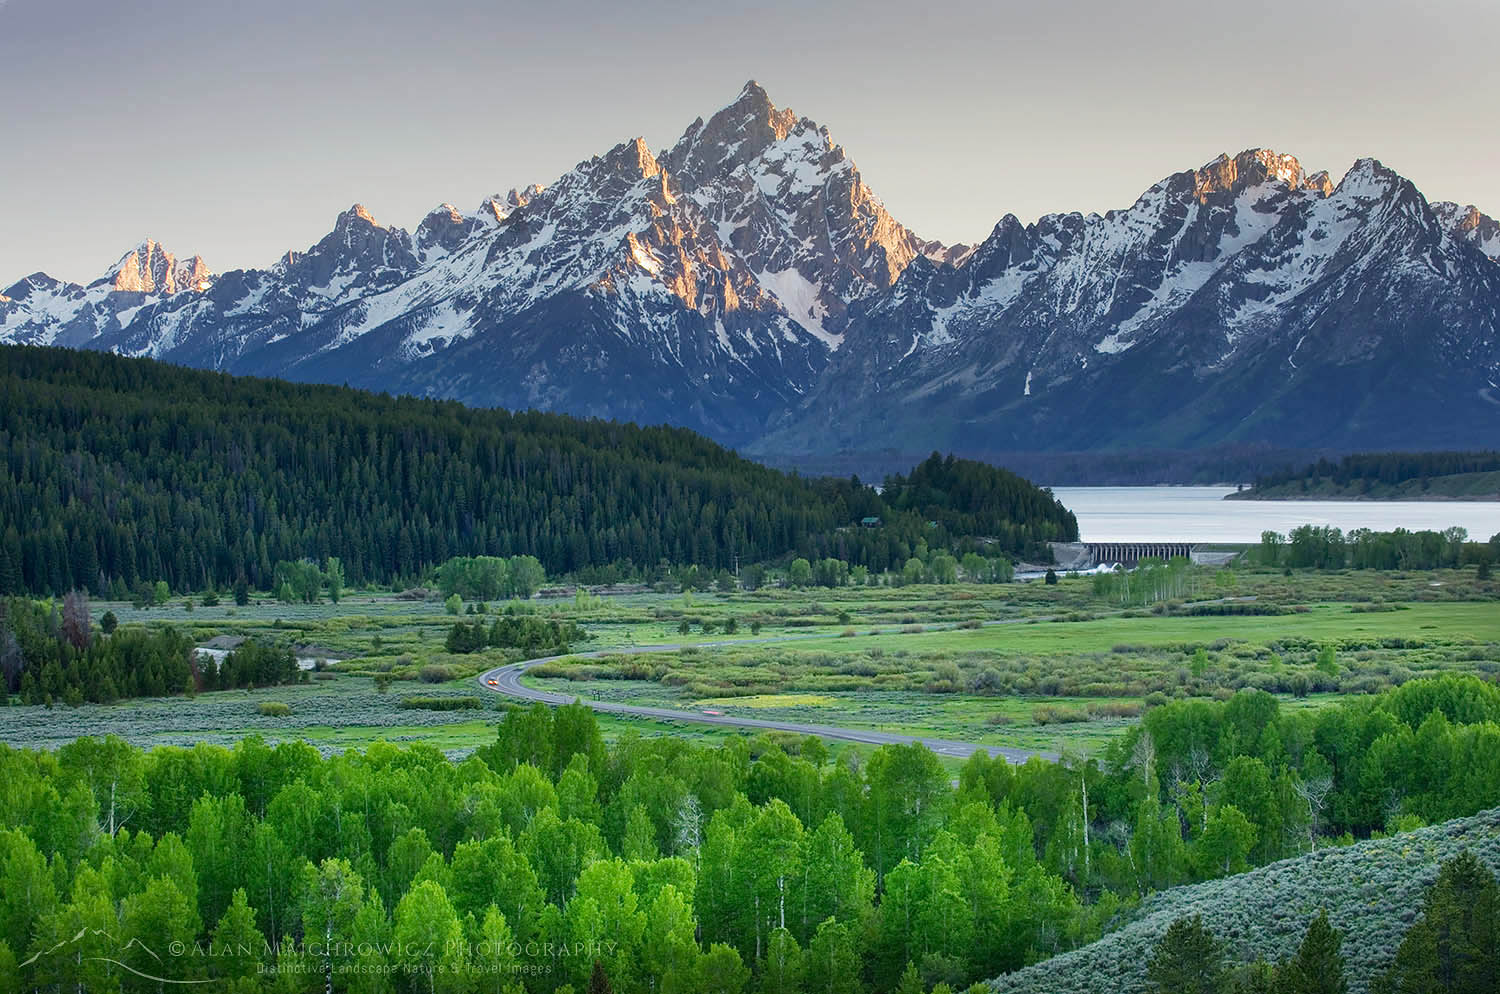
These include Blacktail Ponds Overlook, Glacier View Turnout, Teton Point Turnout, and Snake River Overlook. All, except perhaps Blacktail Ponds Overlook, have excellent wide-open views of the Teton Range. Photography at these locations doesn’t get much easier, as compositions can be made a few steps from the parking lot. As you move from Blacktail Ponds Overlook in the south to Snake River Overlook in the North the view of the Teton Range changes considerably.

Snake River overlook is the most popular since it was here that Ansel Adams made his famous 1942 photo of the Tetons. Be forewarned that over the years trees in the scene have grown considerably. Today, because of this, the Snake River is partially obscured. The view is still wonderful though.

Best time of day for photography:  Morning, though excellent in the evening.
Best season for photography: All Seasons

Schwabacher Landing, Grand Teton National ParkSchwabacher’s Landing Grand Teton National Park #67503  Purchase

Schwabacher’s Landing

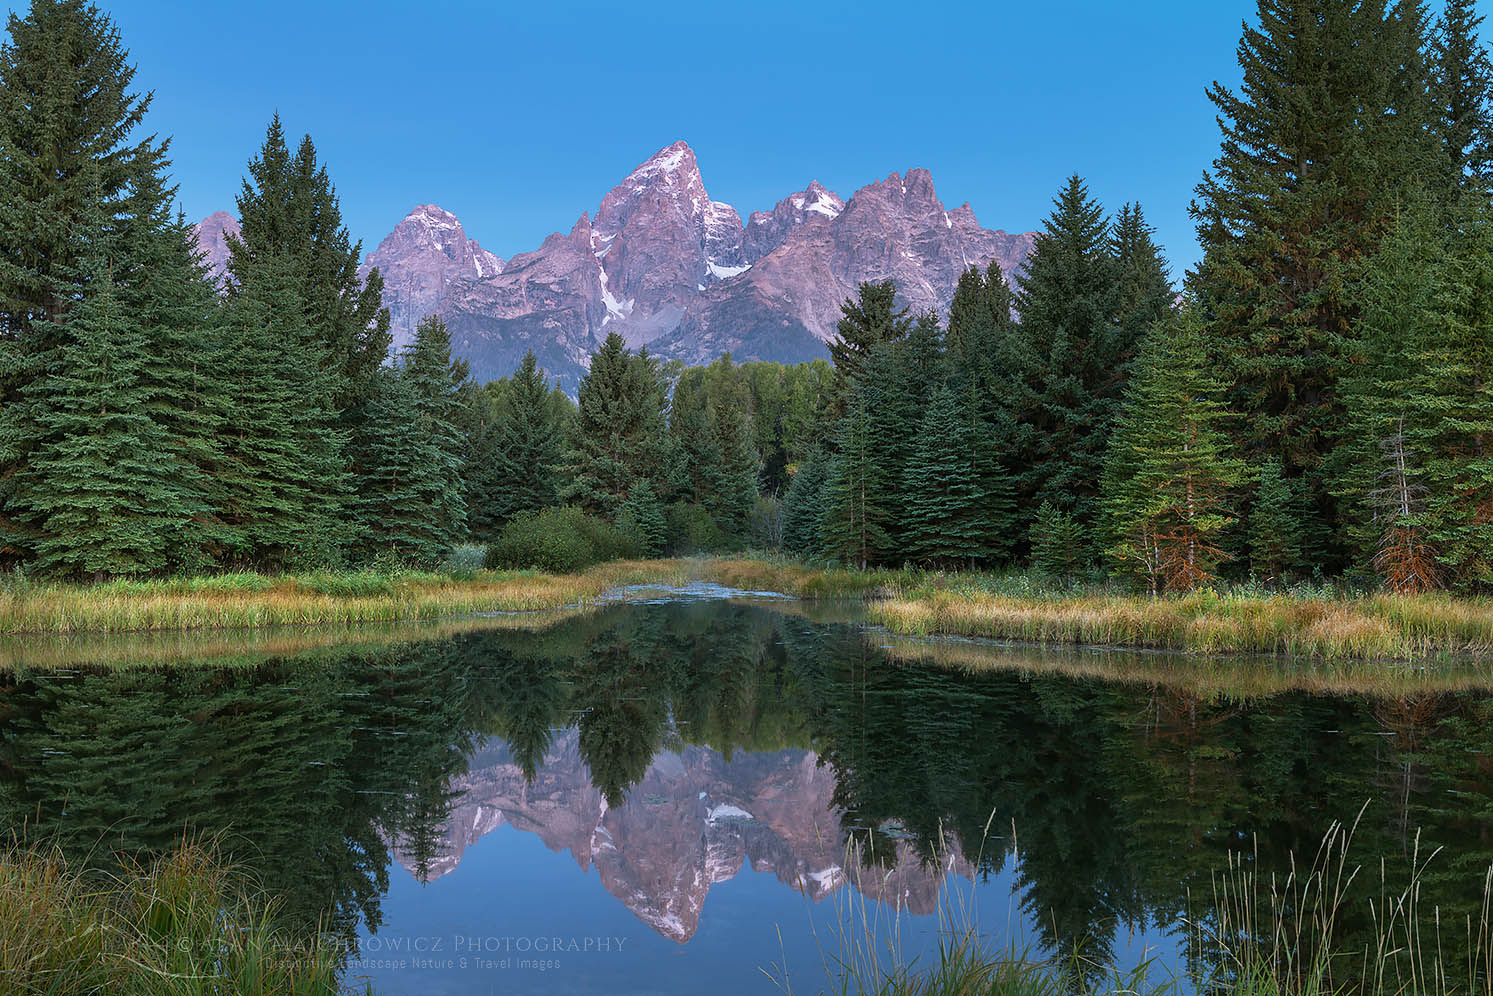
This is one of the prime locations in the Grand Teton for photography, and one of the few accessible to the Snake River. Expects to see lots of other photographers here at sunrise.

There are several excellent options here, including the iconic view of the Grand Teton framed by trees reflected in the still waters of beaver ponds. This photo is a short walk north from the parking lot at the end of the road. It’s imperative to arrive very early, as the ideal composition is within a narrow range of only about four feet wide. Be polite, your neighbor will be photographing the same scene only inches away from you.

Schwabacher Landing Grand Teton National ParkSchwabacher’s Landing Grand Teton National Park #67383  Purchase

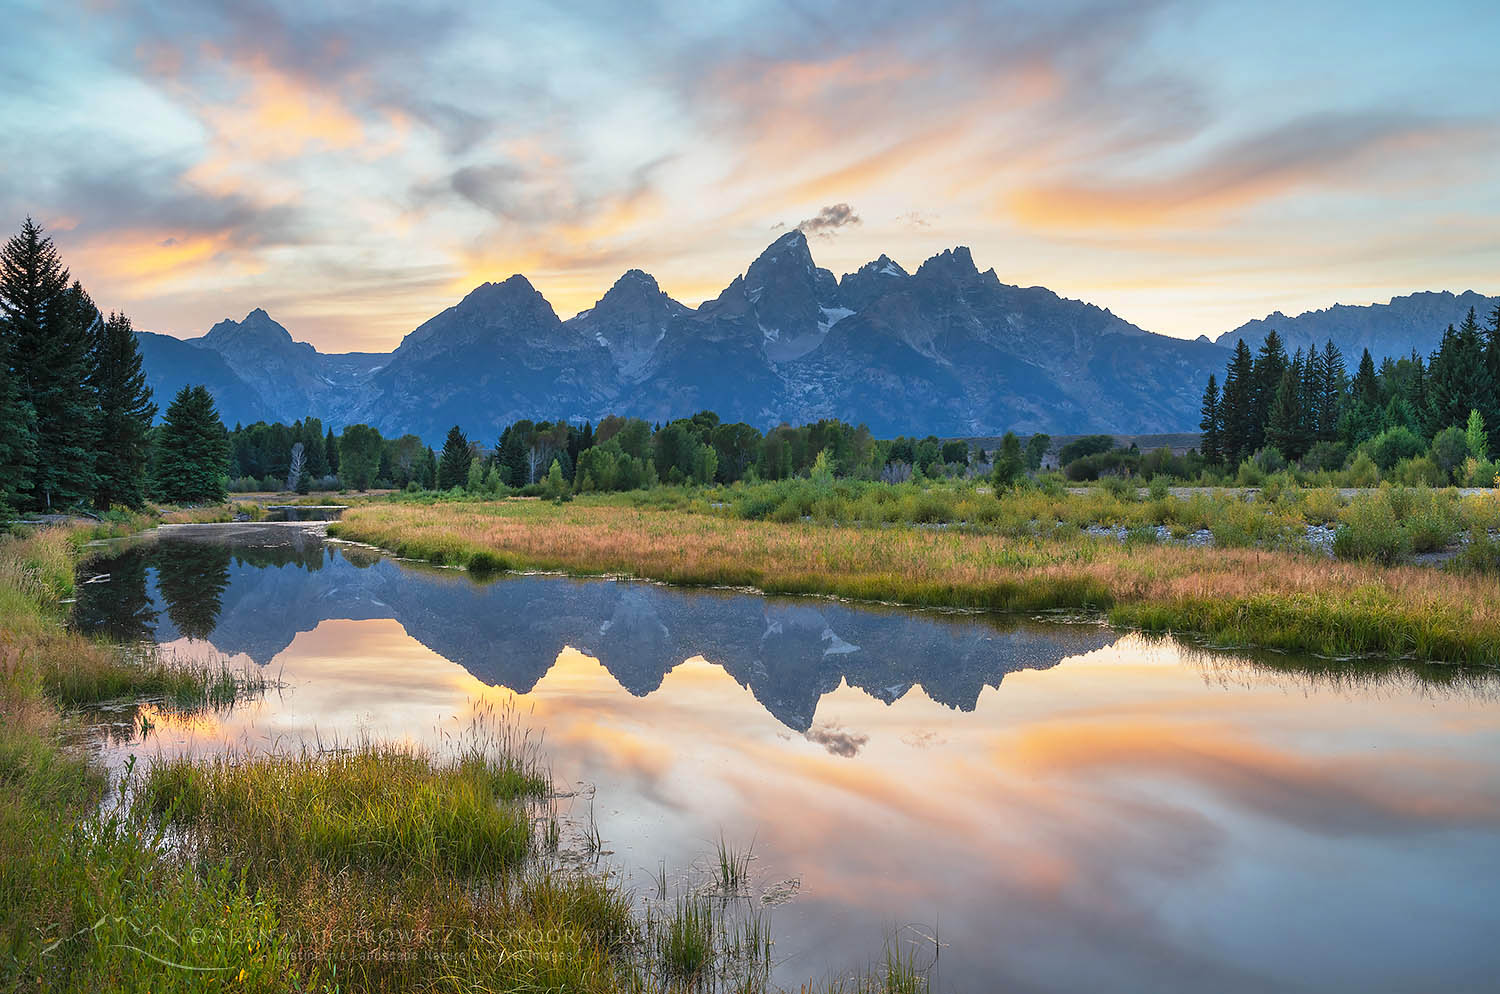
There is also two creekside (actually branches of the Snake River) areas that provide great photo opportunities. The first is along the trail to the beaver pond viewpoint. The second,  just as interesting but less photographed, is 1/4 mile back down the road. Both of them offer compositions where the Teton Range is reflected in the calm waters. There is also an abundance of cottonwoods trees here, making fall photography an absolute must.

Schwabacher’s Landing is a location that offers so many possibilities that you can easily just photograph just here if you only have a couple of days available in the park.

Essential Tip #8:   Be aware that this entire area is in a fragile wetland environment. Please observe signs of areas closed for restoration. This is also prime moose habitat. Be alert when walking through brush, I once came across a female and her calf here. If you’ve never seen a moose in person you’ll be amazed at how big they are. Don’t get in their way!

Best time of day for photography:  Morning, and evening. Beaver ponds photo, mostly morning.
Best seasons for photography:  FallSpring, Summer. This area is closed and off-limits in winter to protect wildlife habitat.

Full Moon Grand Teton National ParkTeton Range from Cunningham Ranch #67608  Purchase

Cunningham Ranch

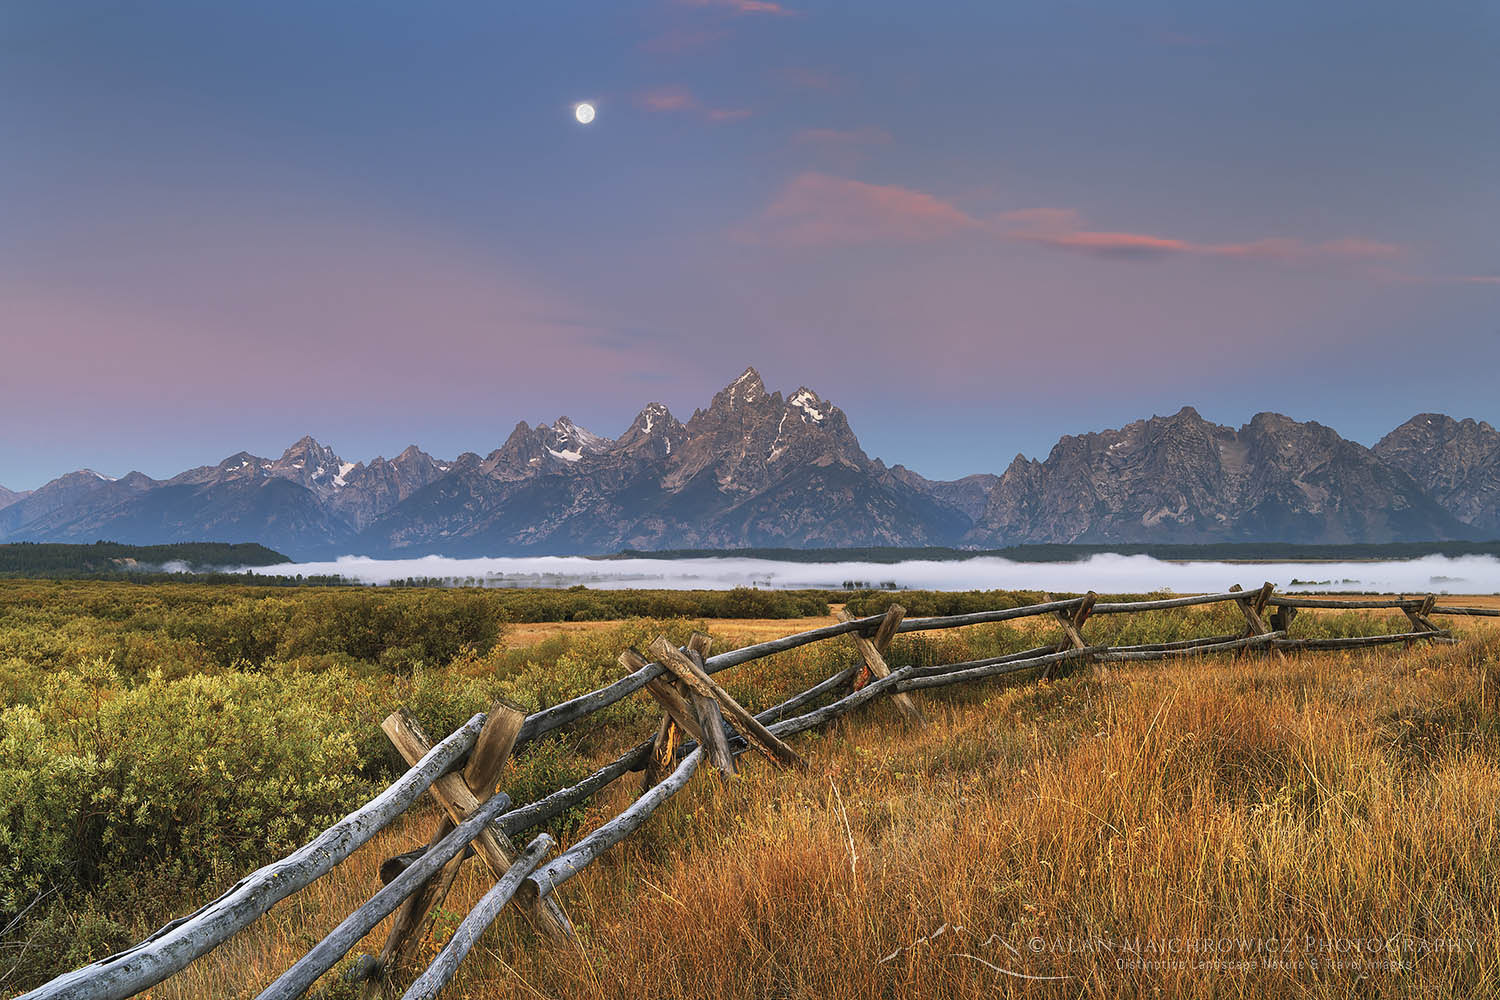
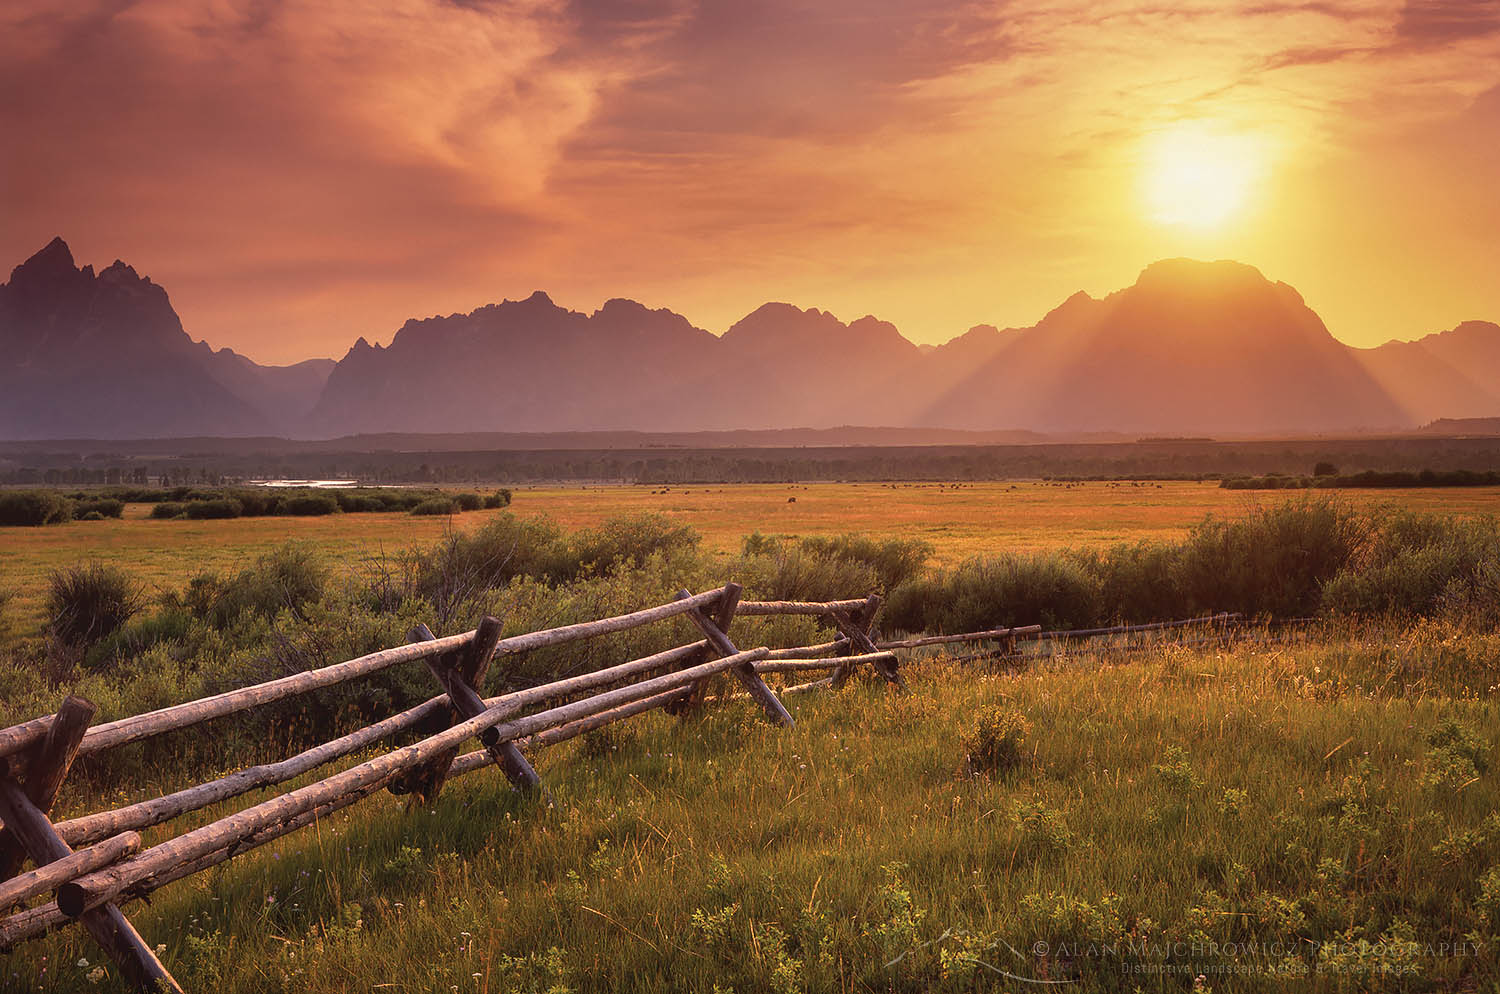
This is one of my favorite areas in the park for photography. It has excellent photographic potential but many photographers pass it over for Schwabacher’s Landing or Oxbow Bend. The views of the Teton Range here are outstanding. The western pole fencing makes a great composition element. It’s also possible to access views along the Snake River, via a long walk through pastures. Occasionally you’ll see herds of elk, or horses from the nearby Triangle X Ranch grazing here, another great aid for compositions.

Horses Grazing at Cunningham Ranch Grand Teton National ParkThe Teton Range from Cunningham Ranch #49377  Purchase

Nearby on the East side of Highway 191/89 is the North access to the Shadow Mountain Dispersed Camping Area of the Bridger-Teton National Forest. A wide parking lot just outside the park boundary is the only place in the entire valley available for winter camping.

Best time of day for photography:  Morning, and evening.
Best season for photography:  All year

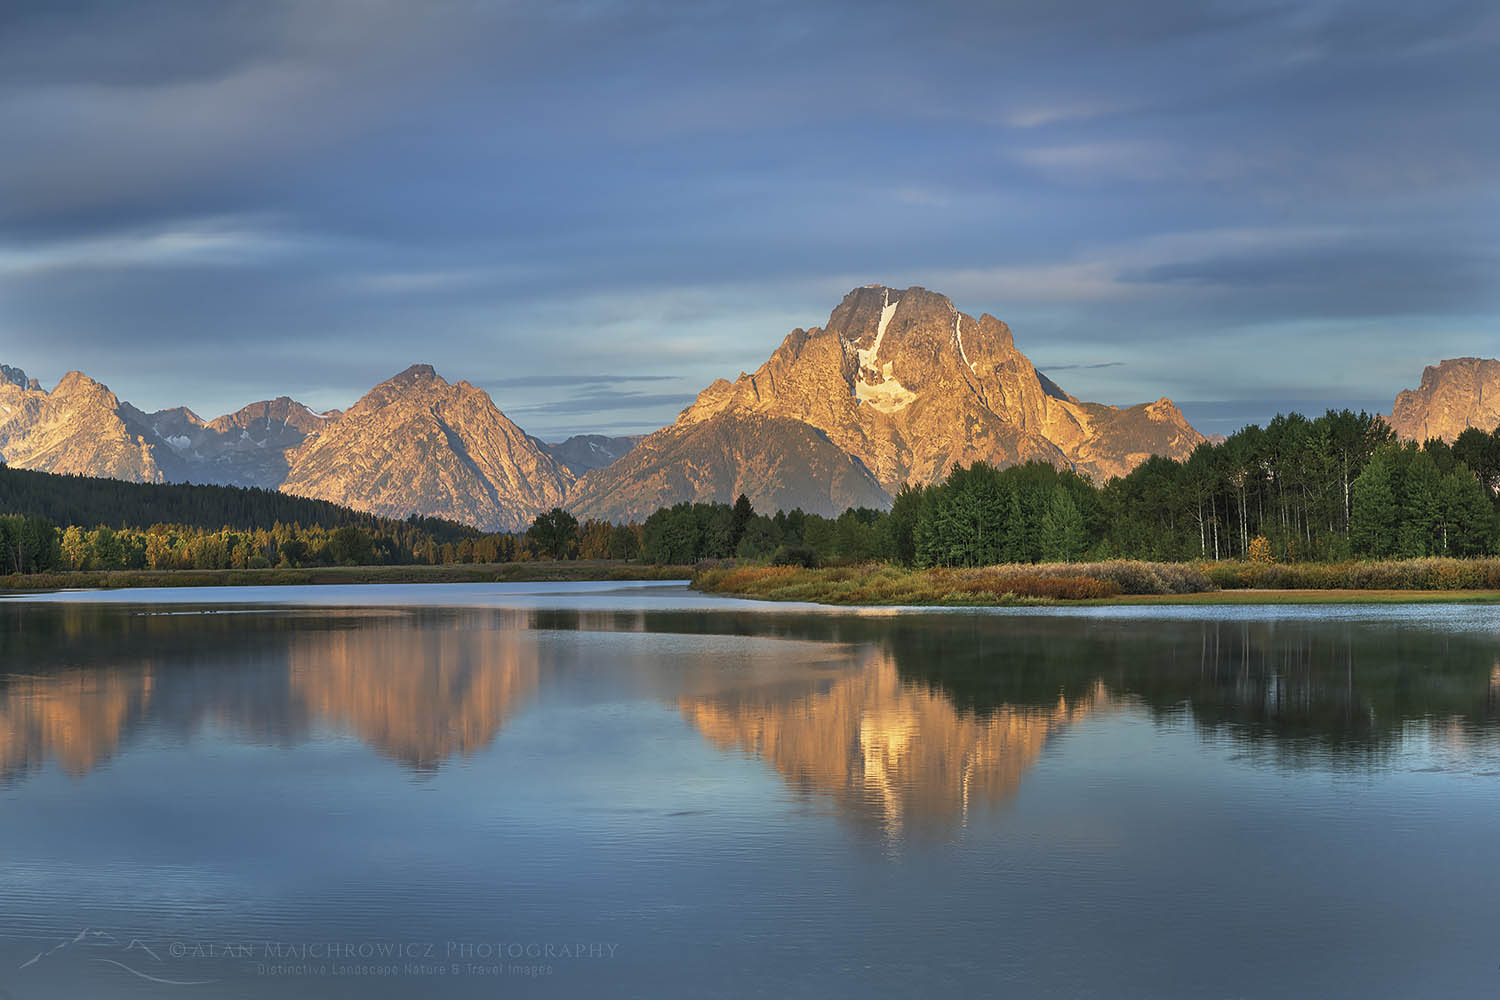
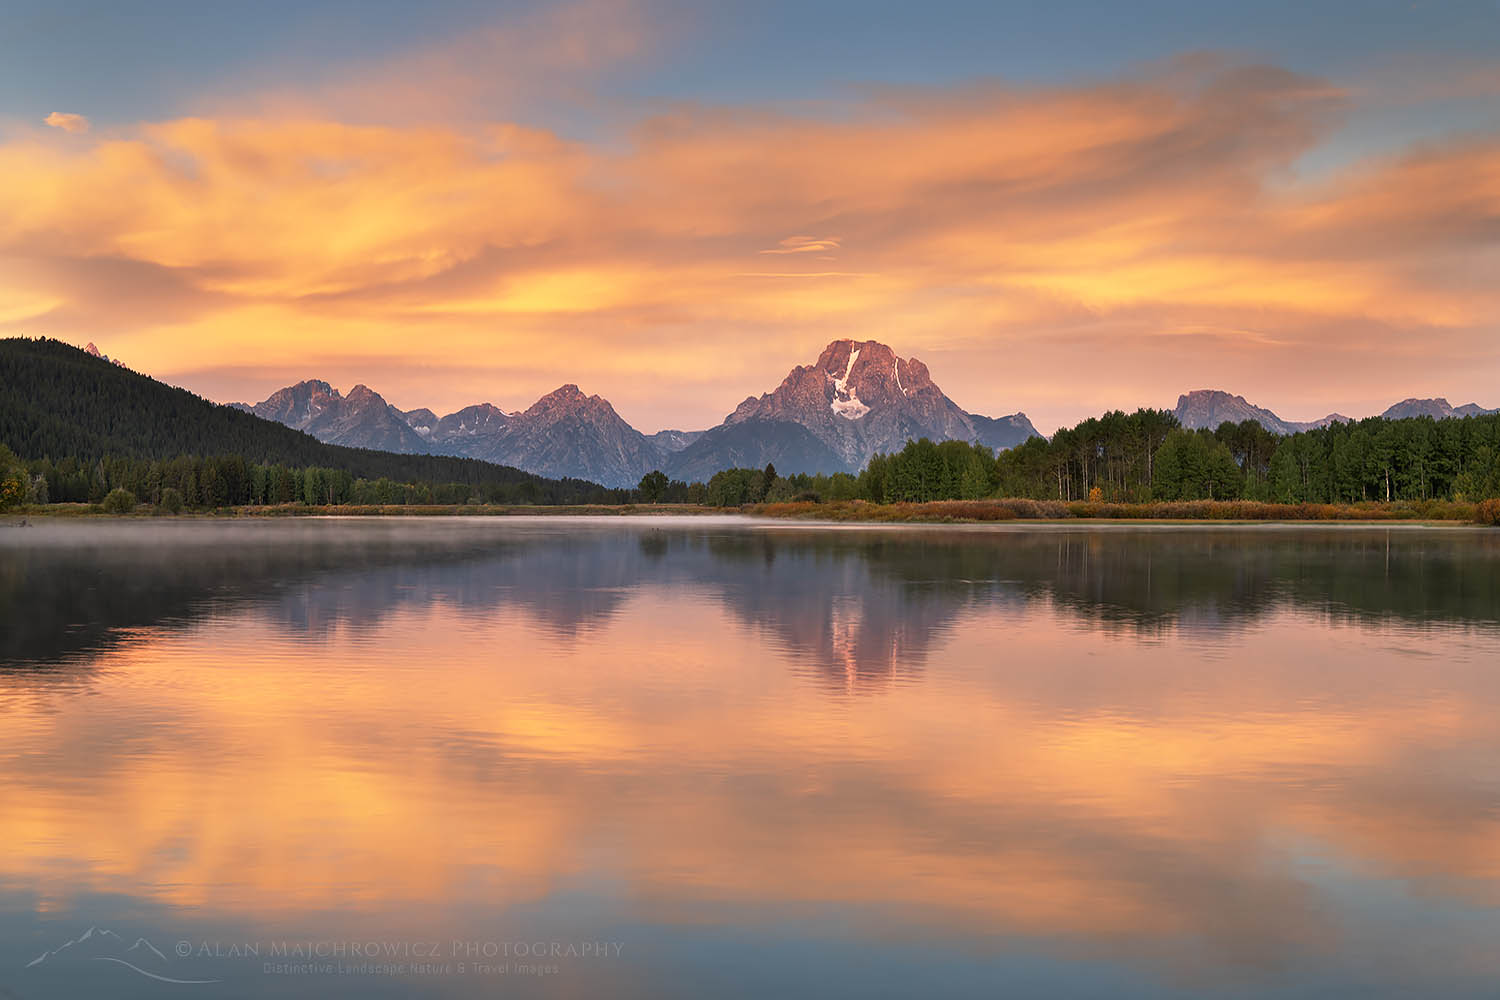
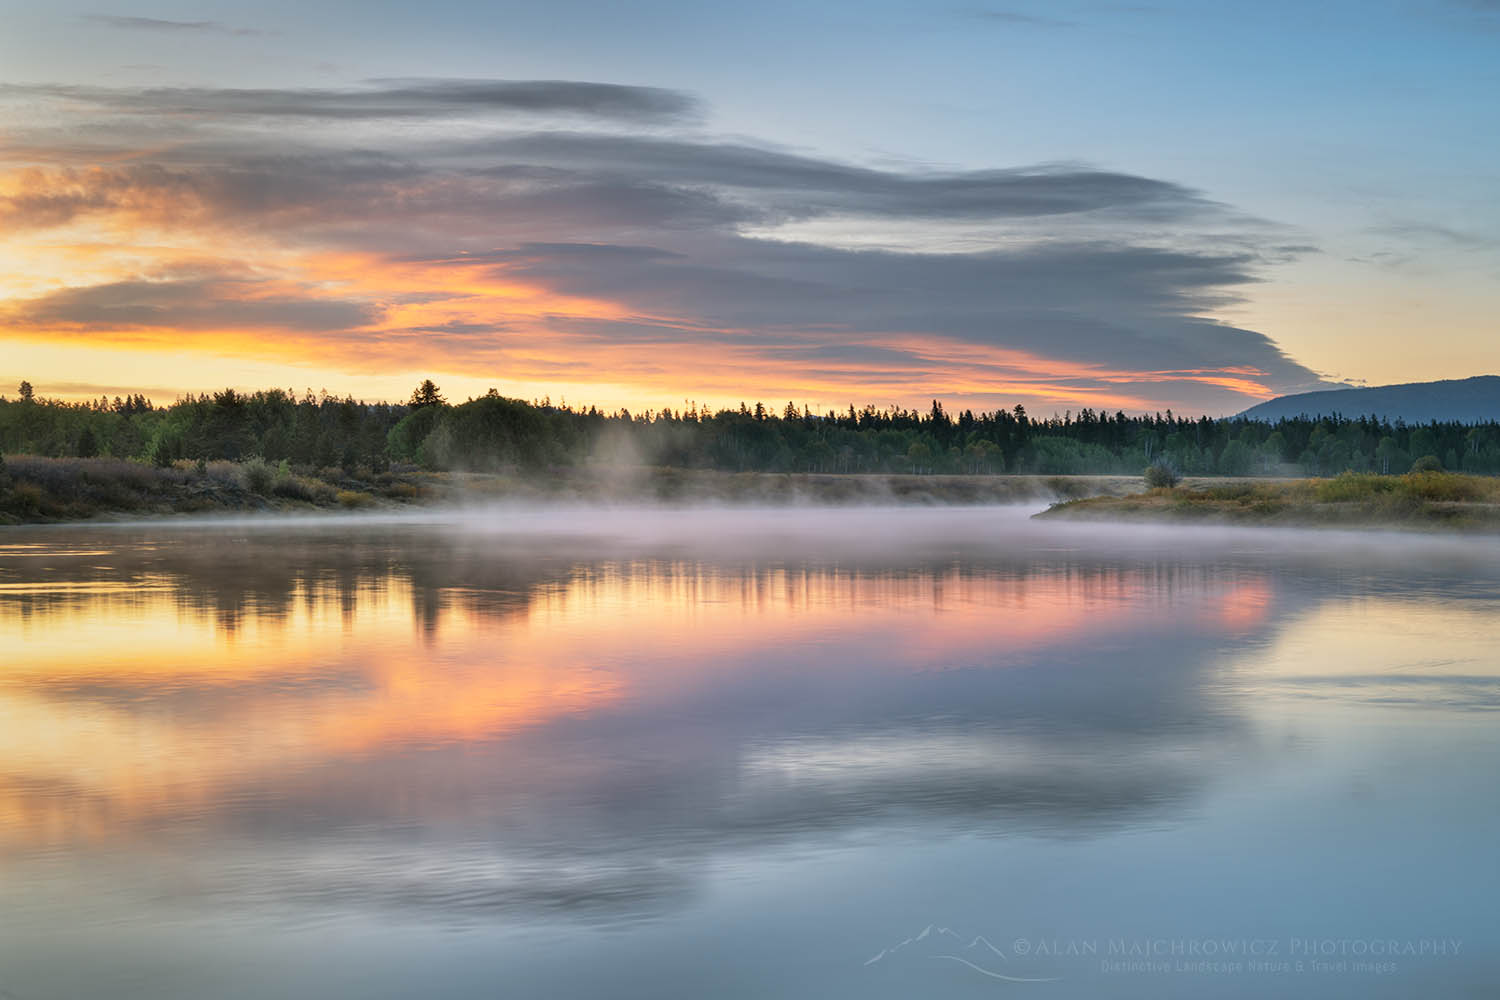
Oxbow Bend sunrise Grand Teton National ParkOxbow Bend Sunrise Grand Teton National Park #67699  Purchase

Oxbow Bend

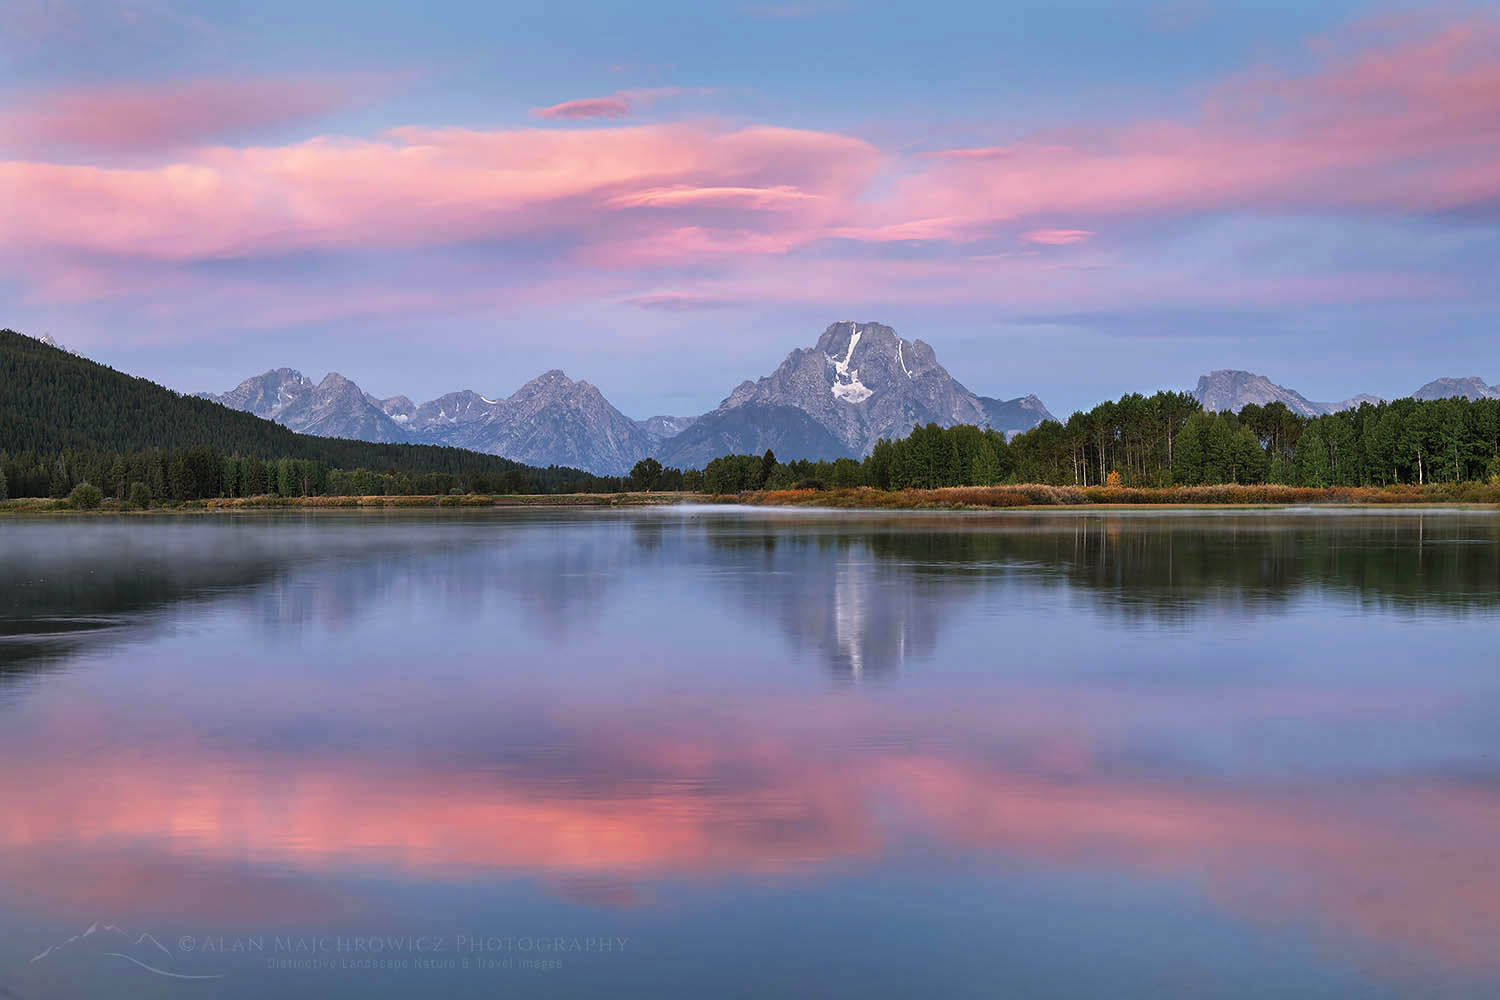
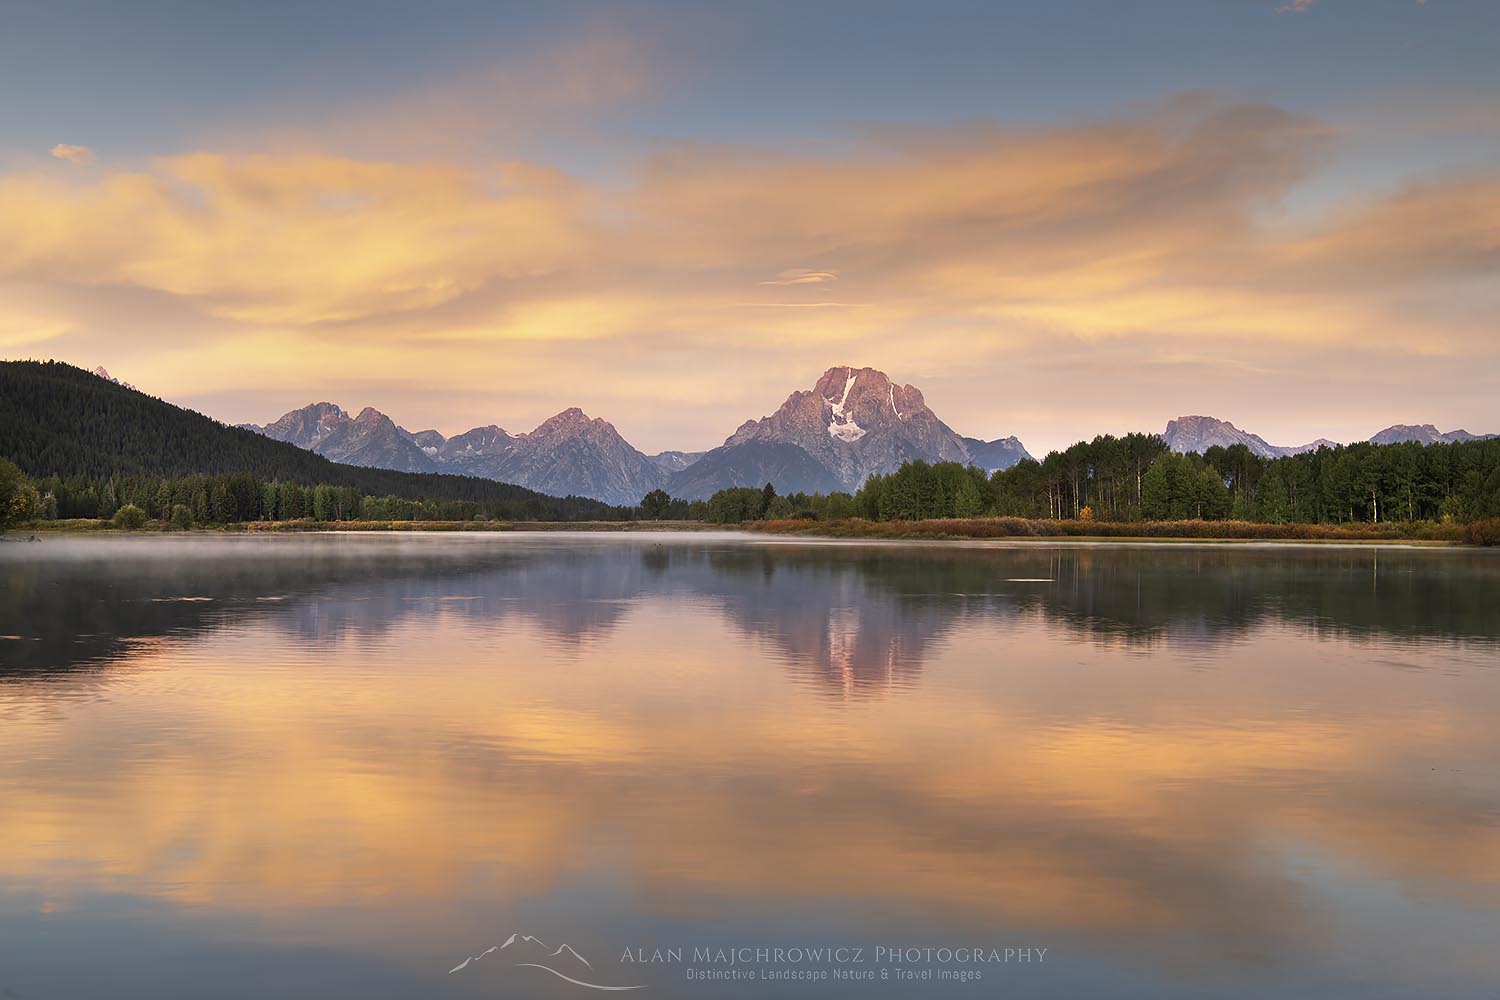
This is arguably the granddaddy of all photo locations in Grand Teton National Park. The views of Mount Moran and the Teton Range reflected in the still waters of the Snake River are recognizable throughout the world. In addition, this is a prime wildlife viewing area. You can often see Trumpeter Swans floating lazily on the water, along with moose grazing in the willows across the river. I once saw an enormous herd of elk fording the river here, a scene reminiscent of Serengeti migrations.

Oxbow Bend sunset Grand Teton National ParkOxbow Bend Sunset #67566  Purchase

You can also observe mobs of photographers, every morning and evening, every day. Don’t even think of finding a prime spot unless you get here well over an hour in advance of golden hour. Most photographers try for a spot at the parking lot edge, however, there are plenty of excellent options among the willows along the river.

Aside from the view from the river, there are also a couple of other spots well worth checking out. This is one of the best areas in the park for fall photography, mainly due to the abundance of aspens groves and willows. About a quarter-mile east of the Oxbow Bend parking lot is another pullout at the edge of large groves of aspens. During the height of fall color, these trees make spectacular frames for the Teton Range.

Grand Teton National Park WyomingTeton Range above Oxbow Bend #52069  Purchase

Also, on the benchland above Oxbow Bend, there are great views looking down to the aspens surrounding the area, and out to the Teton Range. This view is accessed from the trails on the Christian Pond Loop. If you have the time it’s well worth returning to photograph these two areas after photographing the main attraction. And of course, they’re another option if the riverside crowds are a bit too much for you.

Best time of day for photography:  Morning, and evening.
Best season for photography:  Hands down, fall is best, but excellent throughout the year. Also one of the best locations in the park for winter photography.

Wildflowers Grand Teton National Park WyomingWildflowers Grand Teton National Park #52034  Purchase

Pilgrim Creek Road

Between Jackson Lake Junction and Colter Bay Village is Pilgrim Creek Road. This approximately three-mile-long gravel road gives access to the Teton Wilderness in the Bridger-Teton National Forest. For photographers, the first mile or so of this road gives access to some of the best spring wildflowers in the North end of the park.

Unlike wildflowers around Antelope Flats, this area can be a bit more tricky to photograph. The peak bloom usually happens around early June, but a good show depends on a wet season. During a drier than normal spring, there may not be a large enough bloom to make the trip worthwhile. Also, some of the best groupings may not be obvious from the road, so make sure to park your vehicle and thoroughly scout the area on foot.

Best time of day for photography:  Morning, and evening.
Best season for photography:  Spring

Grand Teton National Park in winterWinter along Teton Park Road #3725  Purchase

Teton Park Road

This long stretch of road encompasses everything from Moose Entrance in the South to the Jackson Lake Junction in the North. Beginning in the North the Potholes and Mount Moran Turnouts offer closer photos of the Teton Range, and in particular the Cathedral Group. In June this is also a very good area for yellow balsamroot wildflowers.

The main highlights of this area are the trails along Leigh, String, and Jenny Lakes. You can park at the Leigh and String Lakes Trailhead and do the entire loop hike. Or you can park at the Jenny Lake Overlook and walk only a portion of the trail. Either way, this is the best place to get up close and personal photos of the Cathedral Group and Cascade Canyon.

Further south the Taggart Lake trail will take you to stunningly close views of the Grand Teton.

Essential Tip #9:   Leigh, String, and Jenny Lakes are best photographed at sunrise and early morning. The lake waters are more apt to be still and mirror-like at this time. Also, the proximity here to the walls of the Teton Range will put most of the areas along Teton Park Road in shade during the second part of the day.

Best time of day for photography:  Morning
Best seasons for photography:  Spring, Summer, Fall. Teton Park Road is closed in winter at Taggart Lake Trailhead in the South and Signal Mountain Lodge in the North. However, in winter this road is open to cross country skiing and snowshoeing.

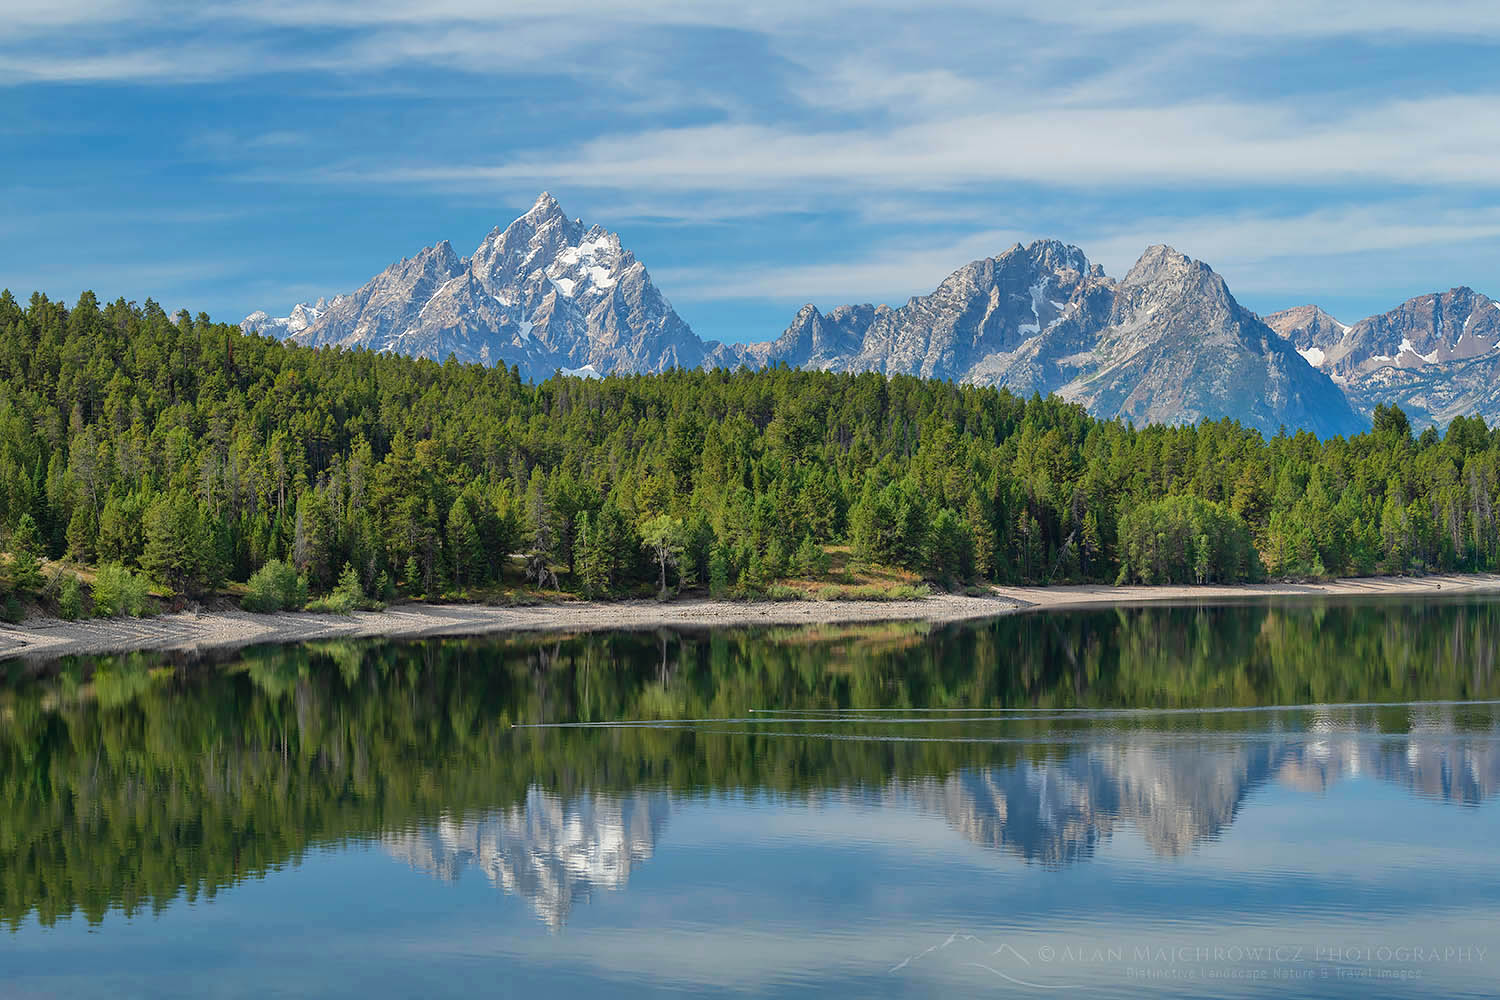
Grand Teton National ParkThe Teton Range from Jackson Lake #67525  Purchase

Other Grand Teton Photography Locations

As mentioned earlier, this post covers only the more popular easily accessible locations for photography in Grand Teton National Park. There are many more opportunities to explore including these:

  • Laurence S. Rockefeller Preserve
  • Viewpoints along the North section of Jackson Lake
  • Extensive trail system along Jackson Lake starting from Colter Bay Village
  • In the backcountry, a network of trails gives access to the backside of the Teton Range and includes numerous lakes, canyons, and subalpine meadows. All overnight backcountry trips require permits.

Camera Equipment Suggestions

What camera gear should you bring on a Grand Teton photography trip? In a nutshell, everything you have. Ok, maybe not everything, especially if you’re a gear junkie with dozens of lenses and camera bodies. But the subject matter in the park is so diverse you’ll probably end up using everything from ultra-wide to telephoto lenses.

Basic Essentials:

  • Tripod
  • Wide to ultra-wide lenses
  • Normal range lens
  • Telephoto lens; for landscapes up to 200mm should be fine, but much longer focal lengths if you also plan to photograph wildlife.
  • Polarizing filter
  • Graduated Neutral Density Filters;  I still prefer to use these in the field over creating the effect in post-processing. Although in some situations they are not always the best option.
  • Remote shutter release

In Conclusion

Combining all the information and tips in this post and Grand Teton Photography Trip Planning, you now should have everything you need to know to have a productive, safe, and enjoyable trip to Grand Teton National Park. Now get out there and have fun!

Essential Tip #10:   BE CREATIVE! Use your own eyes and mind. Just because 20 other photographers are photographing the exact same scene, in the exact same position, with the exact same gear and settings, doesn’t mean that you have to follow suit. Photographing something uniquely and creatively could be as simple as just turning around to see what’s behind you!

Thanks for reading, feel free to share this post with your friends and colleagues!

Oxbow Bend sunrise Grand Teton National ParkOxbow Bend Sunrise Grand Teton National Park #67681  Purchase

Ever wonder what it’s like photographing landscapes and nature for a living? Check out my blog post:
What is it like to be a Professional Landscape Photographer?

All photos appearing in Grand Teton Photography Locations are available for Commercial Licensing and Fine Art Prints. Click on any image to purchase, or contact me for more info!

Want to learn more? Take your Creative Photography to the next level with  Private Instruction and Guided Photo Tours.

Related Blog Posts to Grand Teton Photography Locations:
Grand Teton Photography Trip Planning
Moulton Barn Grand Teton National Park

Grand Teton Photography Trip Planning

Grand Teton Photography Trip Planning

Moulton Barn Grand Teton National Park Grand Teton Photography Trip PlanningMoulton Barn Grand Teton National Park  #67219  Purchase

This post is the first in an ongoing series of articles intended to help landscape and nature photographers plan photography trips to big locations on a small budget.

Photography in Grand Teton, or any National Park, can be a very rewarding experience. It can also be a disappointing exercise in frustration. Even the most meticulous planning is not a guarantee of success. It all depends on what your goals are, and how much time you have available.

In this post, I’ll be offering some planning tips and suggestions which can help increase your chances of success during a Grand Teton photography trip. Whether the results are better vacation photos or portfolio-quality images, they’ll also help you obtain a more enjoyable and memorable experience.

Planning A Grand Teton Photography Trip

Theoretically, you can spend as little as a day in the park and come away with a few good photos. In reality that probably won’t happen. So I would recommend at least three days to concentrate on one, or maybe two locations. A better time frame would be a week. For a comprehensive trip to include all of the park’s highlights, at least two to three weeks would be ideal.

Make sure you have as much time available to meet your goals. And make those goals realistic, don’t expect to create portfolio-grade images every morning and evening during your stay. It’s incredibly unlikely that you will have excellent light to work with during every golden hour photo session. On my last trip, I spent two weeks in the park and had only one evening and two mornings of decent light.

Of course, it’s also a silly notion to think that planning on just one trip to Grand Teton you’ll come away with award-winning images from every corner of the park. Just like you can’t go to the grocery store and expect to buy all the food you’ll ever need if your lifetime. You’ll need to return again and again.

Learn to go with the flow, relax, get to know, and interact with your subject matter. If you only come away with one or two good photos that’s great, you can always return another time. Good photography is about much more than grabbing trophy images, it’s a lifetime learning journey that should be savored, not rushed.

Guided Tour Or Solo

Once you determine how much time you’ll have available the next thing you’ll need to decide is whether to go with an established workshop/photo tour or do the trip on your own. There are many advantages and disadvantages to either option.

Photo Tour/Workshop Advantages:
-Led by a seasoned professional photographer with intimate knowledge of the park and the opportunity of learning new techniques from a pro.
-Meals, lodging, and transportation usually included
-Being part of a group dynamic

Photo Tour/Workshop Disadvantages:
-Limited freedom to photograph where and when you want
-Daily schedules can be very rigid
-Travel times and distances from lodging to locations can be great
-Cost can be prohibitive

Solo Photo Tour Advantages:
-Unlimited freedom, photograph where you want when you want
-Ability to lodge or camp where you choose, cutting down on travel time to         locations
-Huge cost savings

Solo Photo Tour Disadvantages:
-Extra research needed to find the best locations
-Finding lodging on the fly daily can be difficult
-Lack of assistance from a leader or group members
-No one to share ideas or experiences with

During my entire career as a professional photographer, I’ve traveled mostly solo. I love the freedom and flexibility associated with this mode of travel. And I know for certain that I’ve been able to get better photos because of it. So this is the mode I’ll be giving tips on in this post.

Grand Teton Photography Trip Planning: Seasons

Many photographers consider autumn to be the best. However,  Grand Teton National Park offers spectacular photographic opportunities in all four seasons.

Grand Teton National Park in winter Grand Teton Photography Trip PlanningThe Teton Range in Winter #4660  Purchase

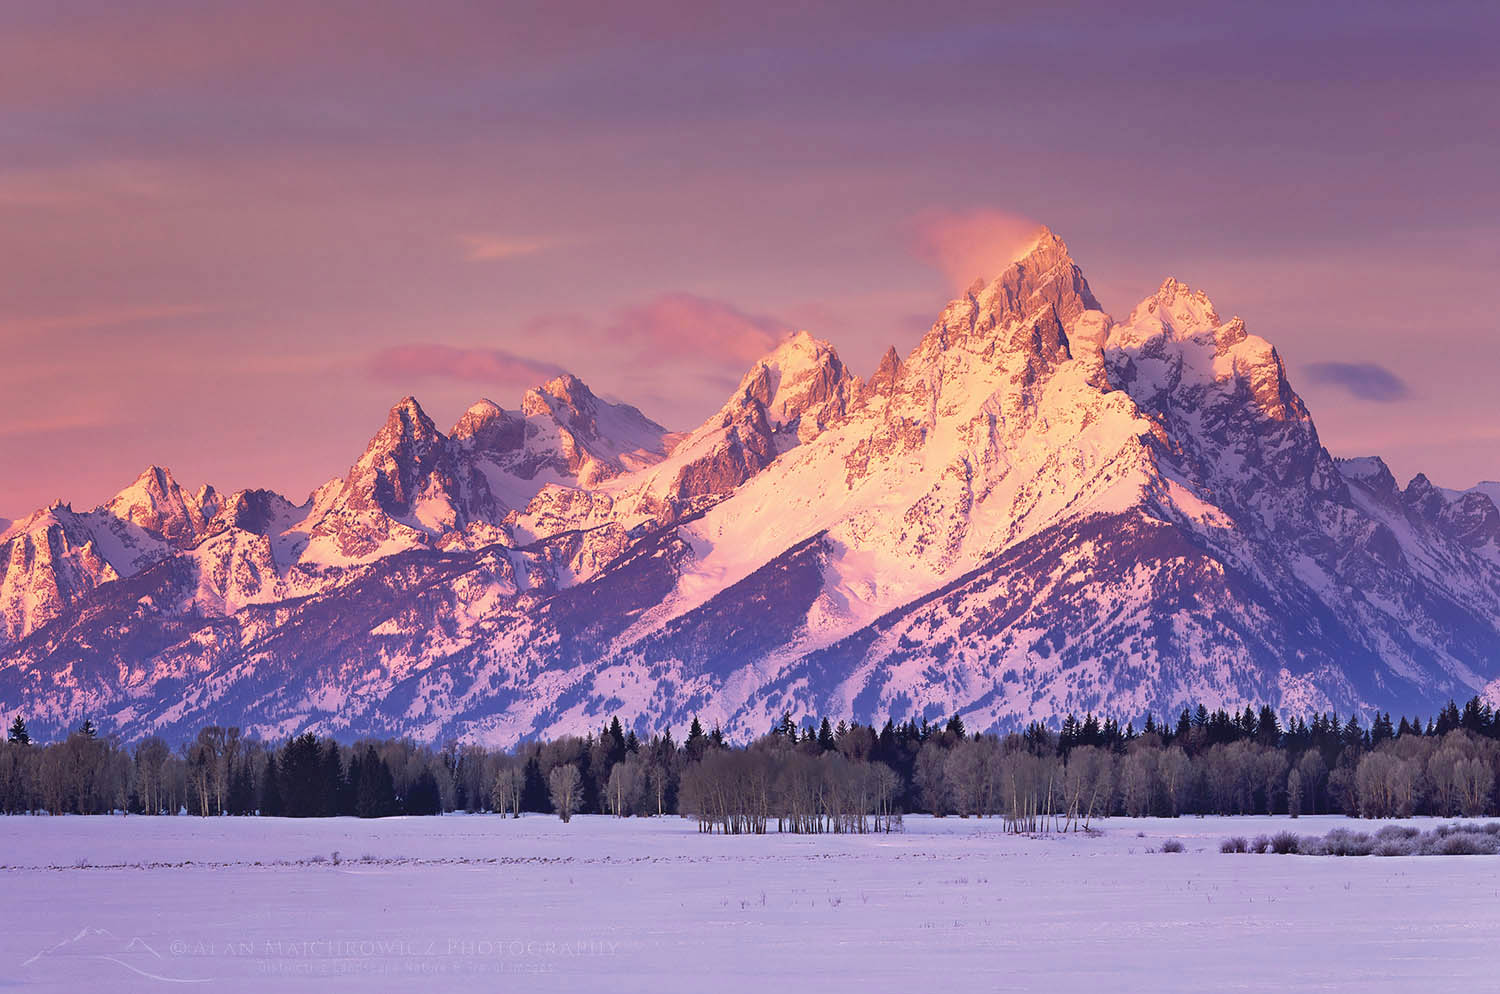
Winter:  Planning a winter photography trip to Grand Teton requires more preparation and gear. In winter Teton Park Road is closed to vehicles, as is the popular Schwabacher’s Landing. Antelope Flats and Mormon Row Roads are also inaccessible. However, all the viewpoints along Highway 191/89 from Jackson to the Flagg Ranch in the north are open, including the famous Oxbow Bend overlooks. Snowshoes and cross-country skis are an excellent option to access some of the easier areas of the park.

Most of the lodging and services in the park are also closed for the season. Lodging options are mostly in the Jackson area in winter, and camping is nearly nonexistent with just a few spots open in the Shadow Mountain area. With temperatures that can dip down to -30º you won’t have much company. But with the right weather and lighting, you’ll come back with some rare winter images of the park.

Spring:  Since the Teton Valley sits at an altitude of just over 6000′ winter conditions can last well into spring. May would be about the earliest I would consider visiting for spring photography. Late May through June is the best time to visit to see wildflowers. During this time many areas of the valley are blanked with brilliant yellow balsamroot and blue lupines, to name a few.

Antelope Flats and Gros Ventre (pronounced “Grow Vaunt”) roads, along with Pilgrim Creek Road near Colter Bay are among the best areas for spring wildflowers. Most of these areas are also wide open for including the snowy Teton Range as a dramatic backdrop for compositions.

Wildflowers Grand Teton National Park Wyoming Grand Teton Photography Trip PlanningWildflowers Grand Teton National Park #52086  Purchase

Summer: This is the high season for tourism in the park, and possibly one of the most challenging for photographers. This is not only because of having to deal with crowds but also because of weather conditions.

During the height of summer, high-pressure ridges can create beautiful warm sunny weather, which unfortunately keeps the sky free of clouds. Most photographers consider blank blue skies and gray rainy days as some of the worst conditions to work with. With global warming in full swing, these conditions can last well into September.

Along with those warm sunny days comes the yearly threat of wildfires. In recent years the park’s blue skies are often hazy with thick blankets of smoke. Another consideration of summer photography is that as the season progresses the Teton Range gradually loses its white cloak of snow. I don’t think I’m alone in feeling that snowy mountains look more attractive than bare rock.

Fall:  This is arguably the most popular season for photographers in Grand Teton National Park. Although the crowds of tourists and vacationers are mostly absent, there are now throngs of photographers to take their place. And for good reason. In a good year, the changing colors of aspens, cottonwoods, and willows can be as outstanding as autumn in New England.

In addition to the lively colors of foliage, the changing seasons bring back storms that not only clear the air but also dust the range with a fresh coat of snow. Quite possibly some of the most sought-after national park images in the country are those of the Teton Range in full autumn color after a snow storm.

Grand Teton National Park Wyoming Grand Teton Photography Trip PlanningSunset over the Teton Range #3966  Purchase

Grand Teton Photography Trip Planning: Lodging

Location, location, location. It’s all about location. And Grand Teton is no exception, it’s a big park with many great locations spread throughout it. Generally, you’ll have time to photograph only one location during the morning or evening golden hour. By the time you can reach the next spot the light will most likely have faded. And remember this isn’t a race or contest, slow down and appreciate where you are!

The closer you stay to your subject matter the better chance you have of being in right place at the right time. And you will be more relaxed and focused when you get there.

Absolutely nothing is worse than planning on being at a certain spot before sunrise than being late because of hitting the snooze alarm one last time and then having a long drive ahead. Stopped for speeding, or worse, hitting a moose in the dark during your haste? Ughh!

No matter where you stay, be it in a national park or forest service campground, or a motel or resort, be prepared to make reservations well in advance of your trip, if possible. Even in the shoulder seasons vacancies in lodging and campgrounds can be difficult to find. Popular campgrounds will fill by early morning. Research and plan ahead. It’s no fun driving around in the dark after a long day trying to find a place to sleep.

In the Town of Jackson:  If you crave luxury and have deep pockets then look no further than the town of Jackson. Some of the most opulent hotels and resorts in the West are in this town, as are many chain and mom and pop motels. However, be aware that all of them will have a considerably higher price due to their location.

Also, keep in mind that distances from the town of Jackson to many of the most scenic park locations can be anywhere from 15-35 miles. Not a terribly long drive, but back and forth to a motel over several days can really add up. And don’t forget that ideally, you’ll need to be at your desired location before sunrise and until after sunset. So you won’t be sleeping in that expensive bed for very long.

Shadow Mountain Dispersed Camping Area  Bridger Teton National ForestShadow Mountain Dispersed Camping Area #67195  Purchase
In Grand Teton National Park:  There are seven lodging options within the park boundaries. These range from rustic cabins and ranches all the way up to the full-service luxury hotel of the Jackson Lake Lodge. Depending on where in the park you want to orient your photography efforts, these facilities can put you just a few minutes from some of the most dramatic vistas in the park.

There are five official front country campgrounds in the park with varying amenities. At the time of this writing, none of them are available for advance reservations. Most of them will fill to capacity before 10:00 a.m. Jenny Lake is one of the best and most sought-after campgrounds. If you choose Jenny Lake campground be prepared to line up for a site well before sunrise, it routinely fills by 6:00 a.m.!

Bridger-Teton National Forest: There are several national forest campgrounds outside the eastern boundaries of the park. These include a couple on Gros Ventre Road and U.S. Highway 26-287.

In my opinion, the most ideal national forest campsites are in the Shadow Mountain camping areas of Bridger-Teton National Forest. This area is in an ideal location just outside of the eastern middle edge of the park. These sites are always my first choice when visiting the park. I know of at least one site here which has an incredible elevated view of the entire Teton Range and valley.

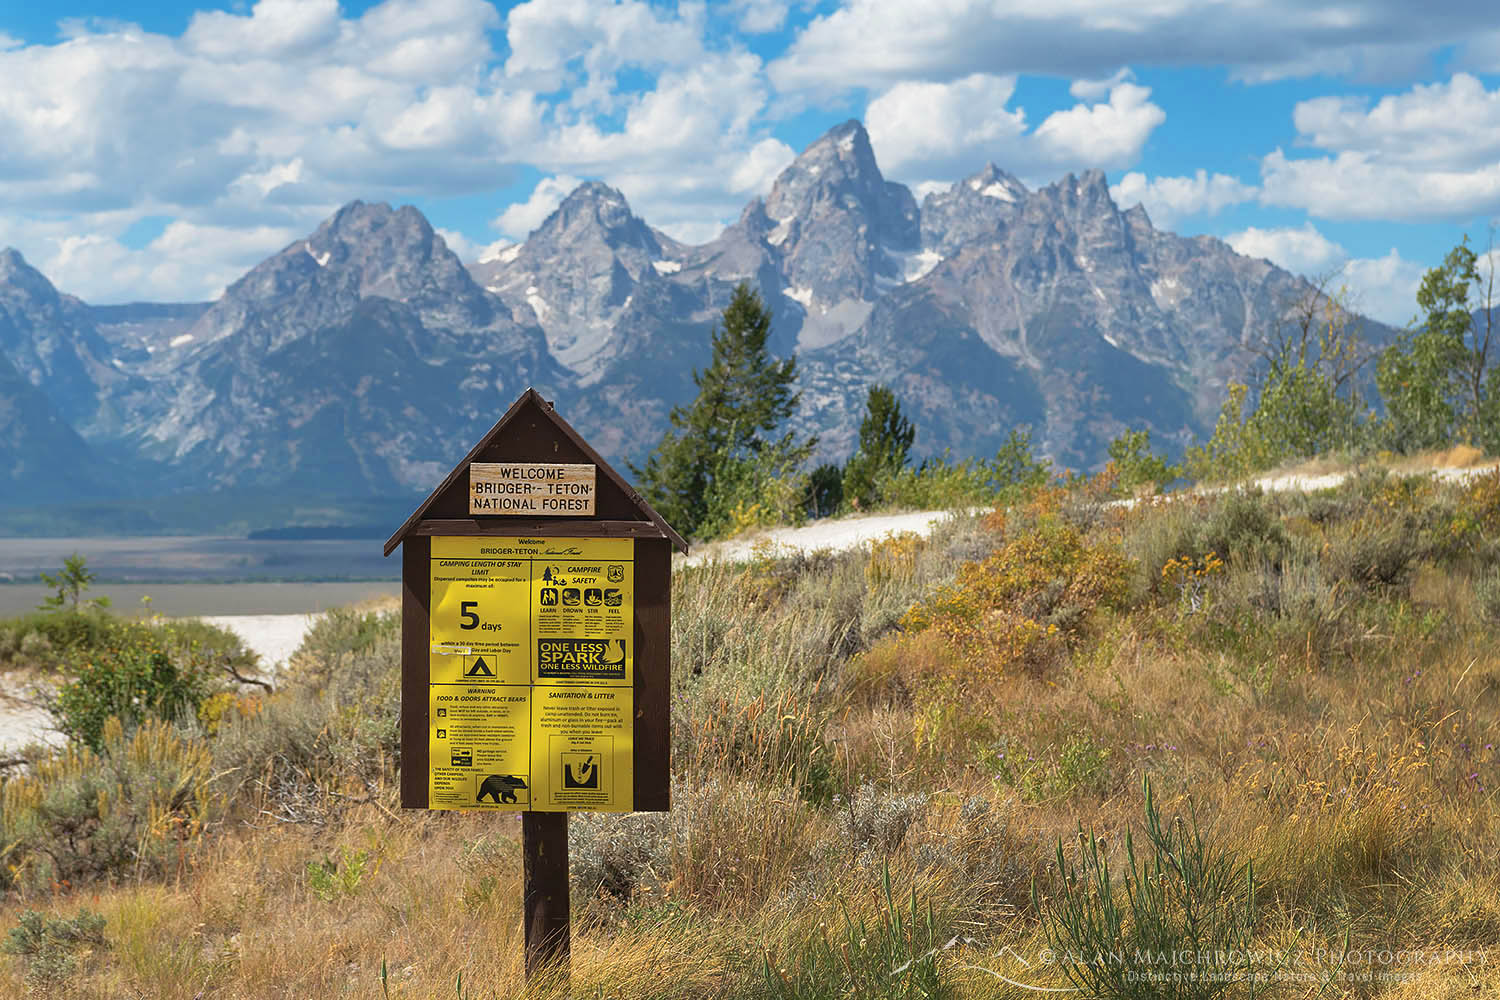
Camping in the Shadow Mountain area is free on a first-come-first-served basis. Stays are limited to five consecutive nights. However, it is primitive camping with only vault toilets and no running water. In addition, parts of the roads can be very difficult to negotiate, high clearance is advised and some can be impassable to trailers. As with everywhere else in the park vicinity, these sites fill up early.

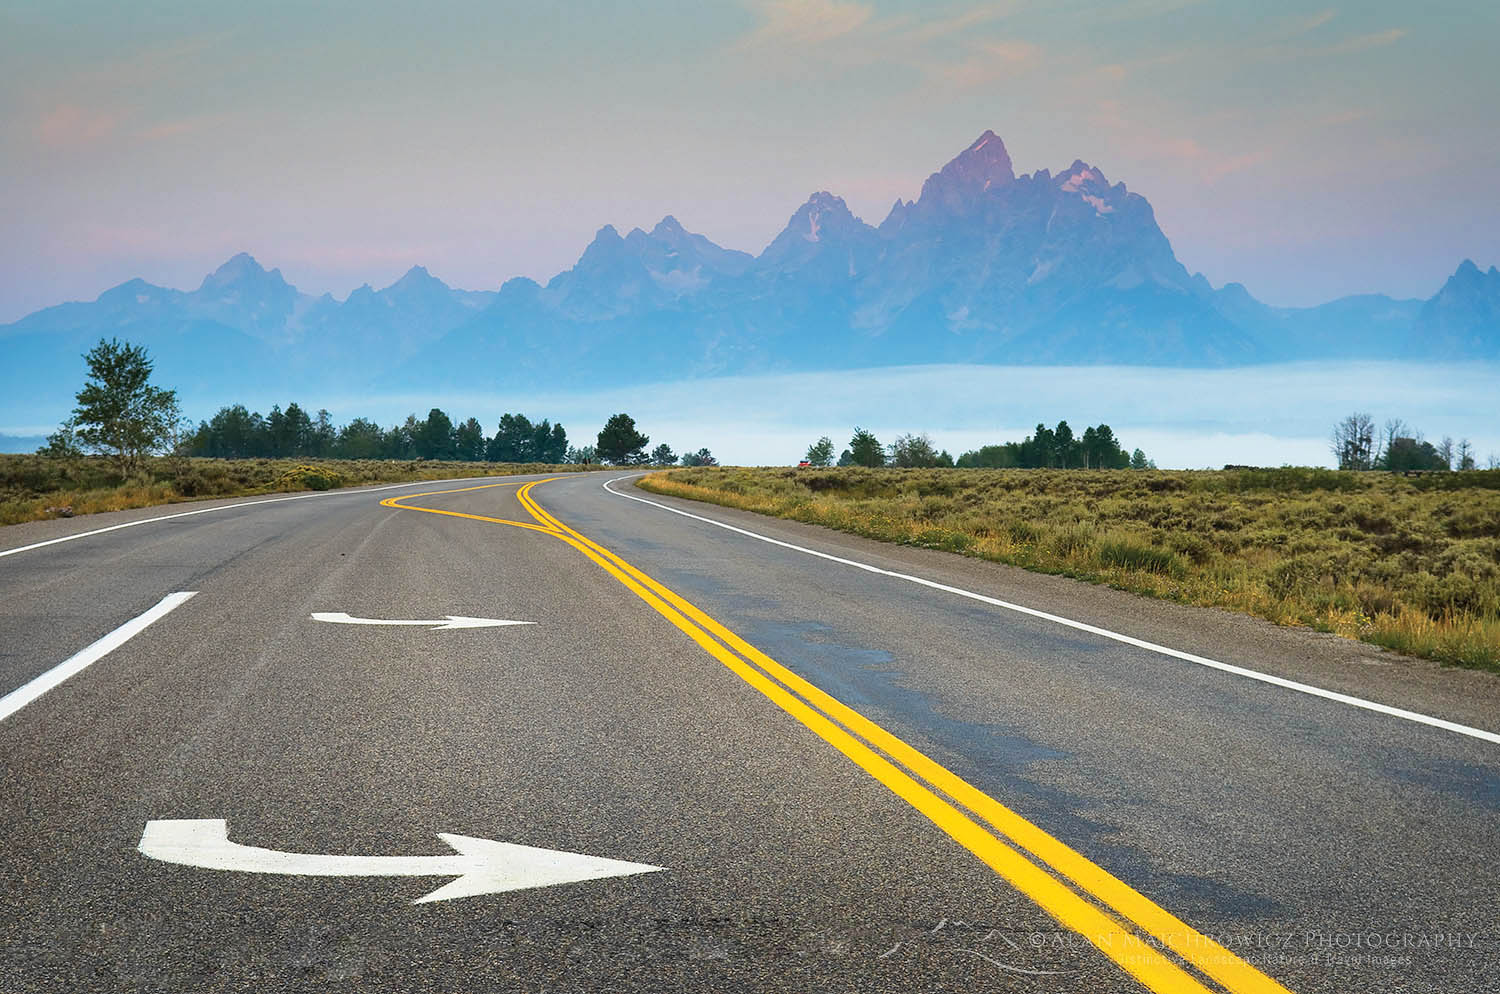
Grand Teton National Park WyomingHighway 191 Grand Teton National Park #49386  Purchase

Fees, Passes, Provisions, Cell Signals

The entrance fee to Grand Teton National Park is currently $35 for a private vehicle and is good for seven days. An annual pass exclusive to Grand Teton National Park is $70. Note that both of these passes are good only for Grand Teton, they do not carry over to neighboring Yellowstone National Park.

Consider an America The Beautiful annual pass if you photograph in many national parks and federal recreations areas throughout the year. This pass costs $80 and is good for National Parks, BLM lands, National Forests, and more.

Various amenities like gas, groceries, showers and laundry services are available in several areas of the park. However, if you are on a budget plan to make a trip to Jackson to stock up on supplies. Park concessioners charge a premium for their goods. Although sometimes the cost of driving back to Jackson is more than an inflated price for goods in the park.

Grand Teton is one of the few national parks where you can get a decent cell signal in most areas. In the vicinity of visitor’s centers and lodges, you should be able to receive a signal strong enough to surf the web and transfer small files. Further out it will probably be only one or two bars strong.

In the next post, Grand Teton Photography Locations we’ll go into detail about how and when to photograph specific locations in the park.

Thanks for reading, feel free to share this post with your friends and colleagues!

Oxbow Bend sunrise Grand Teton National ParkOxbow Bend Sunrise Grand Teton National Park #67686  Purchase

Ever wonder what it’s like photographing landscapes and nature for a living? Check out my blog post:
What is it like to be a Professional Landscape Photographer?

All photos appearing in Grand Teton Photography Trip Planning are available for Commercial Licensing and Fine Art Prints. Click on any image to purchase, or contact me for more info!

Want to learn more? Take your Creative Photography to the next level with  Private Instruction and Guided Photo Tours.

Planning a Grand Teton Photography Trip

Yellowstone Falls Sunrise

Trip Update: Grand Teton Yellowstone

Trip Update: Grand Teton Yellowstone

Sunrise at Oxbow Bend, Grand Teton National Park Trip Update: Grand Teton YellowstoneOxbow Bend Grand Teton National Park  #67699  Purchase
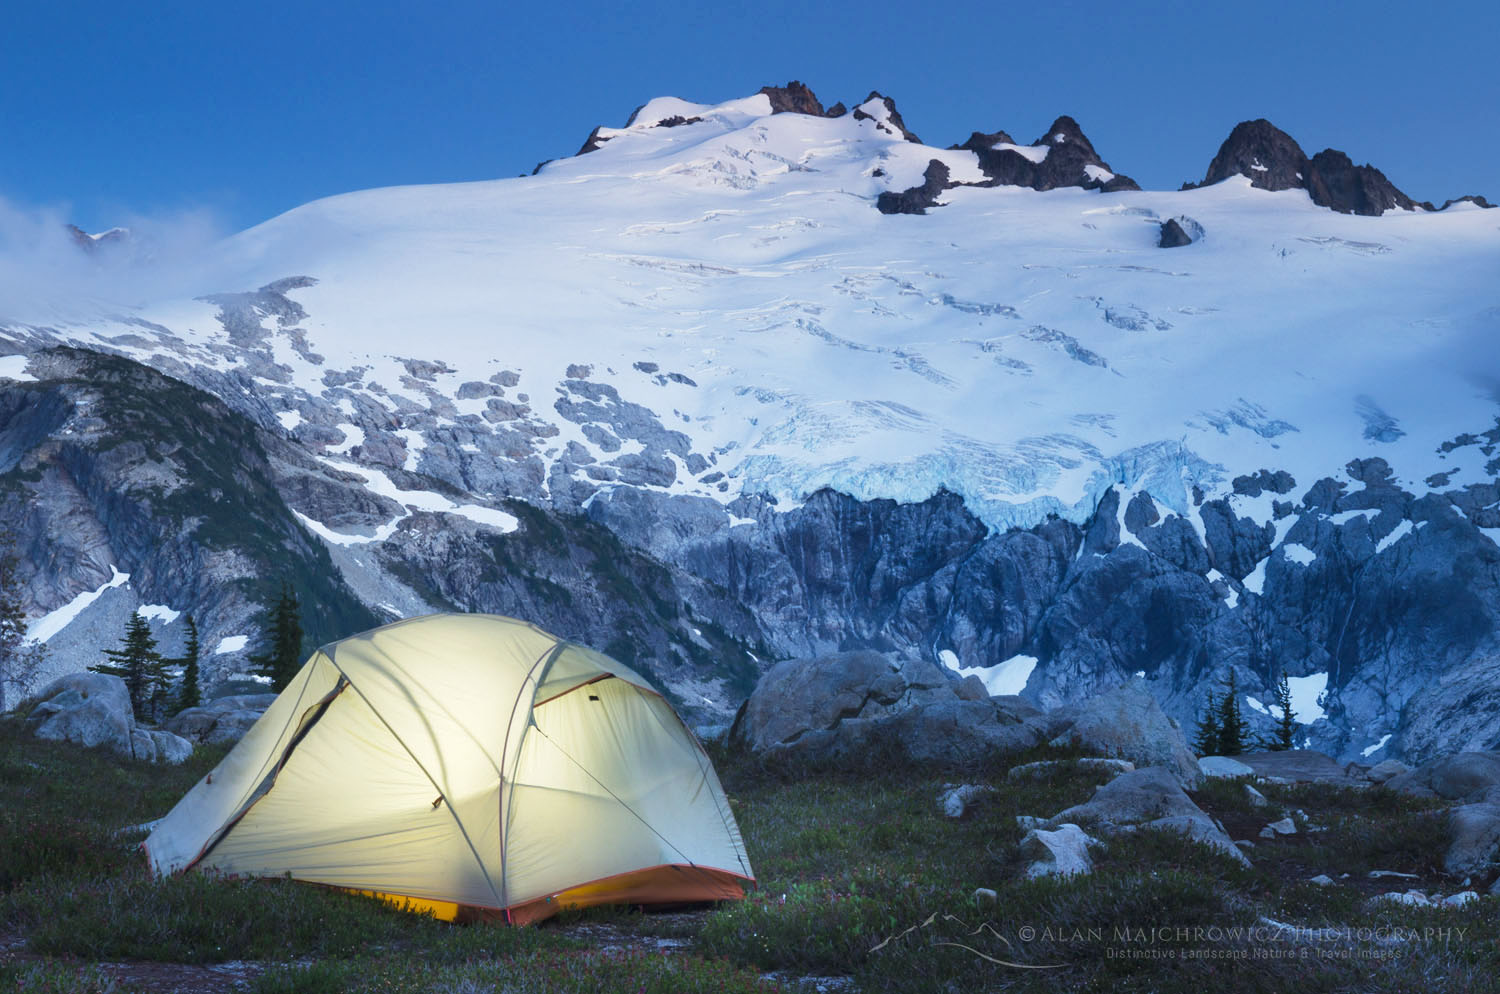
When I announce my planned list of locations at the start of a lengthy photo tour I always stress the subject-to-change factor. Now that I’m over eight weeks into this trip it’s very apparent that factor has long ago come into play.

For example, the Grand Teton Yellowstone segment of this trip was originally going to last for around 5-7 days. However, the abundance of subject matter, changing seasons, and weather patterns extended my stay to nearly three weeks! When I return to the office I’ll be posting more details on these two iconic locations. Suffice it to say these parks were a definite change of pace from the quiet solitude of backpacking in the Sawtooths and Winds. I’ve now had my fill of park traffic jams, and crowds of selfie-obsessed young women!

Great Fountain Geyser Yellowstone National Park Trip Update: Grand Teton YellowstoneGreat Fountain Geyser Yellowstone National Park   #67744  Purchase

It’s also apparent that I most likely will not be continuing to the Canadian Rockies. After Leaving Yellowstone National Park I’ll be making my way up the Rocky Mountain Front Ranges into Glacier National Park. This will probably be the final destination for the trip. Since by the time I arrive fall color should be close to peak, and I’ll be working hard to take advantage of it.

Moulton Barn Grand Teton National ParkMoulton Barn Grand Teton National Park   #69710  Purchase
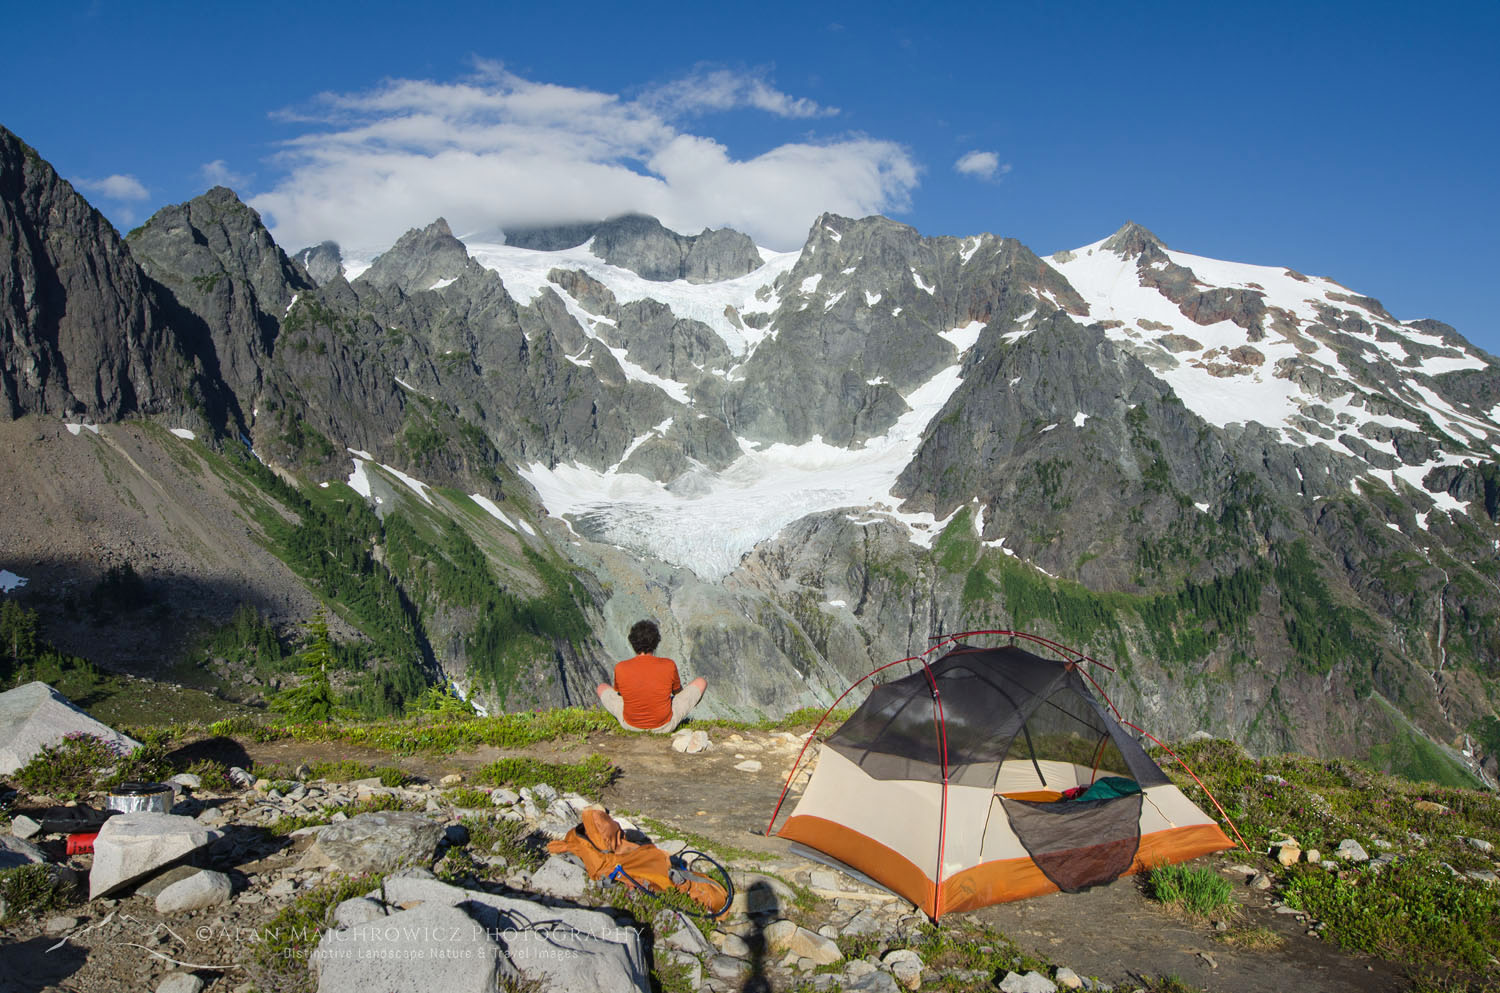
*The photos appearing on this post are quick on-the-road edits. However, they will be reprocessed and made available for sale when I return to the office.

*Please note, due to being out of cell or WiFi range for most of this trip I may not be able immediately to respond to any licensing requests or blog comments. Print orders that are placed while I’m away on this trip will not be shipped until I return to the office. Thank you for your patience and understanding!

Yellowstone Falls Sunrise Trip Update: Grand Teton YellowstoneYellowstone Falls Sunrise  #67940  Purchase

Devils Tower Wyoming

New Images Michigan Minnesota South Dakota Wyoming

Mackinac Bridge MichiganMackinac Bridge Michigan #63748  Purchase
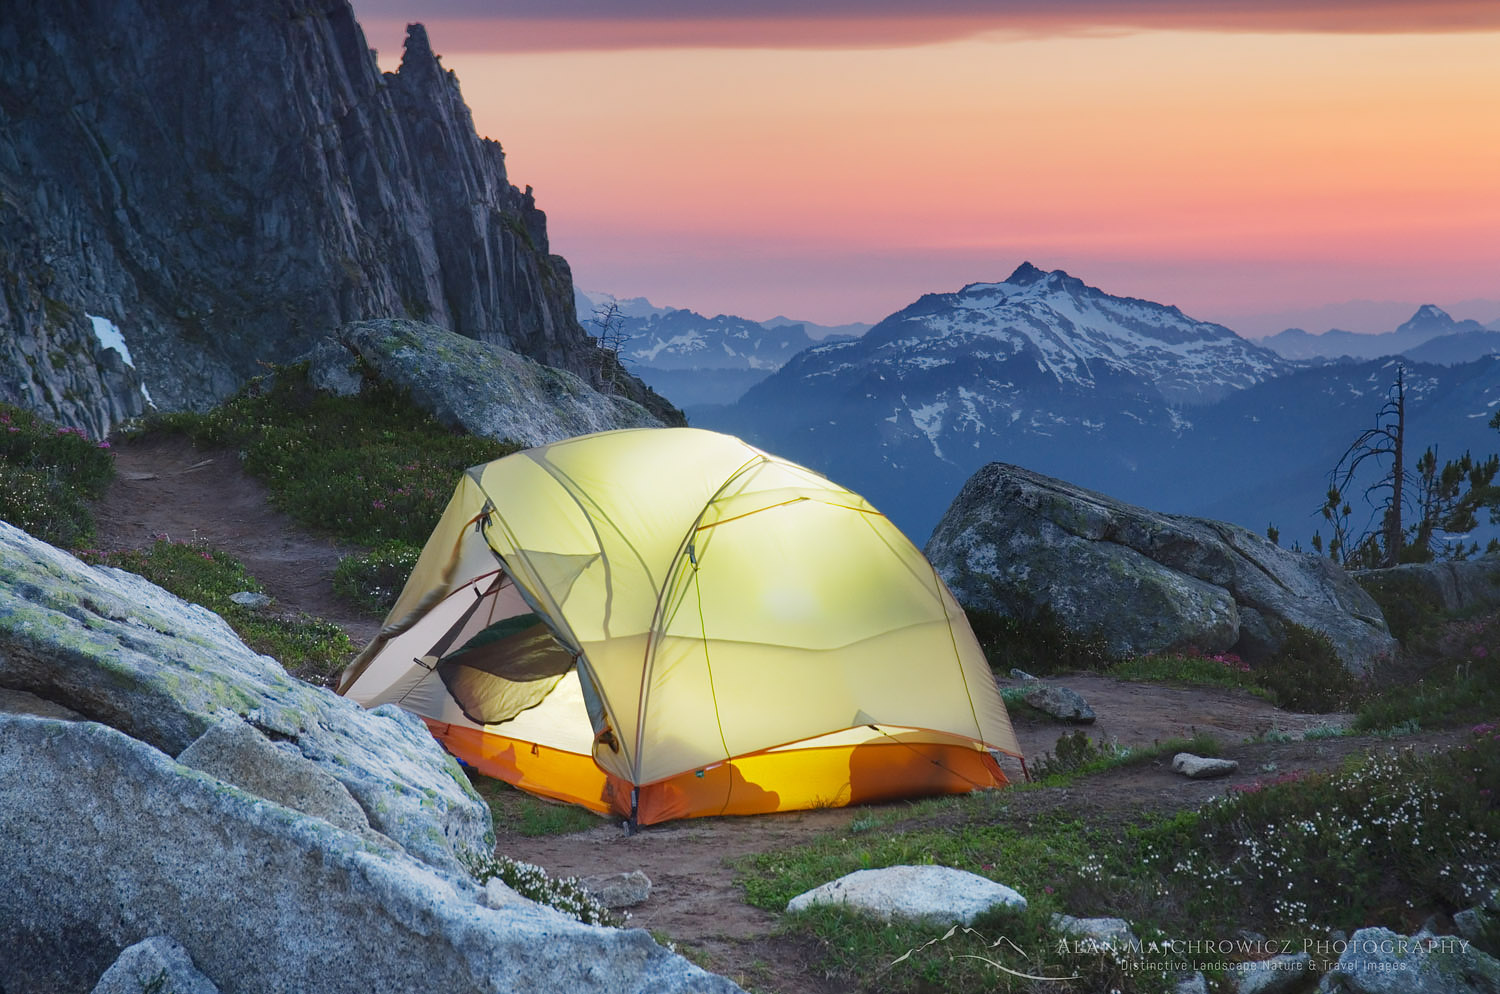
I’m excited to announce that the final installment of new images from my epic summer photo tour is ready for viewing. This group of images includes all new locations from the Upper Midwest, South Dakota, Wyoming, along with a bit of Montana. Also note that the New Images Gallery contains a sampling of selected highlights, however you can view the entire collection listed under each state, in left sidebar menu of the U.S. States collection. Below is a complete list of locations represented. You can also view and purchase prints or licensing of these photos by visiting the New Images Gallery.
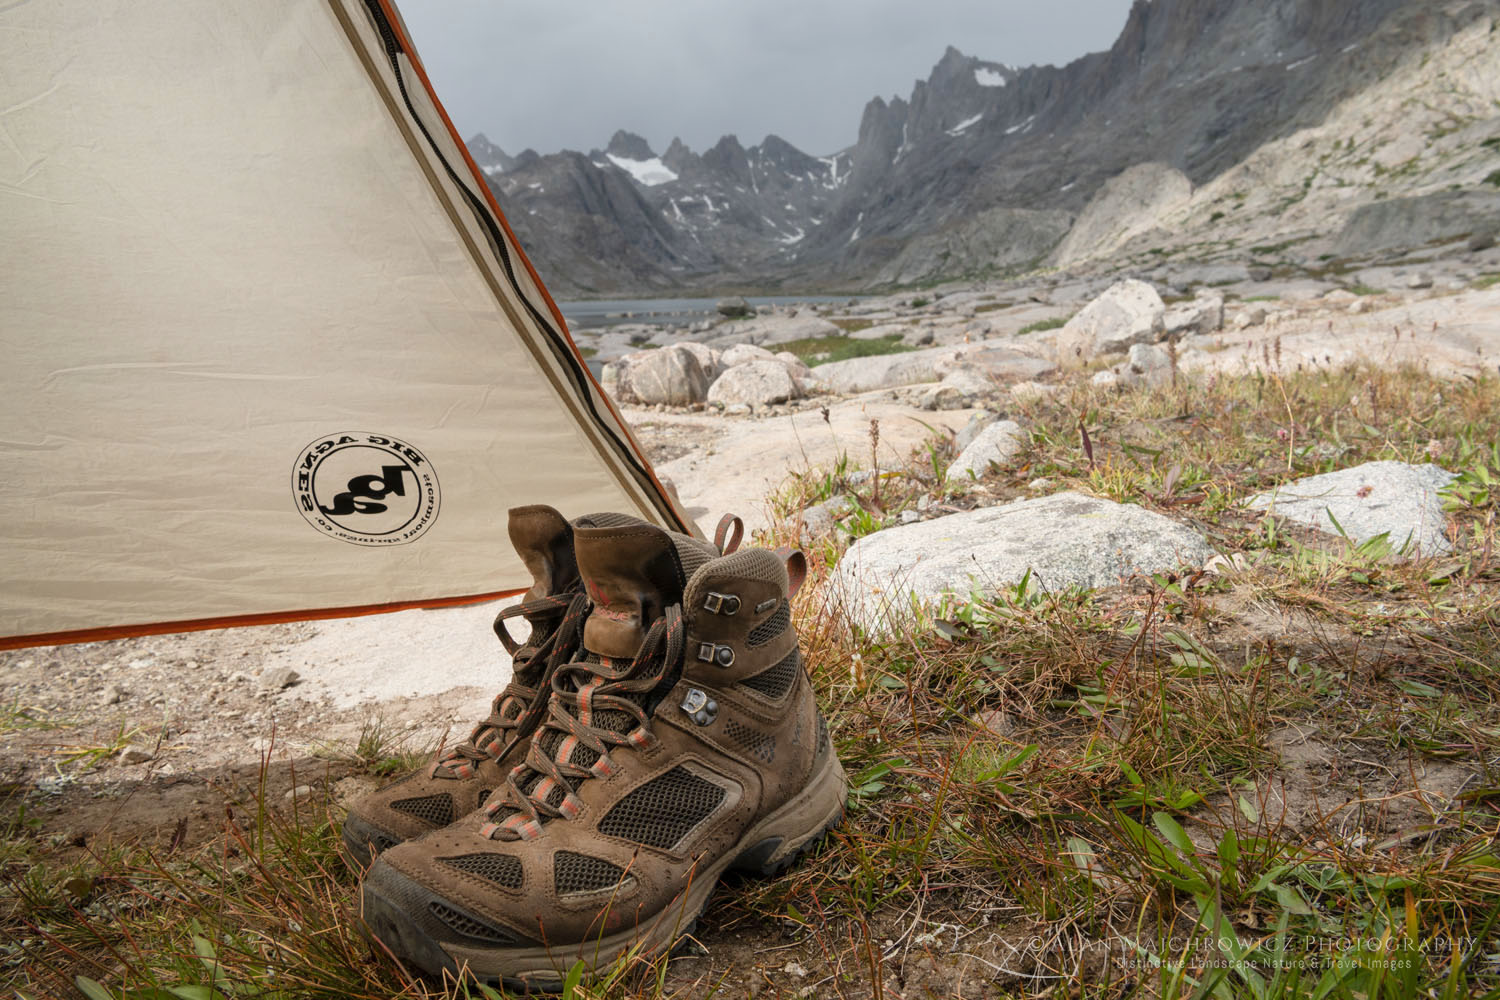
Michigan: Big Sable Lighthouse, Mackinac Bridge, Tahquamenon Falls, Whitefish Point, Au Sable Point Lighthouse, Picture Rocks National Lakeshore, Porcupine Mountains
Minnesota: Goosebury Falls State Park, Split Rock Lighthouse, Grand Marais, Superior National Forest, Touch The Sky Prairie
South Dakota: Badlands National Park
Wyoming: Devils Tower national Monument
Montana: Clark Fork River

Coming soon, more new images! Also, next in line, fall photos from the North Cascades, including Washington Pass, Cutthroat Pass, Maple Pass, and Heather Meadows.

Elliot Falls Pictured Rocks Michigan.Elliot Falls, Pictured Rocks National Lakeshore Michigan #63946  Purchase

Lake Superior twilight Whitefish Point, MichiganLake Superior Michigan  #63803  Purchase

Superior National Forest MinnesotaSuperior National Forest Minnesota  #64156  Purchase

Split Rock Lighthouse MinnesotaSplit Rock Lighthouse Minnesota #64034  Purchase 

Badlands National Park South DakotaBadlands National Park South Dakota  #64277  Purchase

Devils Tower WyomingDevils Tower National Monument Wyoming  #64398  Purchase

Previous new images post 

New Images Michigan Minnesota South Dakota Wyoming

Lower Humbert Covered Bridge Pennsylvania

New Images Illinois Ohio West Virginia Pennsylvania

New Images Illinois Ohio West Virginia Pennsylvania

Lindy Point Overlook West VirginiaSunset at Lindy Point West Virginia  #63422  Purchase

Following up on my previous post I’m happy to announce that another installment of new images is ready for viewing. This second group of images from my recent seven week photo tour includes all new locations from the Midwest, along with a section of the Appalachian Mountains. Note that the New Images Gallery contains a sampling of selected highlights, however you can view the entire collection listed under each state, in left sidebar menu of the U.S. States collection. Below is a complete list of locations represented. You can view and purchase prints or licensing of these photos by visiting the New Images Gallery.

Illinois: Starved Rock State Park; Matthiessen State Park; Heron Pond Cache River State Natural Area; Shawnee National Forest, Garden of the Gods
Ohio: Hocking Hills area and State Park
West Virginia: Blackwater Falls State Park, waterfalls and Lindy Point Overlook
Pennsylvania: Laurel Highlands; Ohiopyle State Park; Youghiogheny River; Covered Bridges

Hocking Hills State Park OhioUpper Falls, Old man’s Cave Hocking Hills, Ohio  #63229  Purchase

Coming Up Next

Currently I’m working on editing and processing the last segment from the trip. I should have them uploaded and ready for viewing and purchasing in a week or two. This final group will include Michigan, both lower and upper Peninsulas, and Minnesota’s Lake Superior North Shore, along with a small segment of the Minnesota prairie. Also, last but certainly not least, I’ll have some photos from a very successful stay in Badlands National Park South Dakota, and Devil’s Tower Wyoming.

Finally, after all of the photo have been uploaded I’ll be revisiting the entire trip in a series of blog posts. In each post I’ll share some of my experiences, and also talk about the unique aspects of each location.

Lower Humbert Covered Bridge PennsylvaniaLower Humbert Bridge, Laurel Highlands Pennsylvania #63507  Purchase

Matthiessen State Park IllinoisMatthiesson State Park Illinois   #63088  Purchase