Southern Utah Photography Tips
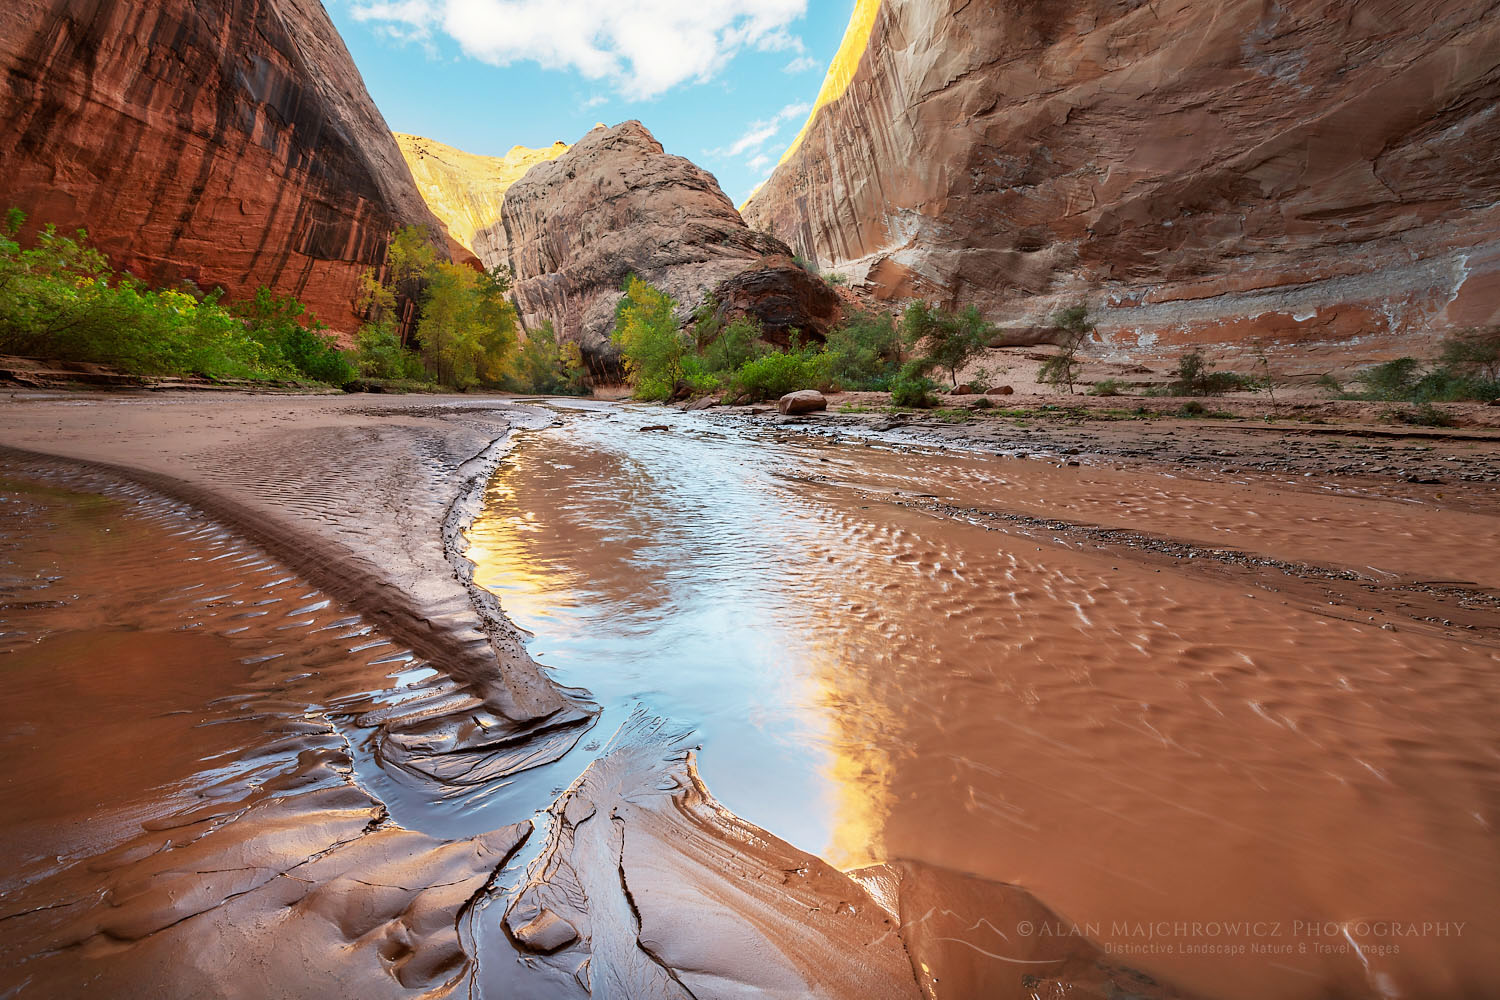 Glen Canyon National Recreation Area #76338 Purchase
The quality of light and subject matter in Southwest Utah has been attracting photographers since the earliest days of photography. Photographers from all over the world come to photograph deserts, canyons, hoodoos, wildflowers, and open vistas. In this follow-up to my recent post, Southern Utah Travel Tips, I hope to offer some practical advice for a safe and successful Southern Utah Photography tour. Much of the information in this post can be applied to many other areas of the Southwest as well.
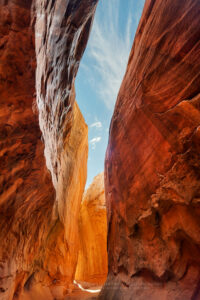 Reflected light in Leprechaun Canyon #74983 Purchase
Make Use of Reflected Light
Canyons
Reflected, or bounced light, is one of the hallmarks of Southern Utah Photography. This is the light that gives such a beautiful warm natural glow to sandstone rock. Without it, the walls of slot canyons and many other formations would appear dull and lifeless.
In most instances, a sunny cloudless sky is usually not favorable for landscape photography. But when you’re working in a canyon with high walls it’s just the thing you need. When the sun hits one side of the canyon it’s reflected on the opposite side. Since the rock of Southern Utah is mainly sandstone with various tones ranging from cream to red it is that light that gives it a warm glow.
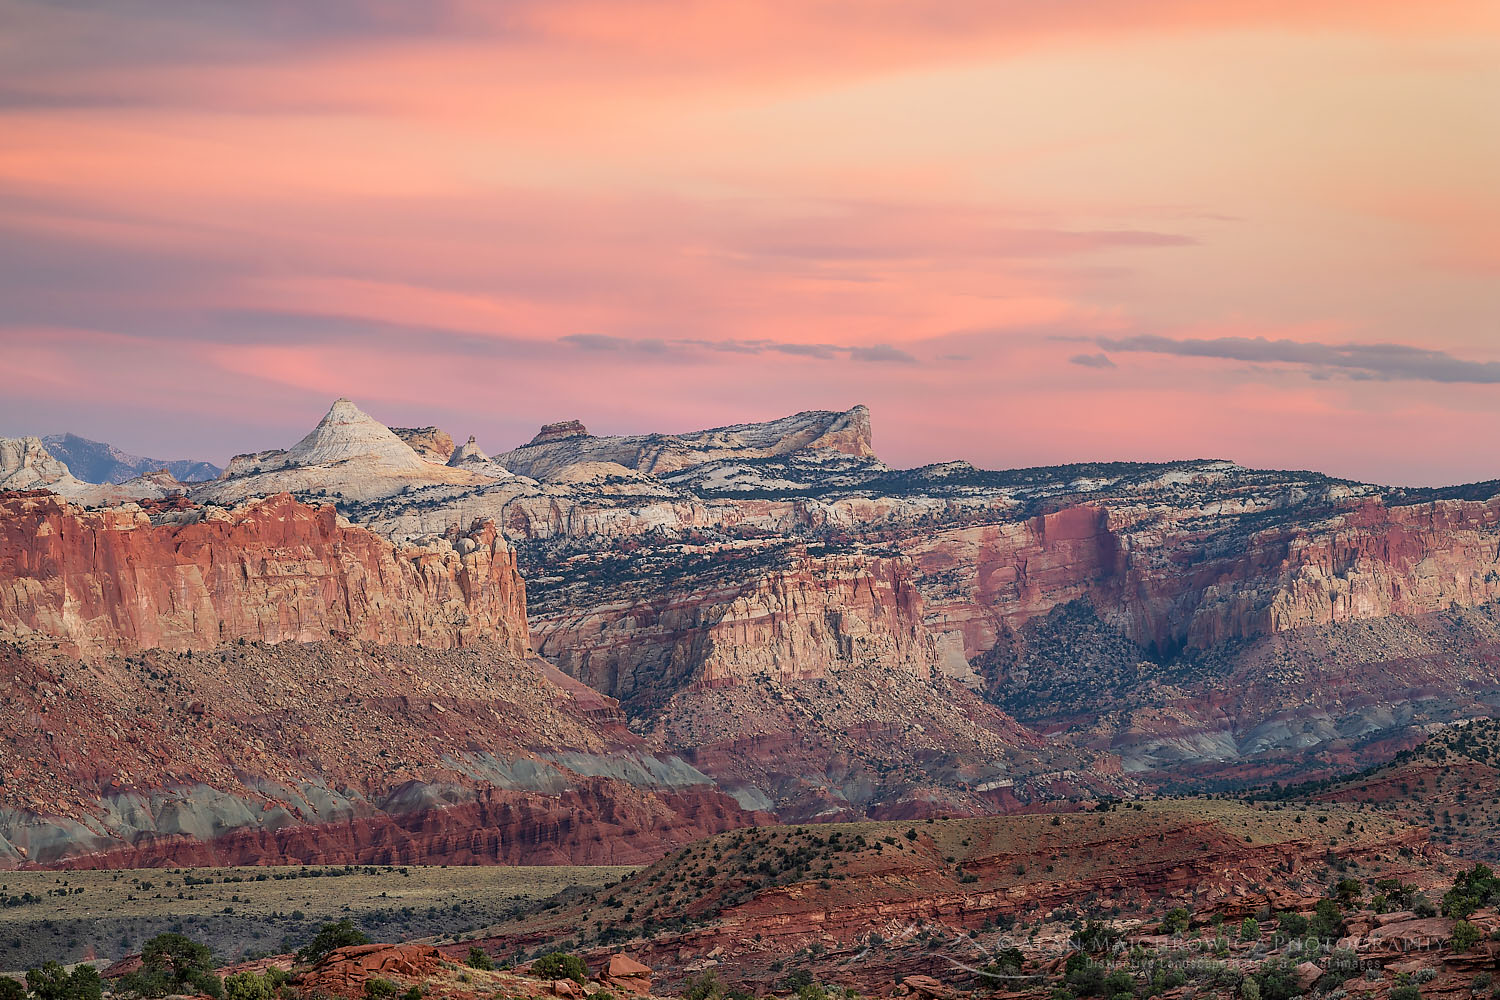 Post-sunset glow over Capitol Reef National Park #75454 Purchase
Clouds
Clouds in the morning and evening also offer another opportunity to photograph this glow. Under the right conditions during the golden hour, the sun can reflect its rays off the bottom layer of clouds, giving them a warm tone. The light from the clouds then bathes the landscape below in that glow.
If you are lucky enough to be there sometimes the sun briefly breaks through heavy clouds just minutes before sunset. In these instances, it is imperative to have your composition ready and exposure calculations ready. These special instances can last only minutes before they are over.
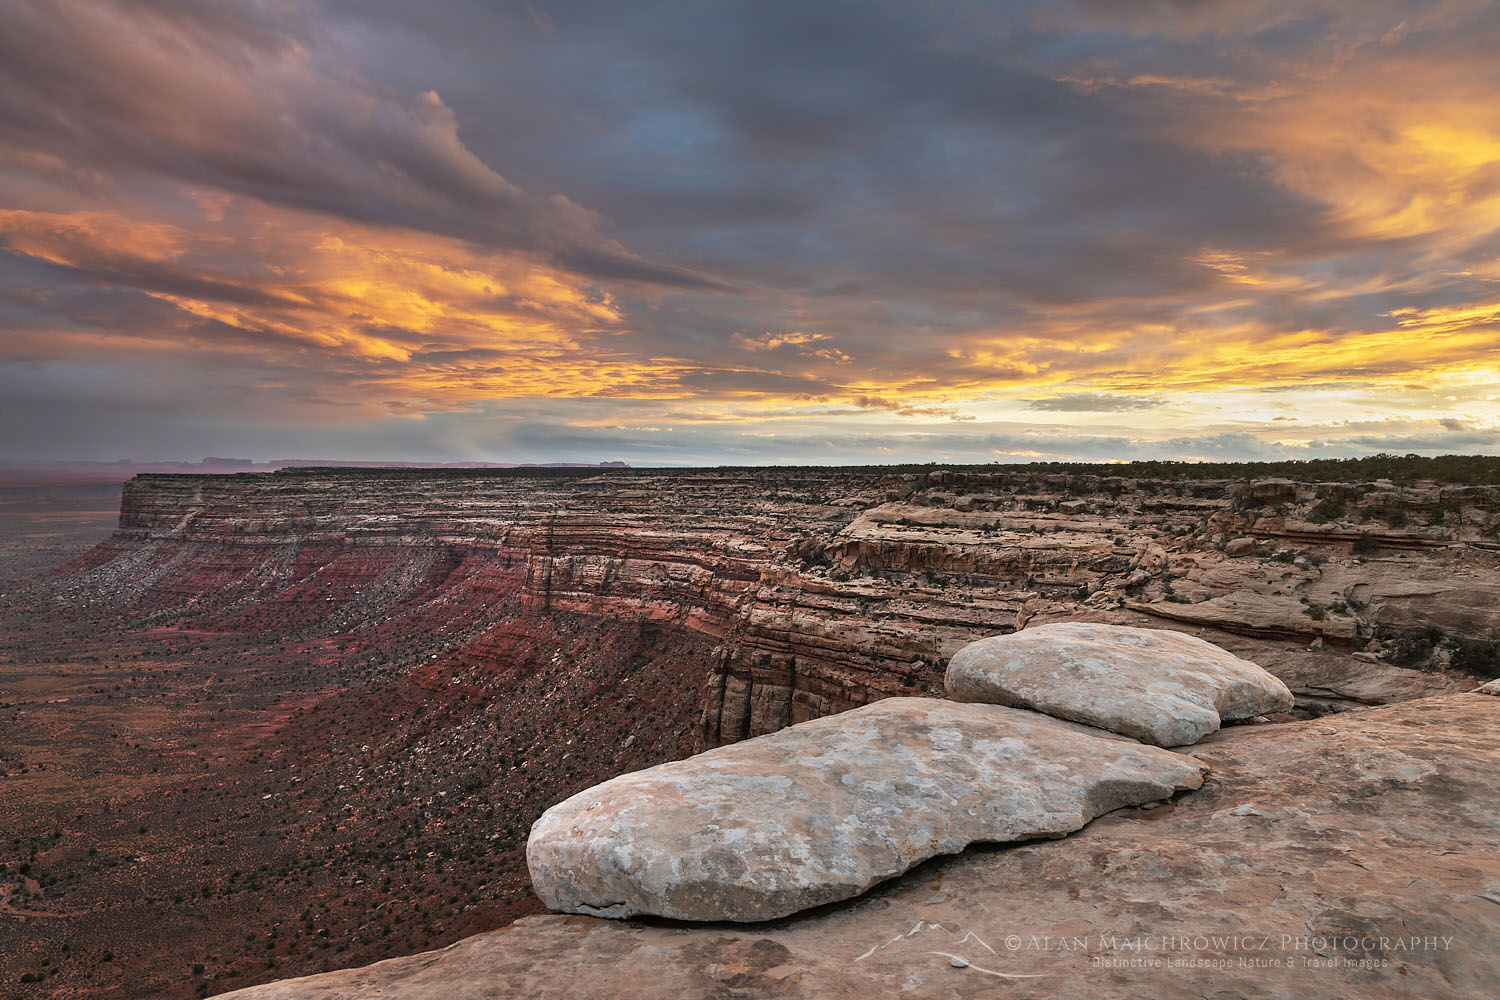 Cedar Mesa #74750 Purchase
Then there are times when the light continues to intensify on clouds even after sunset. Just when you think it’s time to pack it in it starts getting better and better. These instances are fairly rare and it takes a bit of experience to gauge when they may occur. So always wait until it’s obvious the light show is over.
Essential Tip: When photographing in narrow canyons check out the lighting conditions throughout the day. One side may look great and offer good compositions in the morning, and the other side may look even better later in the day. Also, don’t overlook midday light, it all depends on the height of the walls and their orientation of them to the sun.
Scout Relentlessly
I can’t overemphasize the importance of scouting. Good location scouting makes the difference between coming away with great photographs and missing out on golden opportunities. There’s not much worse than being in a location during excellent lighting conditions and not knowing where the good compositions are.
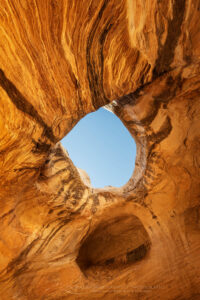 San Rafael Reef #75102 Purchase
Good location scouting begins long before you even head out. There are many sources available today to help ensure that you’re successful in the field. Some of the best and most obvious are websites of National Parks and Monuments, Google Earth, Google Image Search, adventure websites, and blogs, to name a few.
Good topographical maps are essential for not only route-finding but also for identifying landforms and angles of light. Whether you prefer actual physical maps or their digital counterparts they can help guide you to and pinpoint a location you first came across on Google Earth or elsewhere.
As soon as I settle in at a location I like to head out to explore the most obvious possible areas for compositions. I’ll walk around the subject matter and make mental notes of angles of interest and how and where light may strike it at different times of the day. After that, I’ll move on to the next subject or slowly expand in a circle from the first.
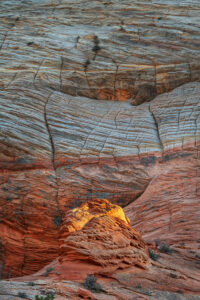 Zion National Park #76996 Purchase
After feeling I’ve covered all the possibilities available I’ll then assign priorities. Then, returning when the light is good I’ll work my way down the list. Often during the hectic period of golden hour priorities can and will shift. Sometimes a mundane or unnoticed composition from early scouting may turn out to look quite different and interesting under the right conditions.
Essential Tips:
-
- Always research before you head out.
- Thoroughly walk through your location in advance.
- Seek out compositional elements, leading lines, foreground subject matter, unusual rock formations, plants, etc.
- Always be observant, look up, down, low to the ground, and behind you.
- Previsualize your subject, think of how it may look in a different light and how you want the final image to appear.
- Prioritize subject matter and compositions.
- Don’t make the mistake of thinking that good photos can be made only during golden or blue hours. Under the right conditions, you can make great images any time of the day!
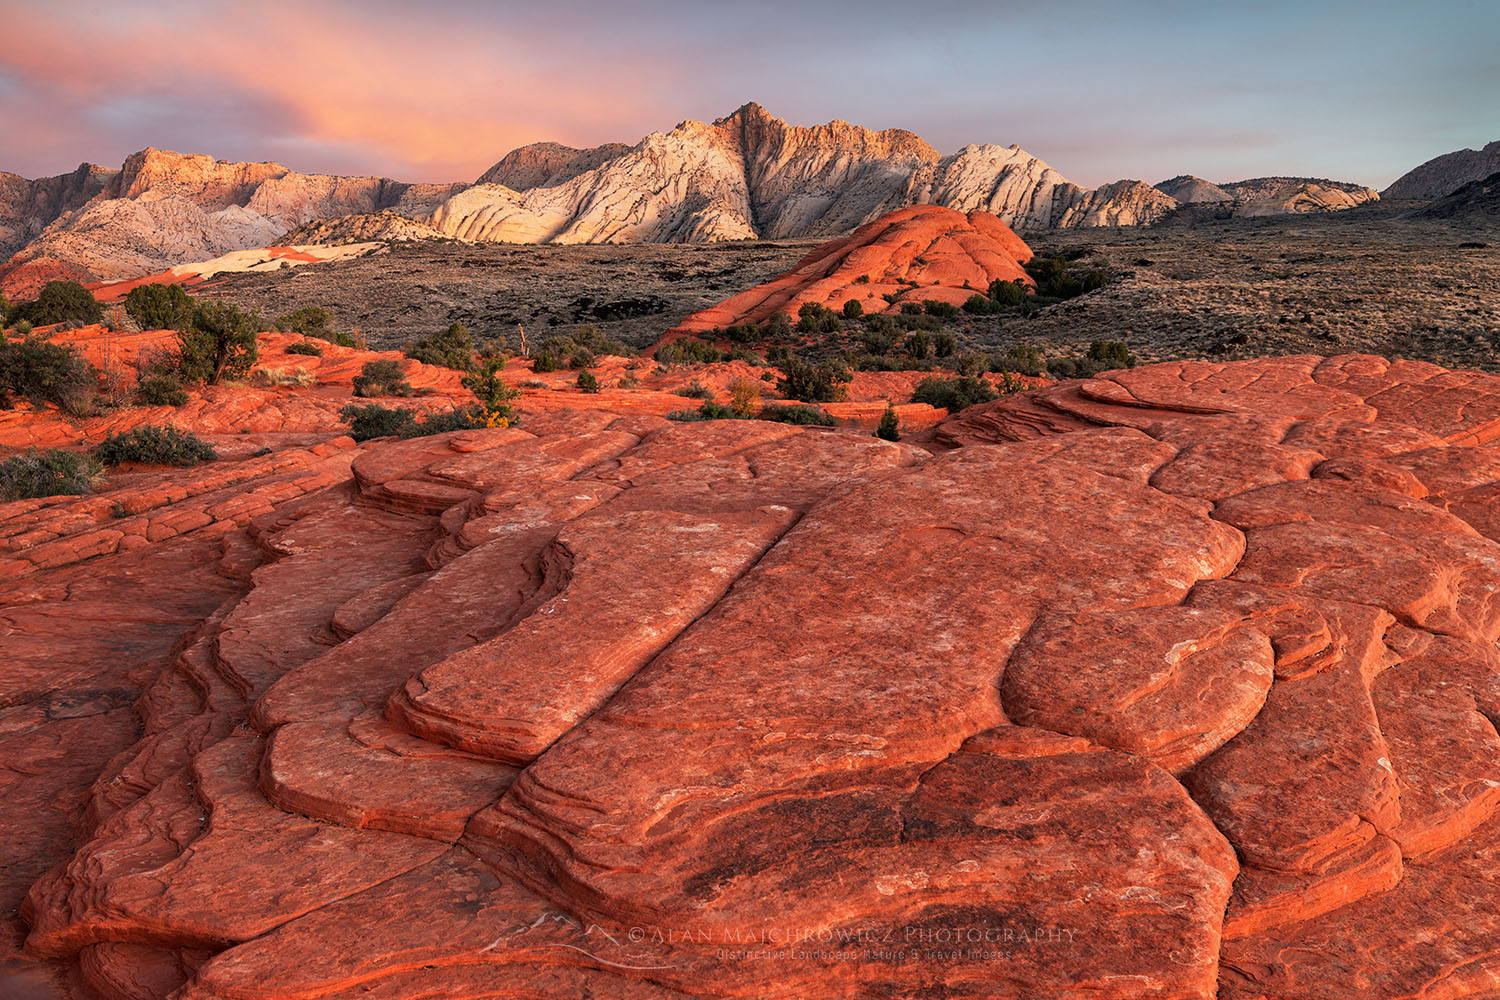 Snow Canyon State Park #77042 Purchase
Start Early and Stay Late
Most serious photographers know that the key to success is being at the right place at the right time. The previous tips helped you to identify the right place. Now you need to be there at the right time. Get used to setting your alarm early, very early. If you’re not an early riser by nature it helps to start getting into the habit before you start your trip.
How early you need to rise depends on how far you are from your subject matter. A disadvantage of staying in motels or lodges is that you may have a long drive ahead of you to get to your subject in time. Part of your research and scouting should have been to identify a base camp close to your subject.
Ideally, you should arrive and be in place at least an hour before sunrise. Longer still if you plan on photographing morning blue hour. Some sunrise locations are notoriously popular with photographers. For those places arriving even earlier is essential. For example, at Mesa Arch in Canyonlands National Park, photographers will vie for a prime spot hours before it even gets light out. Some may even camp out the entire night to ensure an optimum spot.
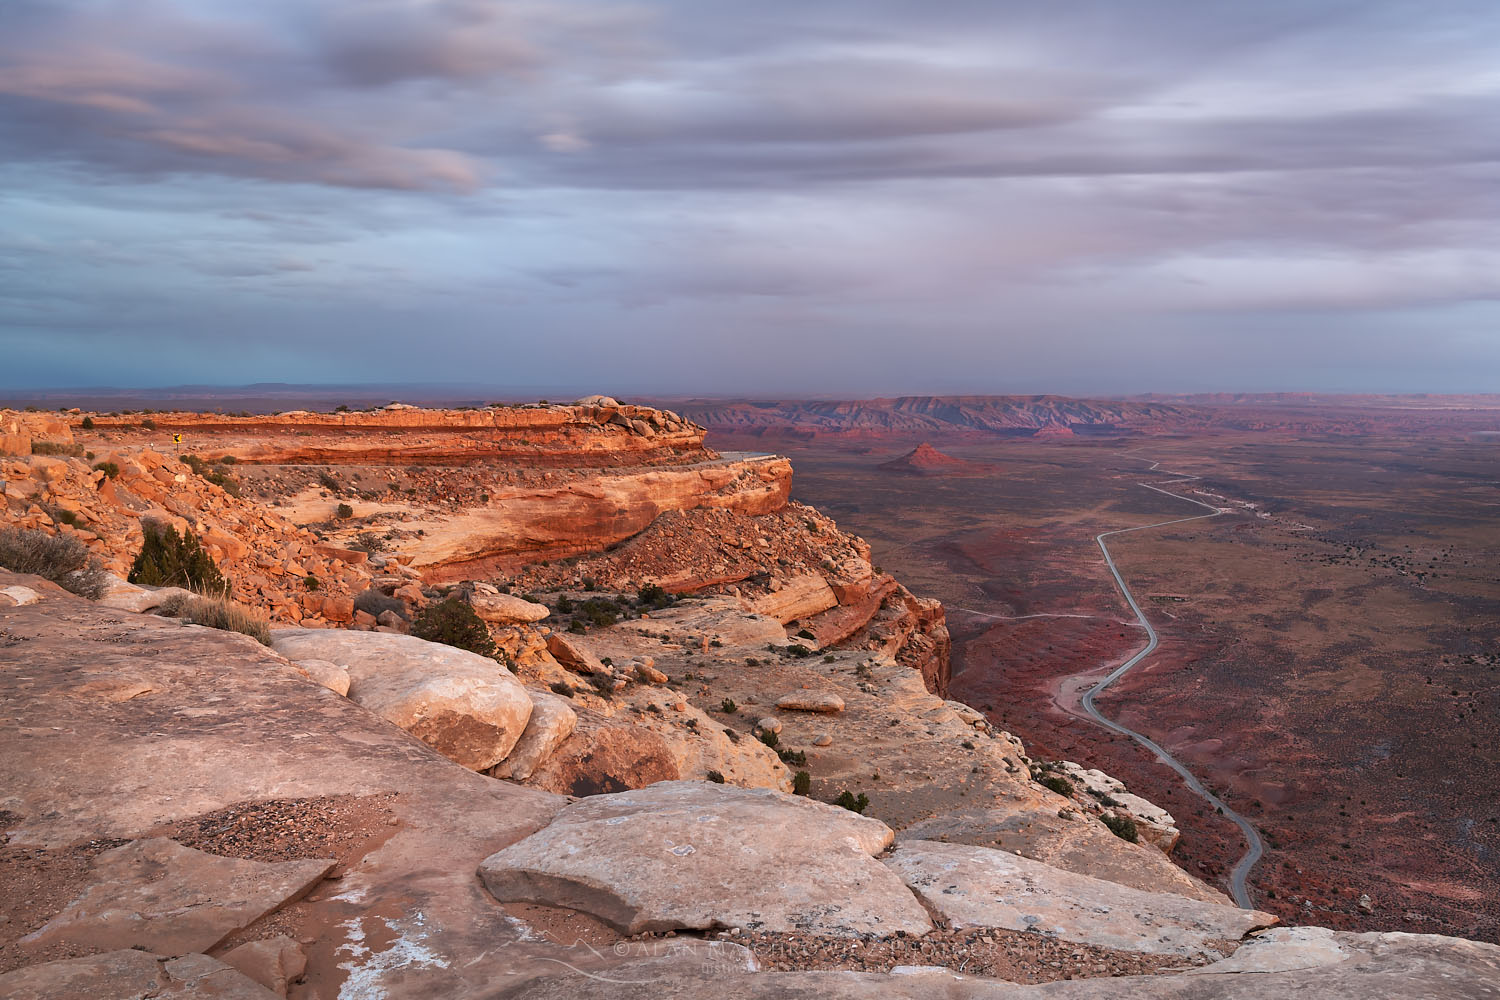 Cedar Mesa Afterglow #74762 Purchase
In the evening be prepared to keep working past sunset. And don’t give up if clouds move in before sunset canceling out any good light. All you need is a last-minute break in the clouds to bring the drama back. Often in the Southwest clouds tend to dissipate around sunset. This can set up the elements for some spectacular afterglow or alpenglow lighting conditions.
Essential Tips:
-
- Always have a good headlamp, preferably an LED one with multiple settings and a red light option.
- Autofocus on your camera may not be accurate in low light. Always switch to manual focus, make test exposures, and check the focus on your camera’s monitor.
- Make sure your headlamp has fresh batteries
- Scout your location well beforehand, so finding it in the dark will be easier.
- Use extra caution around hazardous areas when it’s dark, straying from the path can lead to cliffs.
- Be Patient and persistent
- Don’t pack it in at sunset, excellent light can be had after sunset during the Blue Hour, see next segment.
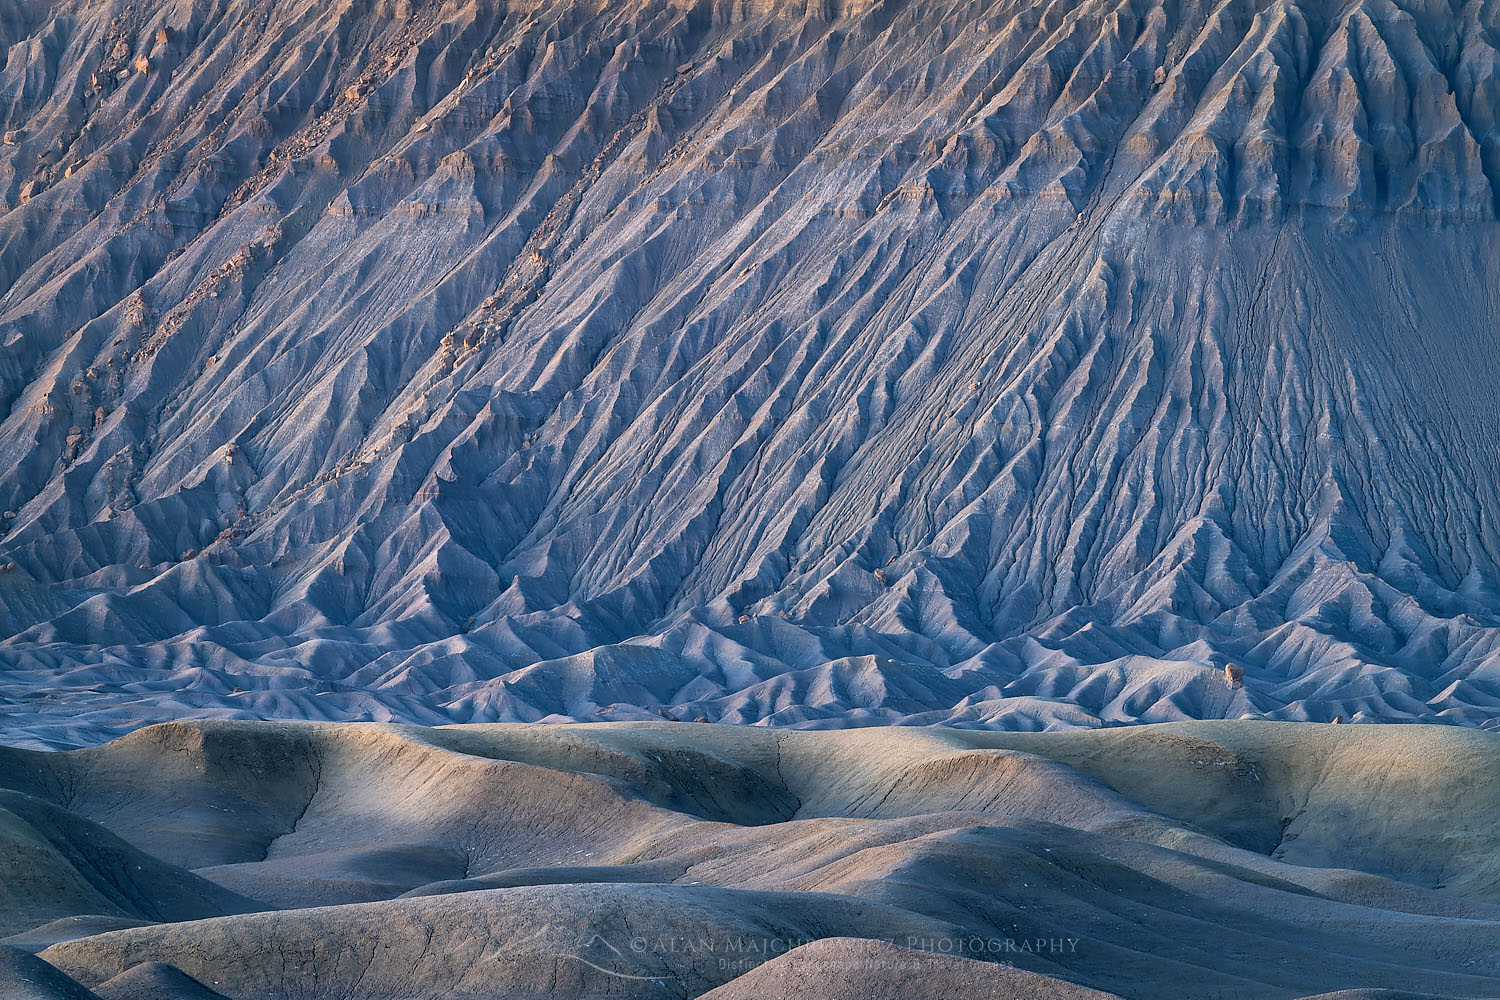 Factory Butte during Blue Hour #75293 Purchase
Utilize Blue Hour Light
Although blue-hour photography has gained in popularity in recent years it is still overlooked by some. Blue hour is simply the period of twilight both before sunrise and after sunset. The length of the blue “hour” varies throughout the year and with atmospheric conditions.
Why photograph during the blue hour? There are a few reasons, one of which is the beautiful soft glow and tones the light has. In the morning it starts with deep blues then changes to purples, pinks, reds, and oranges. In the evening of course the sequence reverses, with purples and blues being the last in the show.
Another reason the blue hour is so special is the soft contrast present due to the diffused light. It’s very easy to bring both highlights and shadows into the range of one exposure. There also is a lovely amount of color saturation spread out over the scene. In most instances, you won’t need to add any additional saturation in post-processing.
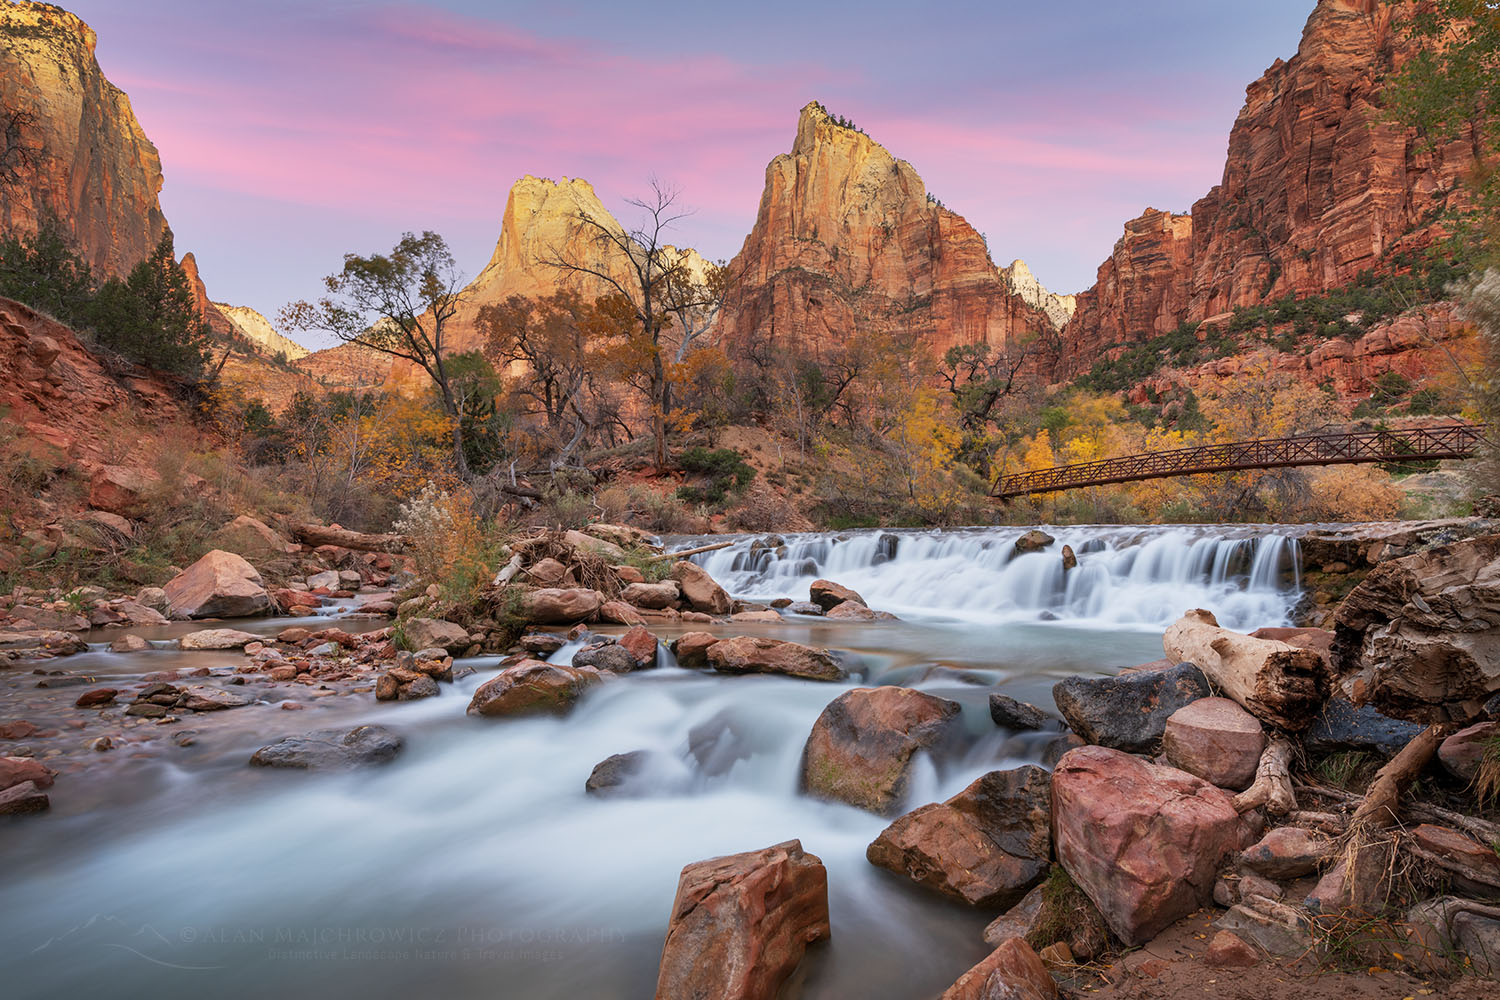 Morning Blue Hour in Zion National Park #76937b Purchase
Finally, during the blue hour, the long exposures necessary will give a silky feel to moving water and clouds. Although it’s all down to personal taste this effect can accentuate the mood of your images.
Essential Tips:
-
- You will need to use a good sturdy tripod
- Autofocus on your camera may not be accurate in low light. Always switch to manual focus, make test exposures, and check the focus on your camera’s monitor.
- Some means of remote shutter release will help reduce vibration
- For very long exposures use a stopwatch, or use this feature on your smartphone.
- As mentioned in the previous section be prepared to arrive early and stay late
- Always have a good headlamp, preferably an LED one with multiple settings and a red light option.
- Make sure your headlamp has fresh batteries
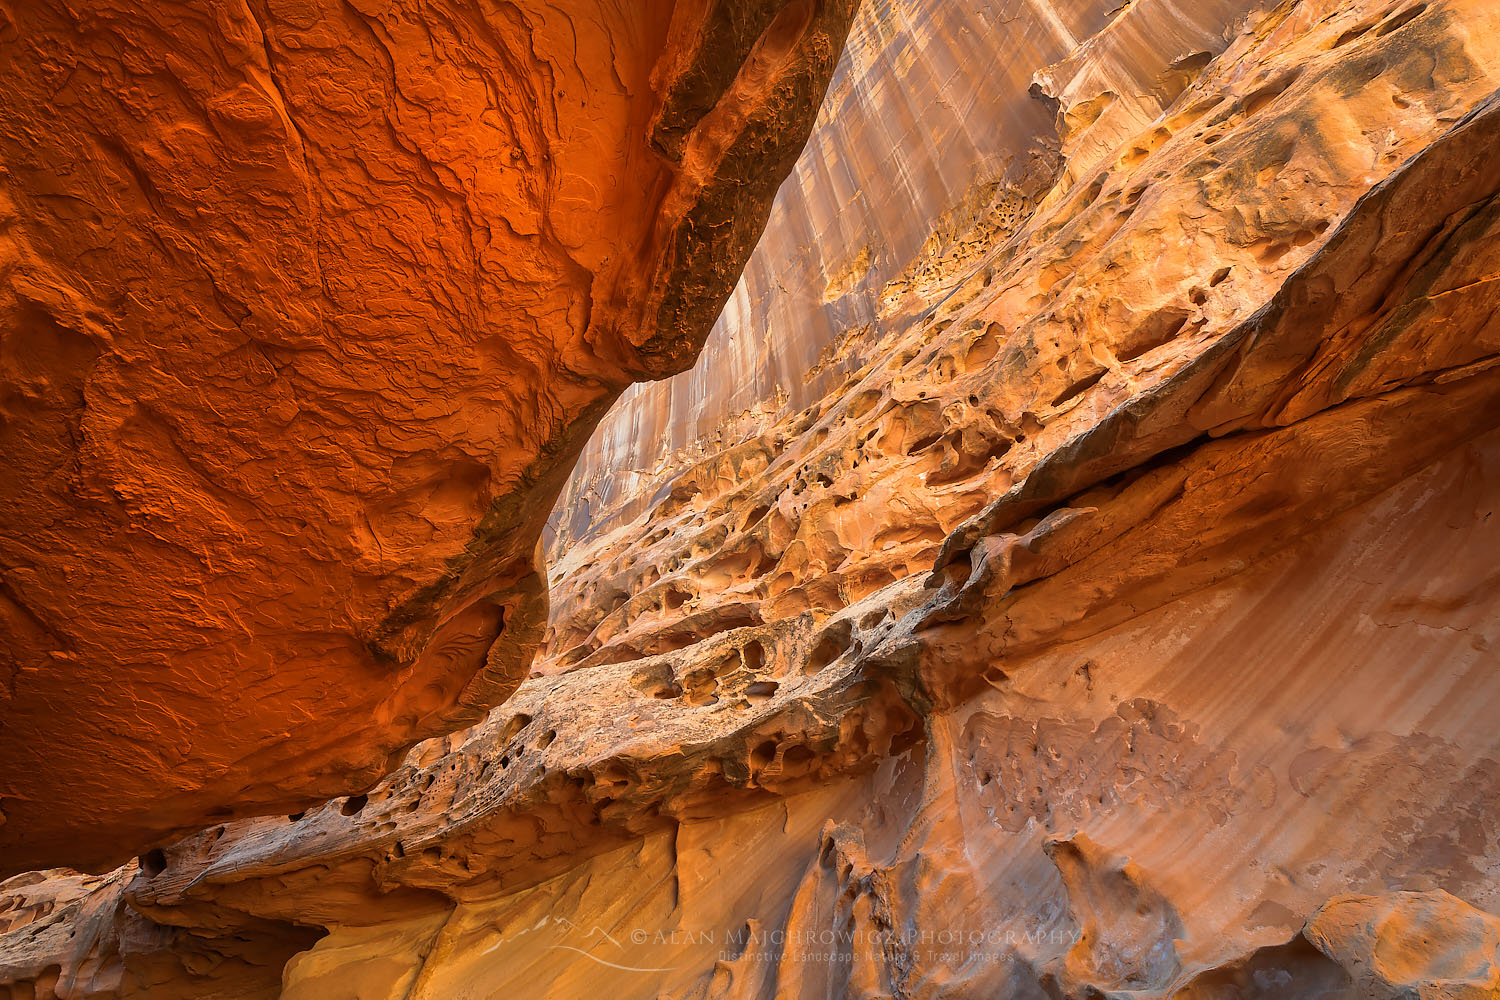 San Rafael Reef #75122 Purchase
Be Creative See Differently
Don’t be a copycat! Be yourself and utilize your creative instincts. You will have undoubtedly seen some great images online during your research stage. While I encourage you to be inspired by them don’t simply try and mimic their style.
There are some well-known photographers with a dramatic, moody, painterly style. Every photographer on earth seems to be clamoring to copy every pixel of their technique. Ughh! The result is a homogenous sea of look-a-like knock-offs. One thing is for sure, chasing likes on social media definitely will stifle your creativity!
 Eroded sandstone resembling Archaeopteryx fossil #76313 Purchase
Southern Utah photography has many different elements which can be used to expand your creativity. One of my favorite subjects is the abstract quality that eroded sandstone takes on. A key to creating your vision is to know your subject matter intimately. Learn to love and appreciate its moods and what makes it tick. This kind of understanding doesn’t come to fruition in one quick visit. It can take years of return visits to learn to appreciate all its subtle nuances.
I mentioned this earlier and it’s worth repeating. Don’t make the mistake of thinking good photos can be made only during golden or blue hours. Under the right conditions, you can make great images any time of the day!
Southern Utah Photography Safety
Southern Utah photography demands some extra safety and preparation considerations. My previous blog post addressed some of these concerns, but I will repeat some of them. I’ll also add a few photography-specific ones.
The tips offered below are fairly basic starting points to get you thinking. They are not all-inclusive of hazards you need to be aware of on a trip to the desert.
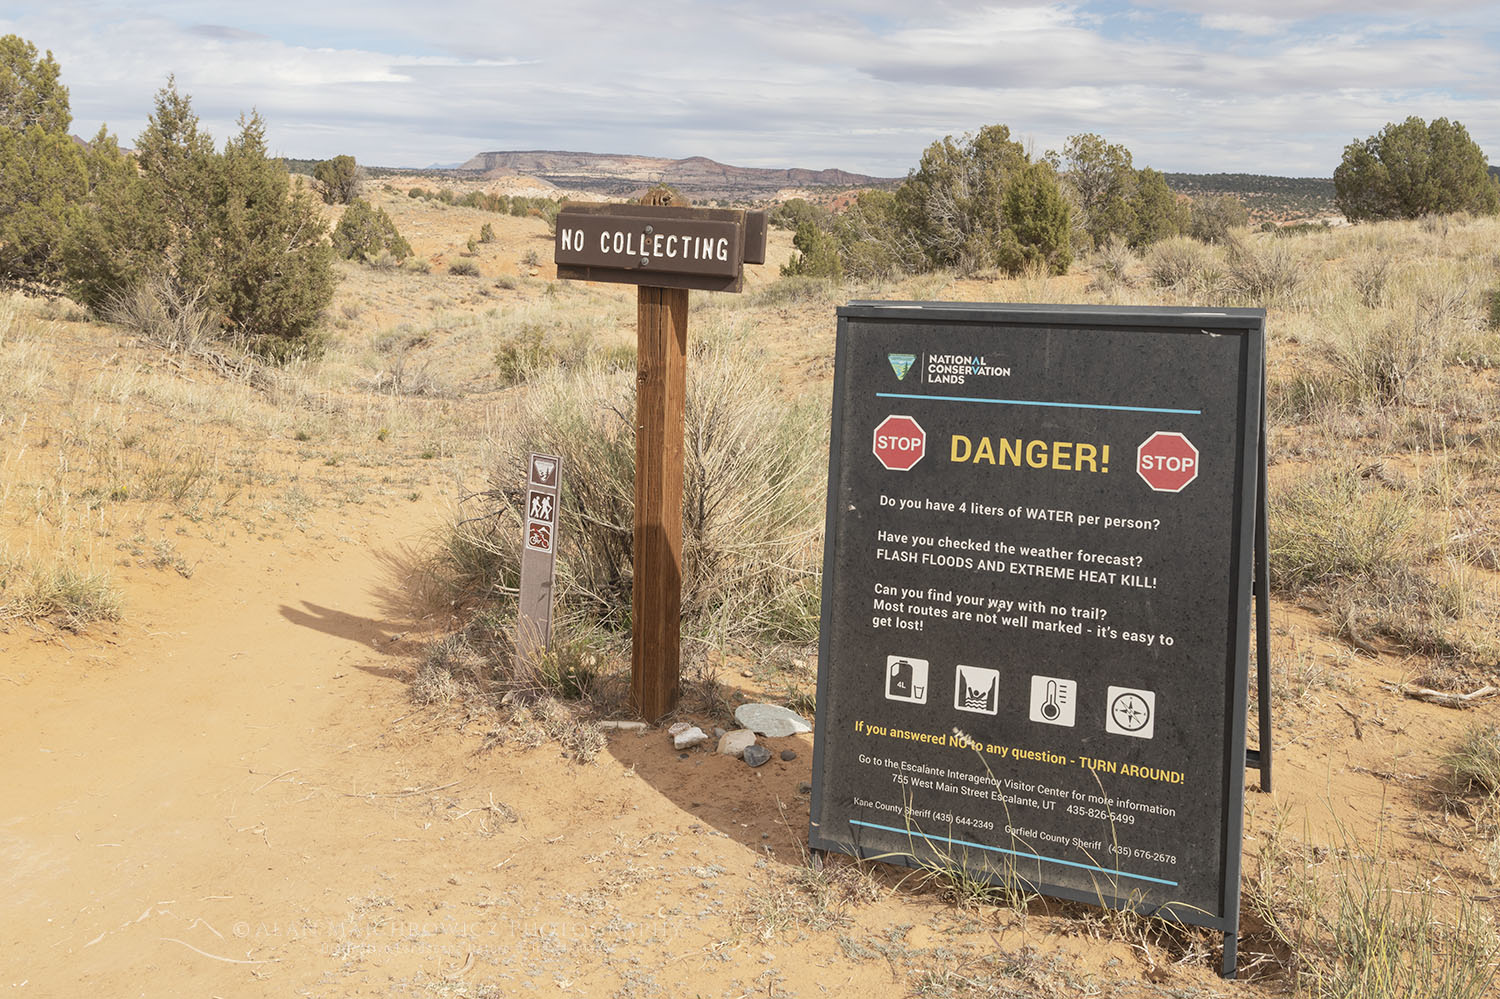 A trailhead sign to be taken seriously #75933
Water:
Always, always carry water, everywhere you go. It’s frightening how easy it is to get quickly dehydrated in the desert. I carry a hard-sided 7-gallon water in my vehicle and top it off every chance I get. On hikes, I carry a 3-liter hydration reservoir in my pack filled with a sports drink.
Weather:
To ensure a safe and enjoyable trip carefully monitoring the weather is essential. This is especially true when hiking in any slot canyon or dry wash. Flash floods can occur from storms many miles away. Just like filling up on water and gas before you head out to a remote spot, you should load up on several weather forecasts.
Sun:
Even on a mild spring or fall day, the sun can feel burning hot. Unless you’re hiking in a deep canyon with tall walls it can be difficult to find shade. Always carry and use plenty of good sunscreen. Heat and sunstroke are serious issues that can come on very quickly in the desert. Know the warning signs and immediately get in the shade and drink plenty of fluids if you or your companions are in danger.
Quicksand:
Yes, it does exist, but in my experience, it’s not like what you see in old Western TV shows and movies. You will encounter it mainly along streams in canyons, especially after heavy rain. If you’re walking on a bank along a creek that suddenly quivers like jello and liquifies under your foot that’s quicksand. It’s easy enough to extract your foot if you’re alert and don’t proceed any further. If you get both feet in it you’ll have more trouble extracting yourself and you may lose a shoe. But you won’t slowly sink to your death like in the movies.
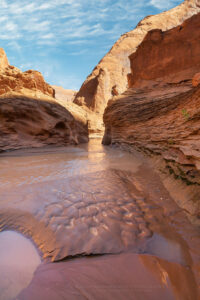 This sandbar most likely hides quicksand #76253 Purchase
Be Alert and Use Common Sense:
When you’re out photographing it’s very easy to be so focused on your work that you lose track of your surroundings. This is especially true during the fast-changing golden hours.
-
- One easy way to get in trouble is falling into the “just one more photo” or “there’s probably a great photo just around the bend” mentality. For example, the Escalante River is a labyrinth of canyons and washes. If you’re not paying attention you can easily get lost here, where much of the terrain looks very similar.
- Don’t get in over your head for that one special photo. This can be true in some slot canyons filled with water. I’ve wanted to photograph Zebra Slot Canyon for years. Last fall I finally had a chance when I was in the area. There was a pool of water at the entrance, and reportedly several more pools further on where the best photos were. I didn’t know when or if I would return for another chance so it was tempting to try. Fortunately, two hikers appeared and cautiously tested the water. Before reaching the end of the first pool the water was chest-deep. At the very least I would have risked ruining my camera gear. With a camera pack on my back, I could have drowned if it got too deep.
- Pour-offs in canyons can be a trap. That great photo may be reached by an easy slide down a short section of Slickrock at a canyon pour-off. But will you be able to get back up? If you’re on your own maybe not, and there might not be someone around to help.
- Crumbly sandstone cliff edges are another quick way to say goodbye forever. There are many different types of sandstone in Southern Utah and some are much stronger than others. Check carefully before you lean over the edge!
- Possibly the biggest danger is ignoring the weather to get that trophy photo. Again, you may have only this one opportunity to photograph a slot canyon. However, the weather forecast calls for severe thunderstorms miles away in the mountains. Slot canyons were created by flash floods. Think carefully if that one single photo is worth your life. It is a fact that people have lost their lives in canyons ignoring flash flood warnings.
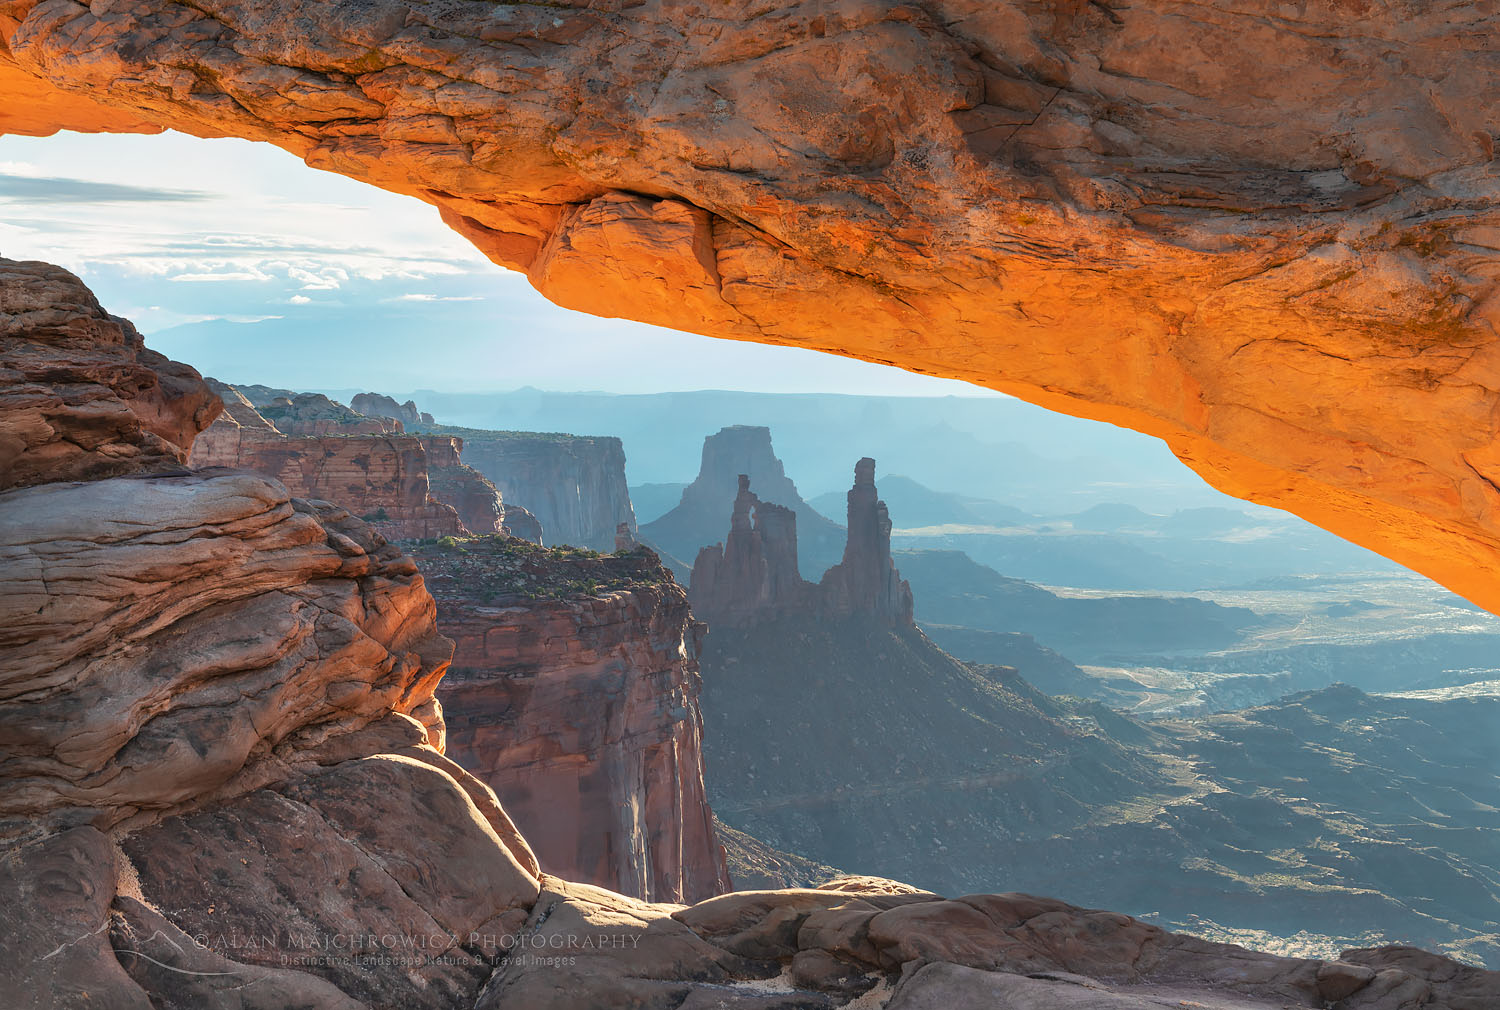 Mesa Arch Canyonlands National Park #74554 Purchase
Camera and Travel Gear for Southern Utah Photography
In a nutshell, my advice is to take whatever you have. If you’re a landscape photographer, you’ll probably not need long telephoto lenses. My kit is basic and has been quite sufficient for all my needs for many years. It has three lenses, a DSLR body, a tripod, and a few accessories.
Here is a partial list of some of what I consider essential.
-
- Ultra-wide to short telephoto zoom or prime lenses. 14mm-200mm on a full-frame sensor camera is generally sufficient.
- DSLR or Mirrorless body, and a backup body if you have one
- Several extra batteries and charger
- A good sturdy tripod with a ball head and quick-release plate
- Remote shutter release
- *Polarizer filters to fit all lenses *You’ll probably use this filter less in the Southwest than in other regions.
- Lens cleaner and microfiber cloth
- Memory card reader
- A laptop or hard drive to download and store files on
- Method to recharge camera batteries, laptop, etc. Solar panels are ideal and reduce the risk of draining your vehicle battery.
- Dedicated camera pack for short distances
- Backpack for all-day excursions. One that is big enough to hold all your camera gear, a 3-liter hydration reservoir, snacks, and the ten essentials. It also must be well-fitting and comfortable. Most camera backpacks currently available are way overpriced and lacking in essential features. I prefer Osprey packs, they are well-designed, comfortable, durable, and reasonably affordable.
- Hydration system. Again I use an Osprey reservoir. I’ve tried several others and this one works best for me. And no, they aren’t paying me to endorse them.
- Hiking or trail running shoes. Heavy leather hiking boots aren’t suitable. Consider neoprene water shoes if you’ll be crossing canyon streams often.
- Large cotton bandana and hat
Southern Utah Photography in Conclusion
Hopefully, this and tips in previous posts should be enough basic information to get you excited about planning your trip, and safely come back with some excellent images.
Thanks for reading, feel free to share this post with your friends and colleagues!
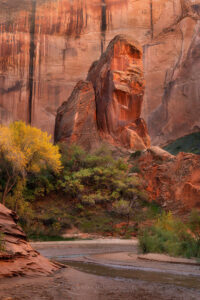 Coyote Gulch #76073 Purchase
Also check out: Southern Utah Travel Tips for more practical advice for your next trip!
Coming Up Next: Backpacking and Photography in Coyote Gulch
Learn about how to protect the places we love to photograph
Visit the Nature First Website

Want to learn more, or have a professional photographer guide you in the field? Then take your Creative Photography to the next level with Private Instruction and Guided Photo Tours.
All photos appearing in Southern Utah Photography are available for Commercial Licensing and Fine Art Prints. Click on any image to purchase, or contact me for more info!
Southern Utah Photography

You are an excellent photographer and this is a comprehensive list of photography tips for our beloved southern Utah and other safety tips that I’ve not come across yet.
I’ve been exploring UT for 2 years now. I was supposed to only be here for a work contract for 3 months and ended up falling in love. I quickly compiled a huge list of locations to take photographs and slowly ticked them off. I’ve gone to basically all the “safe” ones now and wanting to be a little more adventurous is how I found your website.
I want to do places like Coyote Gulch, Reflection Canyon, etc. so many of them at mIn roadblock is not having a 4×4 yet. Soon hopefully!
Thanks for checking out my post, I’m glad you found them informative and inspiring. There are plenty of out-of-the-way places in the SW you can get to without a 4×4. Every location you see on my website was accessed with my 2-wheel drive Toyota Tundra. That said, even with a 4×4 many places become impassable under certain conditions. Always check locally just to be safe. Happy travels!