Rainbow over Limestone Lakes, Height of the Rockies Provincial Park #86474 Purchase
Limestone Lakes Height of the Rockies Provincial Park: Part 2
Limestone Lakes Height of the Rockies Provincial Park is one of the few places in the Canadian Rockies where a person can experience true solitude. And, it is also an exception in an era of reservations, lotteries, and fees for backpacking trips. As of 2026, there are no fees, reservations, or even a registration needed for a trip of any length.
Of course, as I mentioned in part one of this series, there are reasons for this. Limestone Lakes is not an easy backpacking destination. And it is too far and involved for a day-hike. However, for those willing to commit at least three days and lots of sweat, it is a dream destination.
So, let’s start the second half of the trip, where part one left off.
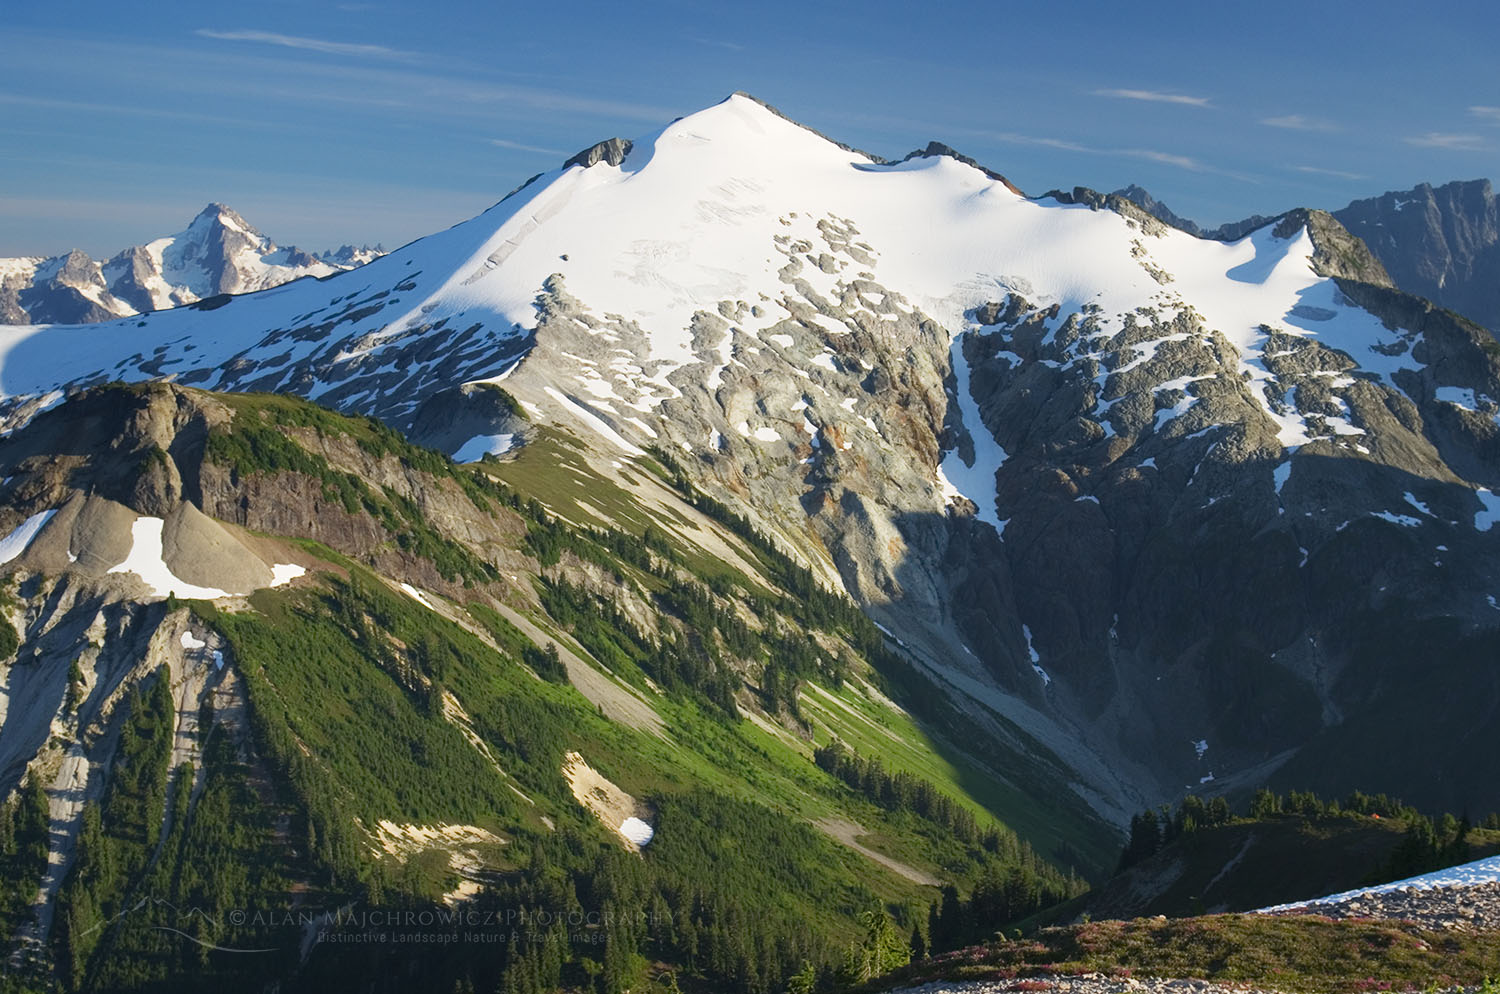
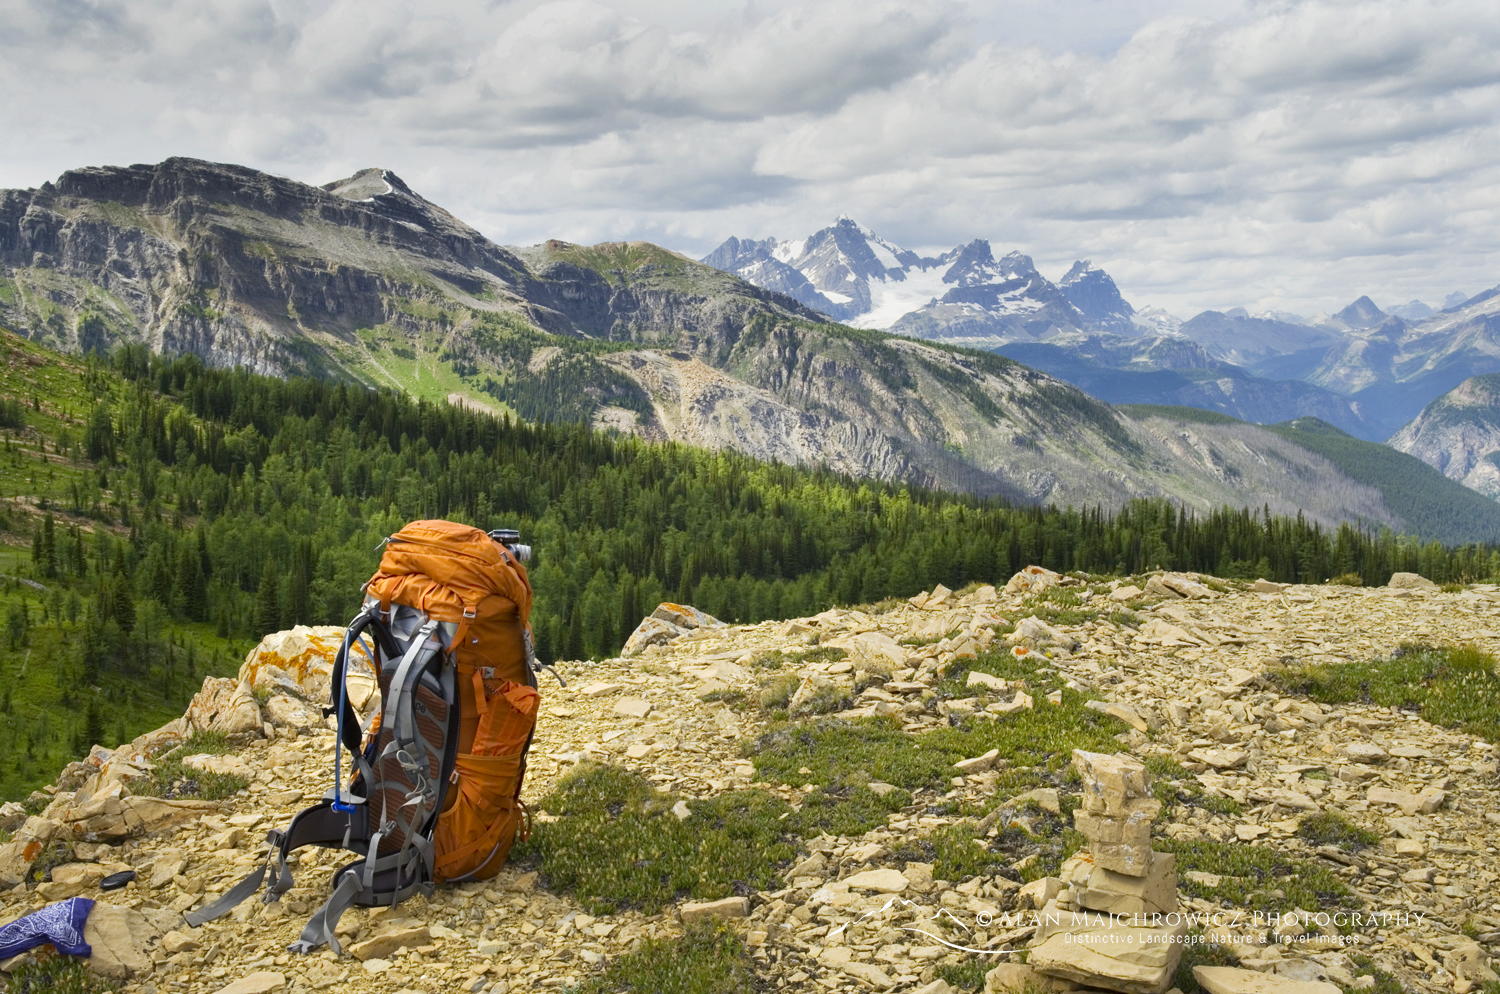
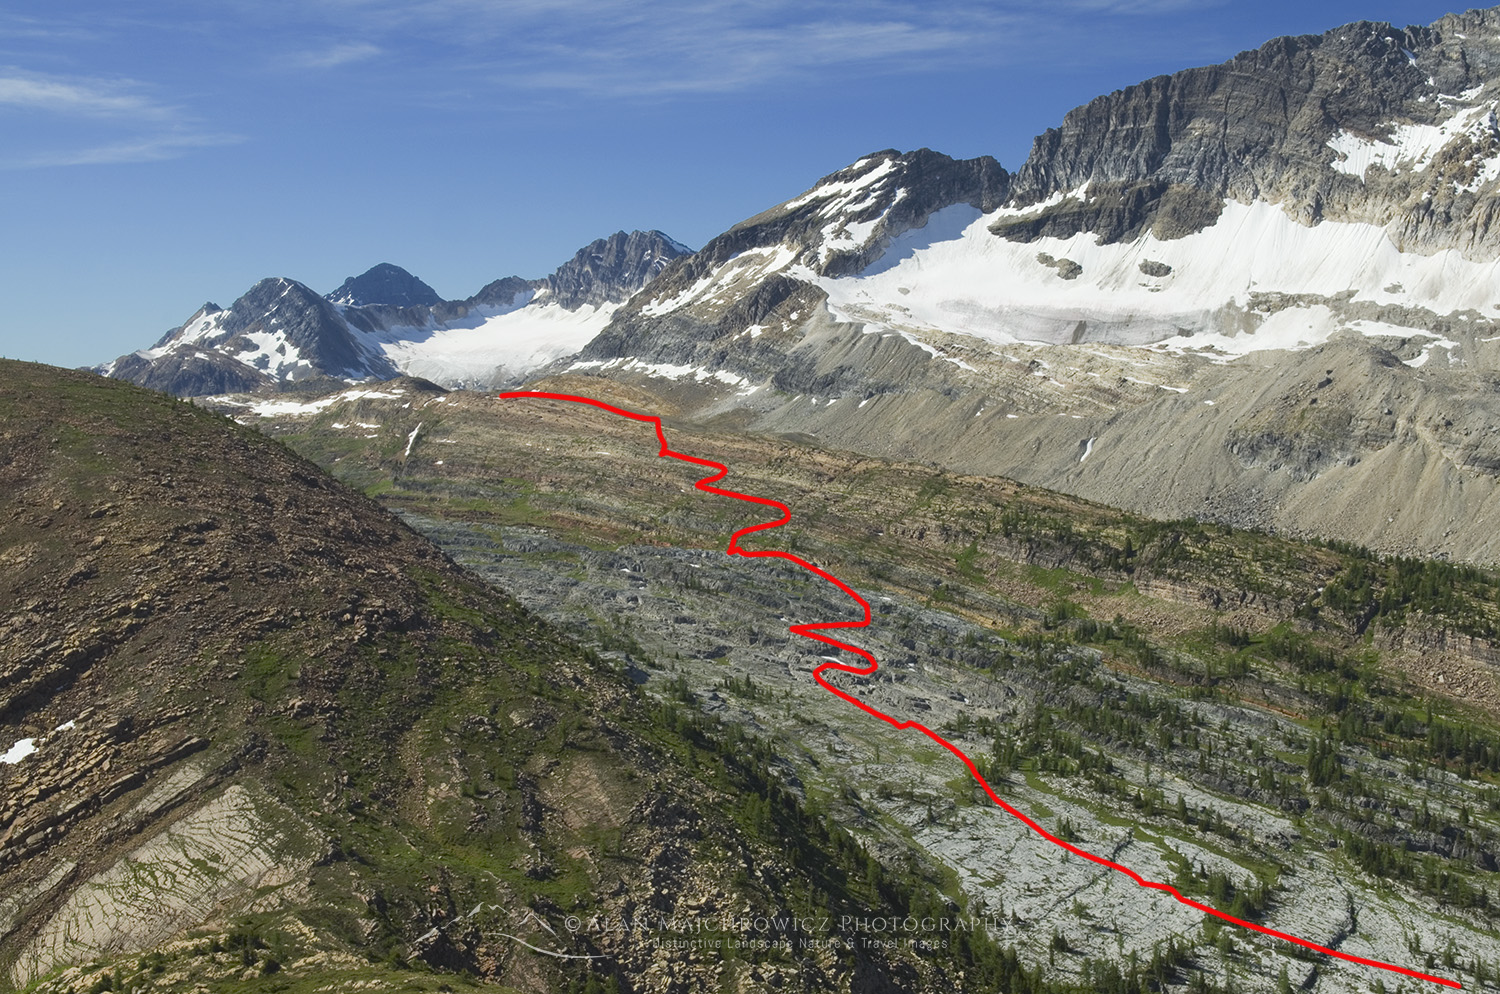 View of the route (red line) from the nub
Limestone Lakes, Cross Country Route-Finding
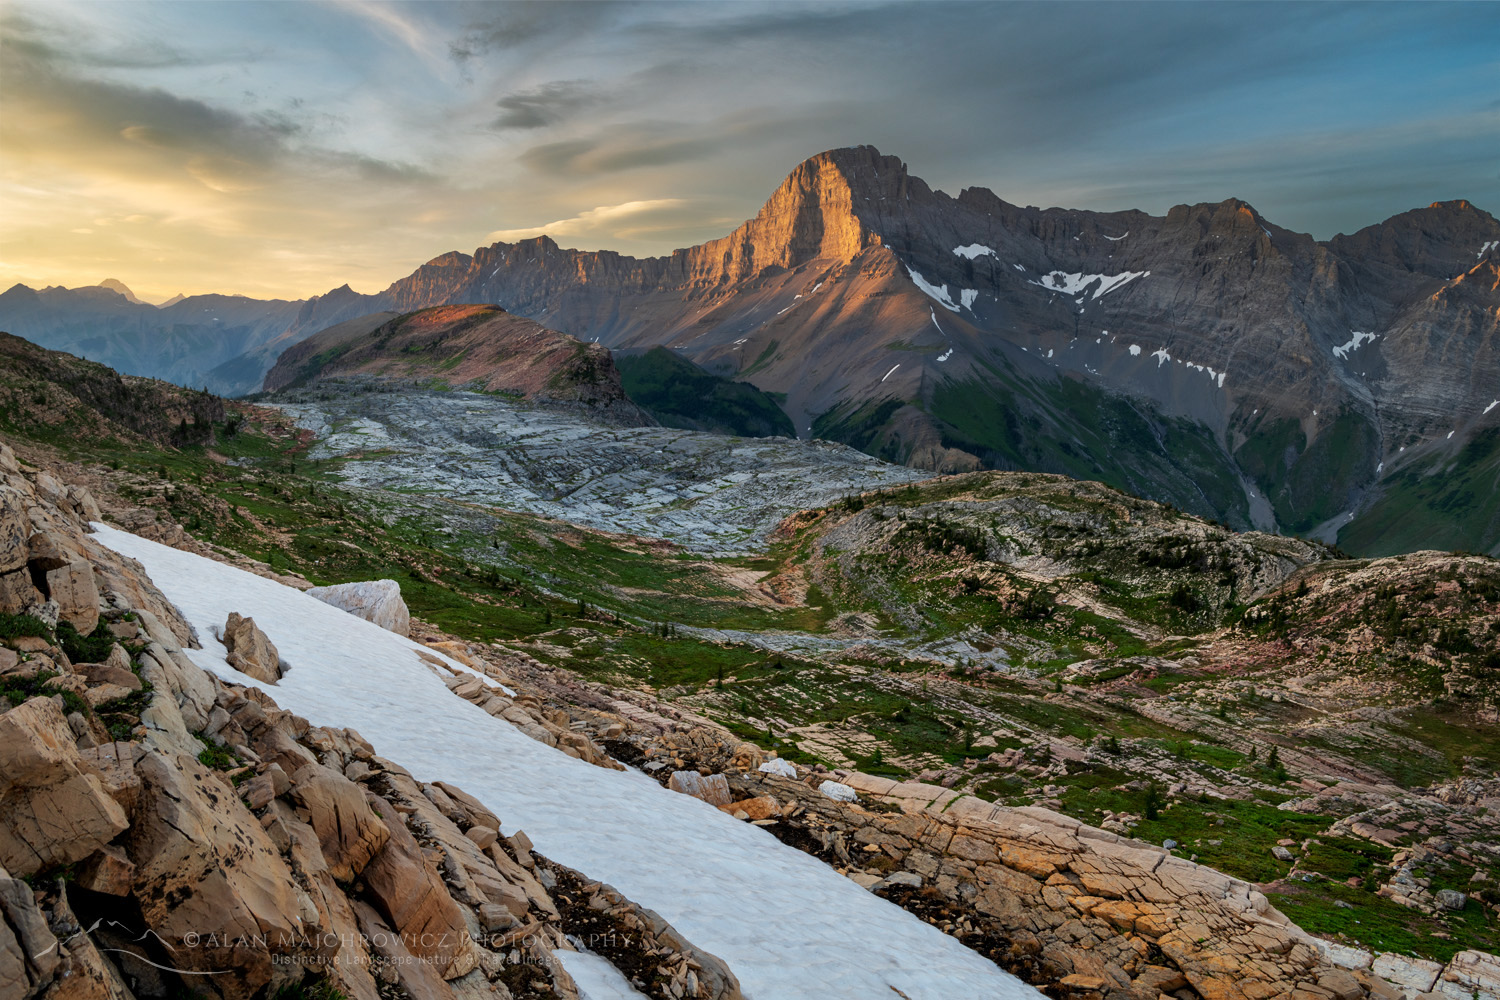
After leaving Sylvan Pass and ascending to the summit of the 8300′ nub, you get a great view of the route to Limestone Lakes. This is a good spot to rest and take a few moments to commit the scene to memory. Basically, you’ll need
to descend into the open upper valley and travel southwest and over numerous ascending ledges and cliffs to a pass overlooking the lakes basin. The route is always in the open and, using common sense, it is fairly obvious. A GPS can come in handy, but not necessary.
The first difficulty is getting down to the valley. Start descending southwest to a small meadowy pass. There may be faint glimpses of a trail here. Then head west until cliffs bar the way. At this point, you’ll need to find negotiable ledges while heading in a northwest direction. Take your time to scout out the best route. Eventually, the cliffs and ledges become easier, and the valley is reached. About 800′ below the summit of the nub. It’s a bit heartbreaking to realize that all the elevation you just lost will need to be regained again, and more.
 Limestone terraces #86598 Purchase
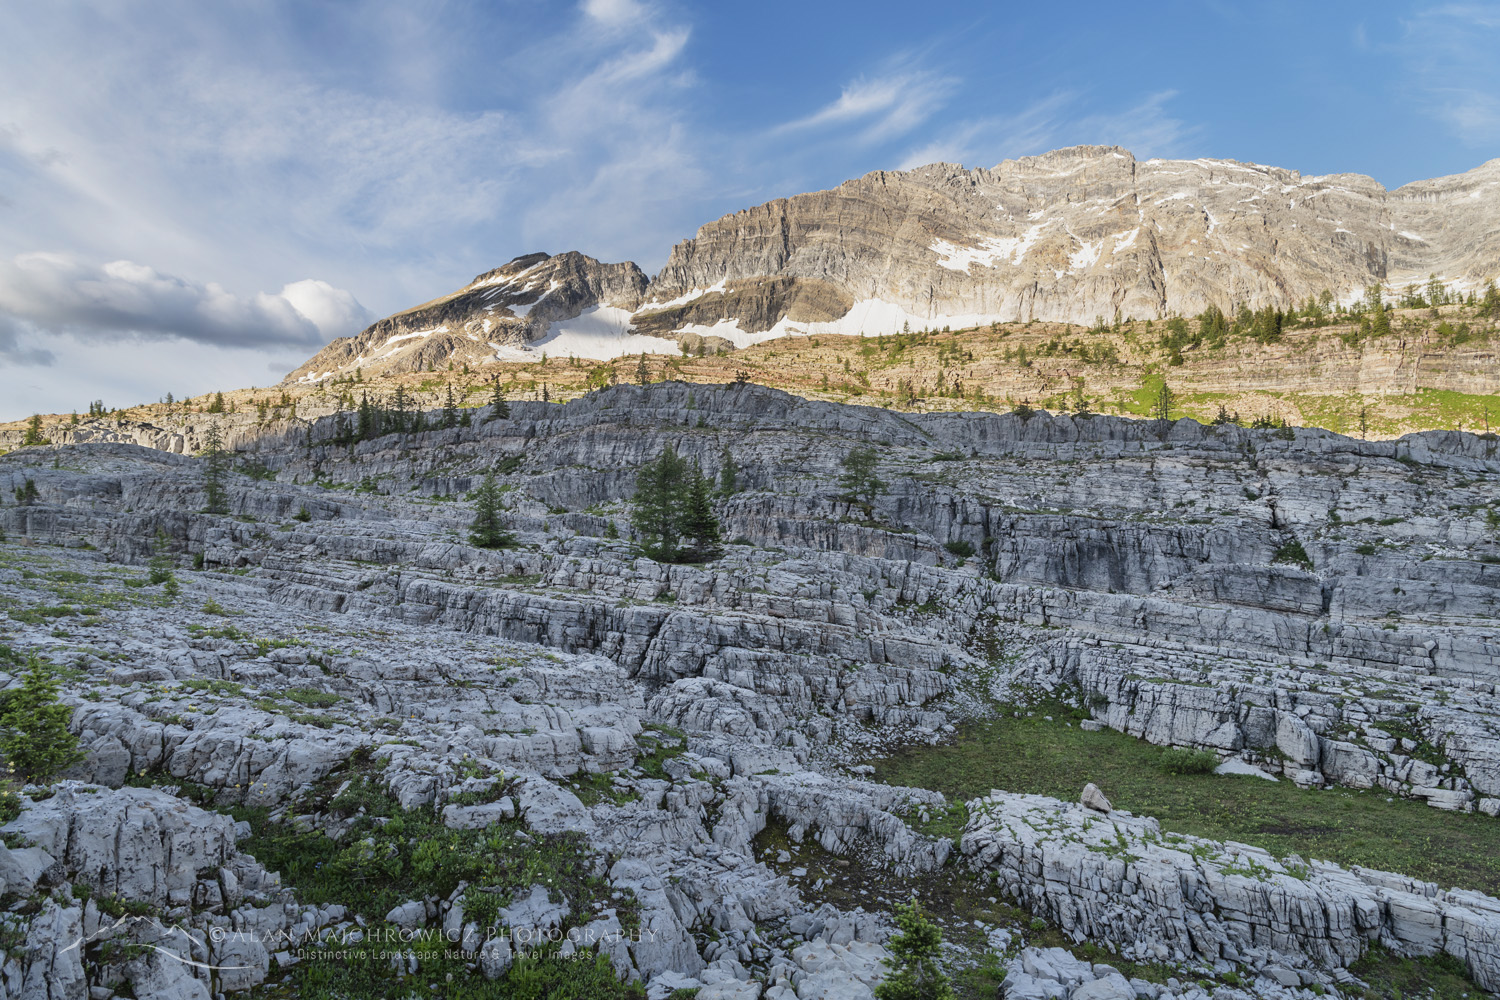
Crossing the Karst Terrain
Once in the valley, it is worth dropping your pack to take some time searching for the start of the alternate route to the Joffre Creek trail on your way out. Here is where a GPS will really come in handy, since it can be very frustrating and time-consuming to find the correct spot. The start of the very faint trail is about where the subalpine meets the forest, and it will travel northeast along the base of the nub.
After locating the return trail, memorize it or take a photo before proceeding to the lakes. Now turn and head southwest across an increasingly broken terrain with lots of prickly limestone needles, fissures, and blocks. Fans of The Lord of the Rings will easily associate this section with the Emyn Muil.
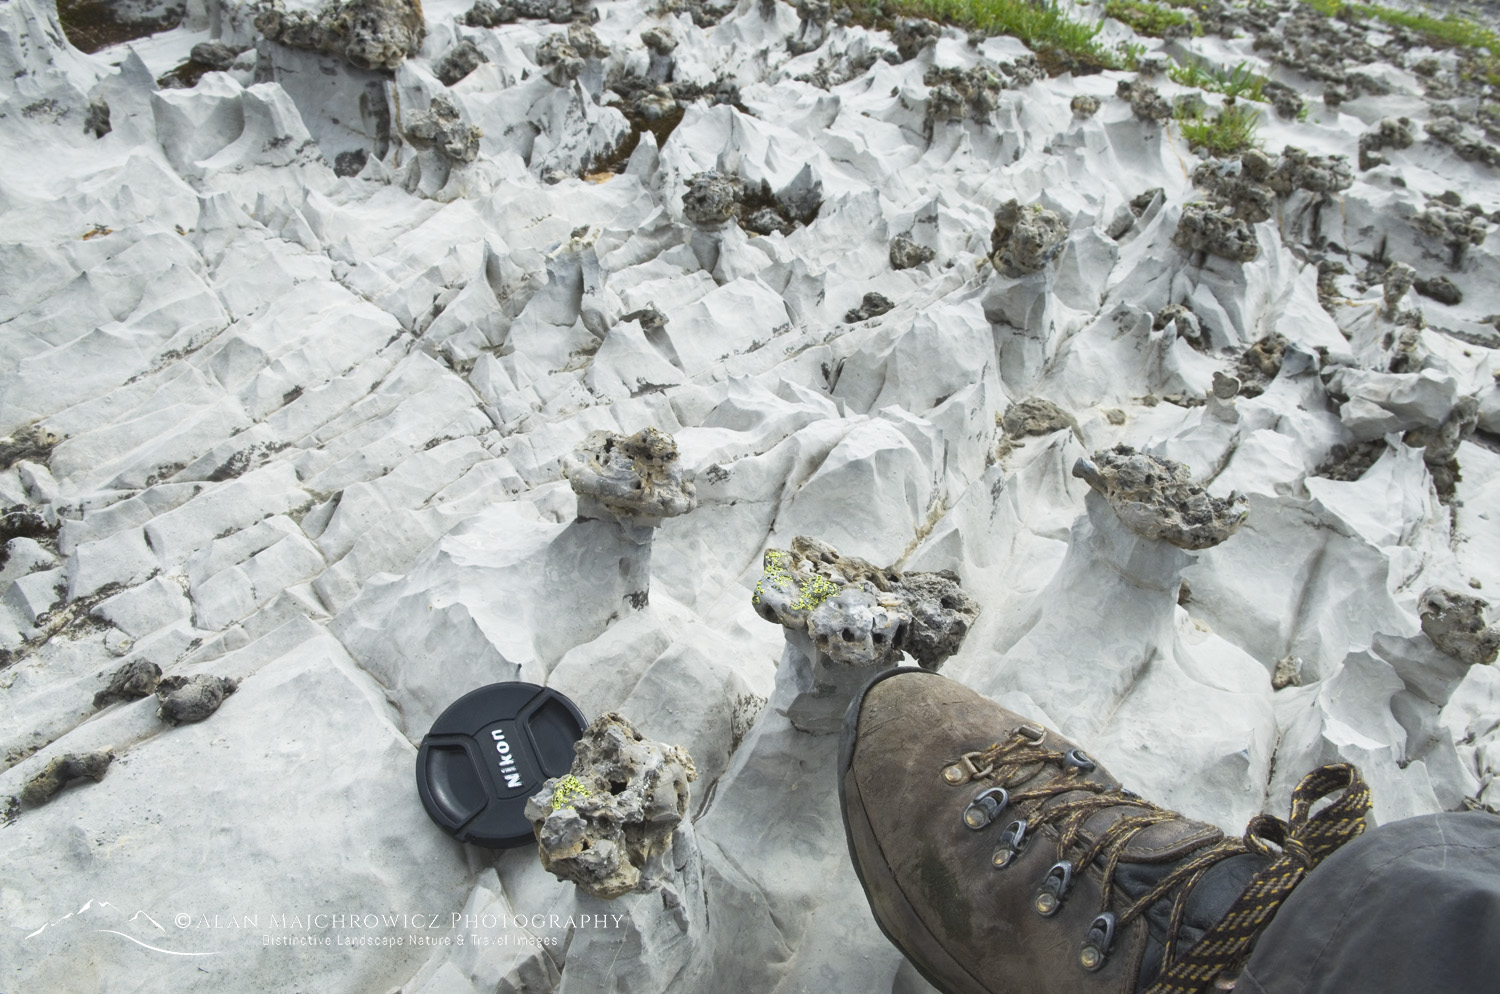 Sharp limestone formations
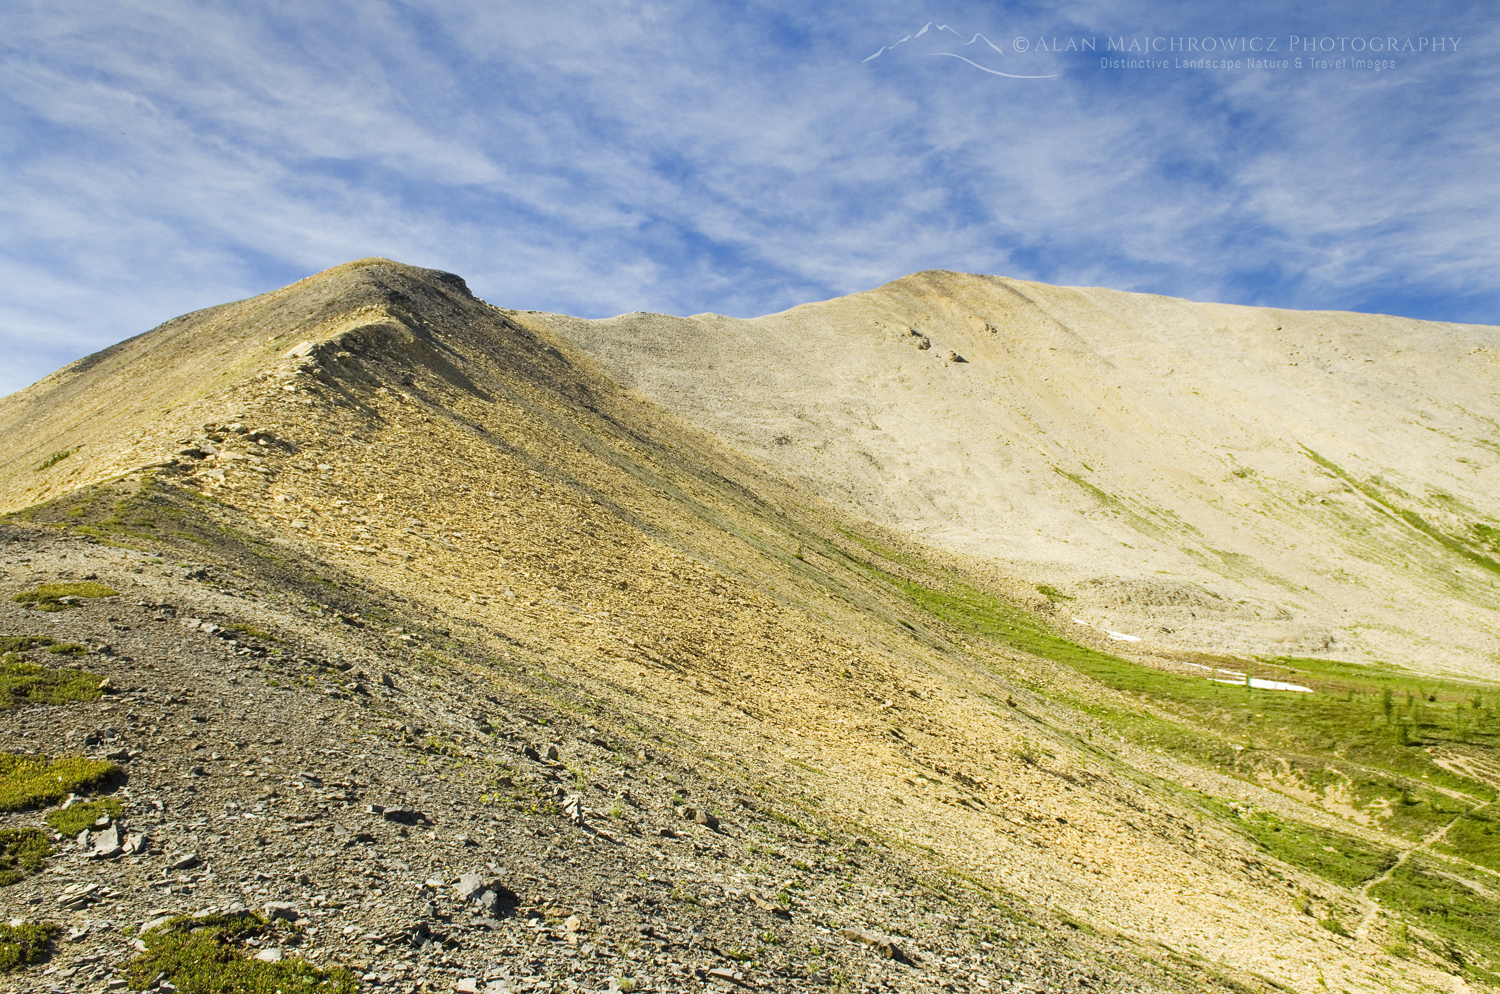
There are cairns seen sporadically throughout this area, but they’re often far apart and not always reliable. Make a general heading towards the limestone terraces, keeping a sharp eye out for the easiest passages up and through them.
If you are attempting to reach the lakes in one day, the terraces will be the most tiring part of the day. Here, seemingly easy passages through the cliffs will dead-end. Backtracking can be frequent, and when cresting one terrace, there always seems to be another to negotiate. Finally, after topping the last terrace, the terrain becomes easier, and you hike south to a talus pass.
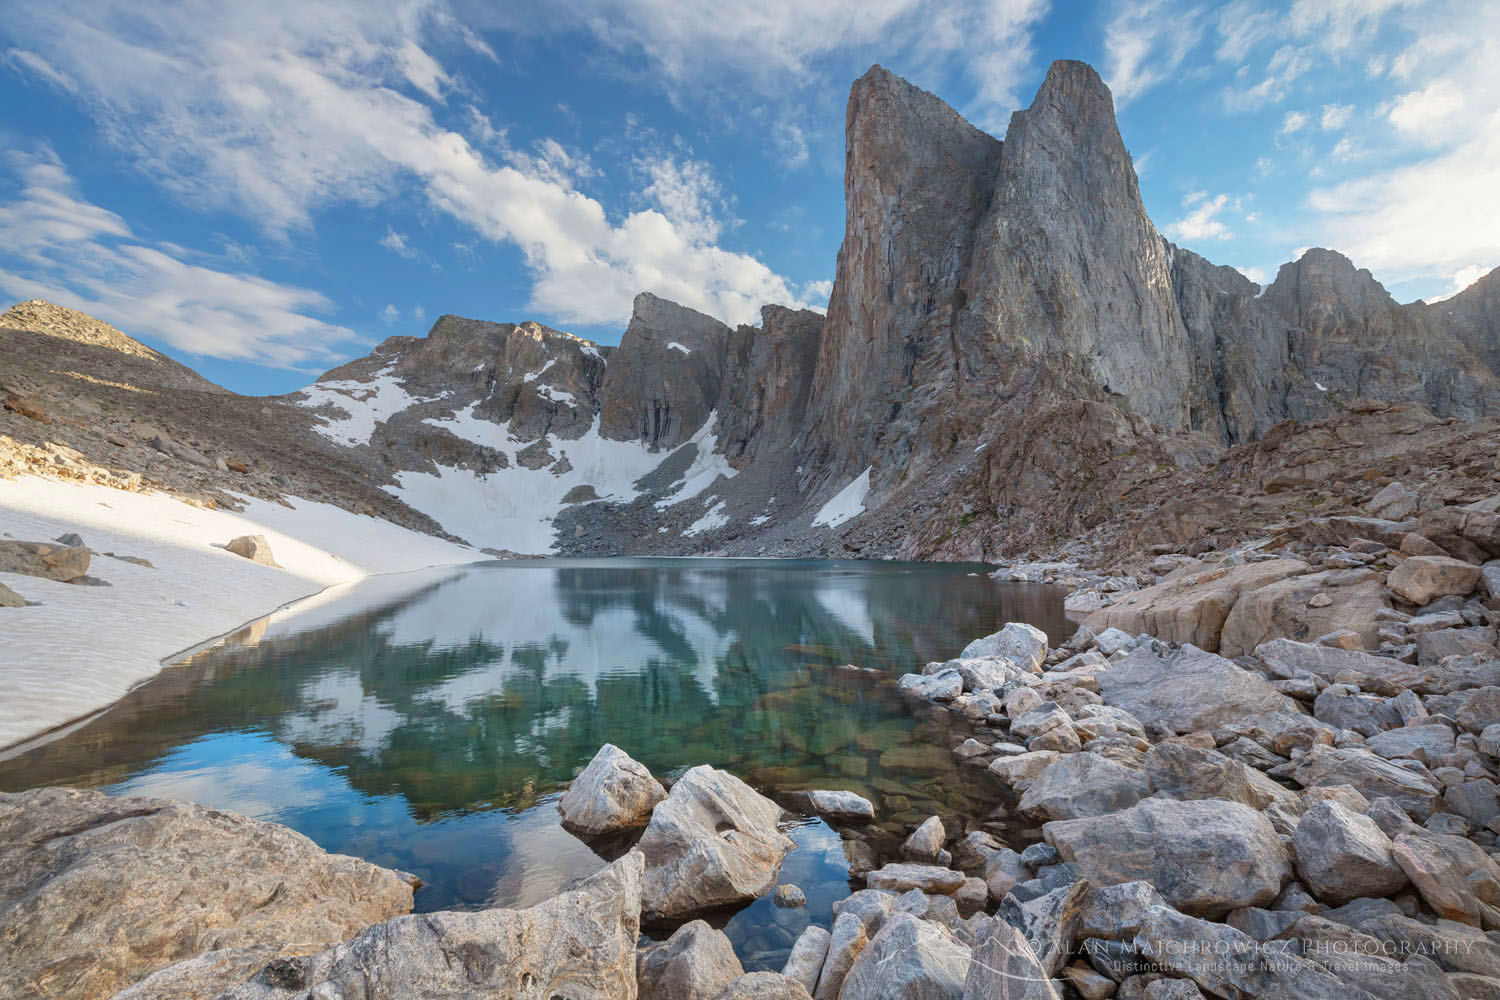
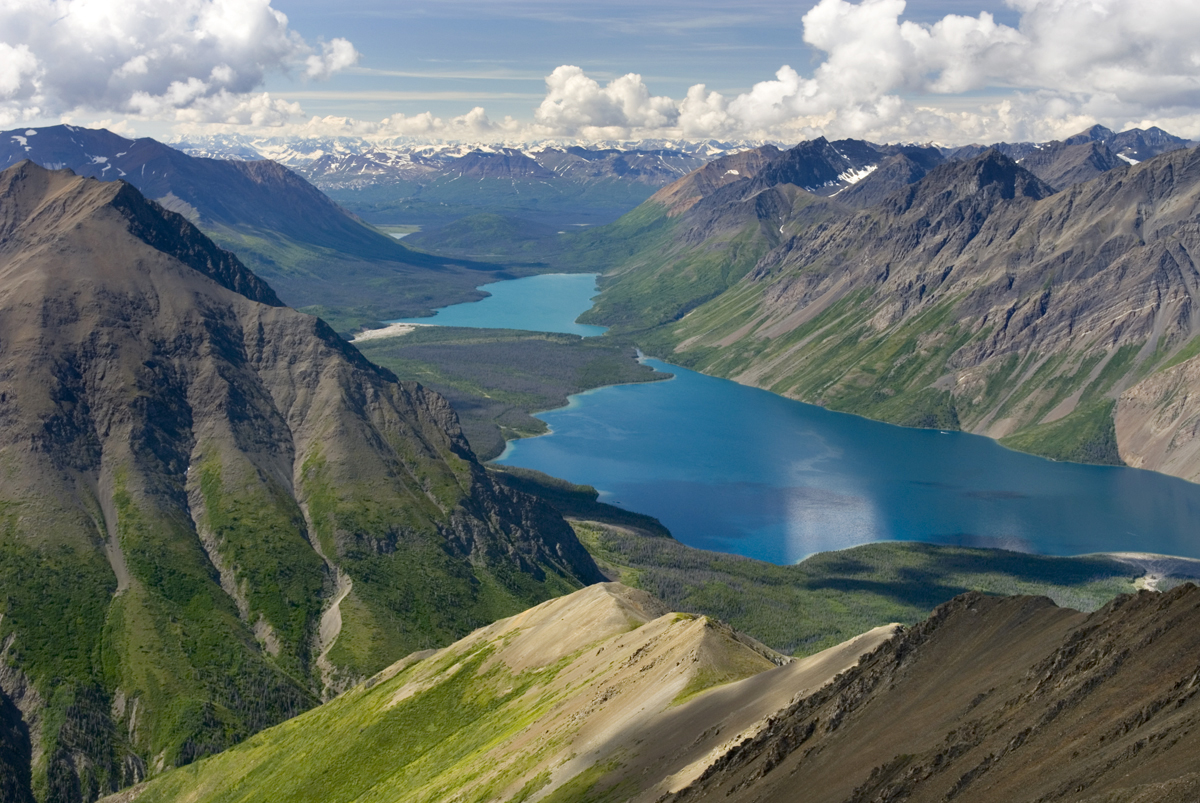
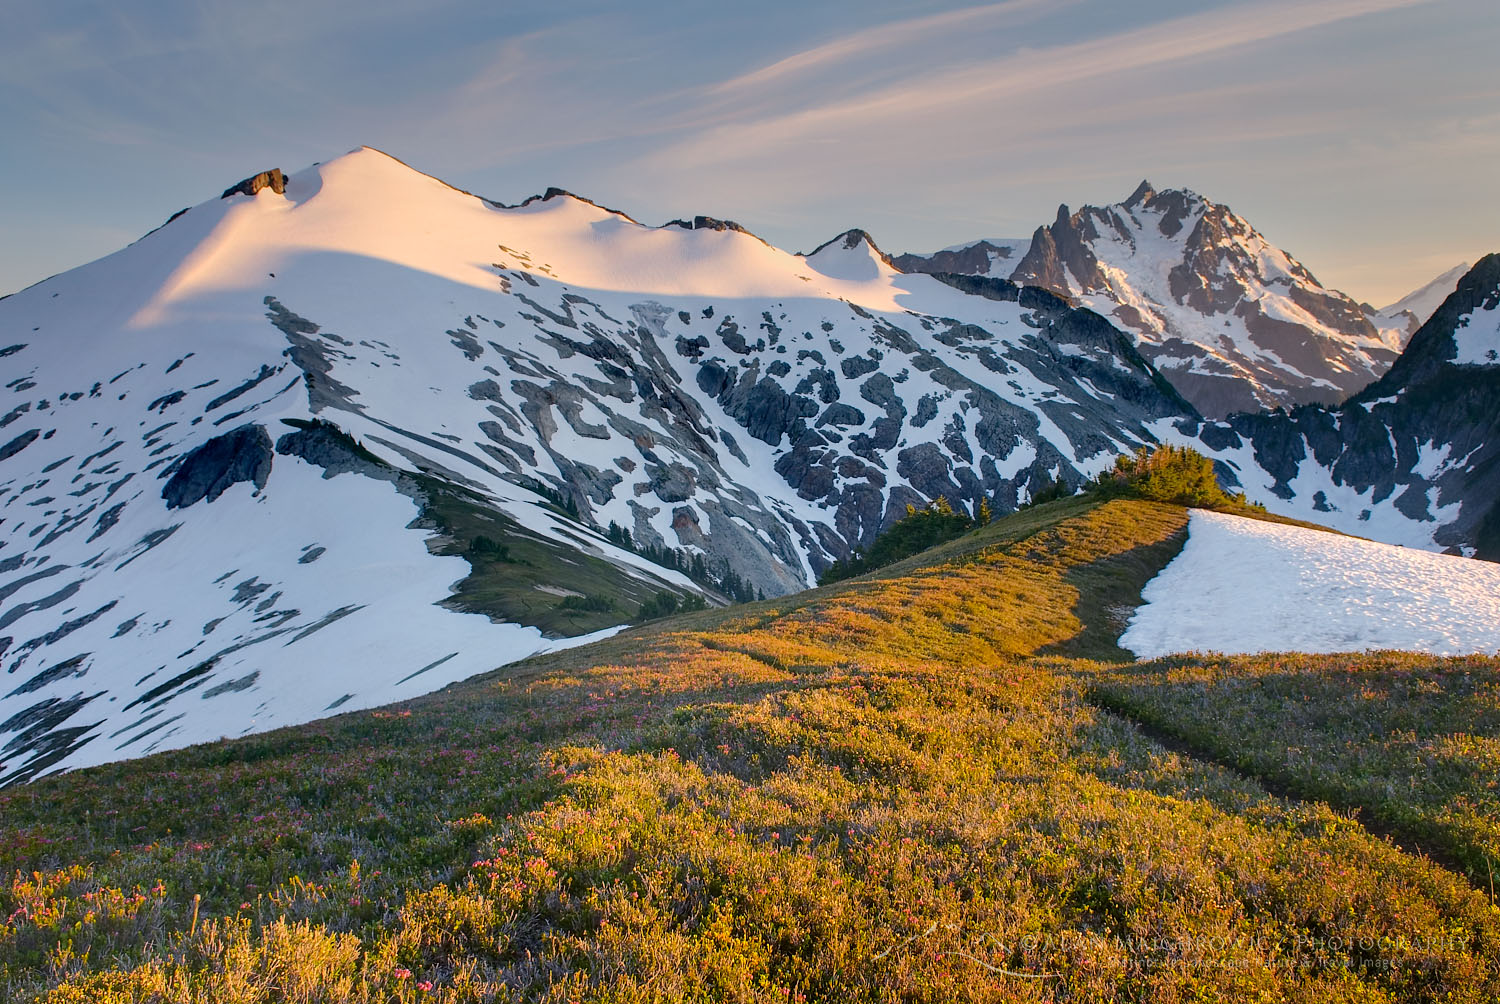
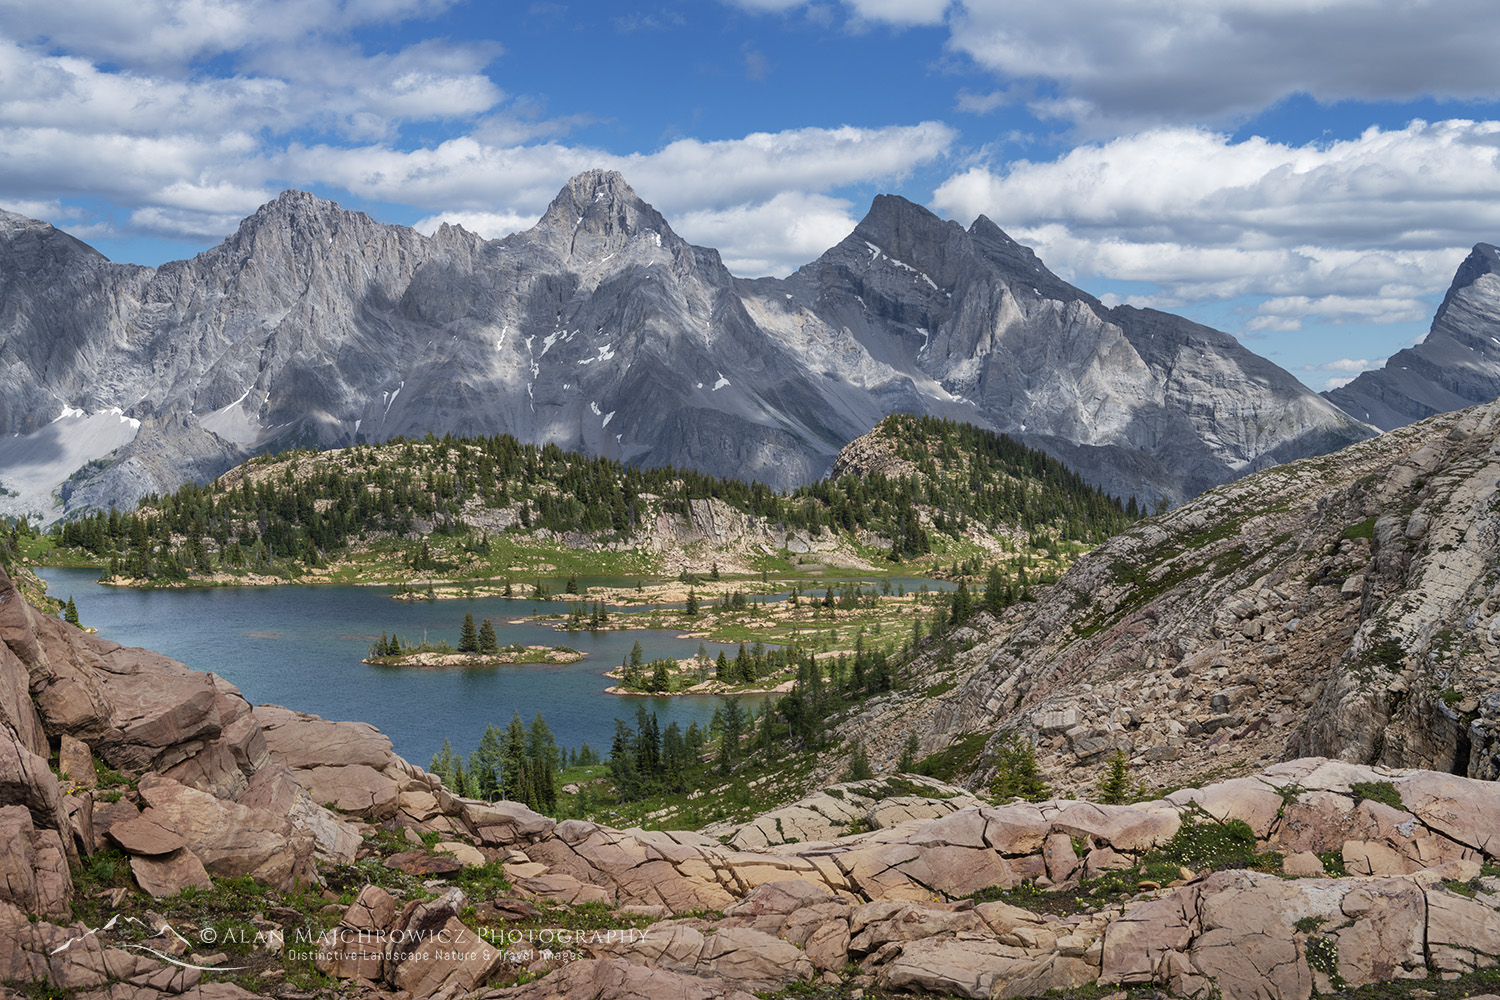
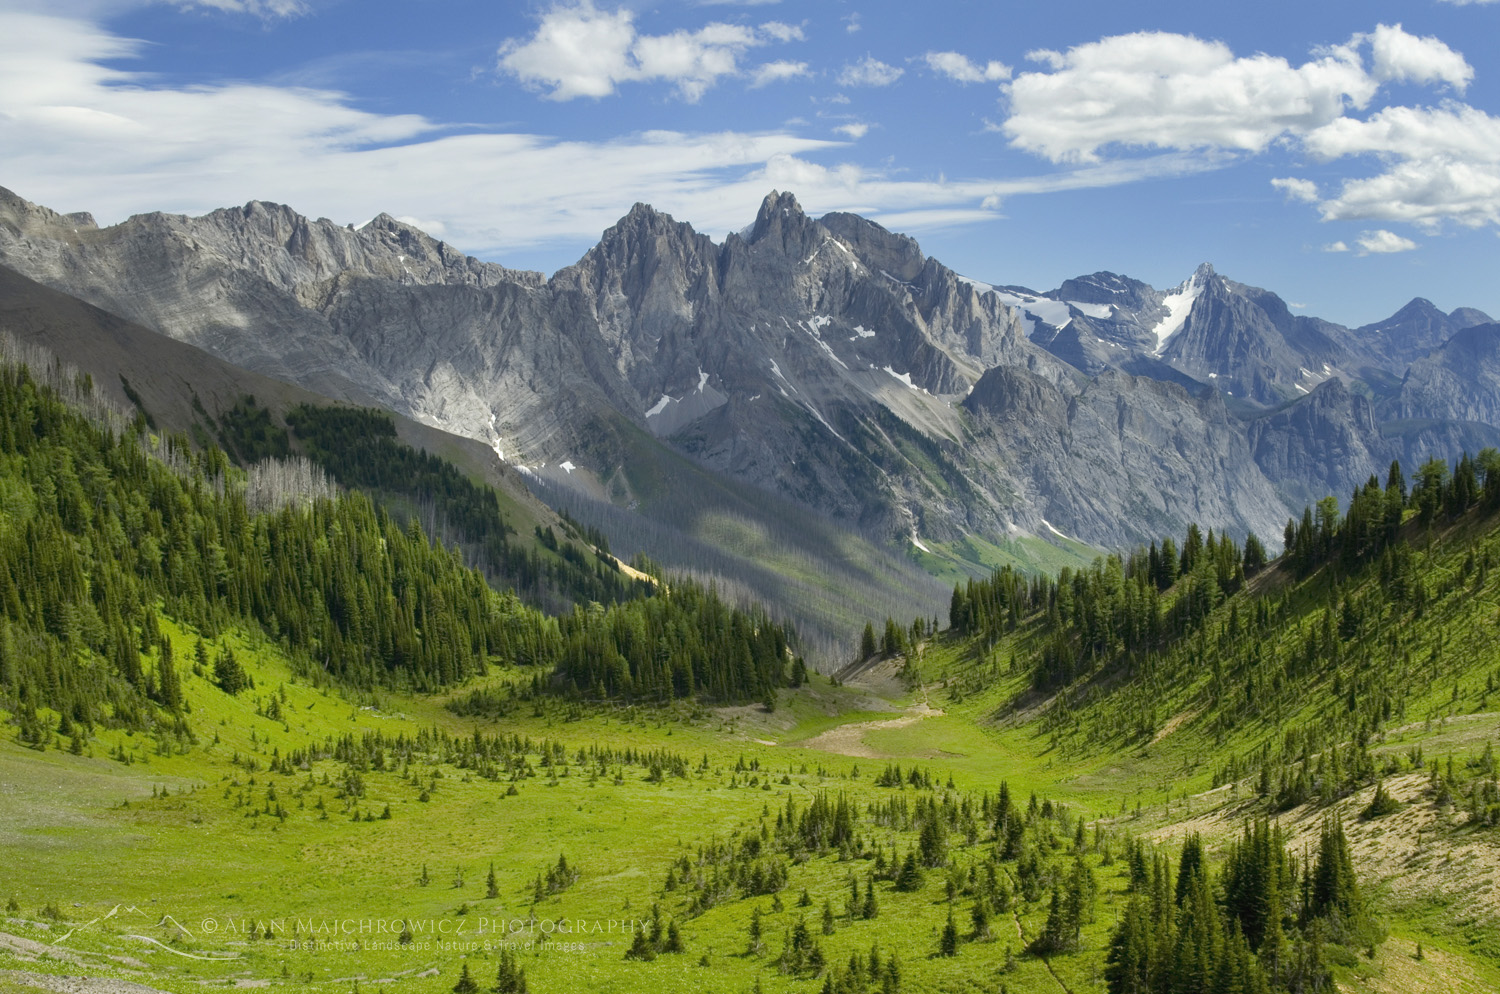
Upon reaching this pass, take in the majestic view you worked so hard to see. Spread out before you is the Limestone Lakes basin. Below are the sparkling lower lakes, and to the right is the turquoise glacial middle lake. Backing it all up are the multiple summits and glaciers of Russell Peak. Truly a breathtaking scene!
 First view of Limestone Lakes #86390 Purchase
Limestone Lakes Base Camp
Choosing a base camp can be a difficult decision. There are no established camps anywhere in the area. You are pretty much free to camp wherever you like, except of course directly on fragile meadows. My choice was to find a spot high above the lakes. There you can enjoy the broad view directly from your tent. And exploration of all the lakes is within easy reach.
Note that while the lower lakes look very attractive, camping there among the meadowy wetlands will be more buggy. You’ll also need to climb back up to reach the other lakes. On the other hand, there may be very few water sources at camps above the lakes. This is especially true in late summer when snow patches are gone, and meadow creeks are dried up.
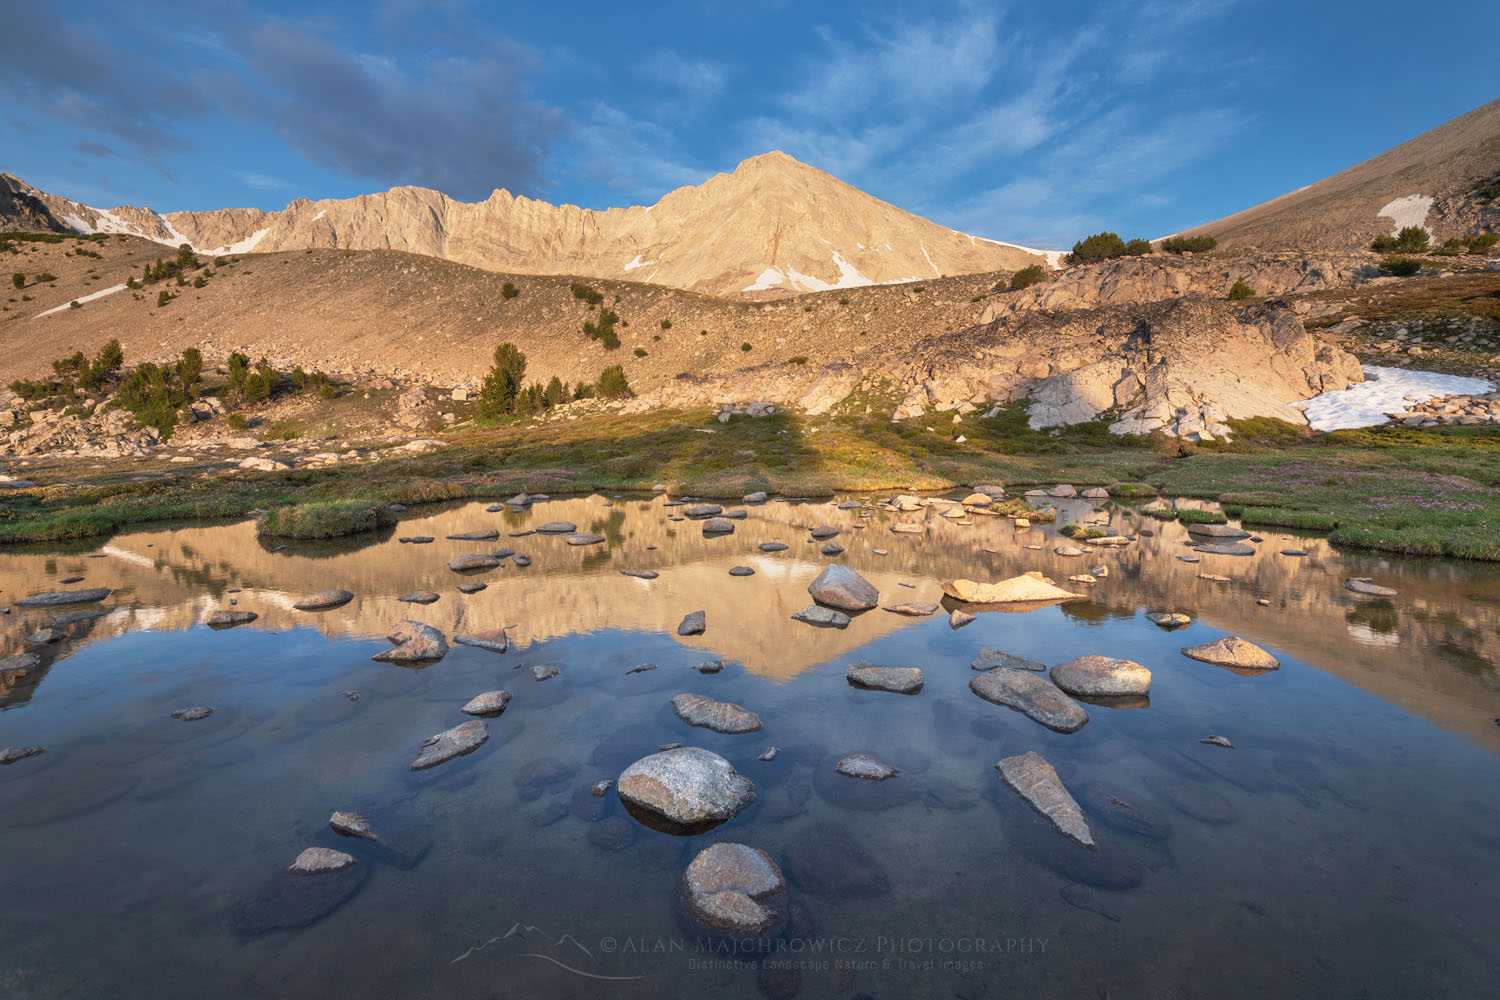
 Joffre Peak from Limestone Lakes #86453 Purchase
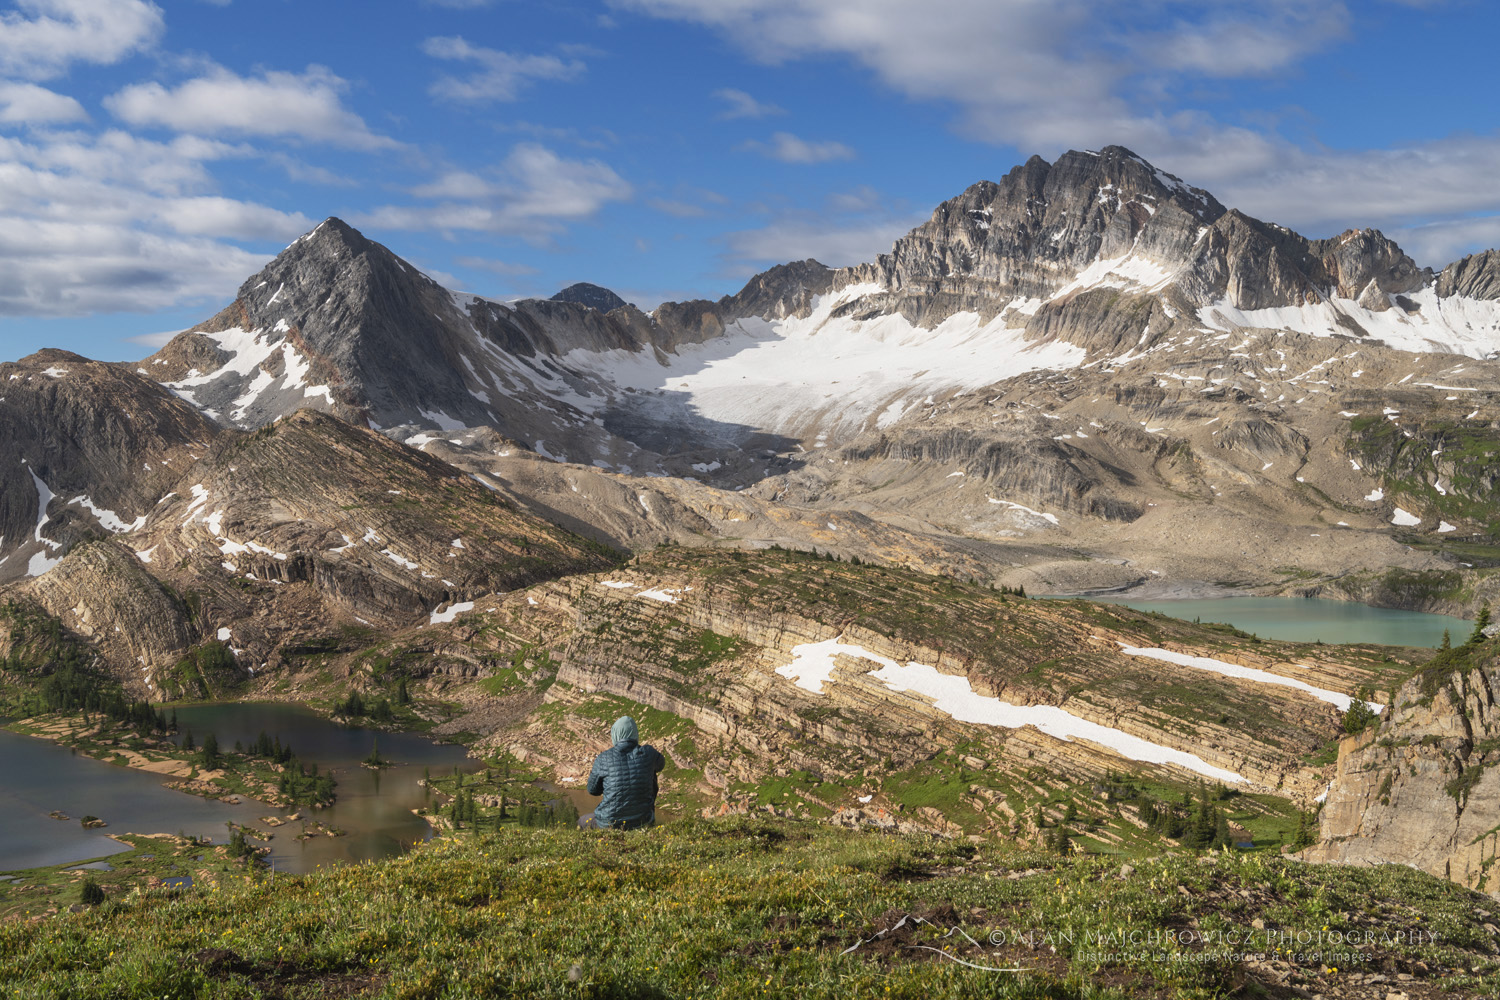
Exploring Limestone Lakes
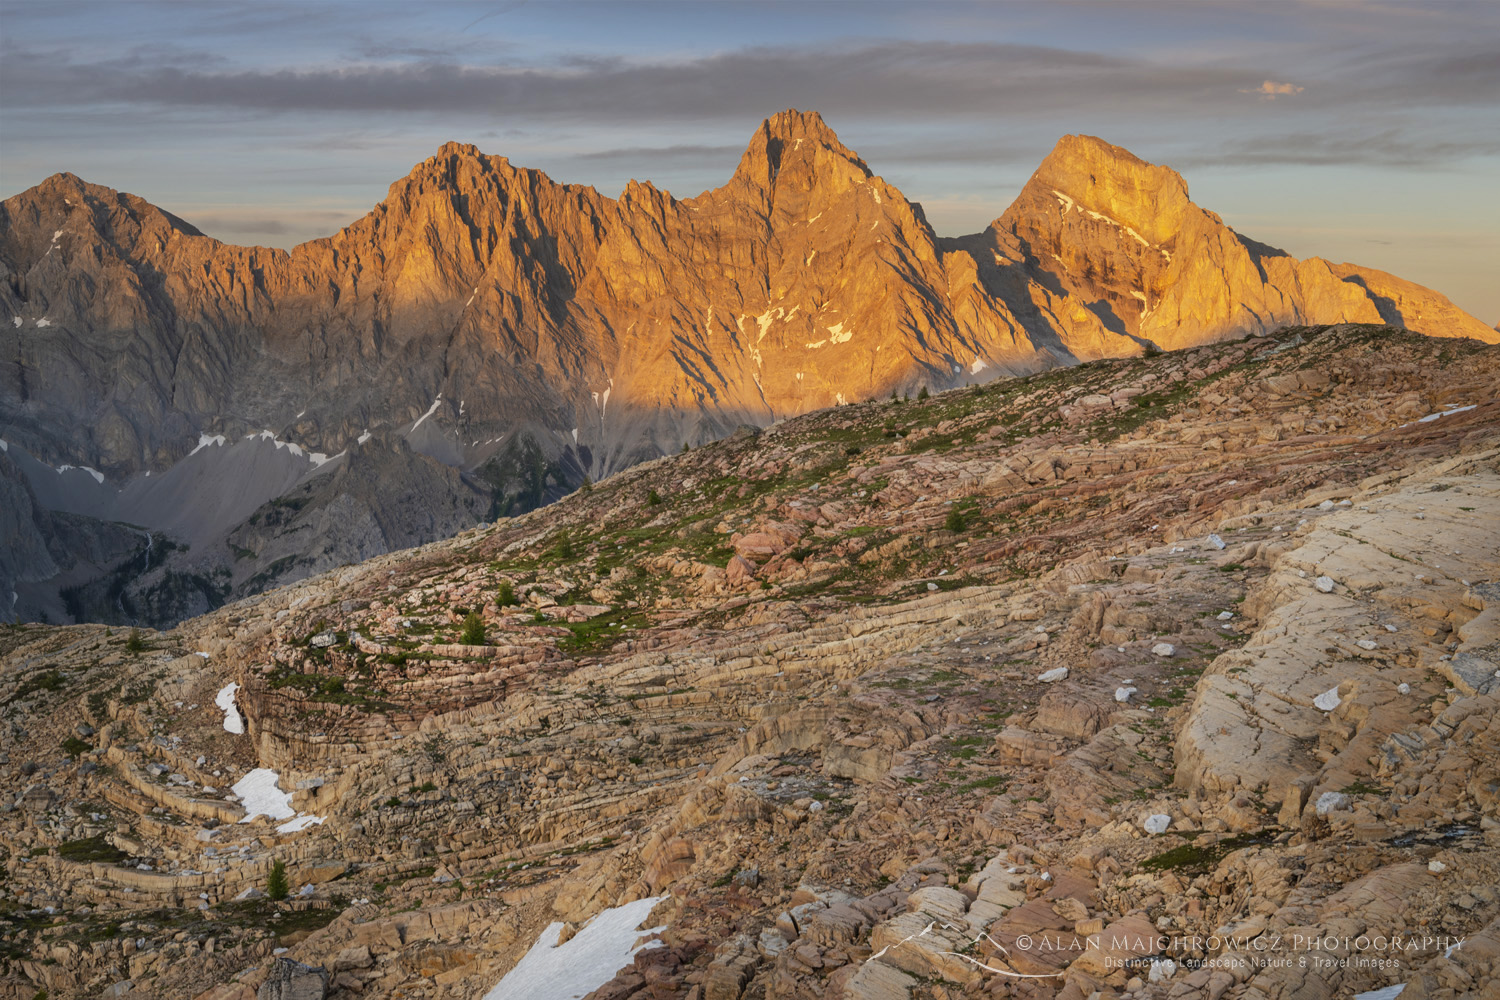
From a higher camp, there are several areas to choose from. Being a photographer, lighting conditions always dictate my decisions. The entire area receives good golden-hour light in both morning and evening. However, the peaks east along the Divide are better in the evening hours.
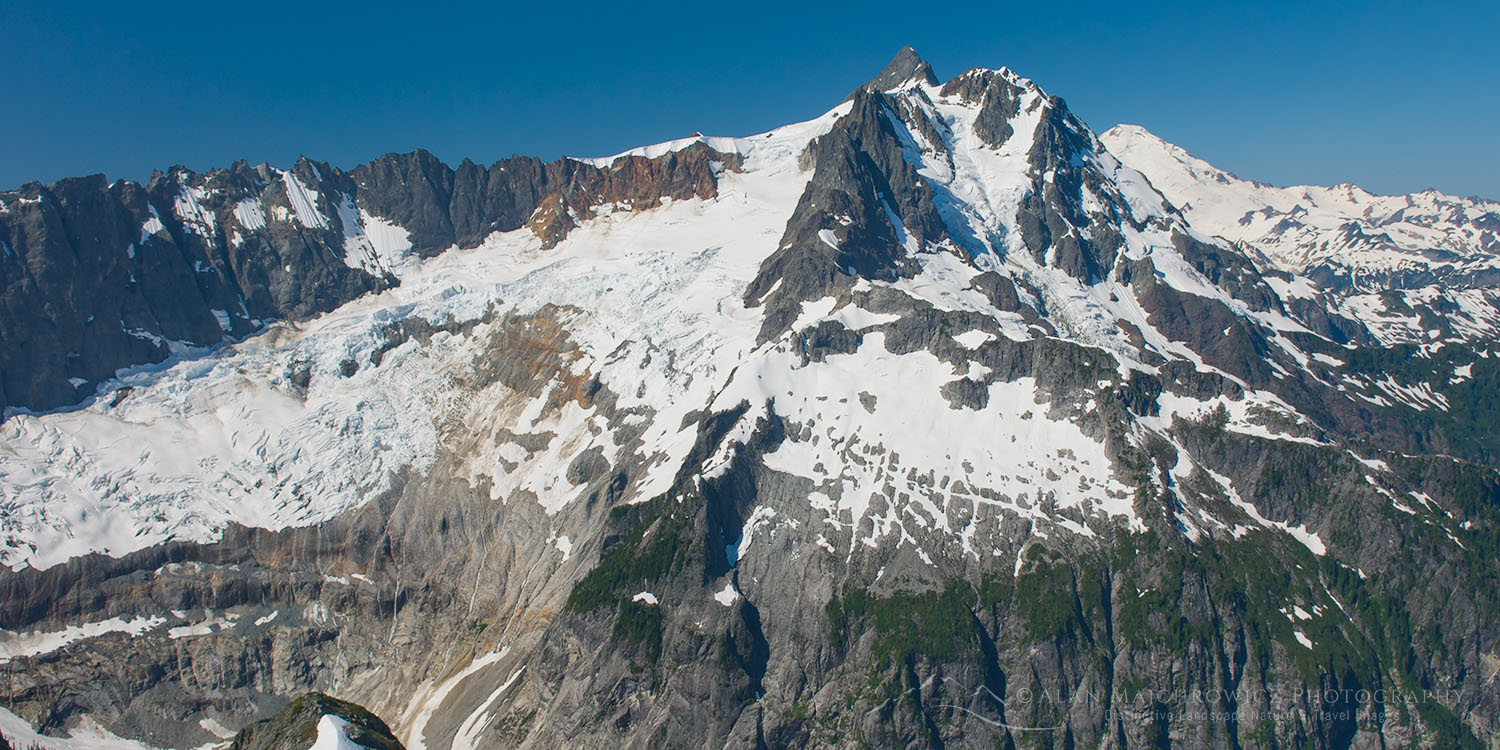
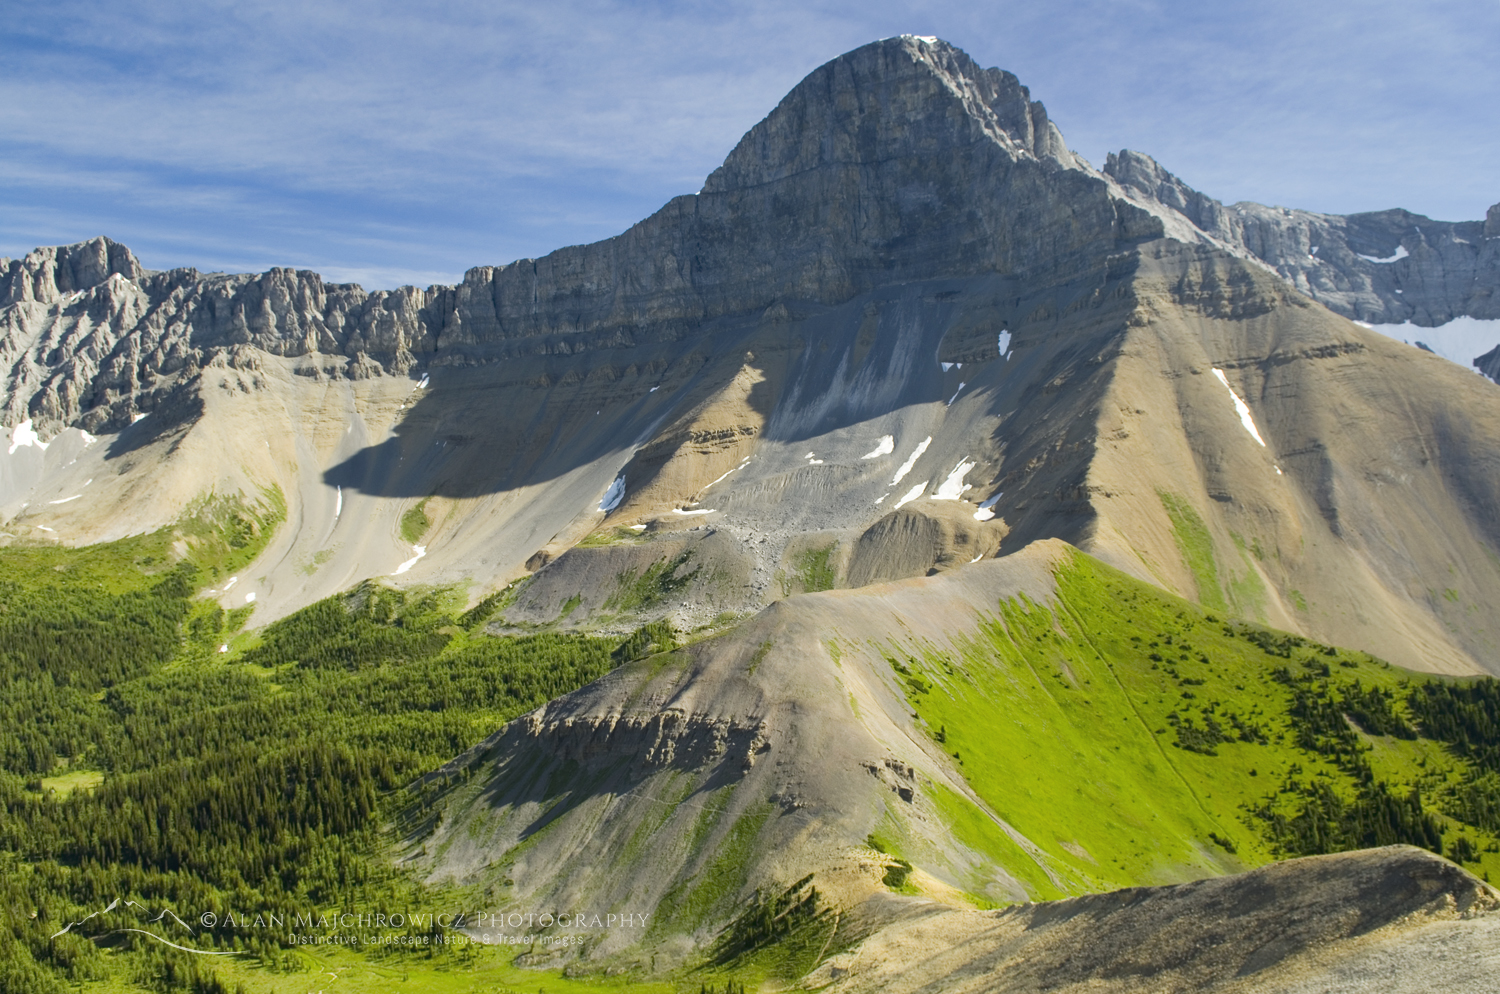
My first exploration after setting up camp was hiking east and higher from the pass. There are a few more broken ledges to climb before the view opens up to a jaw-dropping view over fascinating karst terrain and the Continental Divide. Before you is a terrain of broken limestone terraces reminiscent of a Roman Coliseum. Looking northeast is the imposing bulk of Joffre Peak, beyond the route and nub you just crossed.
 “Coliseum” limestone ledges and the Continental Divide #86451 Purchase
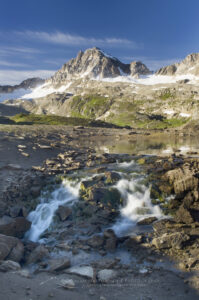
If you have only one full day at the lakes, I suggest first heading down to the scenic turquoise middle lake, then continuing a little higher to the west lakes. The entire area is wide open, crossing up and down meadowy ledges. One of the joys of exploring here is discovering numerous ponds and small cascading creeks.
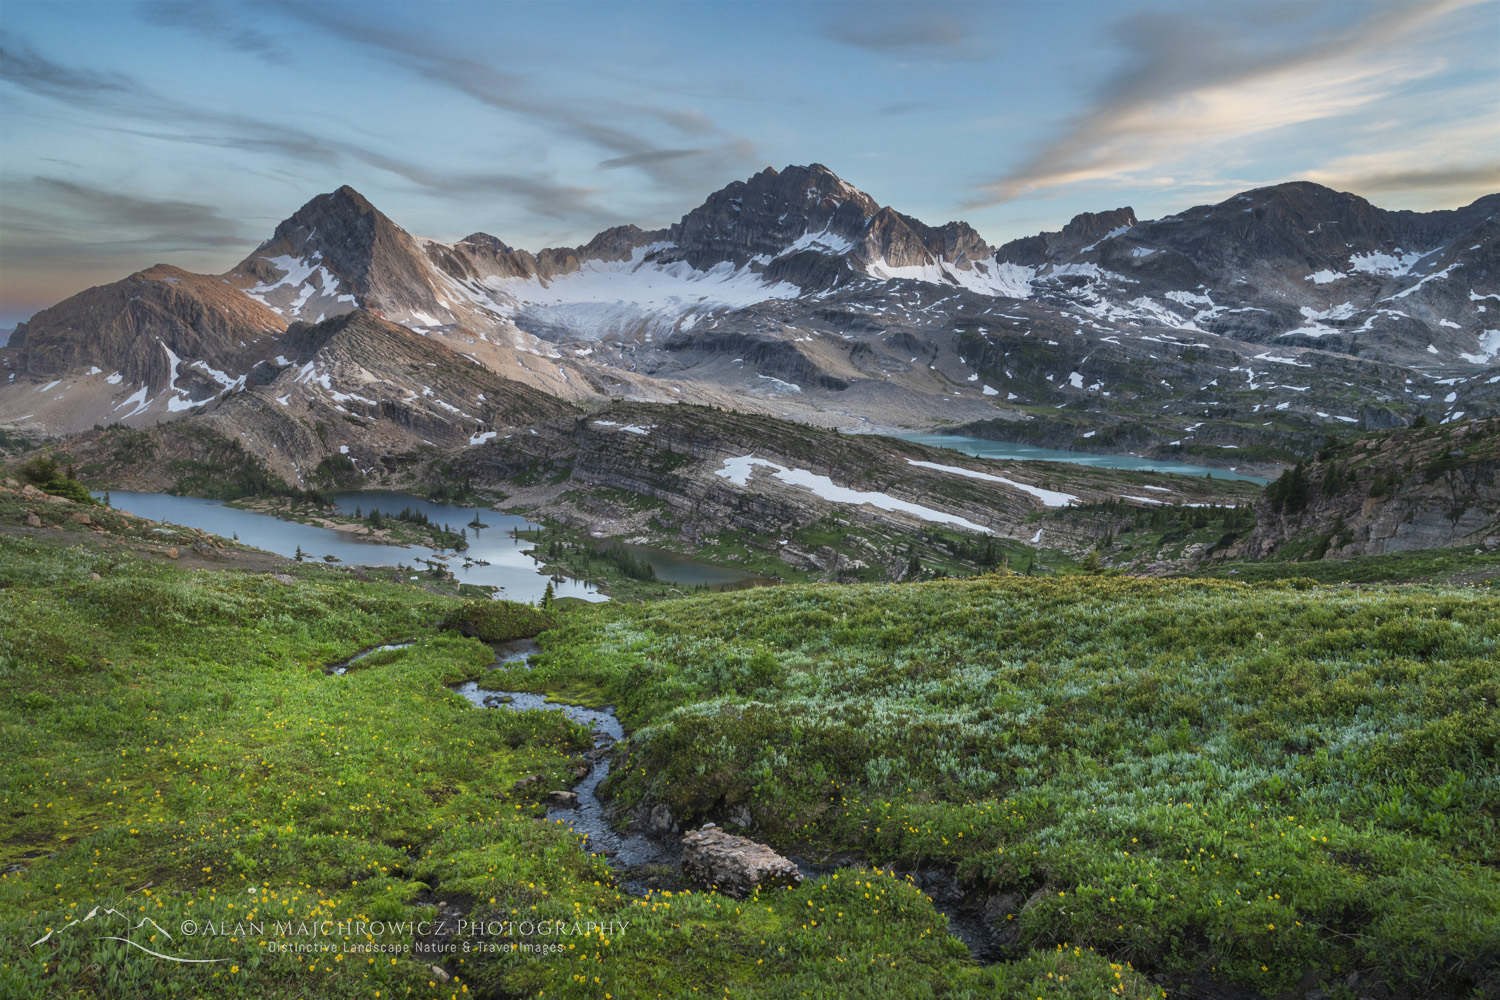
 Middle Limestone Lake #86503 Purchase
 Lake draining into sinkhole #46177 Purchase
 Lower Lakes and peaks of the Continental Divide #86545 Purchase
On my first visit, I came across a small lake in this area that was draining into a subterranean cavity. Was there an expansive glittering cave under my feet? Who knows? But on my second visit, I was unable to locate this oddity again.
Hiking east is a wonderful broad and open ridge separating the middle from the lower lakes. This ridge is very obvious from the first high view of the basin. It would also make an excellent base or second-day camp. If I ever go back again, I’ll definitely stay here a night or two! The view with the lower lakes backed by the peaks of the Divide is unforgettable.
 Taking in the view of Limestone Lakes #86476 Purchase
The Return Route
After taking in the sights, it’s easy to see why I highly recommend staying at Limestone Lakes for at least two days. It’s such a shame to work so hard to get there and not have enough time to thoroughly enjoy it.
It is also easy to see why it is essential to have good weather throughout the trip. Recrossing all that open terrain with confusing ledges in rain or snow, with poor visibility, would be a nightmare. Not to mention the long, wet slog back down the valley trail.
Getting back to the spot where the alternate trail enters the forest can be frustrating. Even with careful route-finding and a GPS, the trail is elusive. When it is located, the trail still periodically disappears in the first mile or so. Eventually, the trail becomes more obvious and well-trod. However, it is always very rough with many frustrating ups and downs and numerous downed trees to cross.
At times, it may seem that going back the same way you came, over the nub, would have been easier. But then the path enters familiar supalpine forest, and the Joffere Creek trail junction appears.
It’s a bit of a bittersweet moment knowing that nearly all your hard work is nearly over, but the beauty of Limestone Lakes is now a memory.
 Parting view of Limestone Lakes and Russell Peak #86460 Purchase
If You Go to Limestone Lakes Height of the Rockies:
Trip length: 30 miles, round trip
Elevation Gain: 5600′
Permits: None needed as of 2026
Wildlife: On both of my trips, I saw nothing more than marmots. However, that doesn’t mean bears are absent. The entire length of the Canadian Rockies is grizzly bear country. There are very few trees available to hang food bags in the lakes basin. Bear canisters are advised.
References: Height of the Rockies Provincial Park
Mat Gunn’s excellent guidebook: Hikes Around Invermere & the Columbia River Valley.
Read:
Limestone Lakes Height of the Rockies Provincial Park Part 1
For tips on preparing for a backpacking and or photography trip to Limestone Lakes, check out these posts:
Leave No Trace
Please, Please, Please! Don’t plan a trip to this or any other national park, monument, or wilderness area unless you are prepared to follow Leave No Trace guidelines (LNT). National parks and wilderness areas worldwide are under incredible pressure from the growing number of visitors. So, please do your part to help preserve these precious areas for future generations!
Please visit the Leave No Trace Center for Outdoor Ethics to learn more about LNT’s principles. Your children and grandchildren will thank you!
LEAVE NO TRACE SEVEN PRINCIPLES
1. Plan and Prepare
2. Travel and Camp on Durable Surfaces
3. Dispose of Waste Properly
4. Leave What You Find
5. Minimize Campfire Impacts
6. Respect Wildlife
7. Be Considerate of Other Visitors
© Leave No Trace: www.LNT.org
Learn about how to protect the places we love to photograph
Visit the Nature First Website

All photos appearing in this post are available for Commercial Licensing and Fine Art Prints. Click on any image to purchase, or contact me for more info!

Limestone Lakes Height of the Rockies Provincial Park: Part 2


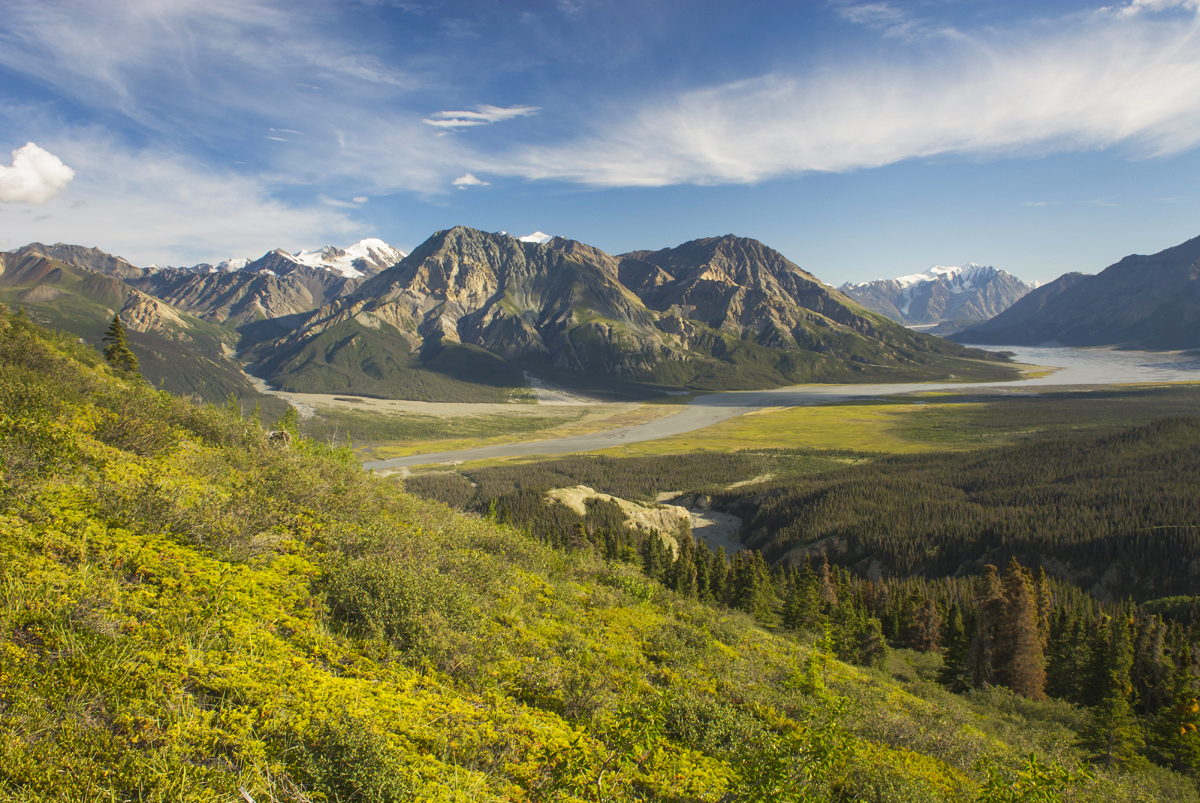
 Height of the Rockies Provincial Park British Columbia")


 Wrangell-St. Elias National Park, Alaska #14339")