Gearing up for Winter Photography
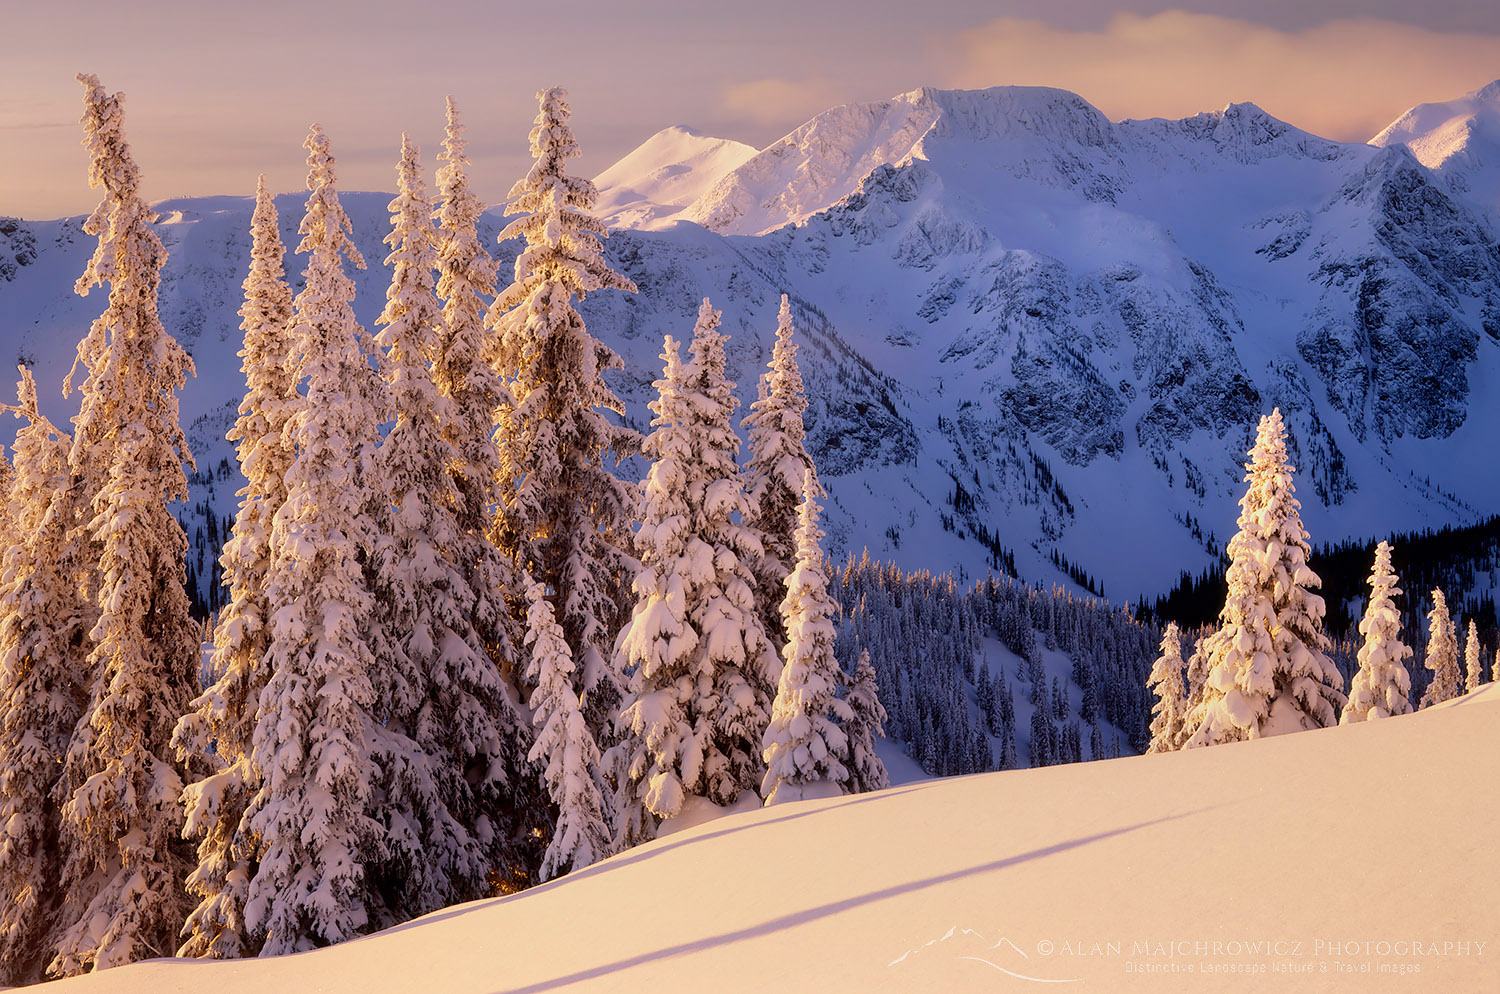 Trophy Mountains British Columbia #3962 Purchase
With fall photography wrapping up most of us are beginning to dream of plans for next year’s photography trips. But what about the next several months? There are plenty of photography opportunities and subjects during the winter months too. But I’m not talking about heading down to the Southwest for desert photography. I’m talking about the cold snowy areas of National, State, and Provincial Parks, many of which are nearly deserted in the winter months.
But before going into tips and techniques of photographing in winter let’s talk about how to stay safe and comfortable.
Winter photography is more challenging than photographing in warm summer weather. However, with a little preparation and the proper gear, it can be safe, comfortable, and rewarding. In this post, I’ll outline some tips on gear, safety, and getting around in winter.
All the various items of winter clothing and gear are generally pretty pricey, but you need to get the best you can afford. The key here is to not skimp on quality. Some items that perform great in summer easily break or break down in cold temperatures. In particular, gas canister stoves are nearly useless in cold temperatures.
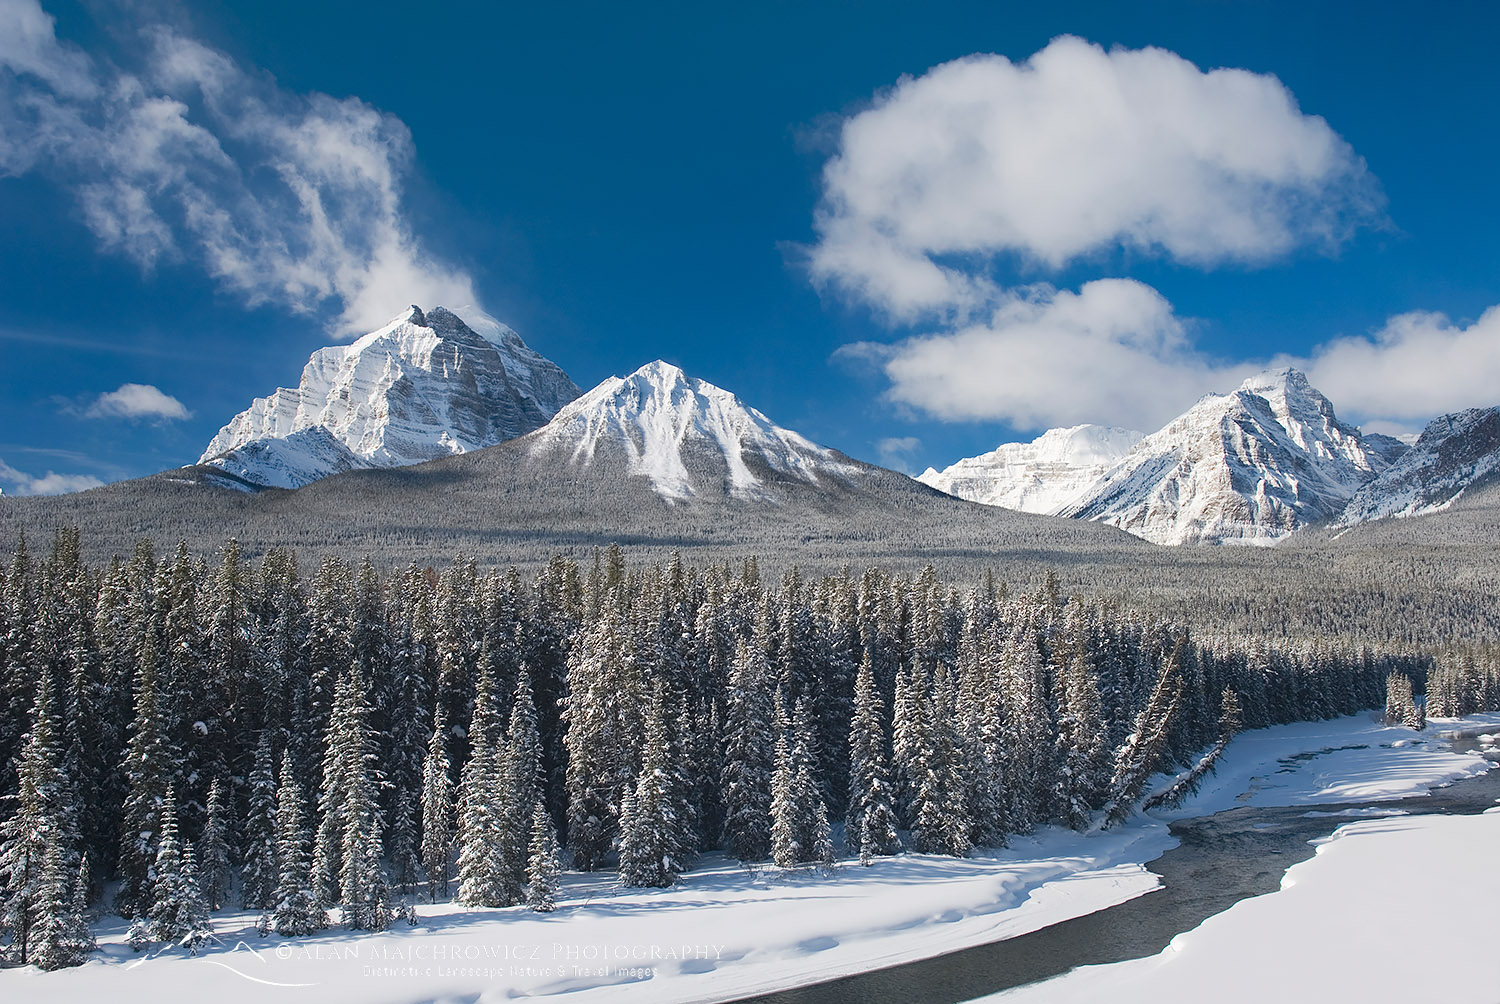 Bow Valley Banff National Park #43869 Purchase
Winter Photography Clothing:
- The rule in outdoor safety is cotton kills. Cotton has no insulation properties, leaving you vulnerable to hypothermia. And when cotton is wet it is nearly impossible to dry off in cold temperatures.
- Merino Wool is your best option for base layers. Unlike traditional wool, Merino wool is softer and isn’t itchy. It’s warm, and comfortable, and stays fresher smelling than synthetics after a few days of wear.
- Waterproof shell jacket and pants. Look for features such as built-in gaiters, suspenders, articulated knees, hood, and deep pockets with zippers.
- Down jacket or parka. Absolutely nothing beats down for insulation. Keep it dry and it’ll be your best friend. But get it wet and it’s worse than cotton for insulation. I wear my down jacket when standing around camp or when waiting for the light. However, it’s too warm for heavy exertion, when you risk getting it wet from perspiration.
- Insulated high-top snow boots. You’ll be trudging through deep snow and standing around a lot. Make sure they fit well. Tight-fitting footwear equals cold feet.
- Two pairs of gloves or mittens. I have insulated ski gloves with leather palms and fingers and a thinner set of synthetic gloves for better dexterity when working.
- Hat, sunglasses, and or ski goggles. In addition to the hood on your jacket, it’s wise to bring along a wool or fleece beanie. Also, a good full-face balaclava is essential when it gets really cold and windy. Goggles are great during windier conditions, they provide better visibility and help keep your face warm.
 Ski Touring Manning Provincial Park B.C. #43980 Purchase
Getting Around:
Unless you plan on photographing from your vehicle or on well-packed trails, you’ll need an efficient way to get around in deep snow. How you do that will depend on your goals and location. If you’re photographing in the mountains, you’ll most likely encounter deep snow of varying consistency. In the Pacific Northwest, the snow is heavy, wet, and often over 10′ deep. In the Rockies, the svow tends to be very dry, powdery, and deep. Regardless of which location, it’s no fun post-holing through deep snow in just boots.
- Snowshoes are a great method for beginners to travel through the snow in a great variety of conditions. They don’t require special skills or boots and are relatively inexpensive. However, don’t assume that you’ll float easily on top of the snow. Unless you’re on a packed trail you’ll be sinking in the snow to some degree, and working up a sweat. If you’re hiking through deep, wet, and heavy fresh snow they’re almost as exhausting as post-holing.
- Backcountry, Alpine Touring (Randonee), Telemark skis, and Split-Board Snowboards. These are, in my experience, the best and most enjoyable ways to access photo subjects in deep mountain snow. You’ll get around easier and faster, and with much better flotation, even going uphill in steep terrain. Plus you’ll have a blast gliding back to your vehicle. The big downsides to these options are the gear can be expensive, and all of them have a much higher learning curve than snowshoes.
- Cross-country skis are an option only if you’re on a groomed trail or have lots of experience. These skinny skis are generally too narrow for deep untracked snow and are nearly useless for going uphill. And they don’t turn very well on the downhill.
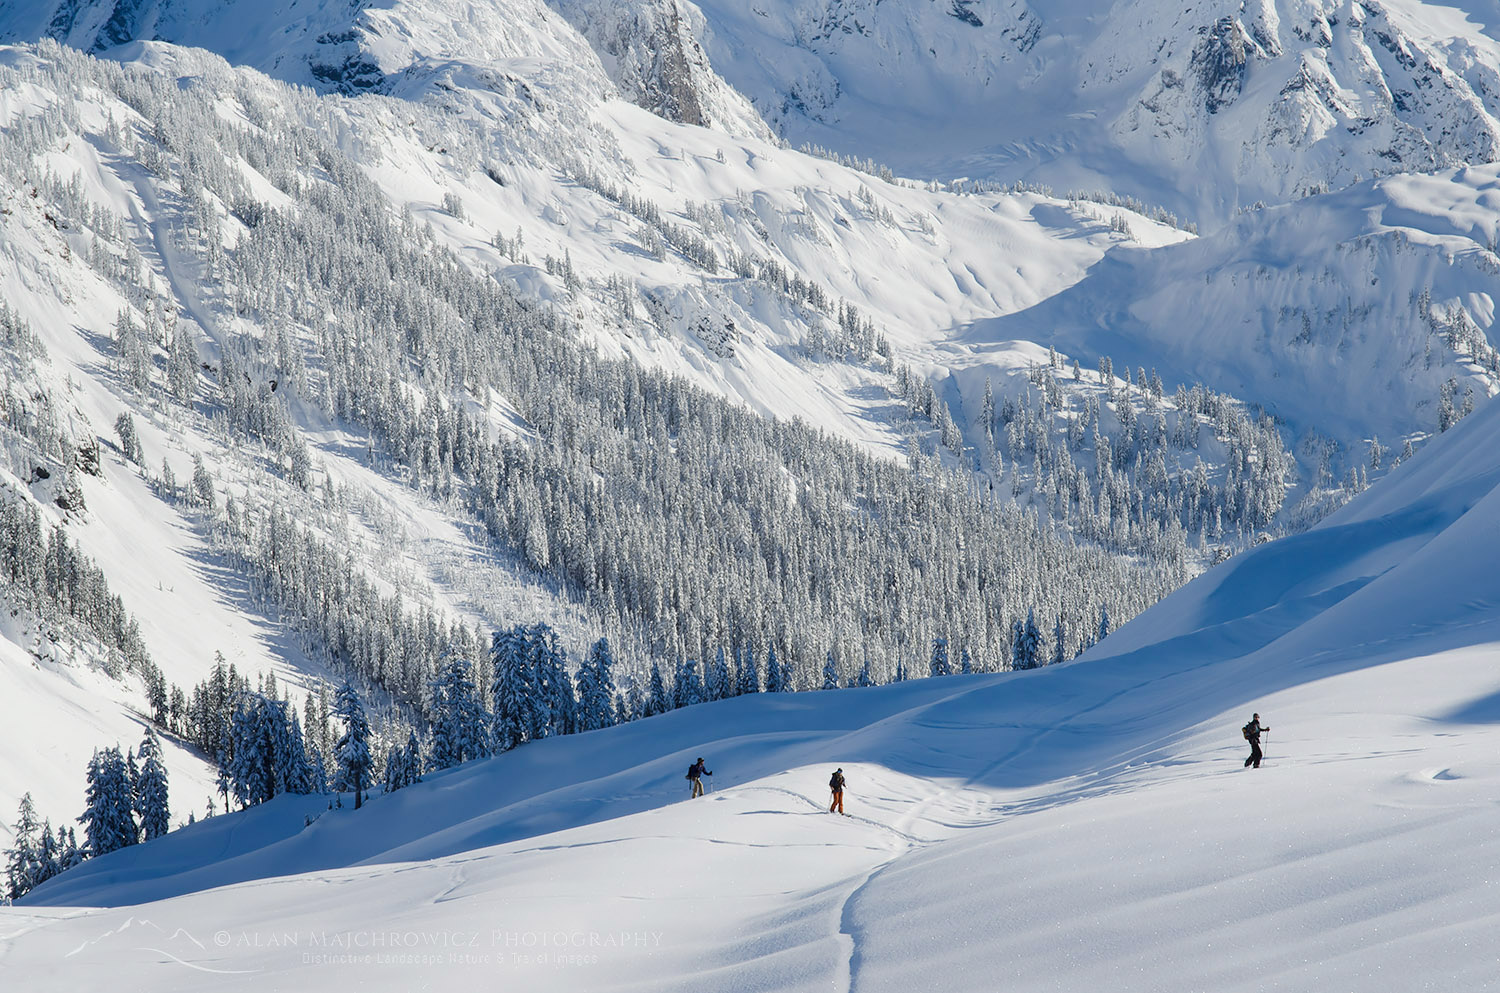 Backcountry Skiers North Cascades #56540 Purchase
Winter Photography Camera Gear Considerations:
In winter you must, of course, care for your camera gear to a greater degree. It’s quite a challenge to stay dry and keep snow off of your gear.
- A good backpack-style case is essential If you’re going out for more than a few minutes. A good quality backcountry ski pack is a wise investment. Most traditional camera backpacks don’t have enough room for extra clothes, water, snacks, and other essential items necessary for winter travel.
For day trips I suggest finding a quality pack with around 2000-3000 cubic inches of storage. Dedicated ski packs have the advantage of being designed for winter backcountry travel, with room for essential safety equipment, such as shovels and avalanche probes. They are generally more waterproof and have features that can be accessed with gloved hands.
Another good idea is a camera case with a chest harness. This will give you quick access to your camera when snowshoeing or skiing. And it will keep you from constantly unloading your main pack in the snow whenever you come across a subject.
- Batteries. Always bring extras and have them fully charged before heading out. Today lithium-ion is far superior and more reliable than standard AA batteries. But they are not immune to cold conditions, keep them warm in your jacket if you can.
-
-
- Microfiber cloths and towels. The Hitchhikers Guide to the Universe states “A towel is about the most massively useful thing an interstellar hitchhiker can have…” This is also true for winter photography. Despite your best efforts, you will constantly be wiping snow and moisture off your gear. Not to mention the constant fogging lens, filters, and camera bodies will get as you handle them. At least one microfiber cloth is essential, but take three for good measure.
-
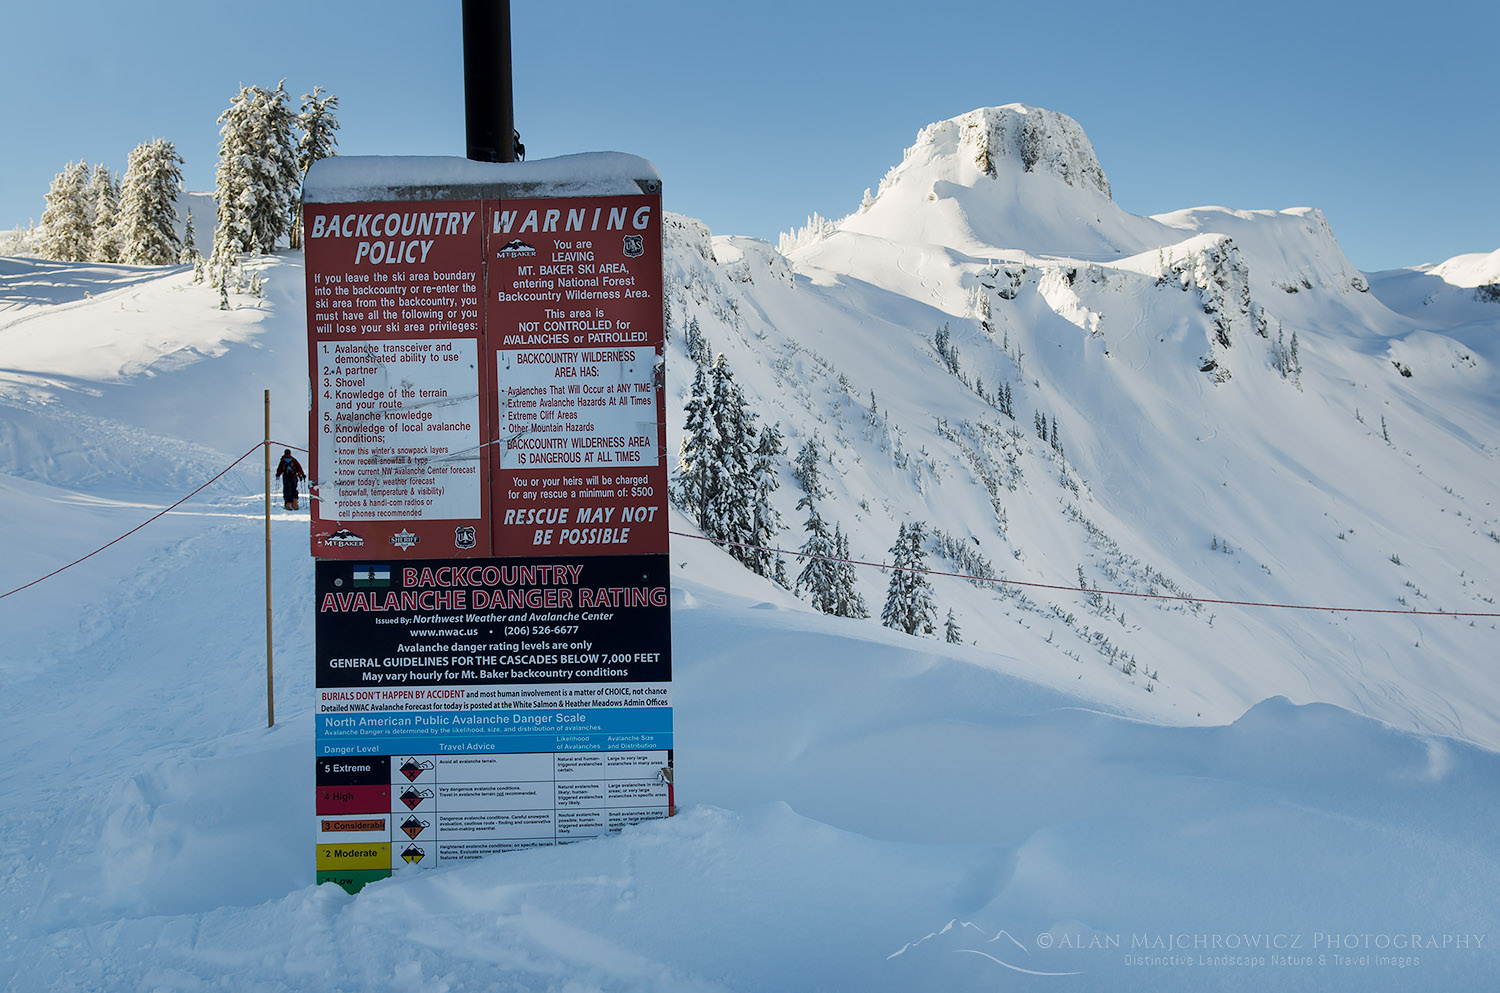 Backcountry Safety Warning Mt. Baker Ski Area #56529 Purchase
Safety Considerations:
There are plenty of risks to consider when photographing in a winter environment. Among them are traveling in avalanche terrain, hypothermia, frostbite, thin ice on lakes and streams, and getting your vehicle stuck. Nearly all of them can be avoided by careful planting, a good amount of caution, and common sense. Listed below are a few basic items you should never leave home without.
- A backcountry-style snow shovel is a must. They’re strong, lightweight, and great for a variety of uses. Its main safety purpose is digging out an avalanche victim. But they are also useful for digging out your car after a storm and making a seat or shelter in the snow.
- Avalanche transceivers and probes are essential if you plan to travel into the backcountry through questionable terrain. However, these items are of absolutely no use if you are not trained in using them. Always travel with companions and make sure everyone has avalanche rescue and awareness training!
- Tire chains or other traction devices for your vehicle. Never leave home without these. Conditions can change rapidly throughout the day, and a bare dry road in the morning can have inches or feet of snow on them in the afternoon. Most mountain highways require them during the winter months anyway.
- Jumper cables and or a portable jump starter are also a must. Imagine charging up camera batteries, a smartphone, and or a laptop while sitting in your car waiting for the snow to stop, only to find out your car battery is dead. Not a good feeling!
- Gas camping stove and extra food. After a day in the snow and cold, it’s nice to have a hot drink. It can also be a lifesaver if you’re cold and on the verge of hypothermia. I always carry a large propane tank in my truck along with a two-burner camp stove. To keep it going in cold weather I need to replace the regulator on the stove every year or so. For the backcountry, I always carry a white gas MSR XGK. Unlike today’s popular gas canister stoves, this stove performs flawlessly in the coldest conditions.
- Extra dry clothes and a sleeping bag. If you worked up a sweat, or all your clothes are wet you’ll appreciate changing into dry clothes back at the car. A sleeping bag is essential if a surprise storm prevents you from driving home.
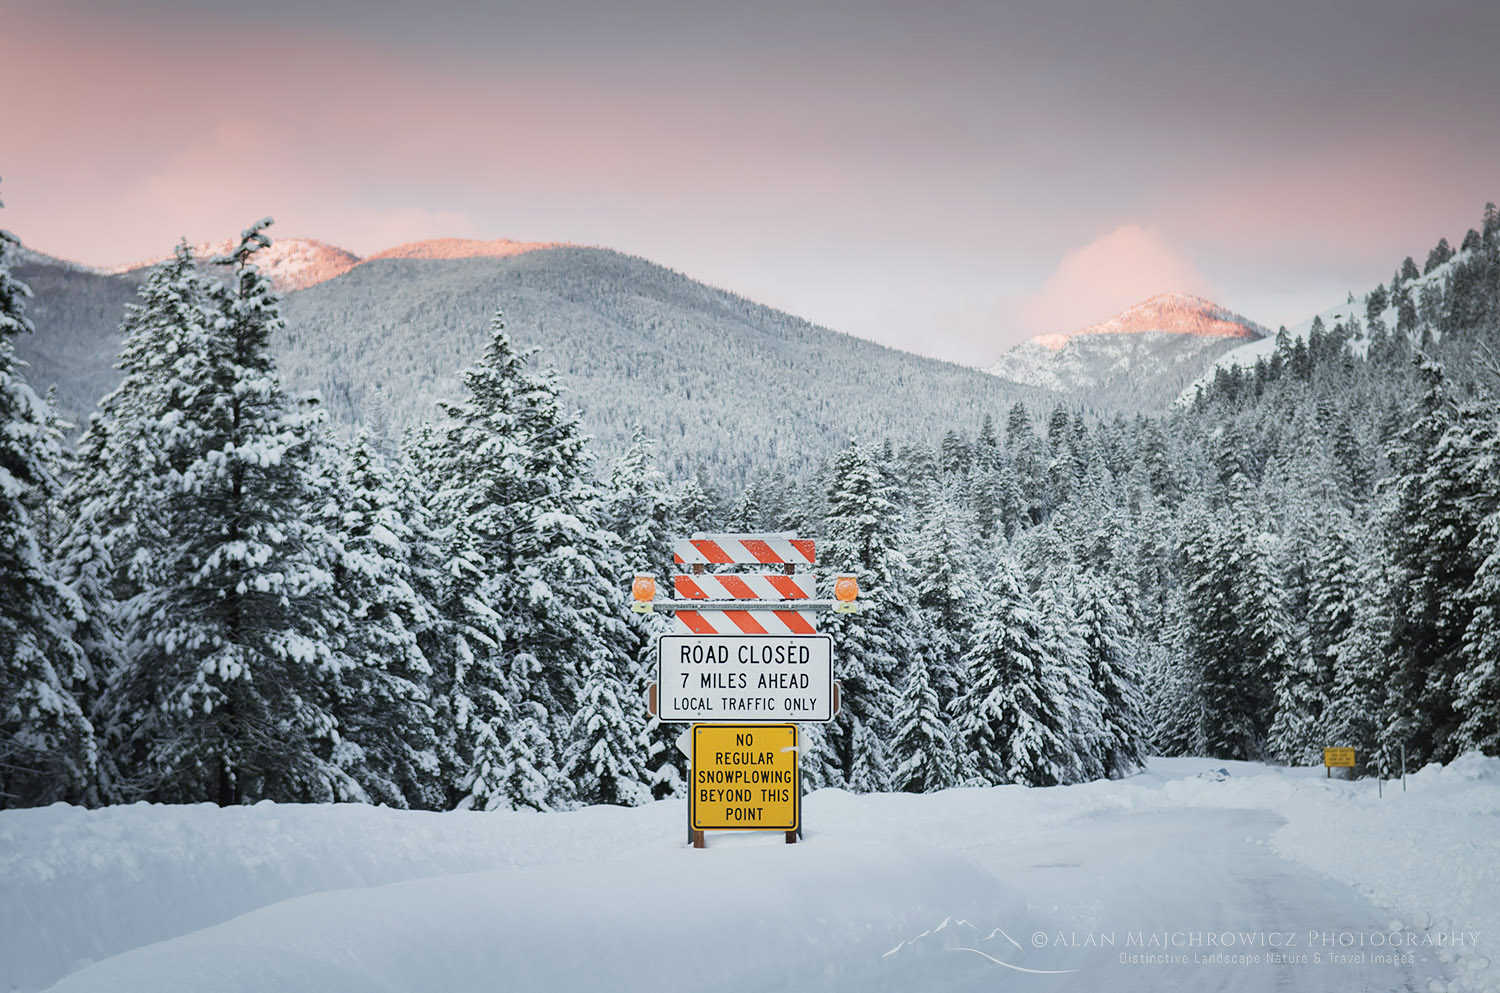 North Cascades Highway in winter #56605 Purchase
Coming up next
For even more information on planning an outing, day trips vs. overnight backcountry trips, weather, and other considerations check out:
Essential Winter Photography Tips
If you enjoyed reading Gearing up for Winter Photography please share it with your friends and family.
Ever wonder what it’s like photographing landscapes and nature for a living? Check out my blog post:
What is it like to be a Professional Landscape Photographer?
All photos appearing in Gearing Up for Winter Photography are available for Commercial Licensing and Fine Art Prints. Click on any image to purchase, or contact me for more info!
