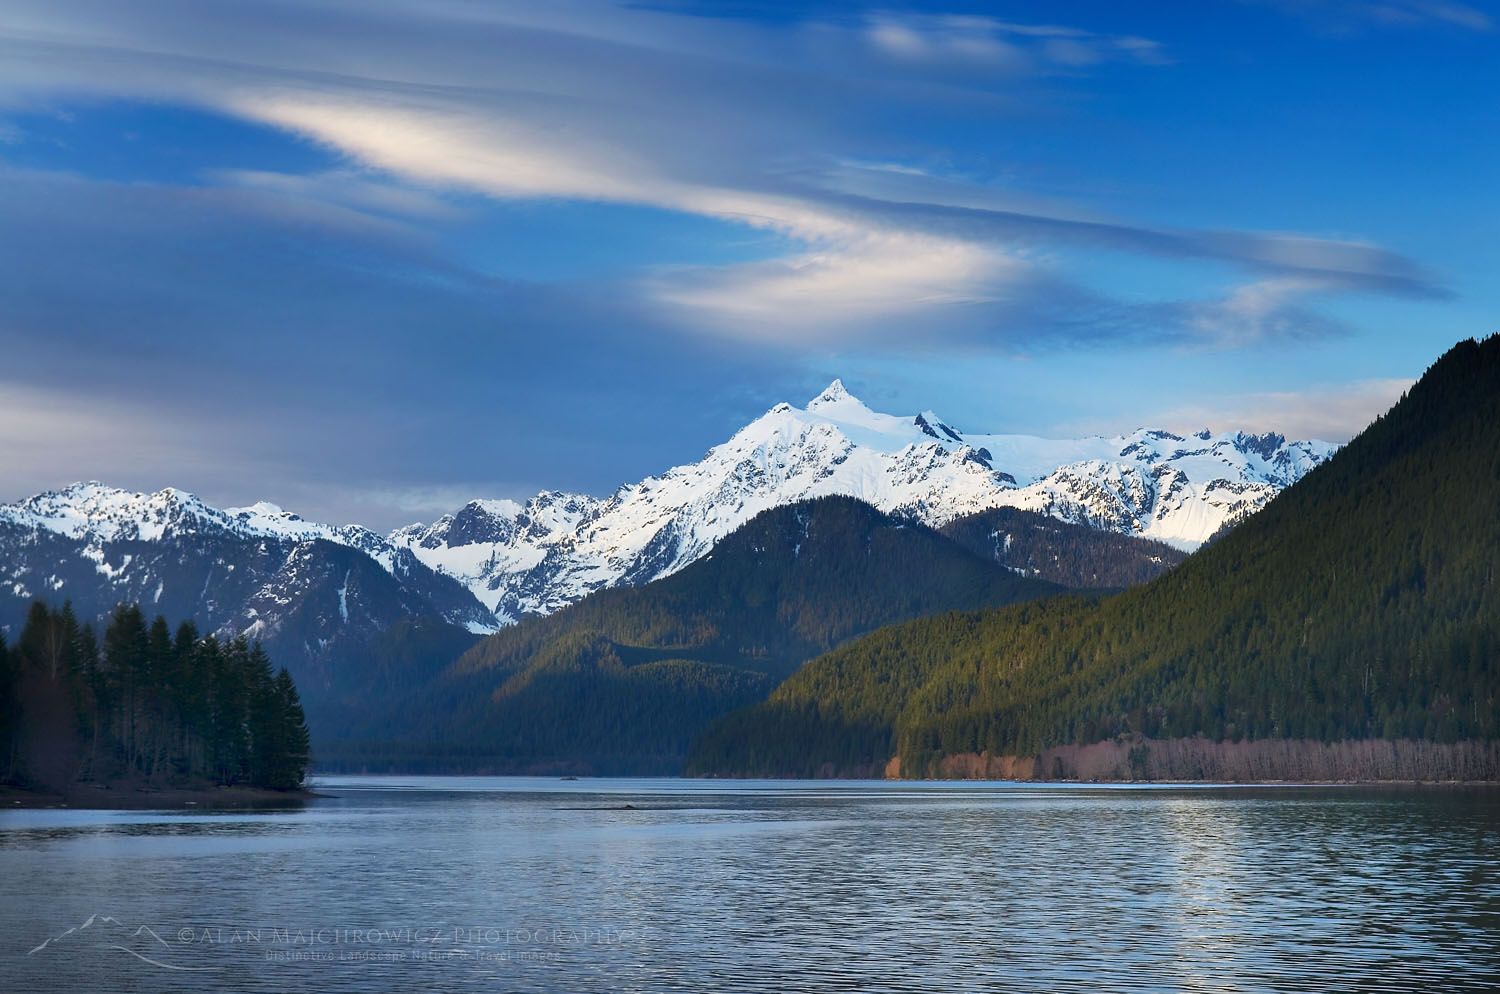
Mount Shuksan from Baker Lake North Cascades

North Cascades Photography Workshop

North Cascades Photography Workshop

Mount Shuksan from Baker Lake North CascadesMount Shuksan and Baker Lake #53550

Join me for a two-day workshop on creative visualization in the North Cascades.  Hosted by the North Cascades Institute, the Pacific Northwest’s premier organization for environmental learning. This will be a hybrid workshop, with the first part being a full day in the field. The second part will be an online Zoom session where we will discuss techniques of photo editing and processing.

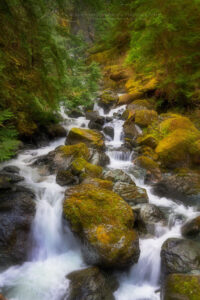
The field segment will be a full day of photographing in the beautiful Old Growth forests along Baker Lake in the North Cascades. The lake sits below the towering summits of Mount Baker and Mount Shuksan. Along the way, we will pass numerous streams flowing through a cool and fragrant forest of giant firs and cedars. Along with an understory lush with ferns and wildflowers there will be plenty of subject matter to work with.

Hidden Creek. Baker Lake Trail, North Cascades WashingtonHidden Creek North Cascades #65030  Purchase

During our time in the field, we will discuss and learn composition techniques. We will also explore focus stacking, exposure stacking, macro photography, and more. Above all, we will learn to develop and express personal visions of the surrounding environment. In the online Zoom session, we will discuss and learn various editing and processing techniques to help convey creative your experience.

Although this workshop touches on some basic technical aspects of photography the focus will be on creativity and visualization. Participants should possess a working knowledge of their cameras. Participants should also have a basic understanding of image editing apps.

Due to pandemic restrictions, the field portion will be limited to eight participants.


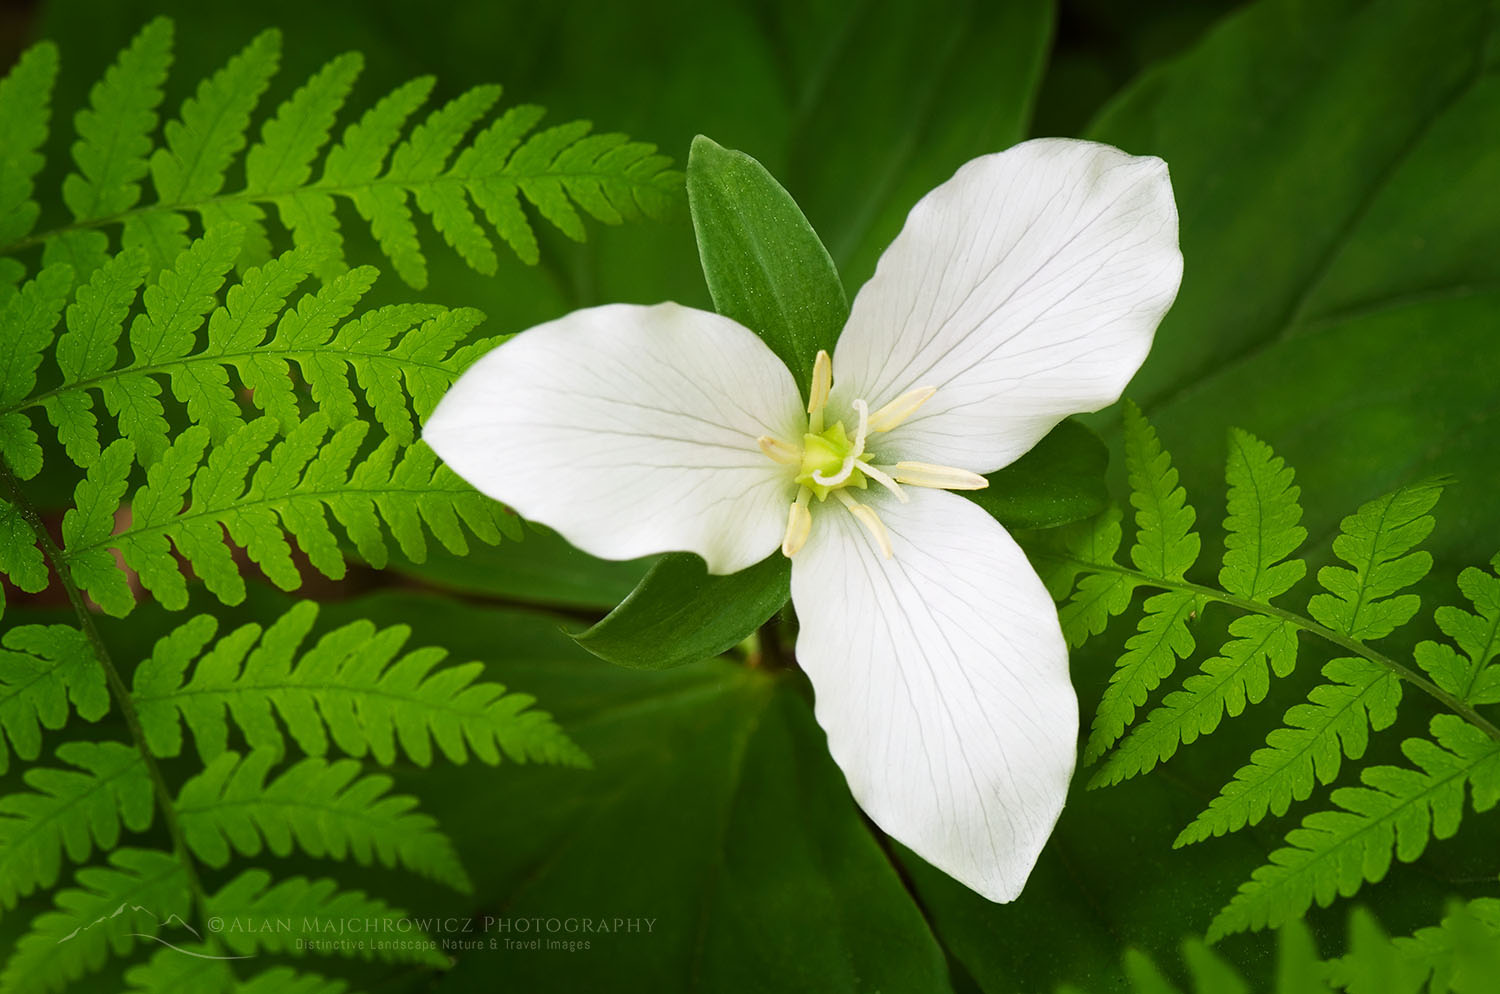
Western Wake-robin (Trillium ovatum)Trillium #53779  Purchase

Suggested Photography Equipment

  • DSLR  is preferred but any camera will be acceptable
  • Wide-angle to short telephoto lens
  • Polarizing filter
  • Tripod
  • Remote shutter release

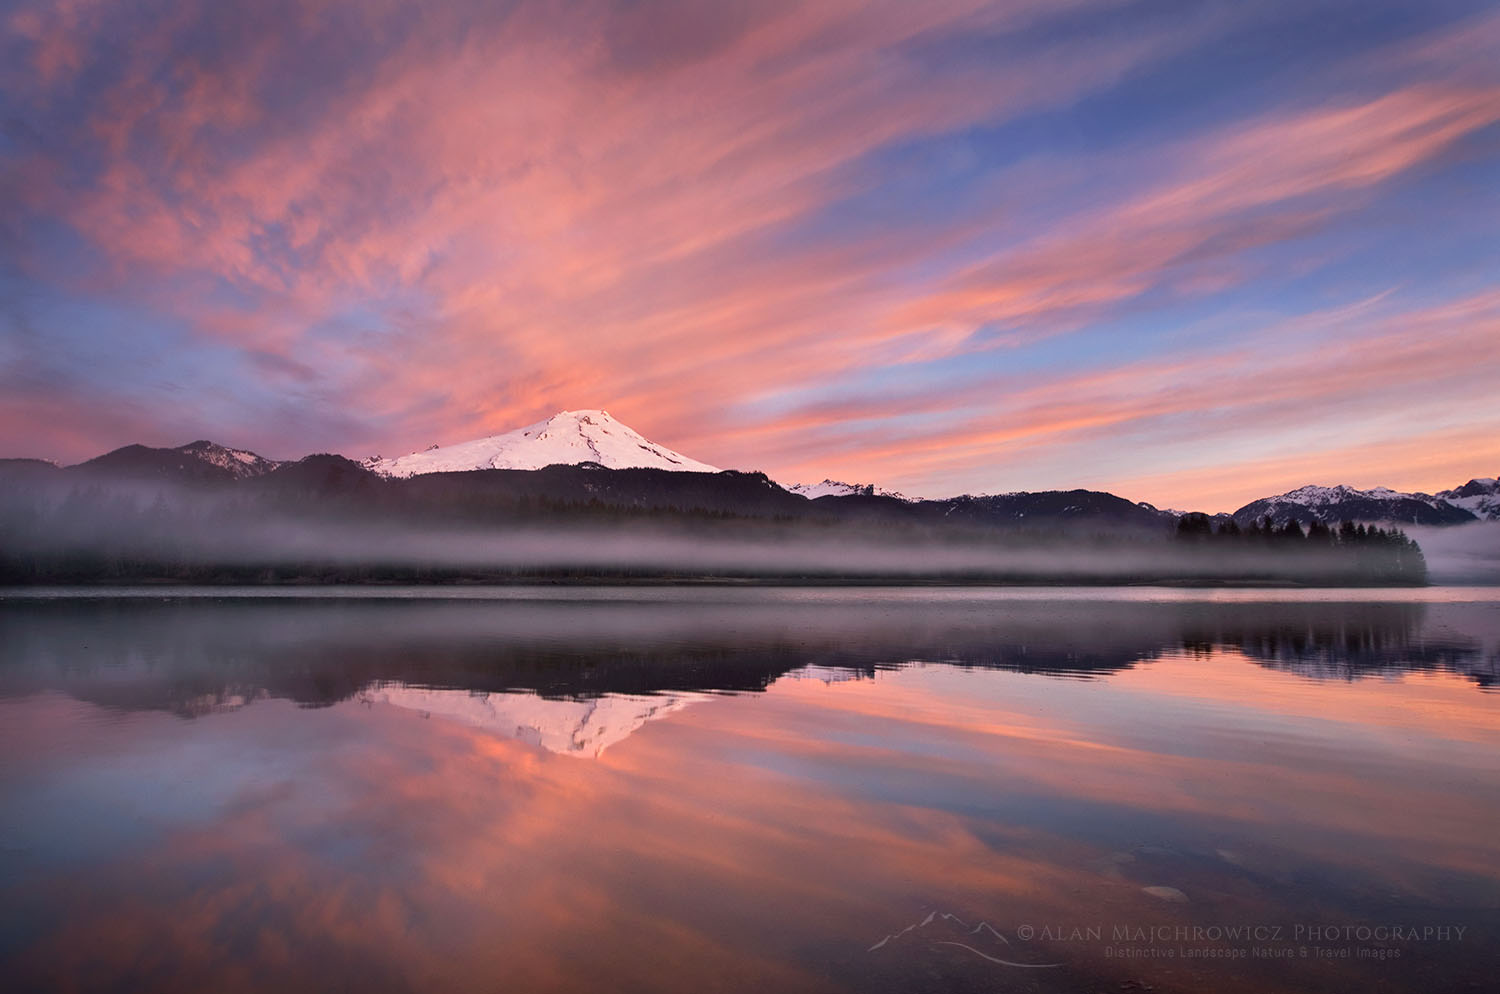
Sunrise over Mount Baker (elevation 10,778 feet (3,285 m) and Baker Lake, North Cascades WashingtonMount Baker from Baker Lake  #53562  Purchase

North Cascades Photography Workshop

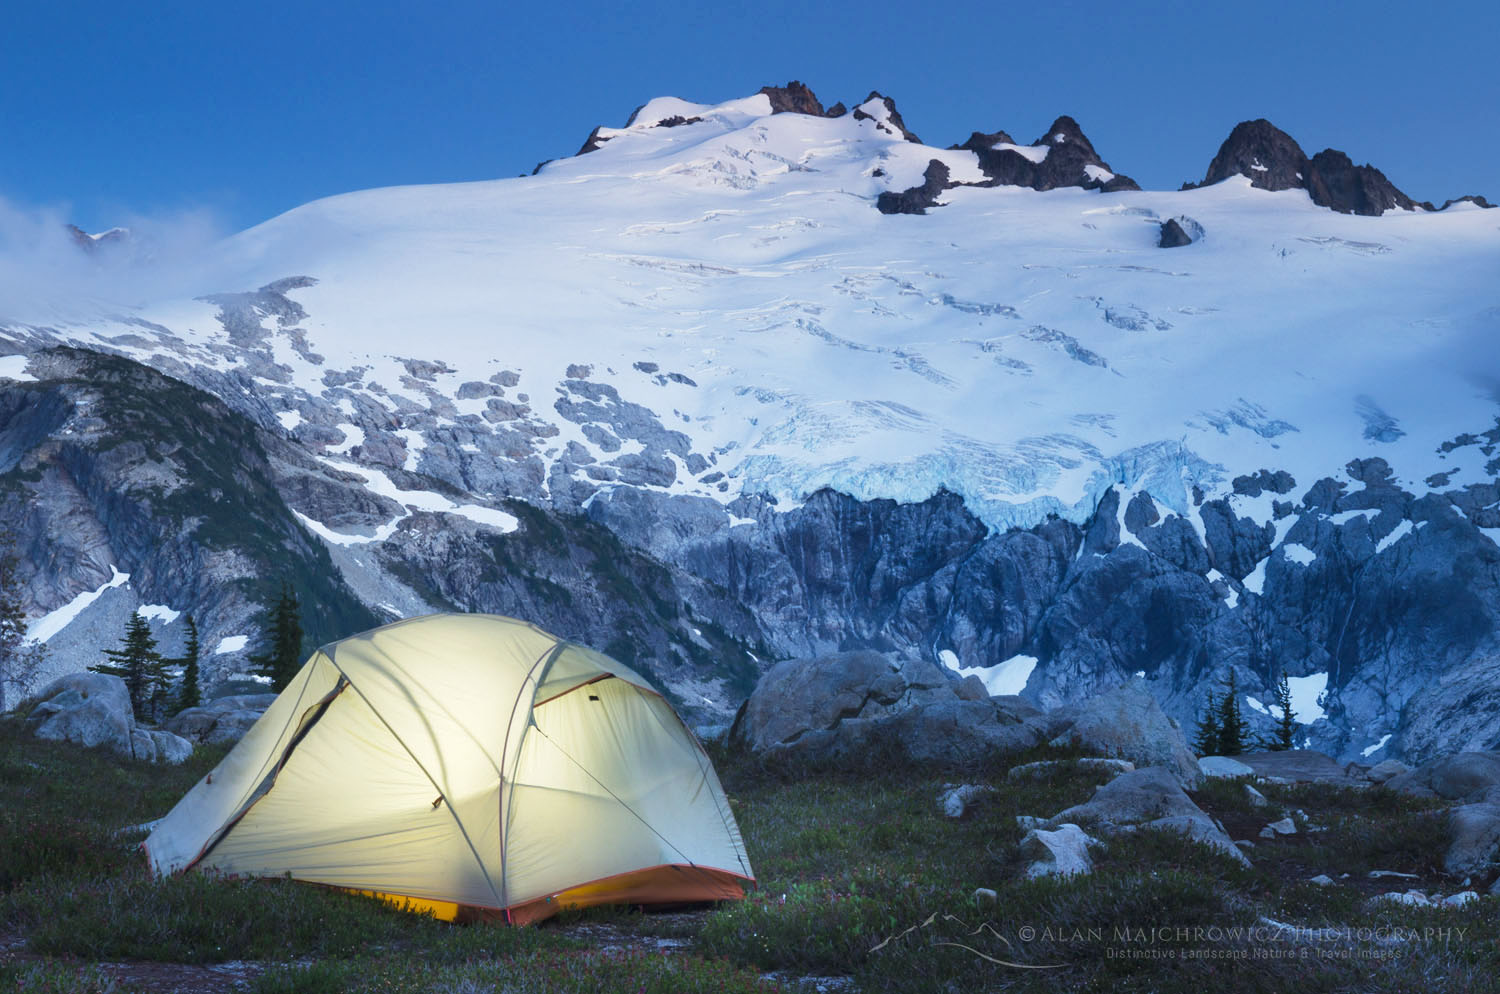
Hannegan Peak backcountry camp North Cascades

Backpacking Photography Tips

Backpacking Photography Tips

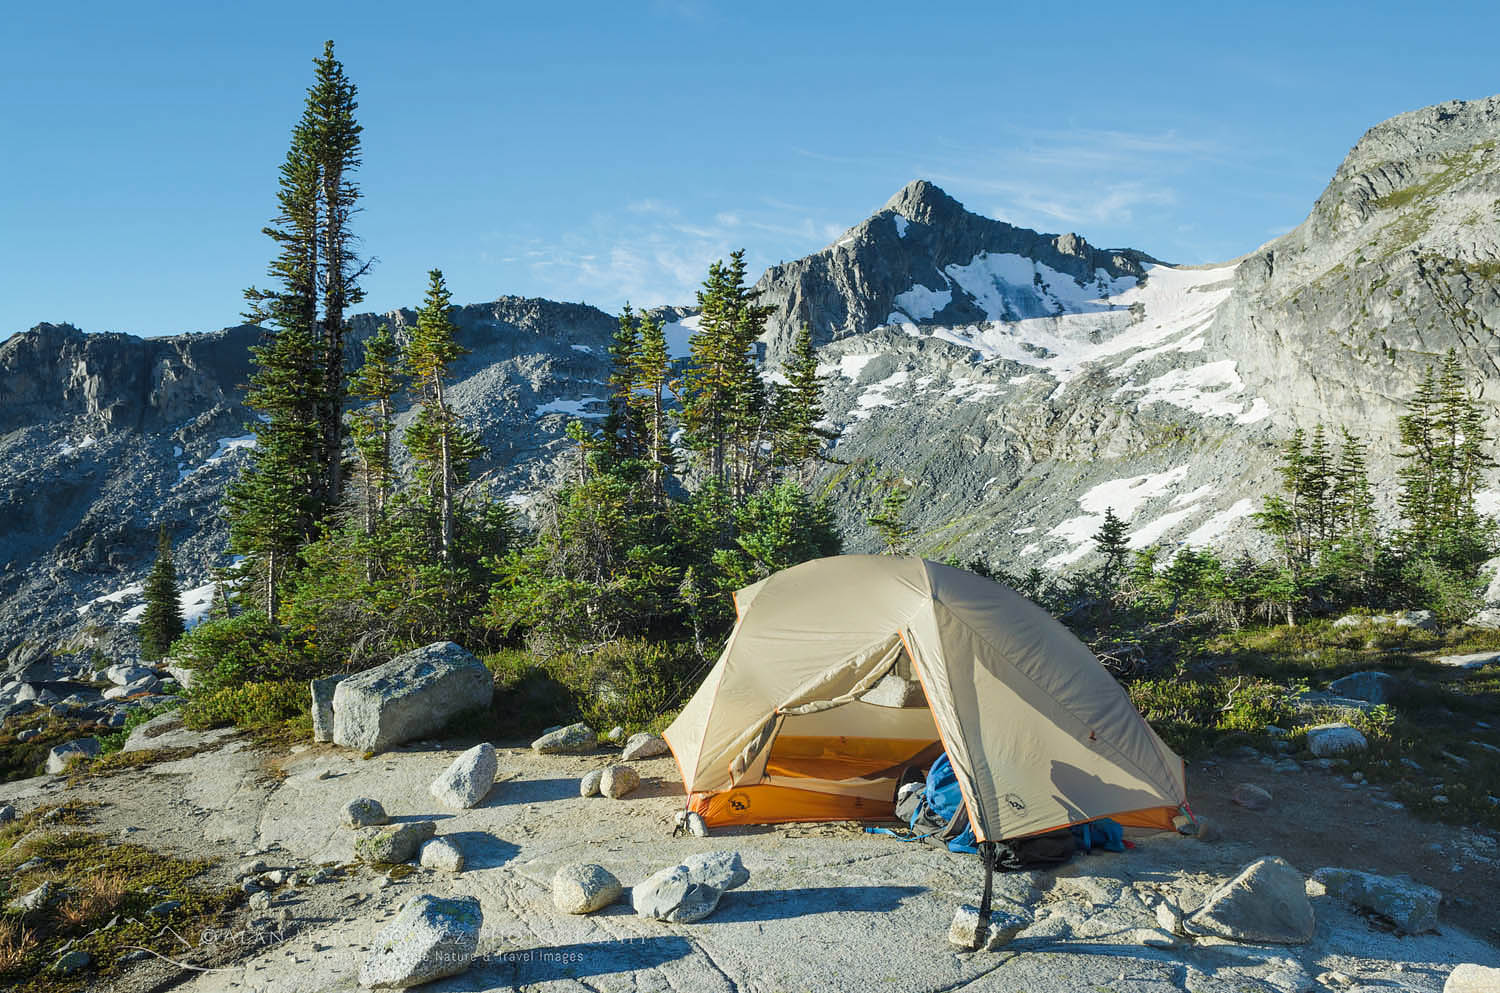
Hannegan Peak backcountry camp North Cascades Backpacking Photography TipsMount Baker Wilderness North Cascades #54316r  Purchase

Photography has always been an essential element of vacations. Since the first portable roll film camera was introduced people have been taking pictures of their travels. And backpacking trips into wilderness areas are certainly no exception. In this post, I’ll be offering some backpacking photography tips to help make your trip a success.

My previous post, Backpacking Photography Gear Tips, went into some of the details of choosing the proper photography and backpacking equipment. This time I’ll give tips on photography while backpacking on the trail.

For the purpose of this post, I’ll focus on some basic tips for working in the field which can help to free your creativity.

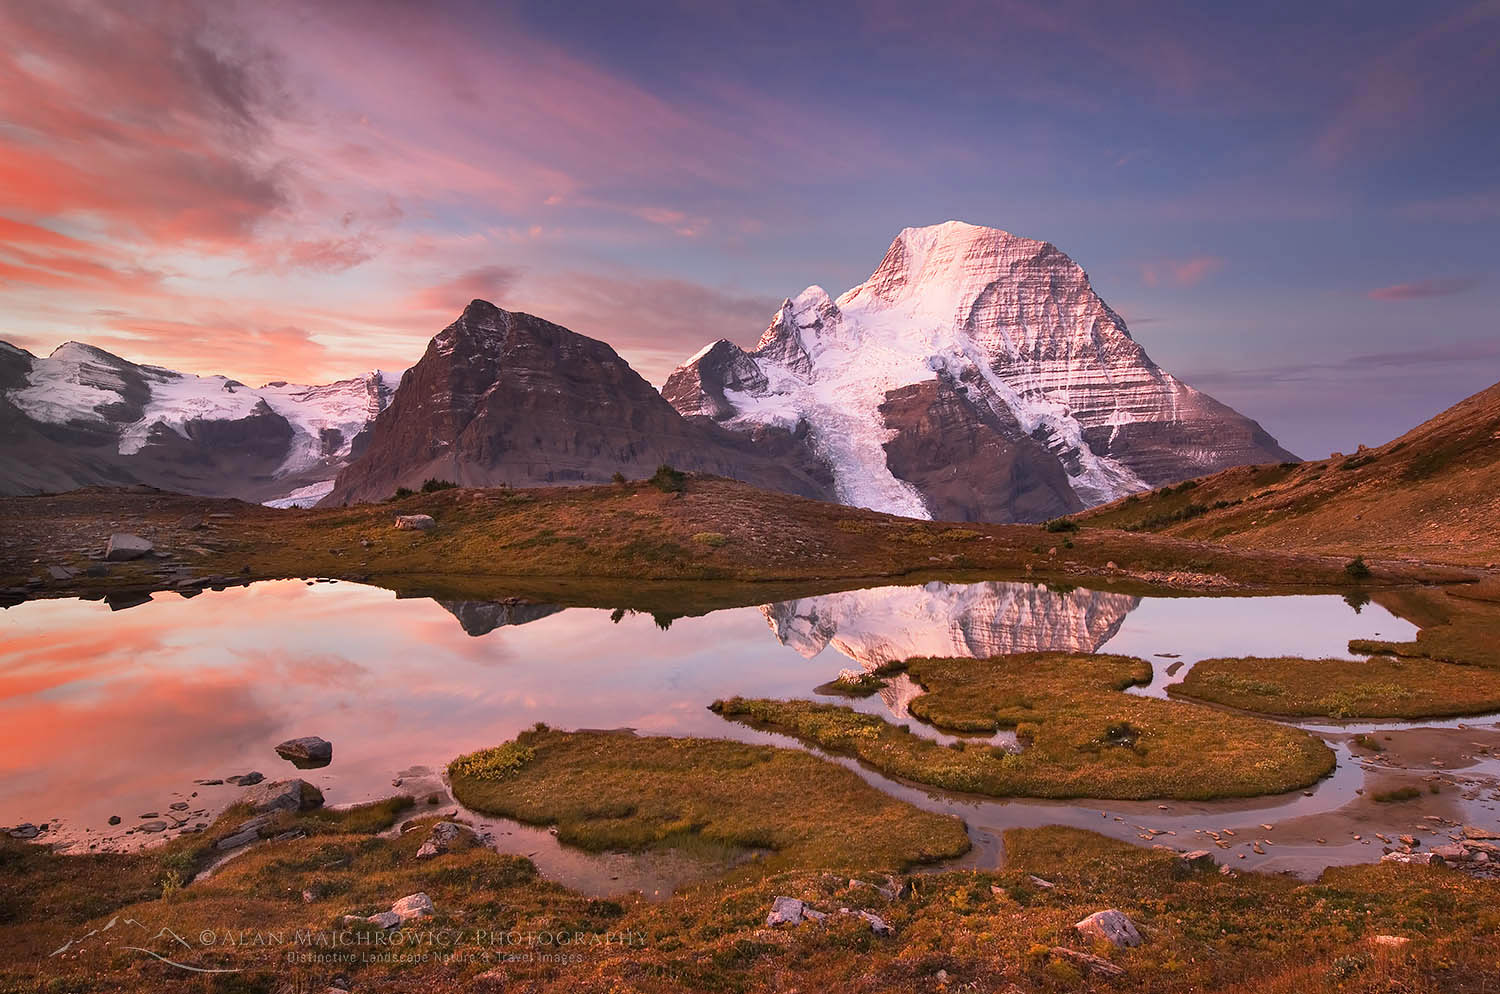
Mount Robson Canadian Rockies Backpacking Photography TipsMount Robson British Columbia  #54646  Purchase

Set a Goal

Setting a goal for yourself can vastly help in making better photographs. These goals can vary depending on a number of factors, such as:

  • Location
  • Season
  • Weather
  • Subject matter
  • Time available
  • Physical condition

On a backpacking trip you may need to place a limit on and be flexible with your goals. For example, if your goal is action/adventure photography your opportunities for landscape or nature photography will be limited. Or if your goal is to photograph dramatic landscapes but the weather is consistently gray,  consider changing your goal to nature details and or abstracts.

Backpacker Wind River Range, Wyoming Backpacking Photography TipsBackpacking in the Wind River Range #66330  Purchase

Know Your Limits

Remember that your pack will most likely be fairly heavy, and will determine how far and fast you can travel. Don’t push yourself beyond your limit. Take it easy and break your hiking distances into manageable lengths. If you arrive at camp physically exhausted you won’t have much energy left to making good photographs. Unless the perfect image is right in front of your tent you’ll need to be on the move until after sunset.

Carefully research your trip in advance. Check out trip reports and maps, and pay particular attention to elevation differences from point to point. You may think that you can easily hike 15 miles in a day. However, that distance will be considerably less when you throw in 3000′-4000′ elevation gain while carrying a full pack.

Also, know your location. Backpacking in Wyoming’s Wind River Range is vastly different from backpacking in the North Cascades. In the Winds, you gain elevation gradually with many ups and downs. In the North Cascades, large amounts of elevation are gained either by endless switchbacks or straight-up endurance tests.

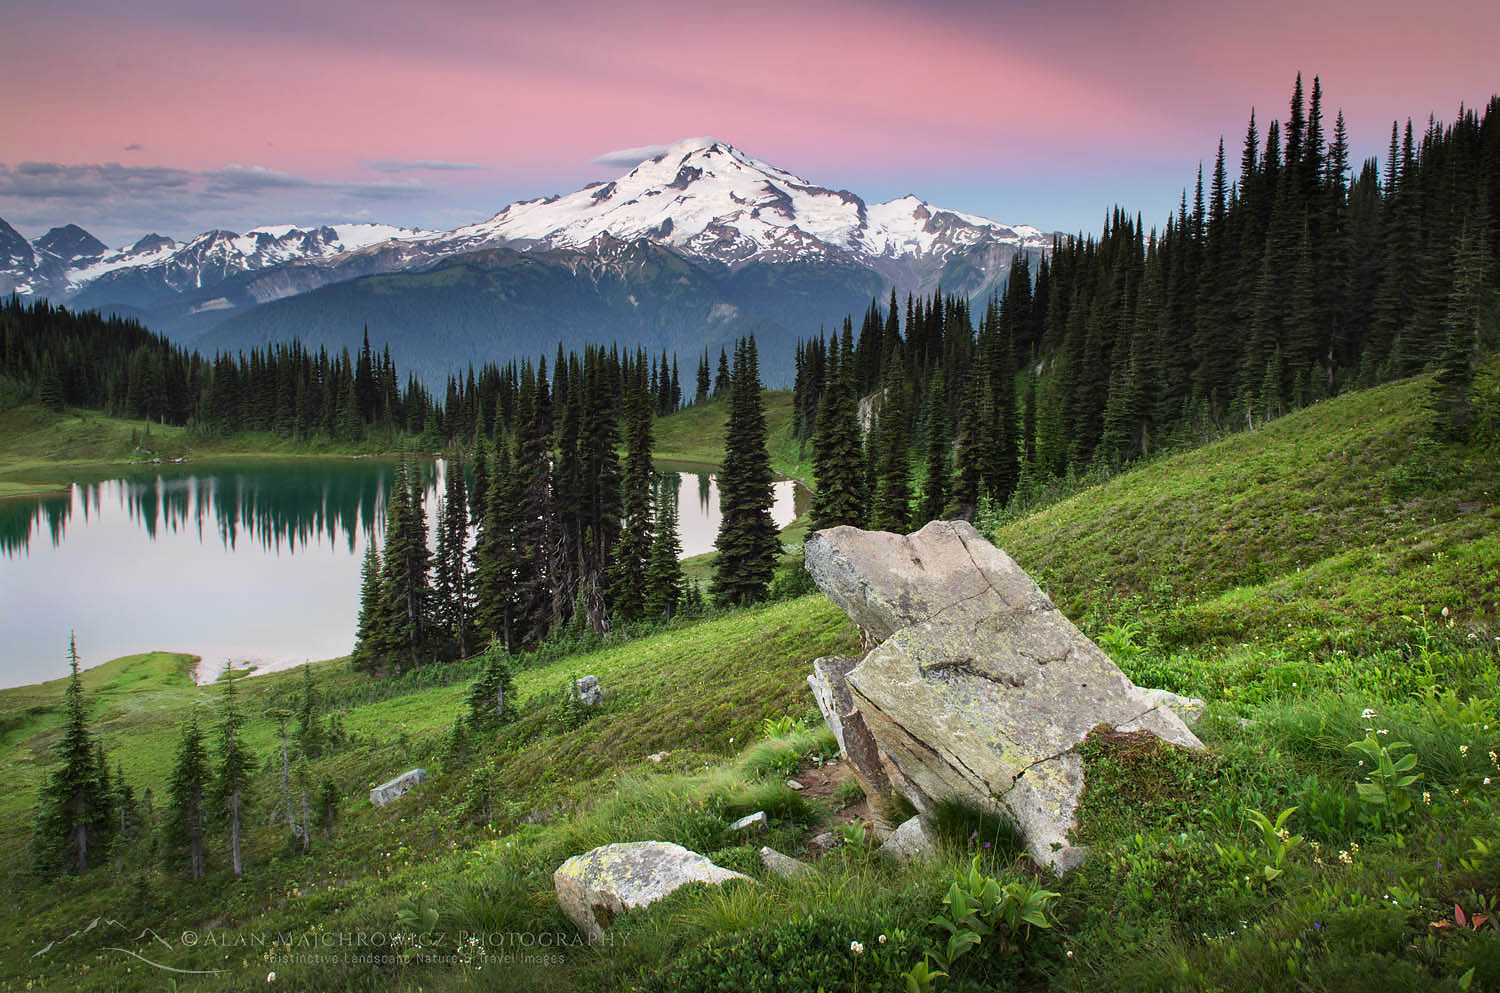
Glacier Peak Image Lake North CascadesGlacier Peak and Image Lake North Cascades #58239  Purchase

Know Your Subject Matter

This may be the most important tip I have to offer.

The best portrait photographers will always tell you this. Being keenly aware of, and bringing out the nuances in someone’s personality is the key to great portrait photography. This is also true for other subject matter, including landscape and nature.

One of the best ways of accomplishing this is to just sit and observe, be meditative. Consider the current catchphrase Light And Fast. Going light is good, but why fast, what’s the rush? Isn’t wilderness something to be savored? Aside from photography aren’t you also here to get away from the rush and complexities of daily living?

Slow down and think creatively, you’ll enjoy your trip more and make better images.

It’s easy to backpack into a beautiful area, set up camp, grab your camera and snap your brains out. However, when you get back home you most likely will have only snapshot quality photos.

While on the trail be observant of your surroundings. Take frequent breaks and enjoy the scent of the forest and the sounds of the birds and streams. After setting up camp use this time to relax and restore your physical and mental energy.

Be particularly aware of how the light changes. The position of the sun and the type of light can make the difference between a good and great photo.

See and photograph with your own eyes. Don’t set out armed with GPS coordinates just so you can replicate the other guy’s photo.

Know your subject and photograph deliberately.

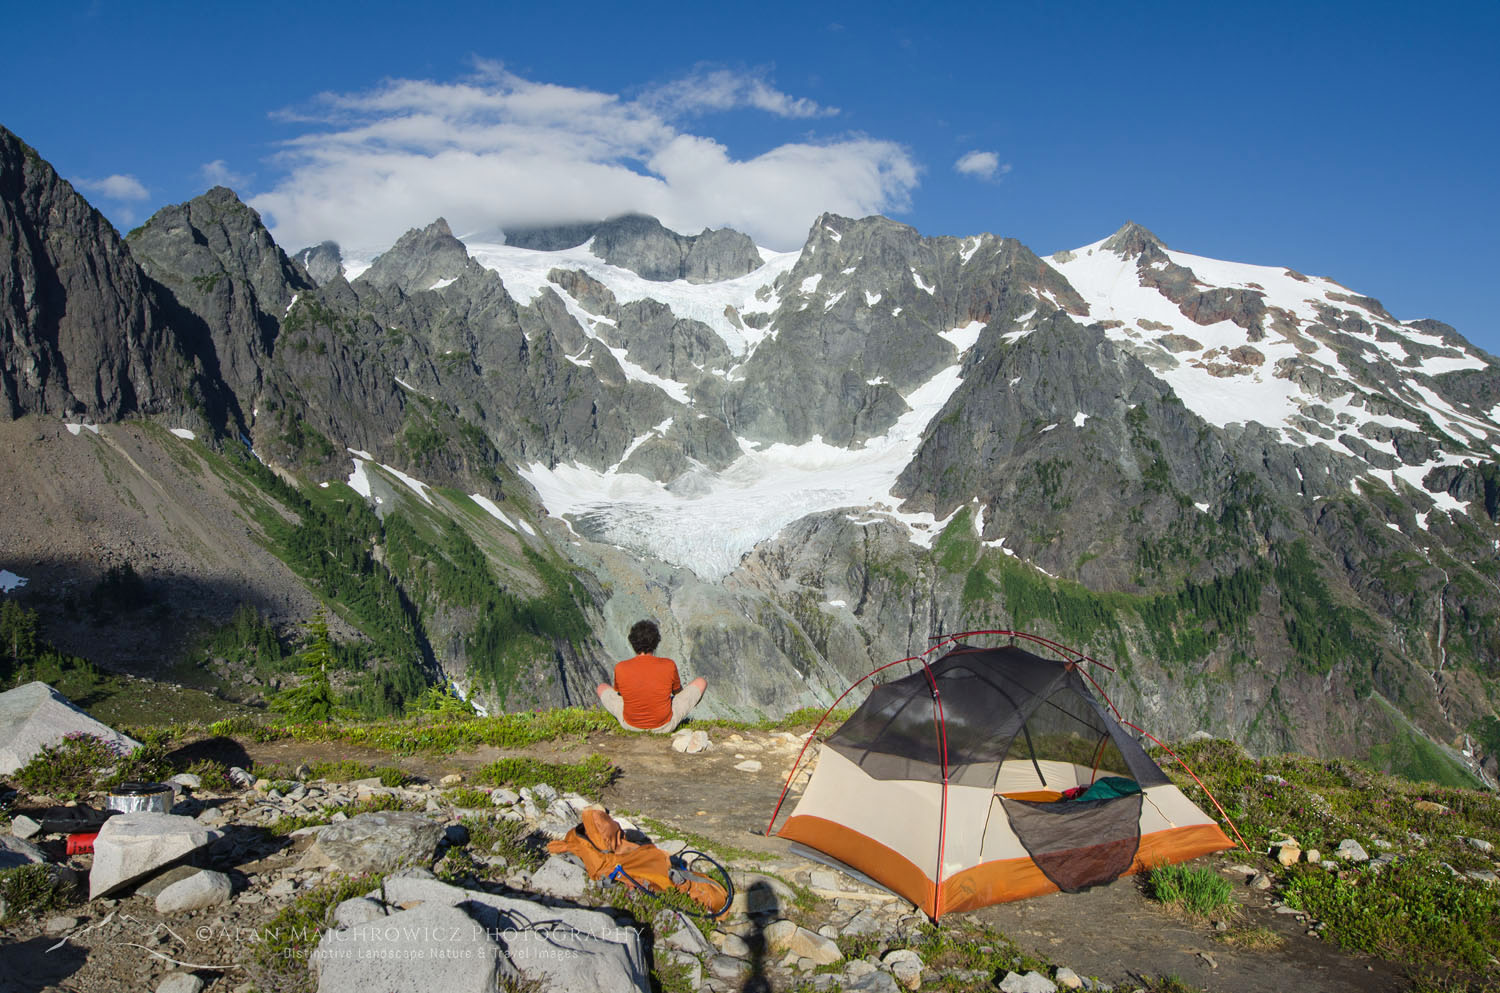
Mount Baker Wilderness campsite Backpacking Photography TipsBackcountry Camp Mount Baker Wilderness #53372  Purchase

Selecting A Campsite

Ideally, you’ll need to select a campsite or base camp on longer trips, that is in close proximity* to your subject matter. If your campsite is a mile or more from that perfect mountain view or field of wildflowers you’ll need to rush to get there in time to set up.

This is especially important at sunrise. It’s incredibly easy to just sleep in if you need to make a long pre-dawn trek to that great composition. Especially if it’s several hundred feet higher up. In a perfect situation, you should have a variety of compositions to photograph within a quarter-mile of camp.

If you’re backpacking in a National Park or Wilderness Area with camping restrictions your options may be limited. National Parks deliberately, and for good reasons, limit camping proximity to pristine locations. Always do your research and check in advance. In these situations, you may have to plan on some extra legwork.

*Whenever possible camp only on hardened established sites, bare ground, rock, or snow. This may not be an option in very remote or rarely visited areas. Scroll down to read about minimal impact and Leave No Trace Principles.

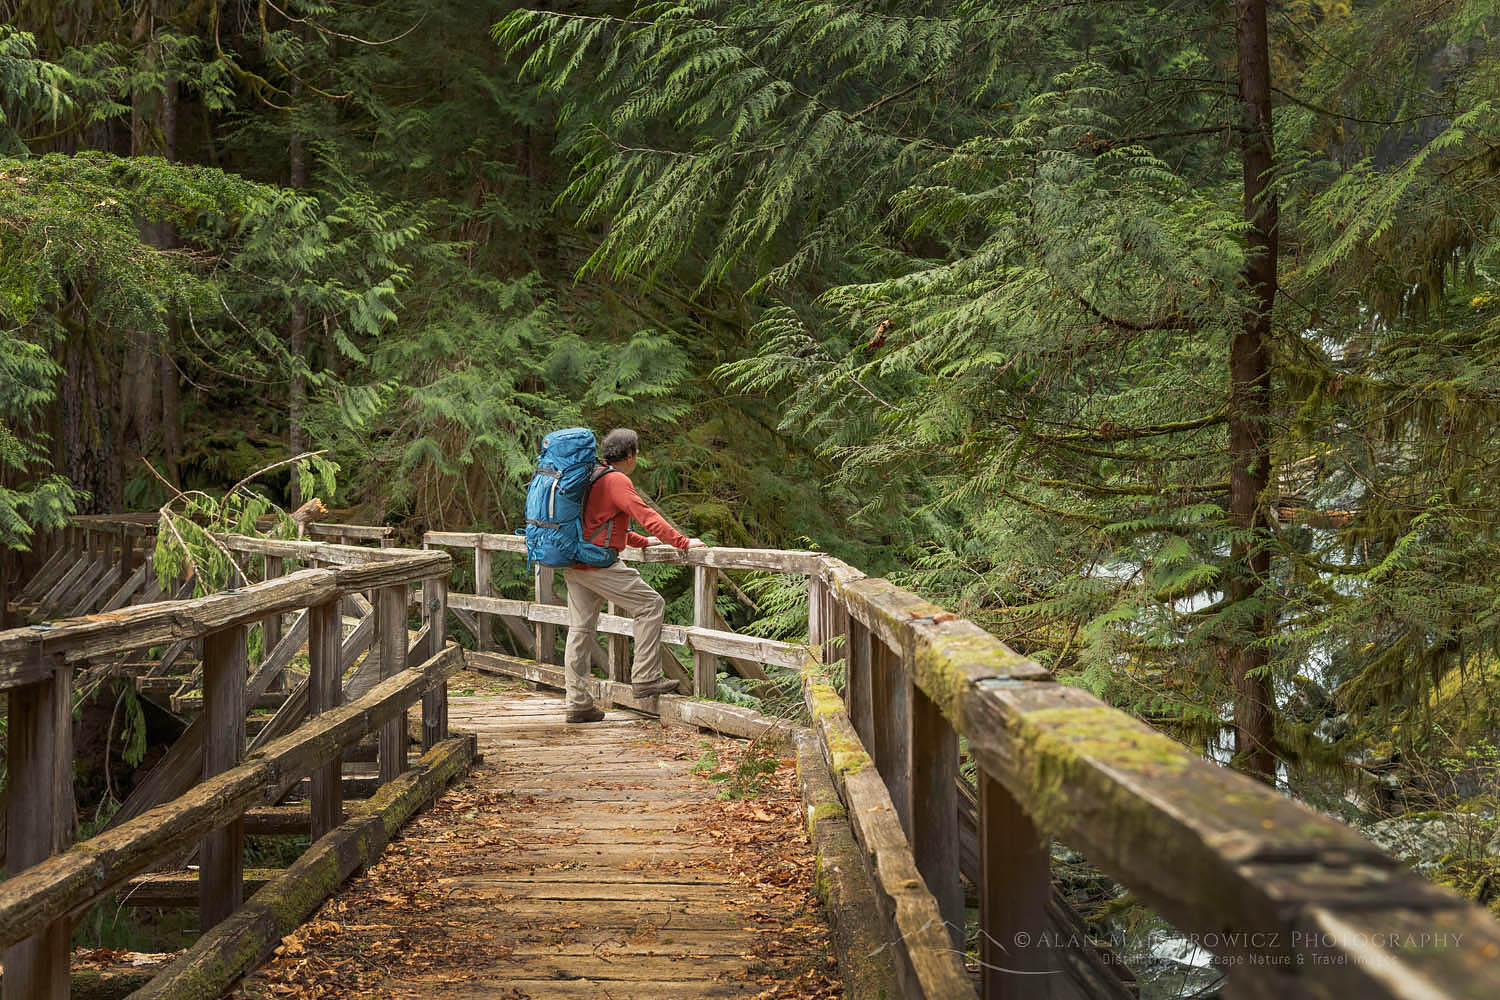
Backpacker Baker Lake Trail North CascadesBackpacker North Cascades #65027 Purchase

Location Scouting

Good location scouting begins at home while researching your trip. Trip reports and guidebooks usually include photos of the area. Poring over topographic maps can give clues to directions of light, and hidden features. Goggle searches of your trip area using different keywords can also reveal little-known spots.

1.    If you planned carefully you should arrive at and set up camp early enough to have time to relax and do some scouting. Aside from obviously finding the best spots for compositions, scouting also gives you an opportunity to get to know your subject better.

2.   Walk through the entire area, and look beyond the obvious. While the big snowcapped mountain may be the obvious dominant element, there may be other compositions more subtle yet just as inspiring. It’s easy to focus your attention on the main scene during golden hour and completely miss something even better in the opposite direction.

3.   Be aware of where the sun will rise and set in relation to the landscape. That perfect composition may be in shadow during morning and evening golden hours. This is particularly true in deep narrow valleys.

4.   Be observant of cloud and weather patterns. Some mountain ranges are prone to dramatic midday storms. However, at sunset and sunrise, the sky may be devoid of any clouds. Of course, in some areas, the opposite may be true. That gorgeous summit may be consistently shrouded in clouds at sunset.

5.   Look for key elements which can you can use in compositions. For a mountain scene, a foreground with a winding stream or a grouping of wildflowers can add movement and depth to the image. Objects such as boulders, a distant tent, or a person can also add scale to the scene.

Limestone Lakes Basin Height-of-the-Rockies Provincial Park British ColumbiaLimestone Lakes British Columbia #46236  Purchase

Commit to Photographing

Face it, backpacking and the related chores of camping are a lot of work. But it’s only one-half of the work you’ll face when you’re there to make excellent images. While other parties are sitting around camp enjoying the sunset, or sleeping late the next morning, you need to be on the move.

1.    Don’t be in a rush, plan in extra days. Good light and photography rarely happen on your schedule. An extra day or two in an area increases your chance of getting the light you want.

2.   Get accustomed to rising before dawn in the morning. How early you need to get up depends on how far you are from where you need to photograph. You can always get more sleep when you return to camp.

3.   Stick it out until it’s really over. Some photographers pack it up right after the sun sets or rises. Big mistake. I can’t tell you how many times it appeared like all the best light was gone, only for the sun to find a gap in the clouds and come back in full force. Sometimes you’ll be faced with a boring cloudless sunrise when a few minutes later glowing wisps or puffy clouds develop literally out of nowhere.

4.   Wait for the afterglow. Often, hidden beyond your view, there may be some atmospheric elements that create a beautiful long-lasting afterglow.

5.   If the sky is clear of clouds and there is no afterglow it’s always worth waiting to photograph the Belt of Venus and during the blue hour.

6.   Stay up late or wake up earlier for photographing the Milky Way.

7.   With the right conditions excellent images can be made throughout the day, not just during golden hours. Always keep your mind and eyes open to new creative opportunities.

8.   Wait out the weather. You’ve put a lot of time and energy into getting here. Stick it out if you can.

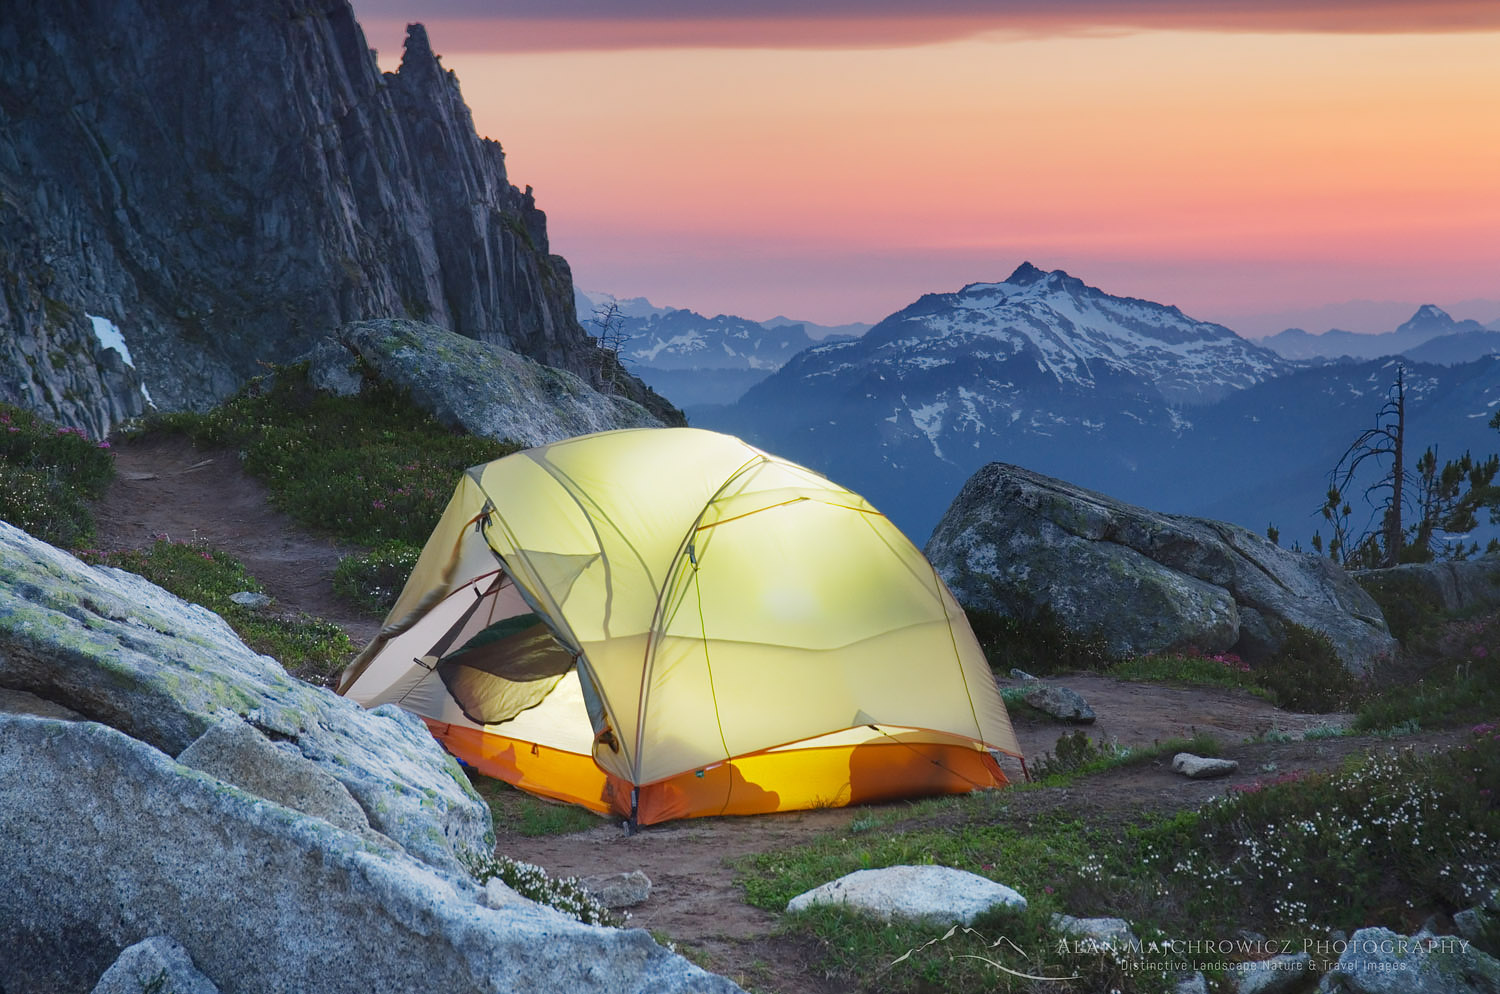
Glacier Peak backcountry camp North CascadesGlacier Peak Wilderness #58315  Purchase

Eat Well and Smart

Good nutrition is important to maintain the energy you need to sustain a high level of activity. There are endless books, articles, and opinions available to help guide you and confuse you on this topic. Everybody is an expert and will be happy to point out why their research is right and yours is wrong.

I’m not a nutrition expert but I have found out through experience what works for me and what doesn’t. Everybody is different. You’ll need to find a balance of taste, convenience, and nutrition that works for you, preferably in advance of a long trip.

1.    Whatever choice of food make sure you bring enough. You’ll be burning a lot more calories per day than you normally would.

2.   Keep your menu as simple as possible, and look for dehydrated or freeze-dried items to keep the weight down.

3.   For safety in bear country avoid foods with strong odors. Only prepare as much as you can eat, leftovers attract not only bears but also rodents.

4.   Try to bring items that can be prepared by just adding boiling water. The time you save can be spent photographing. You’ll also save weight on fuel.

5.   When on the trail stay well hydrated, and drink an electrolyte replacement instead of plain water. Over the years I’ve tried many, most taste horrible and are ridiculously expensive. I’ve gone back to Gatorade, it tastes better, is cheap, and works for me.

6.   Bring enough energy bars (again, most taste horrible) or trail mix to last the duration of your trip. It’s also a good idea to pack a few special treats to break up the monotony.

7.   Supplements are optional and subjective. I always take a B Complex supplement daily. I find it helps in converting nutrients into energy, but that’s just my opinion.

Backcountry camp Coast Mountains British ColumbiaCoast Mountains British Columbia #61795  Purchase

Leave No Trace

I’ve recently started to add this extremely important topic to all of my hiking posts. Don’t even think about visiting backcountry areas unless you are prepared to strictly follow the guidelines of Leave No Trace (LNT).

All national parks and wilderness areas throughout the world are under incredible pressure from growing amounts of visitors. Please do your part to help preserve these precious areas for future generations!

To learn more about the principles and practicing LNT please take a few minutes to visit the Leave No Trace Center for Outdoor Ethics. Your children and grandchildren will thank you!

Seven Leave No Trace Principles

  • Plan ahead and prepare.                                       
  • Travel and camp on durable surfaces.
  • Dispose of waste properly.                                                                         
  • Leave what you find.                                            
  • Minimize campfire impacts (be careful with fire), better yet don’t build one in the first place, they are completely unnecessary
  • Respect wildlife.  
  • Be considerate of other visitors.

Now that you have some basic understanding of working in the field, get out there and have some fun!

Also, check out these blog posts for hiking and backpacking and photography destinations:
Mount Baker Wilderness Destinations
Hannegan Peak Ruth Mountain Mount Baker Wilderness
Lake Ann Ptarmigan Ridge Mount Baker Wilderness
Coyote Gulch Backpacking Photography

If you found reading Backpacking Photography Tips to be  enjoyable and informative please feel free to share it with friends and family

Ever wonder what it’s like photographing landscapes and nature for a living? Check out my blog post:
What is it like to be a Professional Landscape Photographer?

All photos appearing in Backpacking Photography Tips are available for Commercial Licensing and Fine Art Prints

Want to learn more? Take your Creative Photography to the next level with  Private Instruction and Guided Photo Tours.

Mount Robson British ColumbiaMount Robson British Columbia #54618  Purchase

Backpacking Photography Tips
Backpacker Bugaboo Provincial Park

Backpacking Photography Gear Tips

Backpacking Photography Gear Tips

Backpacker Bugaboo Provincial Park Backpacking Photography Gear TipsBugaboo Provincial Park British Columbia 

For most people bringing back photos from a backpacking trip is essential. Who doesn’t want to share their adventure with friends and family on the social media beast?

The big question is what is the end use for those photos, and what photo gear should you take to meet that end? Ask 100 photographers that question and you’ll get 100 different answers. And there really are no wrong answers here.

For the purpose of this post, I’ll focus on backpacking photography gear tips for photographers that may be in the advanced amateur to aspiring pro levels.

Mount Baker Wilderness campsite North Cascades Washington Backpacking Photography Gear TipsMount Baker Wilderness North Cascades

It’s All About Weight

Get used to it, if you’re into serious photography while backpacking your pack will be heavy, period.

Only you can determine how much weight you can comfortably carry and for how far. There are endless variables that determine what you should or shouldn’t bring, such as photography goals, trip length, elevation gain, trail or off-trail routes, and seasons, to name a few.

Basically though, carrying too much weight can turn your trip into a grueling muscle cramping ordeal. And at the end of the day, you won’t have any energy left for photography. Believe me, I know what I’m talking about here. For 20 years I lugged around a 4×5 film camera with four lenses, 18 film holders, a film-changing tent, extra film, a light meter, a tripod, filters, etc. All this photo gear alone was well over 35 pounds.

So here are my gear tips for helping to make your backpacking photography trip more successful and enjoyable.

Disclaimer: The following tips are offered from my personal experience and preferences after many years of backpacking photography. What works for me may not work for you.

Backcountry camp North Cascades National ParkBackcountry camp North Cascades National Park

Photo Gear

There isn’t much you can do here for weight savings. You can’t shave off pieces of your camera or lens to cut down on weight. And this isn’t the category for scrimping on quality to save weight. My choice of photo gear may be on the heavy side, but it ensures high-quality results.

  • Camera:

    One camera body. The best you can afford. It doesn’t matter if it’s digital or film or, which brand, as long you can change lenses. Make sure it has a high-quality sensor with enough megapixels sufficient for your end-use. A 20-megapixel body may be good enough for social media sharing, but not probably for making large-format fine art prints.

    Pro Tip:   Pro or Prosumer level cameras are much more rugged, and have better weather seals than consumer-level cameras. Something to consider if you regularly visit dusty, and or rainy environments, or are hard on your gear.

My Gear:
Nikon D850 Yes, it’s heavy, but it’s well-built with all the features I need and more. Its 45.7-megapixel sensor is outstanding for night sky photography and mural-size prints.
Really Right Stuff L Plate Used for quick release in conjunction with Really Right Stuff Tripod Ballhead.

Alice Lake camp Sawtooth MountainsIlluminated tent, Sawtooth Mountains Idaho

  • Lenses:

    Wide or ultra-wide to short telephoto lenses will cover most situations. Again, go with the highest quality you can afford. It would be ideal to bring just one zoom lens with a focal length of 20-200mm. However, the quality of such a lens may not be optimum.

    Many photographers will swear by the quality of prime lenses, but for our purpose bringing an armload of them isn’t practical. One wide-angle zoom lens, plus a normal to short telephoto zoom lens would be a good option.

    Pro Tip:  High-quality lenses are always more important than the camera body. The most expensive camera or post-processing editing app can’t make up for an inferior-quality lens.

My Gear: 
Nikon 14-24mm 2.8 This lens is considered by many landscape photographers to be the gold standard of wide-angle zooms. I can attest that it is extremely sharp, and has minimal distortion and chromatic aberration.
Nikon 24-70mm 2.8E ED VR  There are arguably smaller, lighter-weight, and cheaper lenses in this focal length. But for me, this lens has proven its worth many times over. It’s tack sharp, and the VR feature is outstanding for handheld work.
Nikon 70-200mm 2.8E FL ED VR  Again, it’s a heavy and expensive lens, but for me, its high-quality glass and features are worth every ounce.

  • Tripod:

    A tripod is an essential piece of photo gear. Night photography would be impossible without it. So would close-ups of flowers, long exposures of flowing water, and techniques such as focus stacking.

A tripod is also one item where you may be able to get away with choosing a lighter-weight model. This is especially true if your camera body and lens combination is on the lighter side.

Many manufacturers offer tripods with three or four-section legs. I prefer three, simpler, fewer parts that can fail. Also, make sure your tripod is tall enough for your needs. Carbon fiber tripods are your best option, they’re slightly lighter than metal and very durable. They also won’t freeze your hands in cold weather light metal does.

In recent years ball heads have become the standard, and I find them to be a vast improvement over older-style handles and knobs.

Pro Tip:   Do not opt for an inexpensive poorly-made tripod with plastic components! They are not stable and break very easily. I was once in desperate need of a replacement tripod while on location. All I could purchase was a cheap lightweight model. Even with everything locked down as much as possible, it was like using a wet noodle to support my camera!

My Gear:
Gitzo GT 1532 Mountaineer Series 1
Really Right Stuff BH-55 Ballhead with quick release plate.

Backcountry camp North CascadesMount Baker Wilderness North Cascades

  • Filters:

Polarizing Filter. Probably one of the most indispensable filters to bring along. Just be careful not to overdo the effect of darkening a sky. Also, keep in mind their limited effect when using wide-angle lenses.
Graduated Neutral Density Filters. I still find them extremely useful. But If you’re looking to save weight you could leave these at home, and produce their effect in post-processing. They are not always the best option in certain circumstances. However, when possible I will always prefer to use them to make the best exposure in the field, and not rely on post-processing techniques.

My Gear:
B+H Polarizing Filter
Lee Graduated Neutral Density Filters: Four filters; 1 & 2 Stop soft and hard edge.
Lee SW150 Mark II Filter System, necessary to accommodate Nikon 14-24mm lens

  • Miscellaneous Gear

    Extra Batteries. I always take three fully charged batteries, one in the camera and two extras. On a recent 10-day backpack, I still had about half power left on my last spare. Be aware that mirrorless cameras may consume more battery power.
    Extra Memory Cards. 
    Remote Shutter Release. Weighs next to nothing and helps in reducing camera shake.
    Micro Fiber Cleaning Cloth. Essential for cleaning lenses and filters
    Camera Chest Pack. I find this optional item to be extremely useful. Not only does it give me quick access to my camera while on the trail, but it also has room for small items such as trail snacks and maps.
    My Gear:
    Lowepro Toploader Pro 75 AWII

Backpacker Glacier Peak Wilderness Backpacking Photography Gear TipsBackpacker Glacier Peak Wilderness

Backpacking Gear

Here is where you’ll have the most opportunities for saving weight while on the trail. It’s also where you can spend or save lots of money. Once again how light you go depends on your destination, how long you will be out, and what season you’ll be backpacking in.

Going Ultralight is the catchword of the day, and gear manufacturers are cashing in on it big time. Just be aware that ultra-expensive ultralight gear may not be ultra-durable, especially when the weather turns nasty, and after a few seasons of use.

Absolutely nothing is worse than sitting out wind, rain, and or snow for days at a time in a flimsy leaking tent.

Nearly every tent, backpack, or rain jacket on the market today will perform well in adverse conditions, at least for their first season. What gear reviewers won’t tell you is how well they hold up after a few seasons of use!

  • Backpack

    A high-quality good fitting backpack is one of the most essential pieces of gear you’ll need for a successful and enjoyable backpacking trip.

    Pro Tip:   Forget that fancy expensive photo gear backpack. They are designed foremost to protect your camera and lenses while on the trial, everything else is secondary. You’ll quickly find that out when you’re several miles into a steep climb when that backpack has suddenly turned itself into a medieval torture device.

    Go with a pack specifically designed for backpacking. Use soft items in your pack, like clothes to protect your gear. Visit a reputable outdoor gear store and try on different packs. Speak with a knowledgeable salesperson about what you need, a good one will help choose and fit the ideal pack. Keep in mind that to accommodate all your photo gear you may need a larger pack than you initially think.

    Pro Tip:   Do not buy a backpack from an online retailer until you have already physically checked it out and tried it on! Ideally, borrow a friend’s for a short trip first to see if it works for you.

    My Gear: 
    Osprey makes high-quality packs for every type of adventurer. They are the most comfortable pack I’ve ever used.

North Cascades backcountry campBackcountry camp North Cascades

  • Shelter

    A good shelter is the next most important piece of backpacking gear.

    If you’re traveling light and fast, and are only concerned about making miles in gorgeous summer weather without any flying insects to bother you, then even a thin nylon tarp will do.

    But it’s a different story when you’re out for a week and the weather turns sour, with mosquitoes, flies, and gnats out in biblical proportions. Then you’ll wish for something a bit more substantial to protect you and your camera gear.

Look for a lightweight tent with a silicone-treated rain fly. I also like a tent with a vestibule large enough to protect items you don’t want inside the tent. Like boots and a dirty backpack.

My Gear:
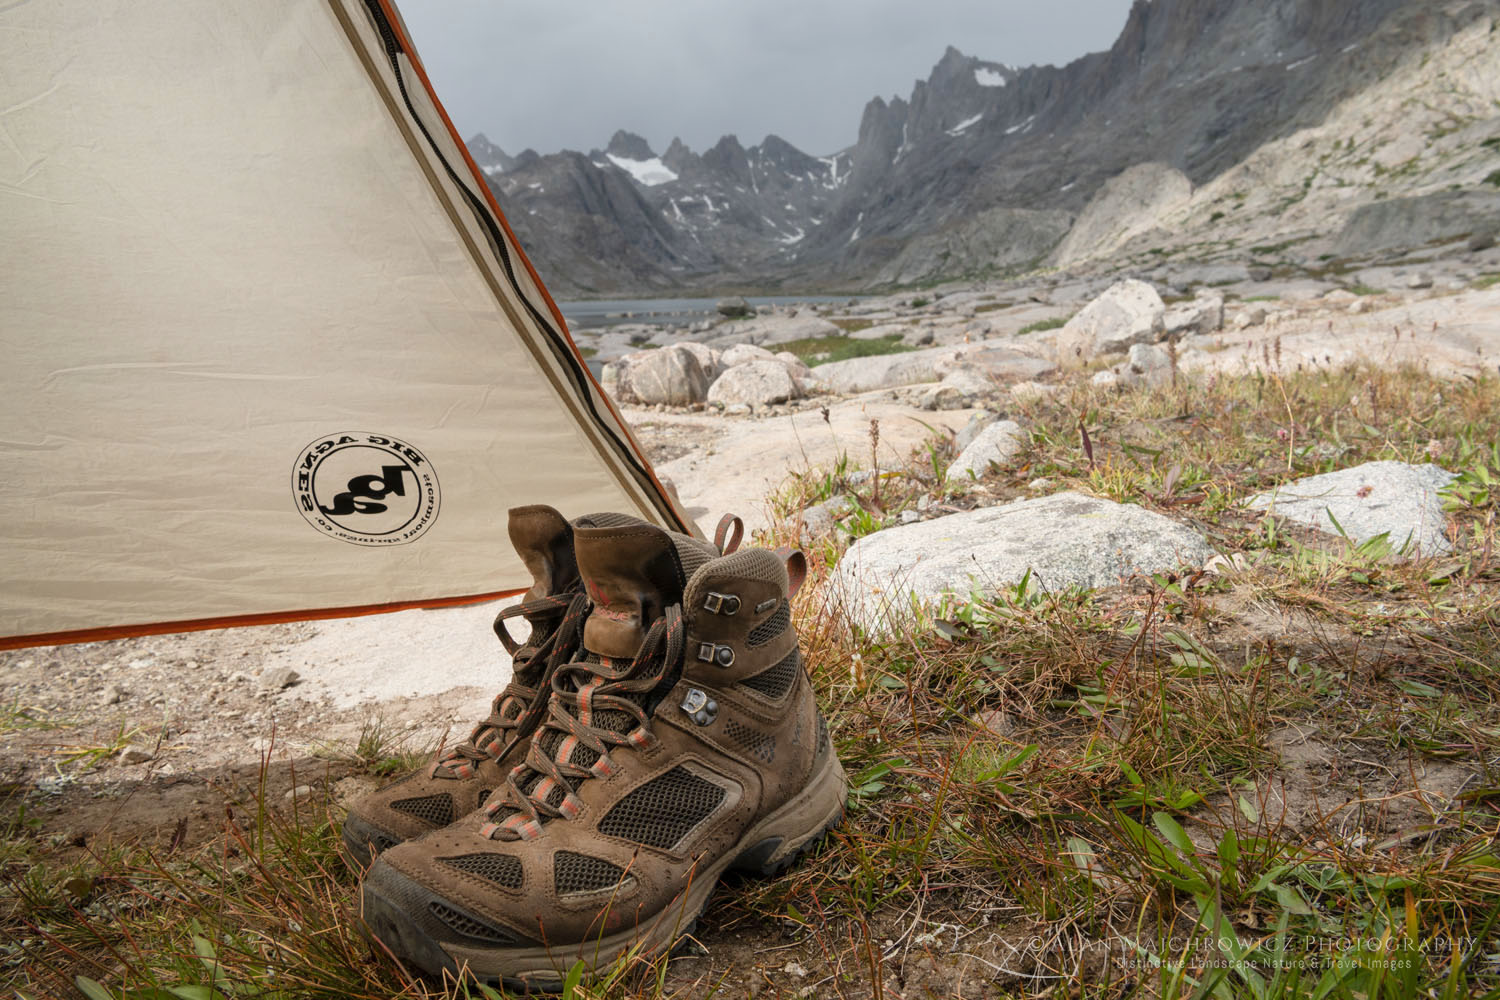
Big Agnes Copper Spur 2. Super lightweight, easy to pitch, with two doors and large vestibules. This tent also comes in a one-person size, but I like a little more elbow room.

  • Sleeping Bag and Pad

    For years I steered clear of down bags, mainly because  I felt they were a poor option in the rainy Pacific Northwest. However, now I’m an enthusiastic supporter of down. They’re like sleeping enveloped in a warm cloud. And they’re generally much lighter and more compressible than synthetic bags. A high-quality down sleeping bag is not cheap so look at it as an investment. However, with proper care, a well-made bag will last for many years. Feathered Friends and Western Mountaineering make some of the finest bags around.

    Sleeping pads are essential for keeping those roots from poking into your back while sleeping, or for insulation when camped on snow. Options here are either a foam pad or an inflatable. I’ve used Therm-a-Rest pads exclusively for many years. They are incredibly comfortable with adjustable firmness, are lightweight, and compress down very well.

    My Gear:
    Western Mountaineering Badger 
    Therm-a-rest Classic

Backcountry Camp North Cascades National Park Backpacking Photography Gear TipsNorth Cascades National Park

  • Stove

    Another essential item for any overnight trip. The days of preparing your meals over an open campfire are long gone. Campfires above timberline are banned just about everywhere, and for many good reasons. Besides, cooking over an open fire takes an long time and is messy and dangerous.

    The two options are liquid white gas (Coleman Fuel) and butane mix canisters. Canister stoves are all the rage right now and some are much better than others.  The biggest drawback with canister stoves is that they lose their power output in colder weather. You’ll need to keep the canisters warm for maximum performance.

    Liquid fuel stoves perform well at any temperature and do so to the last drop of fuel. For this reason, they are the better option for winter trips. They weigh only slightly more than canister stoves, and there are no empty canisters to dispose of. However, canisters can be recycled in some areas if prepared properly. Check with your local recycling facility for regulations.

    My Gear:
    MSR Reactor I recently switched from my trusty MSR XGK stove to the reactor, and so far I have been very pleased. This stove system with fuel canisters is lighter weight, and it boils water very quickly. However, one drawback is that in cold weather it is necessary to keep fuel canisters warm. Ideally, you can accomplish this by keeping them in your sleeping bag at night.

Titcomb Basin backcountry campWind River Range

  • Footwear

    Proper footwear is only second to a good backpack for comfort on the trail. There is a strong debate on leather boots vs lightweight trail runners. For years I’ve sworn by stiff leather boots with lugged soles. But on recent trips, I’ve gone with lighter-weight boots, and will probably move more toward trail runners shortly.

    Pro Tip:  Be aware that if you’re backpacking in the mountains early in the season lightweight shoes may not be the best option. Hiking in snow for only a few minutes will result in very wet cold feet. On steep snow slopes, you also won’t get much traction, and step-kicking will be very difficult.

  • Other Gear

    Here is a list of other necessary items. They’re all important, but I won’t go into detail about them since it would require a separate article.

    Weather appropriate clothing
    Cookware
    Water bottle or hydration bag
    Water filters or other purification methods
    Food, including trail snacks
    Map
    Headlamp
    Ten Essentials

Limestone Lakes Basin Height of the Rockies Provincial Park British ColumbiaHeight of the Rockies Provincial Park

In Conclusion

This should provide you with enough gear tips to begin planning for your next backpacking photography trip. As I mentioned many times in this article, cutting down on weight is important. But so is your comfort level. This isn’t a contest to see who can have the lightest pack and hike the farthest. So what if you choose a slightly beefier tent, or need to bring another lens? It’s your trip and you can always make adjustments to your preferences in the future.

Now get out there and have fun!

Also, check out these blog posts for hiking and backpacking, and photography destinations:
Mount Baker Wilderness Destinations
Hannegan Peak Ruth Mountain Mount Baker Wilderness
Lake Ann Ptarmigan Ridge Mount Baker Wilderness

Thanks for reading, feel free to share this post with your friends and colleagues! And make sure to check out my next post in this series: Backpacking Photography Tips

Backpacker on Titcomb Basin Trail Wind River Range Wyoming Backpacking Photography Gear TipsTitcomb Basin Wind River Range

If you found reading Backpacking Photography Gear Tips to be  enjoyable and informative please feel free to share it with friends and family

Ever wonder what it’s like photographing landscapes and nature for a living? Check out my blog post:
What is it like to be a Professional Landscape Photographer?

All photos appearing in Backpacking Photography Gear Tips are available for Commercial Licensing and Fine Art Prints

Want to learn more? Take your Creative Photography to the next level with  Private Instruction and Guided Photo Tours.

Backpacking Photography Gear Tips

Minimalism Photography Gallery

Minimalism Photography Gallery


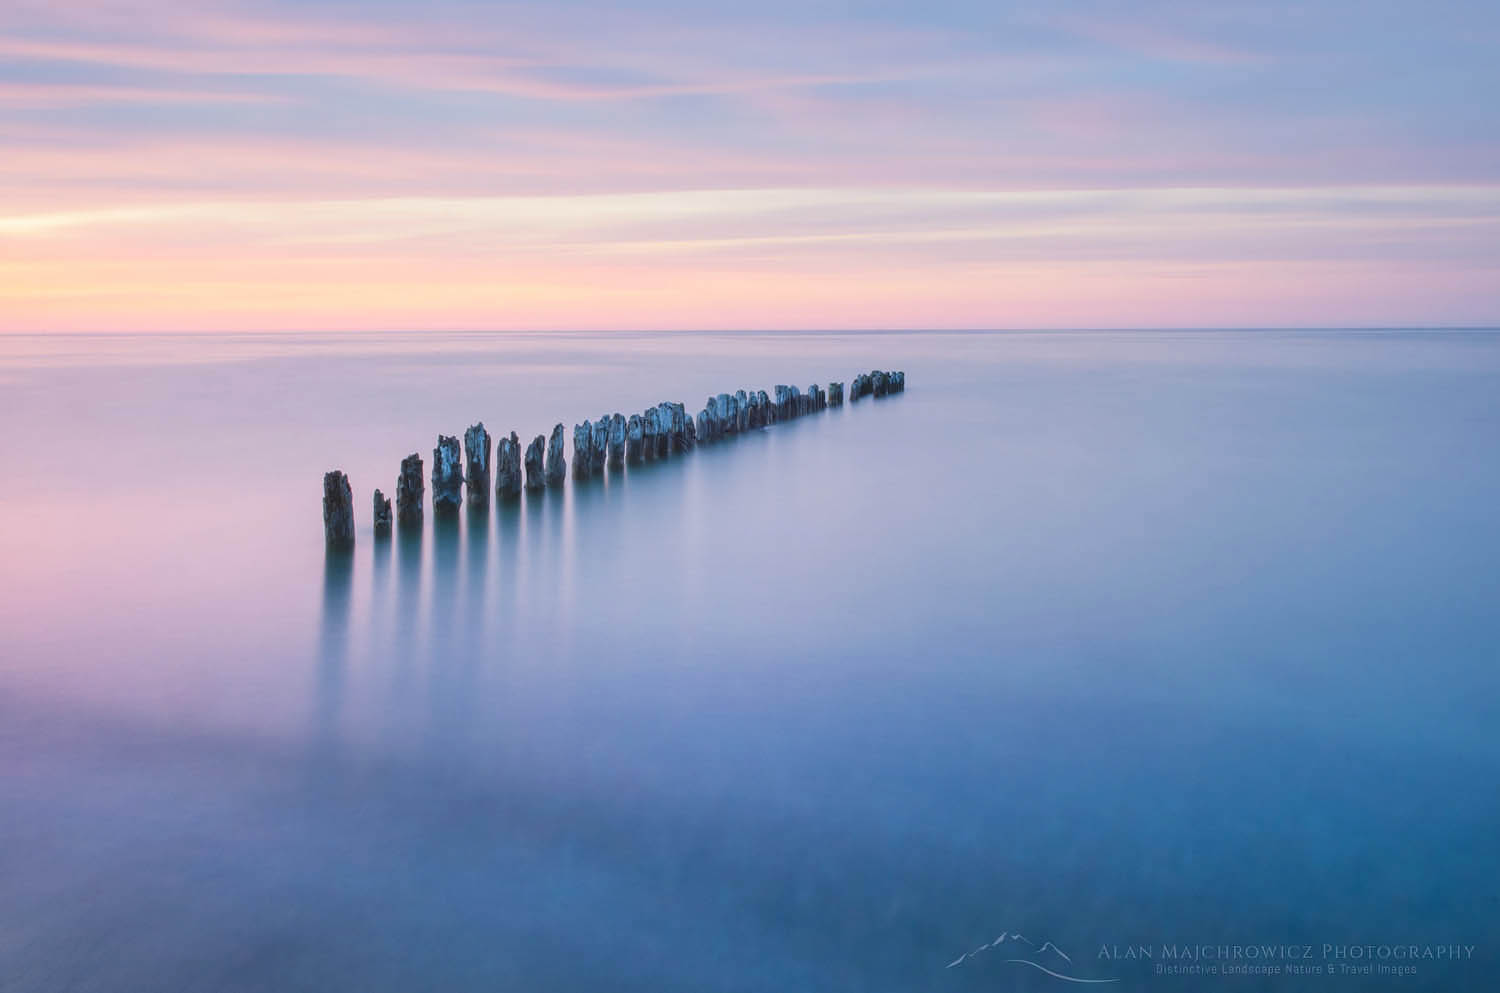
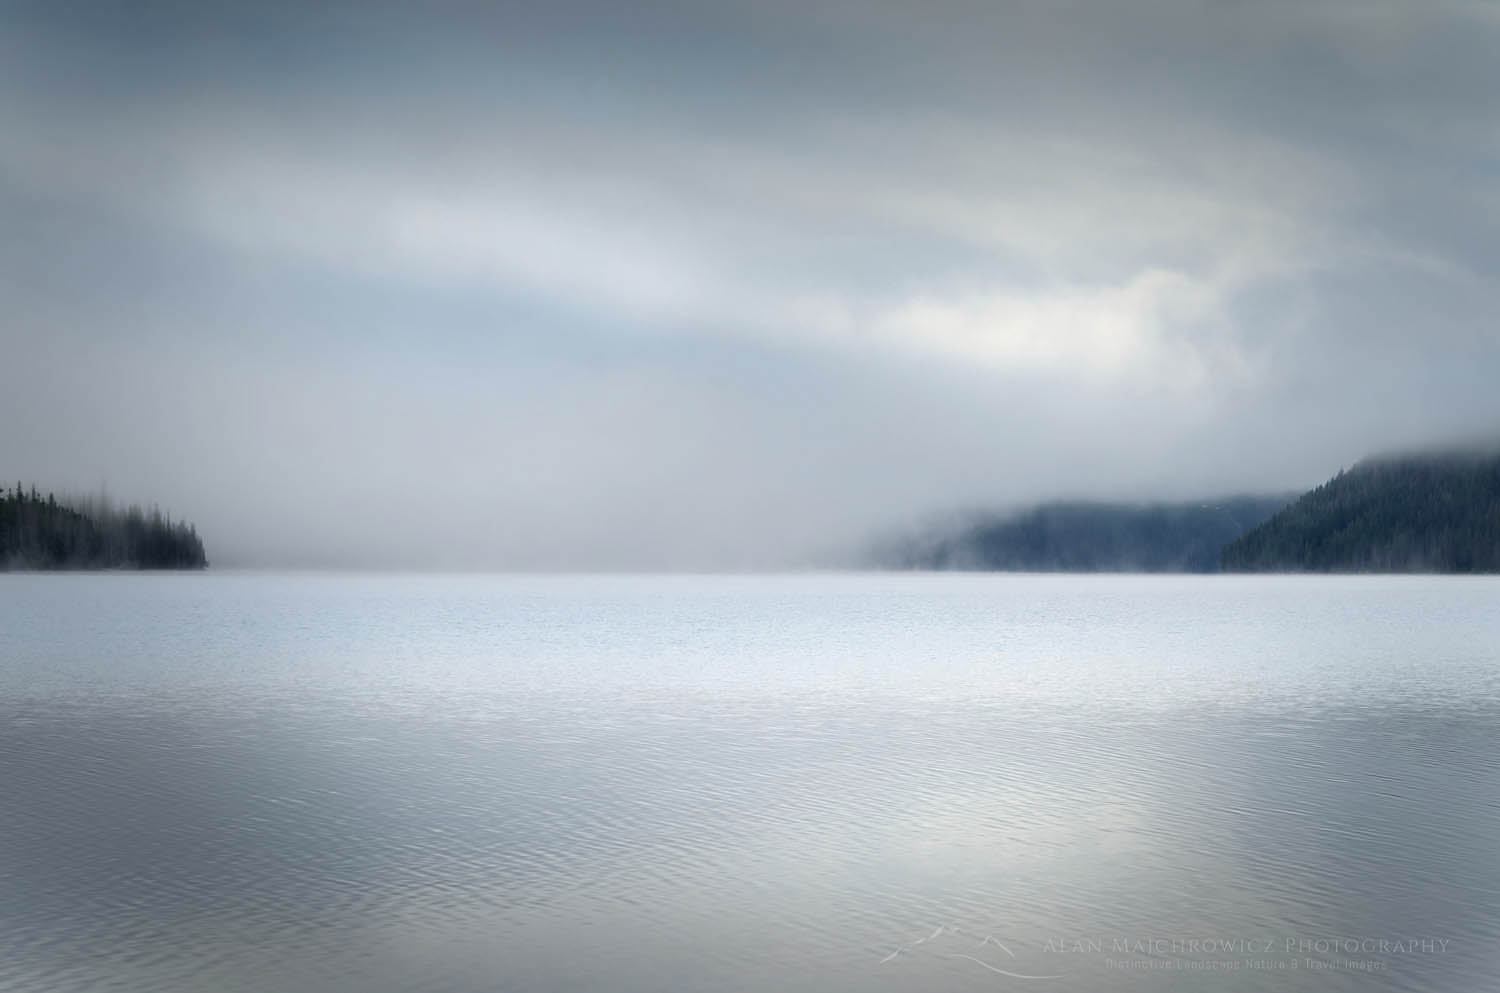
Lake Superior twilight Whitefish Point, Michigan Minimalism Photography GalleryLake Superior Whitefish Point Michigan #63803  Purchase
If you browse through my website you’ll see that I employ many different styles of photography. Likewise, I don’t like the idea of limiting myself to one method of photographing landscapes and nature. Minimalist photography is one approach that has always inspired me. I love how a simple composition can tell a story.

Consequently, my archives of minimalist photographs continue to grow.  Therefore, I’m presenting a new Minimalist Photography Gallery showcasing this evocative style. Most of the images in this gallery implement elements of earth, sky, and water. In addition, in some photos, high-key lighting and pastel tones are used to complete the mood. Please take a look when you get a chance. Also, feel free to comment and share with friends and colleagues. Click here to view the gallery.

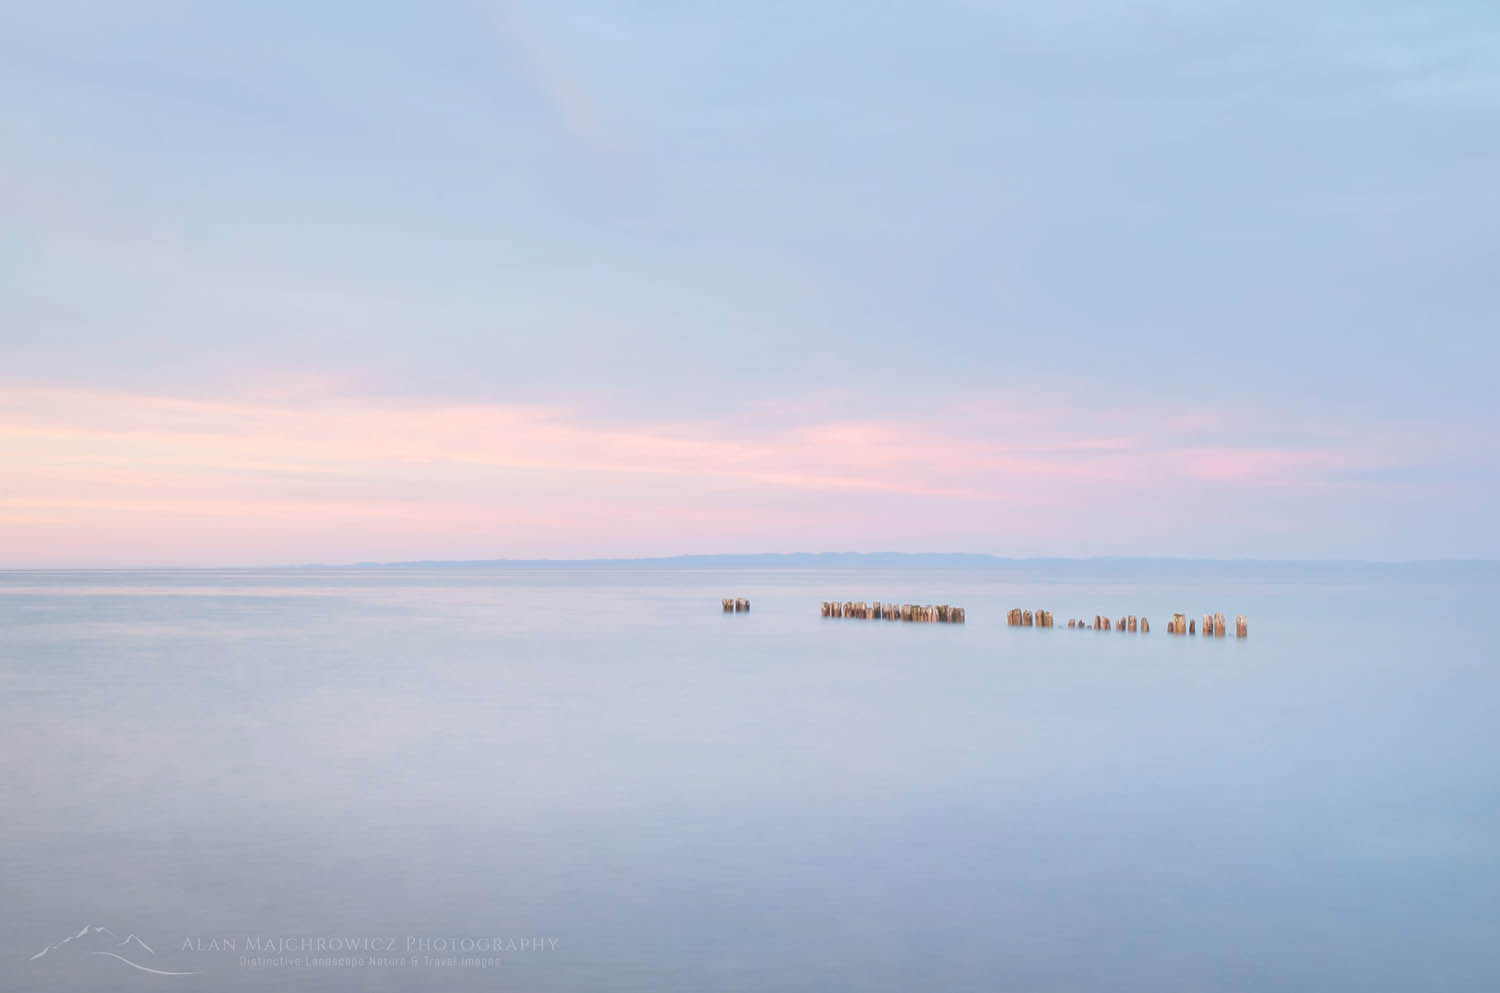
Lake Superior at Whitefish Point Michigan Minimalism Photography GalleryLake Superior Whitefish Point Michigan #63785  Purchase
What is Minimalism Photography?

Minimalism uses empty spaces, colors, patterns, textures, and shapes. These simple elements properly composed can bring focus to the subject. This alone can often be enough to convey a concept or elicit an emotional response.

Visual noise in today’s world increases every day. Images overwhelm us with color, patterns, and information. And they are constantly bombarding us at breakneck speed. All of this can leave a person with a feeling of mental exhaustion. On the other hand, minimalist images can offer a relaxing break from our increasingly stressful world.

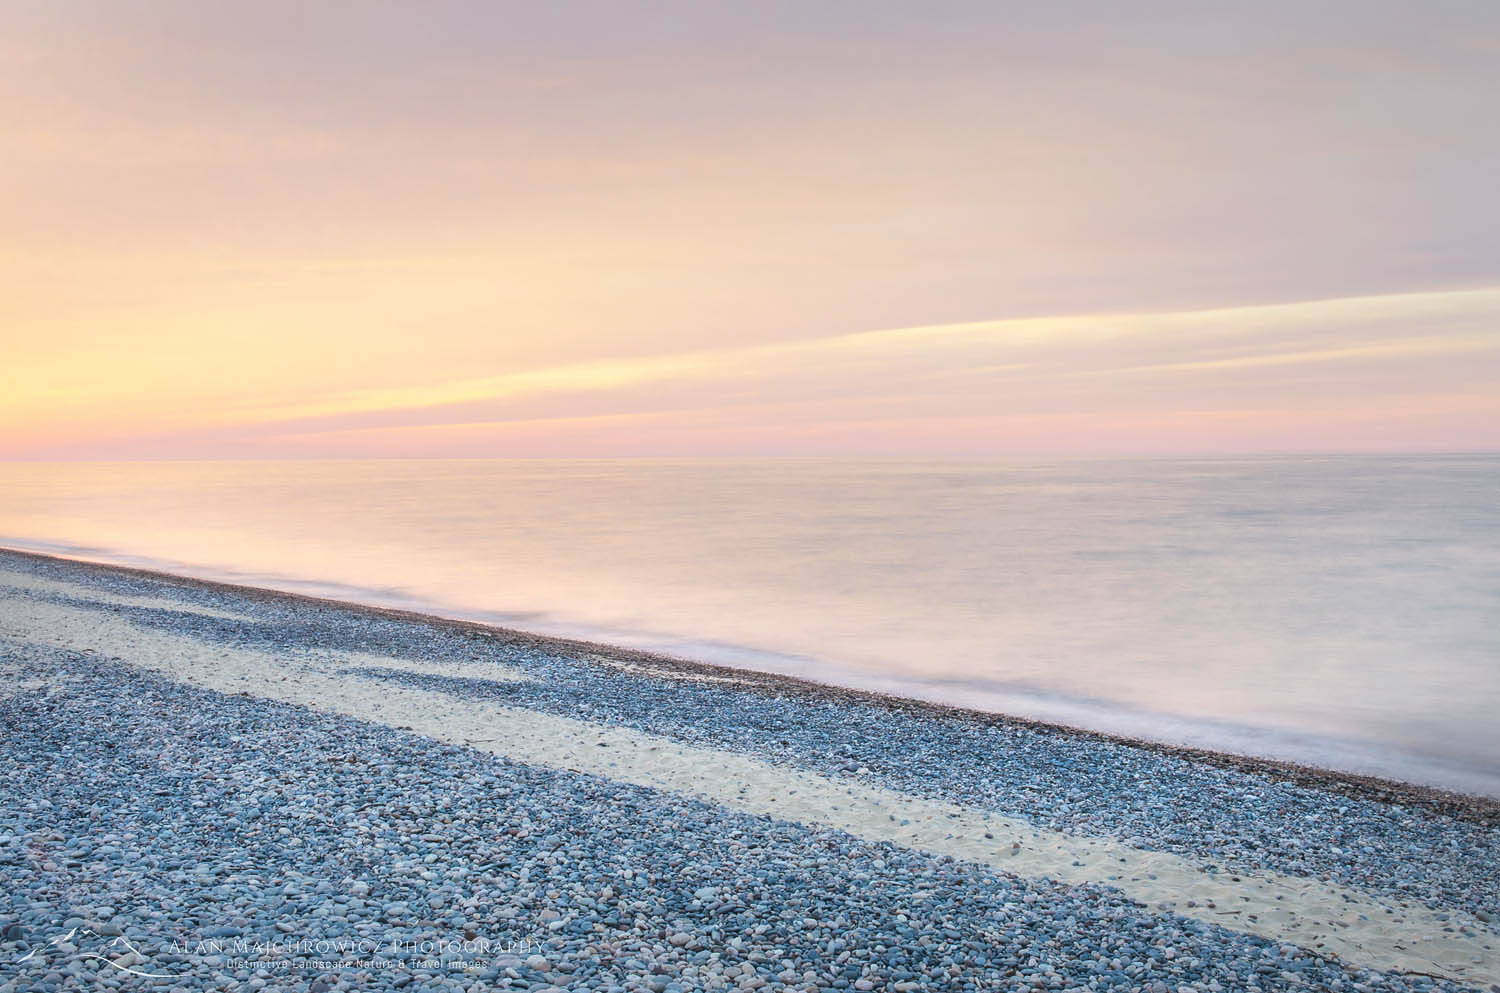
Lake Superior at Whitefish Point Michigan Minimalism Photography GalleryLake Superior Whitefish Point Michigan #63784  Purchase
For example, the healthcare industry often displays minimalist artwork in their facilities. Simple shapes and tones can bring a calming atmosphere to anxious patients. In addition, businesses are also recognizing this benefit. Many offices also use minimalist artwork to relax stressed employees and increase productivity.

All of the images in this post, and gallery, are available as fine art prints. They are also available for commercial and editorial licensing.

Please scroll down to see more!

Redfish Lake, Sawtooth National Recreation Area Idaho Minimalism Photography GalleryRedfish Lake Sawtooth Mountains, Idaho  #56206  Purchase
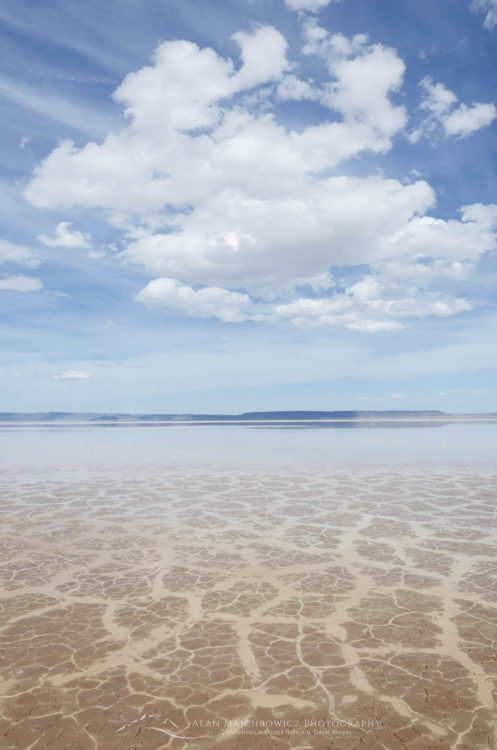
Alvord Lake OregonAlvord Lake Oregon  #60974  Purchase
Lake Superior Whitefish Point Upper Peninsula Michigan Minimalism Photography Gallery Lake Superior Whitefish Point Michigan #63785  Purchase
Want to Learn More?

Would you like to learn more about minimalism photography? I offer full-day, half-day, and multi-day photo tours and instruction. Check out my Private Instruction/Tours page for more info, or contact me directly. I would love to help you take your photography to the next level and shoot like a pro!

Minimalism Photography Gallery


White Sands National Monument New Mexico

Creative Roots

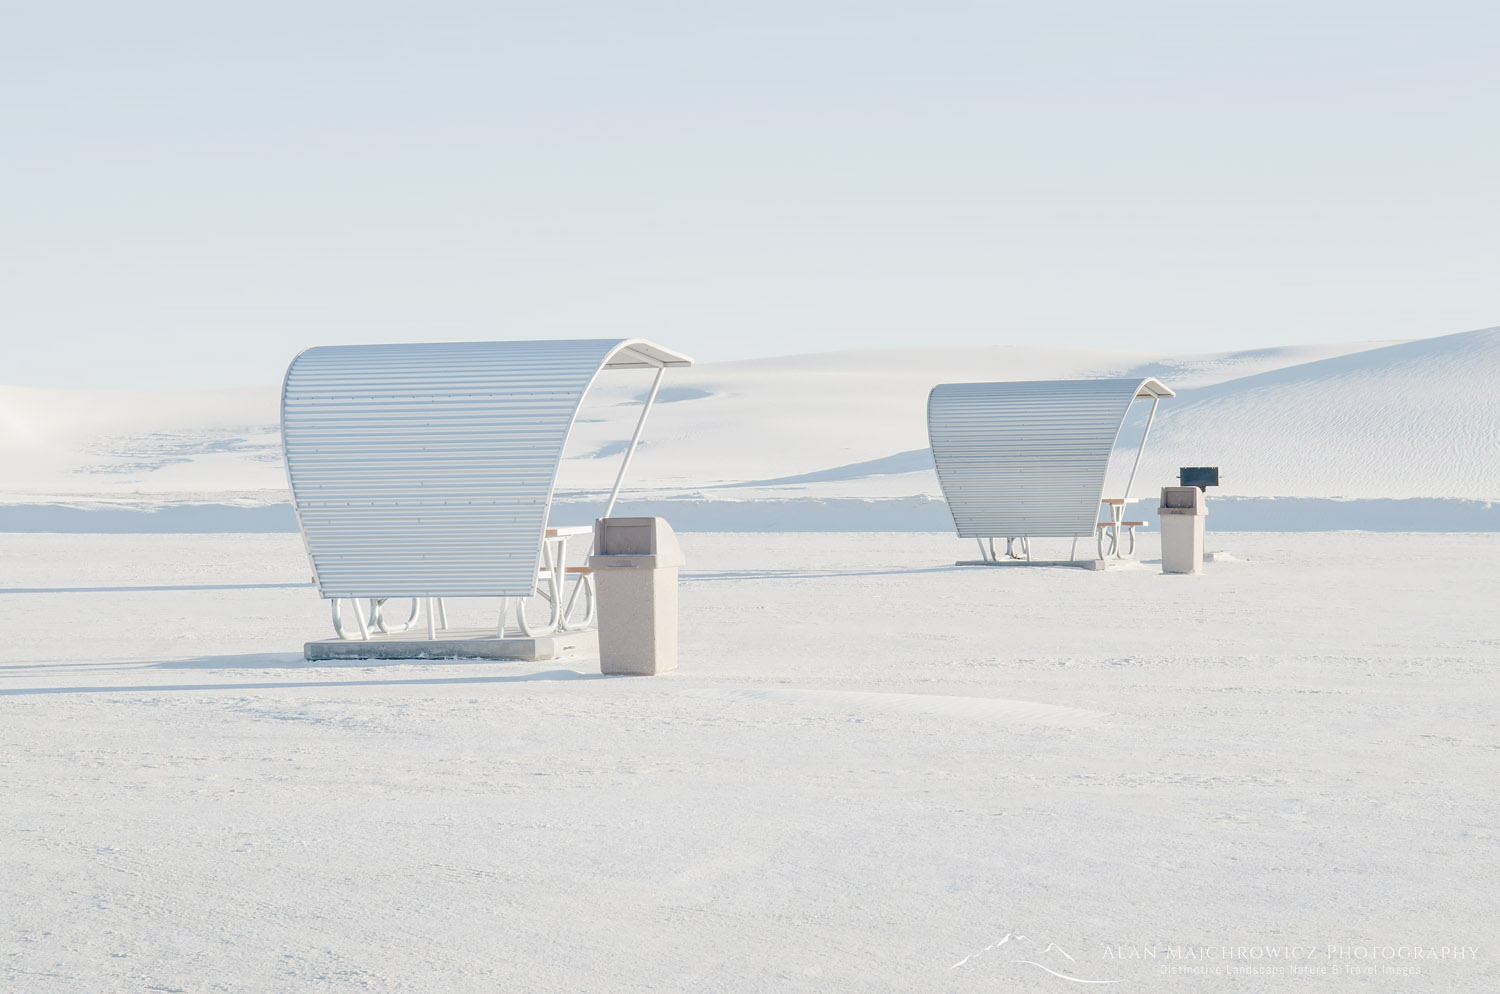
Picnic Shelters White Sands National Monument New MexicoPicnic Shelters, White Sands New Mexico #57053r  Purchase
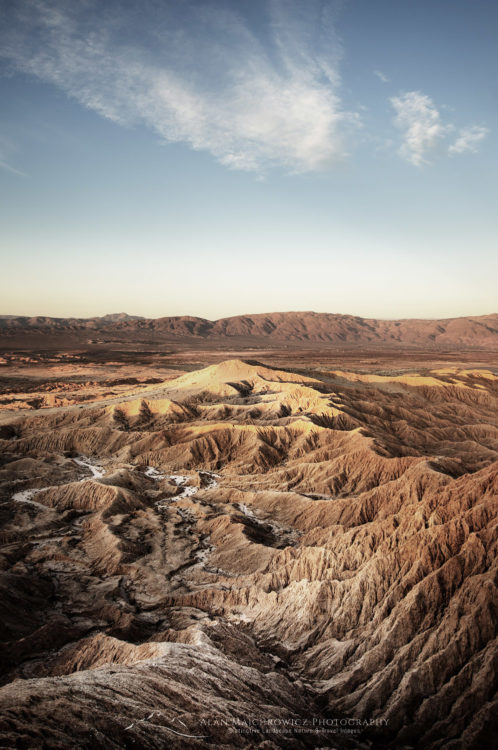
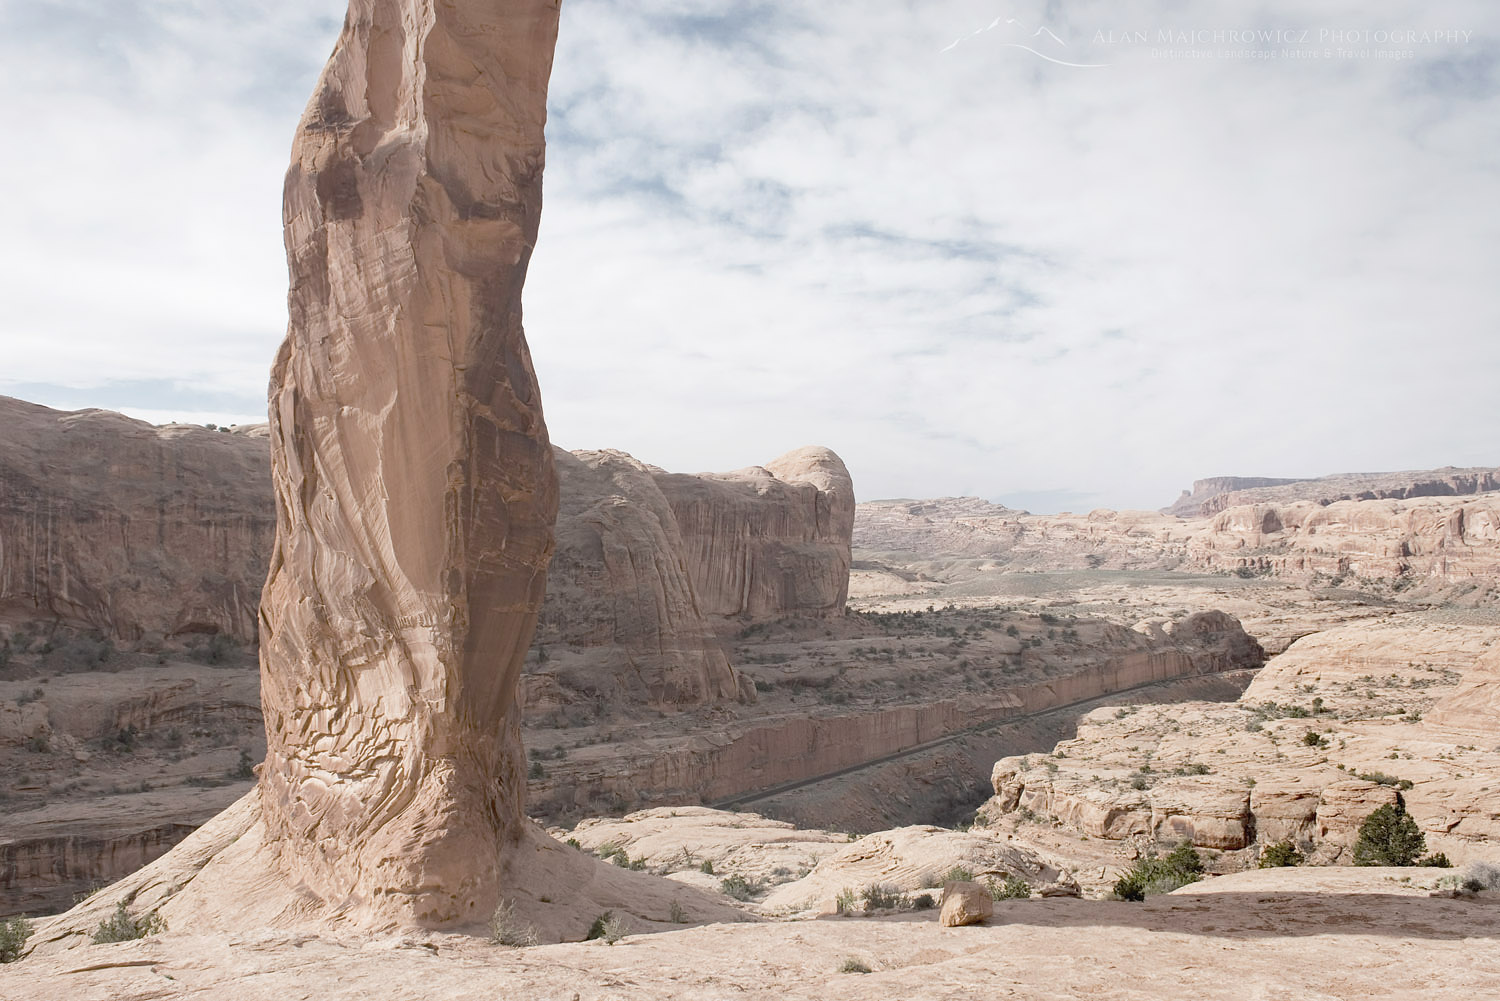
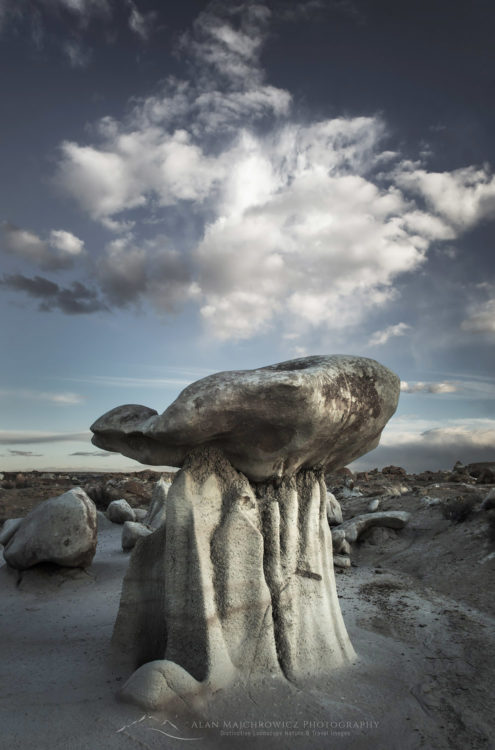
This new year is marked by an attempt to return to my creative roots. Last year there were many events and signs urging me to review the direction of my photography. I began to realize that over the years I gradually lost touch with my creative side. I was making better images as time went on, but I wasn’t growing creatively. Without actually realizing it, I was following a safe mainstream path and not pushing myself.

Over the past year, I began to go through my files looking for images that could be used to illustrate an idea I was forming.  The images appearing in this post represent the beginning of a project called Poles of Light. In this project, I am trying to create images that reflect a character of light present in the subject. Since I don’t express myself very well verbally, it’s difficult for me to describe in words exactly what I’m trying to convey. Hopefully, I will be able to elaborate on this theme as the project matures. However, for now, I will let the images do the talking for me.


Borrego Badlands Anza-Borrego Desert State Park CaliforniaBorrego Badlands California  #56776r  Purchase
Corona Arch UtahCorona Arch, Utah #40907r   Purchase

Bisti Badlands, New MexicoBisti Badlands, New Mexico #57344r  Purchase

Dead Horse Point State Park

How To Boost Your Creativity | Keep Moving

How To Boost Your Creativity | Keep Moving

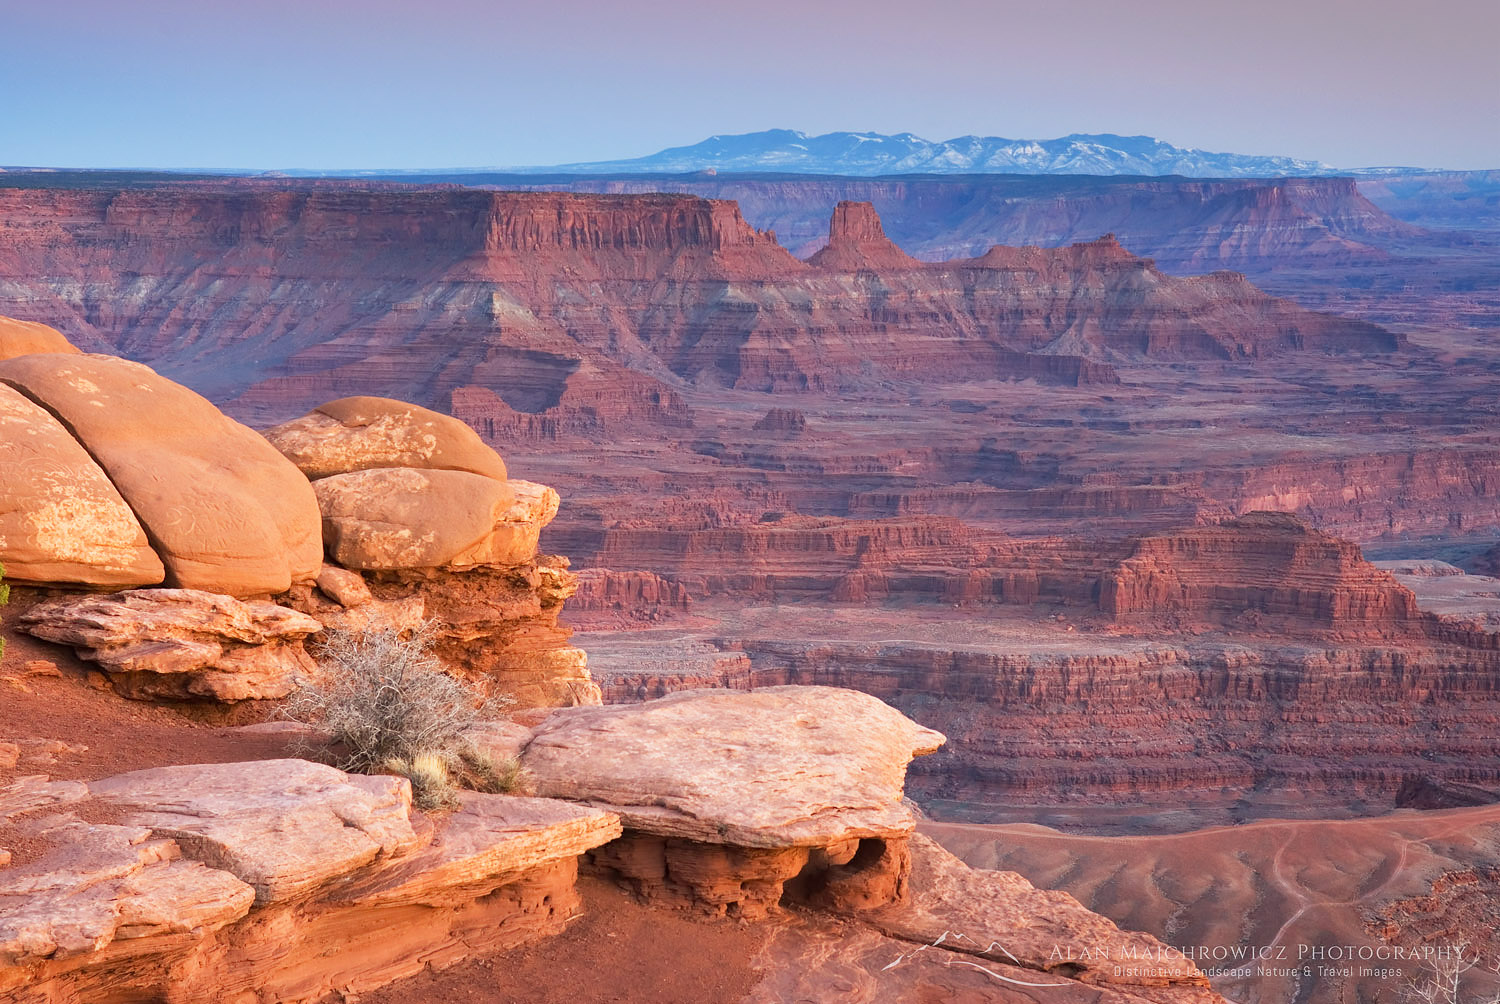
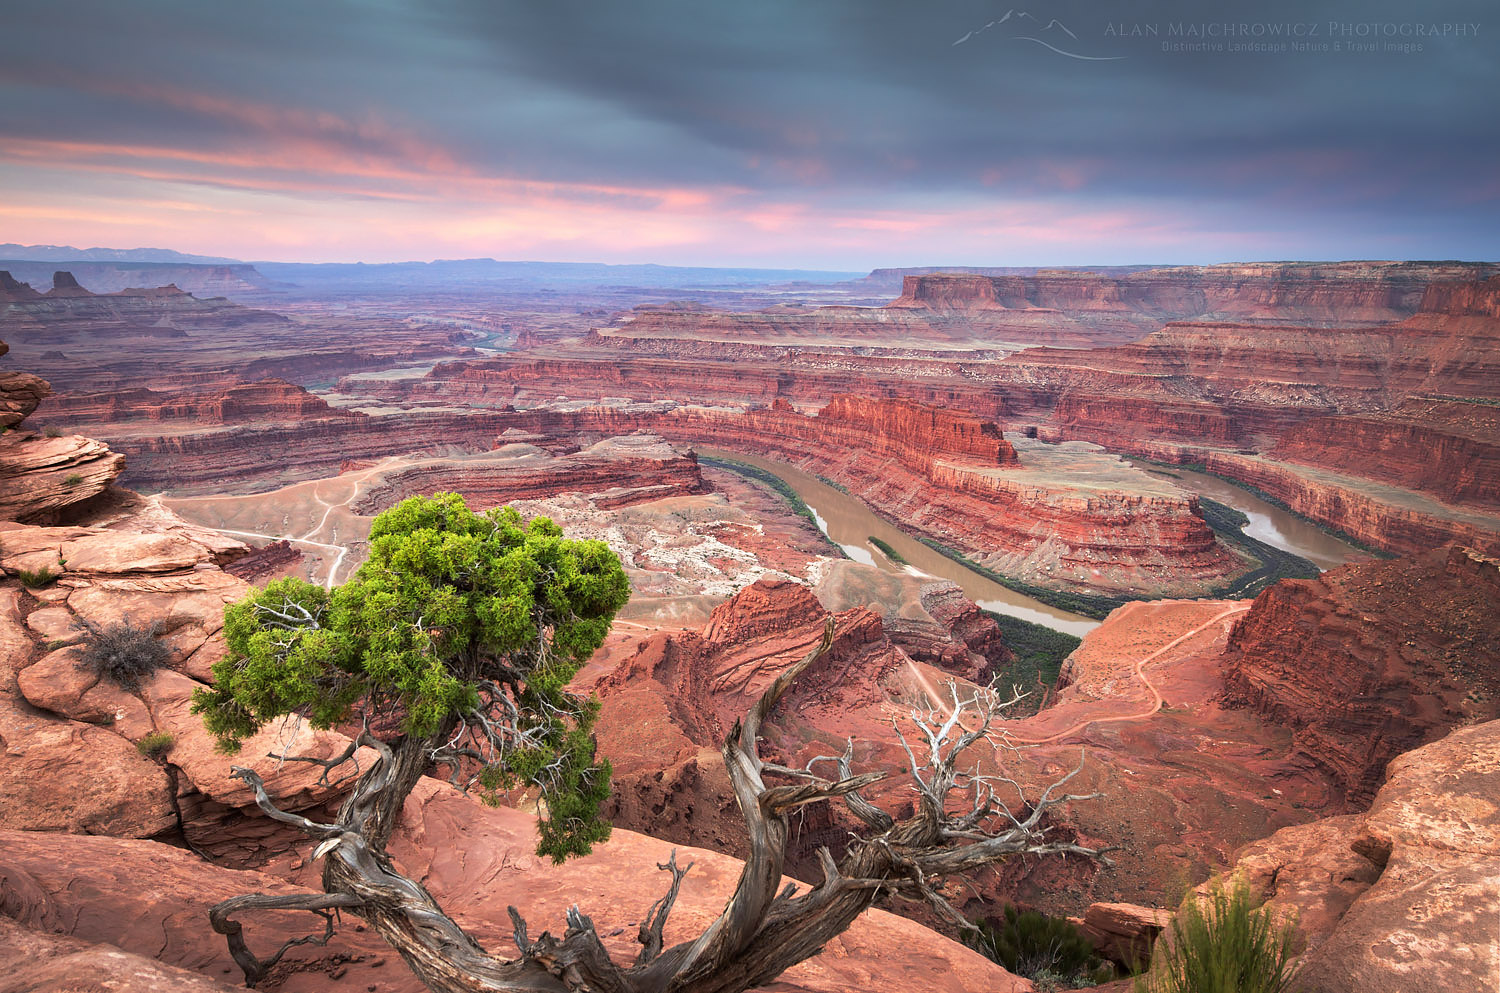
Dead Horse Point State ParkDead Horse Point, Utah  #57708  Purchase

Sometimes giving your photographic creativity a boost can be achieved by implementing simple, but often overlooked techniques. In this post, we’ll explore one of these extremely simple tips, looking around, or scouting.

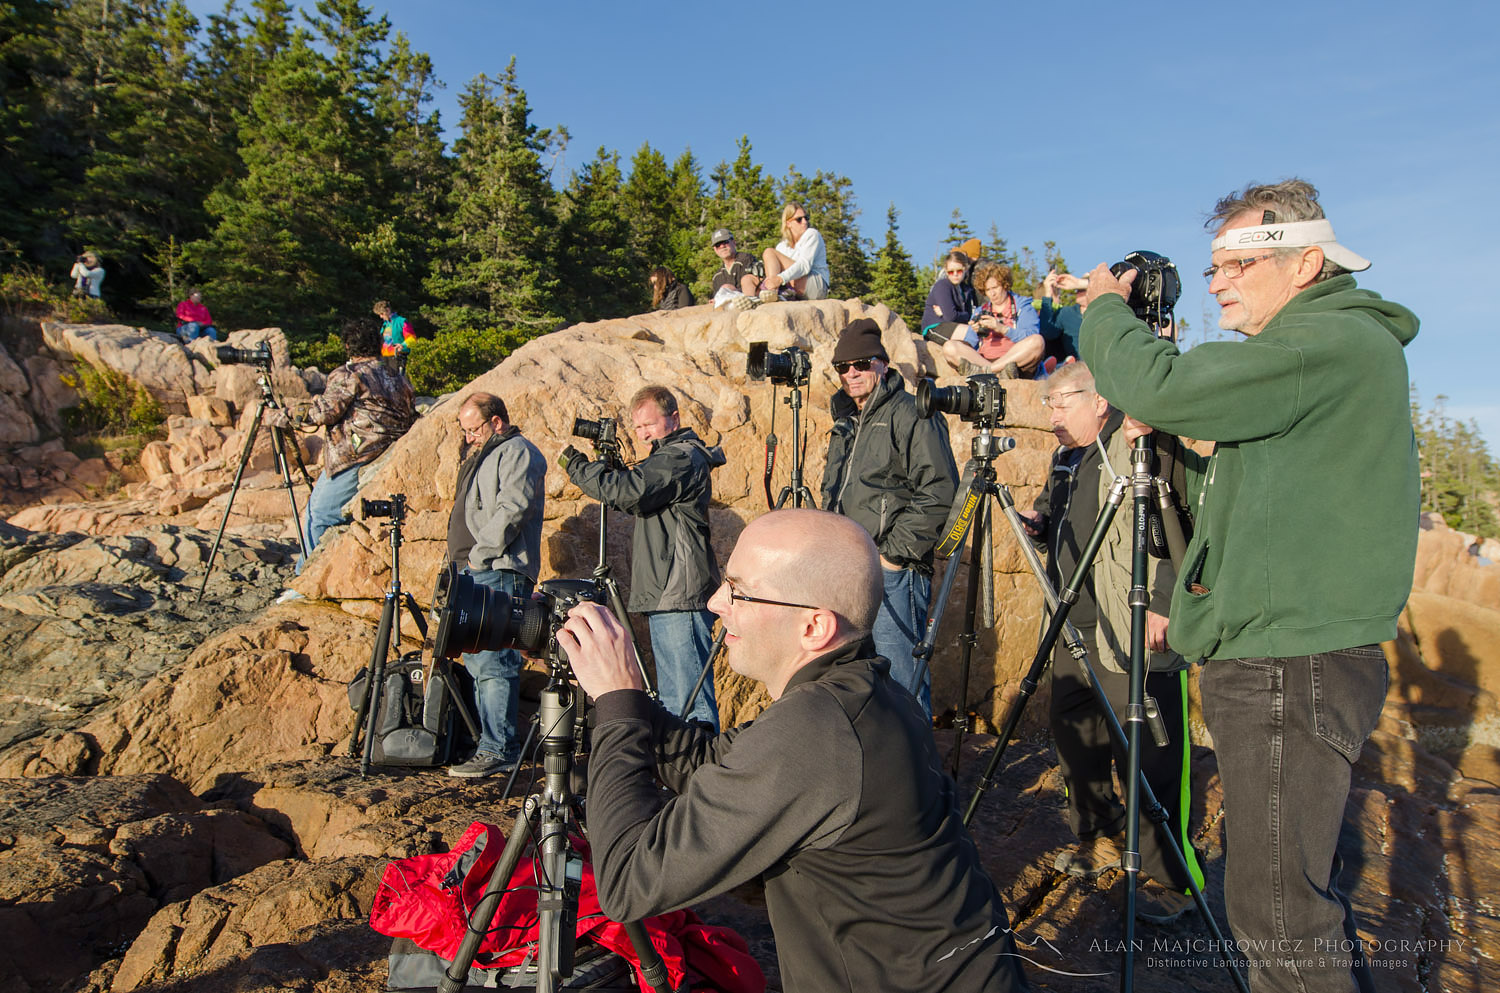
Just about every time I’m out photographing at a popular or iconic location I see something that never fails to bewilder me. That is, photographers, appear to be locked into a predetermined spot. Time and again I will watch them arrive at a scene and move directly to one spot. They will then set up their tripod in the chosen position and will not move an inch until the sun has set, or risen, depending on the occasion.

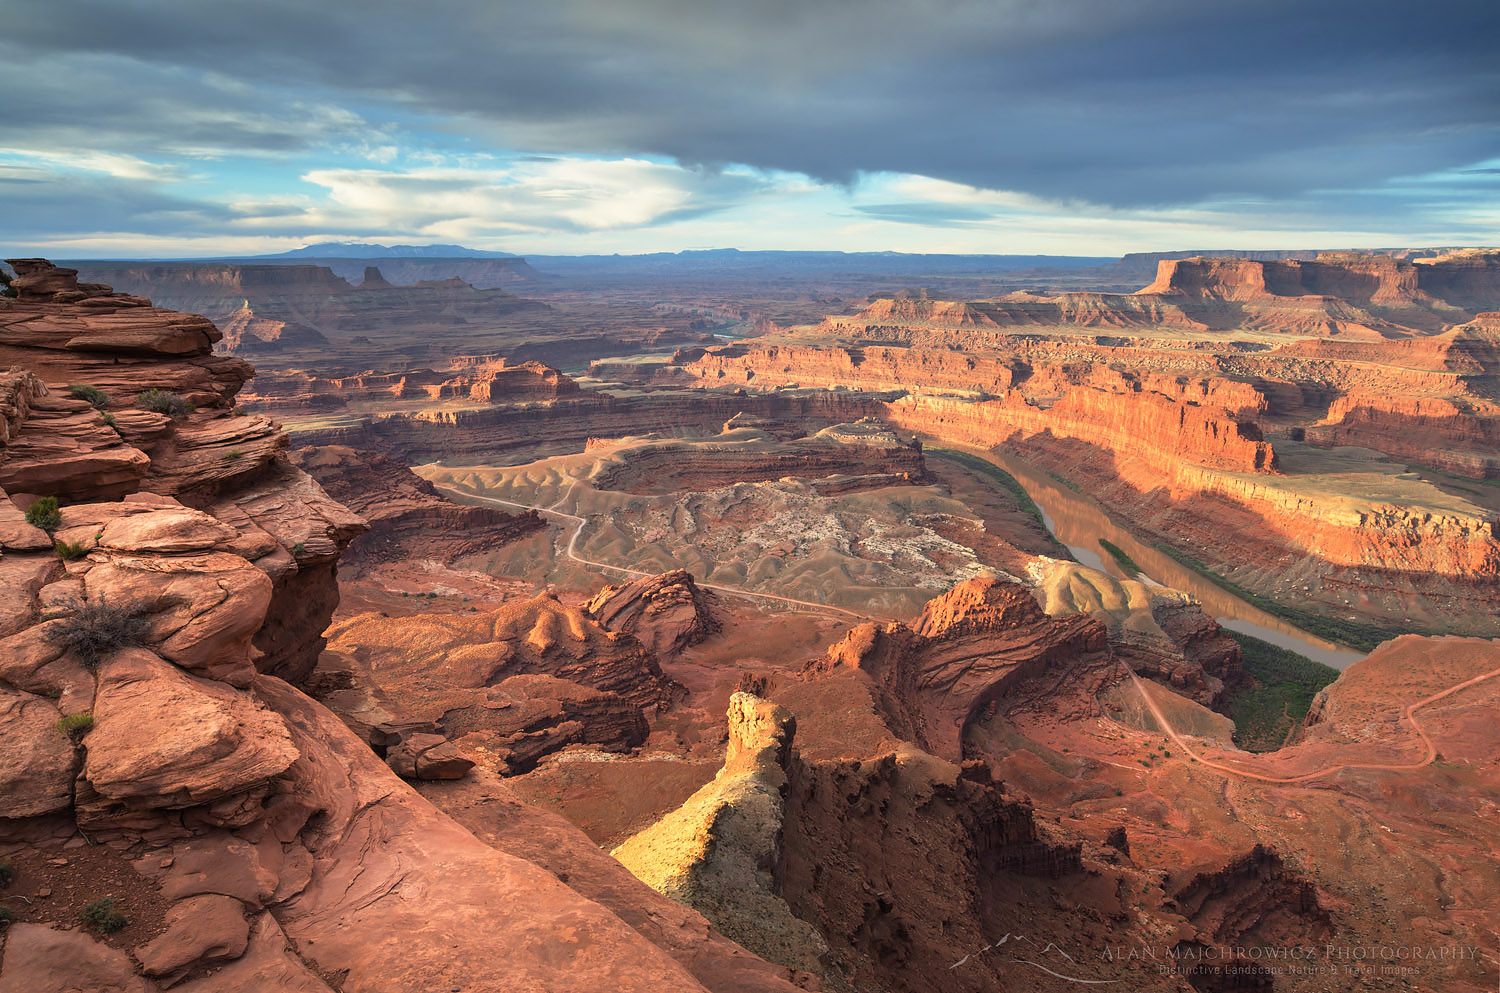
One of the many instances where I recently observed this behavior was at Dead Horse Point State Park in Utah. This small park is famous for its magnificent views overlooking the Colorado River as it winds its way through canyons and cliffs. Basically, the viewpoint is a peninsula of rock with distinct views in three different directions. This park has endless possibilities for compositions all along the rim of the plateau.

Scout It Out!

During this visit I watched other photographers stake out their chosen spots and settle in for the duration. Over the next hour or two none of them raised or lowered their tripod, moved left or right, switch from horizontal to vertical, or even bothered to change the lens in an attempt for an alternative composition. Most of them, for the entire time, just stood there like a statue and stared ahead. Now of course this is all just my opinion, but if you are a photographer traveling many miles, using precious vacation time and funds, I would think you that would want to maximize your chances of success by scouting out the entire area. This is especially true when you are fortunate enough to get some truly dramatic lighting.

Dead Horse Point State ParkDead Horse Point, Utah  #57759  Purchase

My usual modus operandi is to try and arrive in advance of my intended photography session. That way I can scout around for the best compositions. Often at places like Dead Horse Point, there are several options available. I like to prioritize them, moving from one composition to another as the light changes. In addition, I also like switching between vertical and horizontal formats, shooting low to the ground, and of course, alternating different focal length lenses.

Hang In There!

Above all, I won’t leave until it is very obvious that the light is gone. Many times other photographers will pack up and go as soon as the sun is set. Bad idea, often the best light occurs an hour before sunrise and an hour after sunset. It is during these periods that you can photograph beautiful glowing tones and well-balanced light! Not to mention the wind is also much calmer then. But that is a topic for another post.

Of course, there are caveats that you will need to take into consideration. First of all, safety. If moving around for a better composition means edging off a cliff or standing on slippery rocks or in the surf, you’re better off passing it up. Secondly, you may be in a situation where the spot is so small or there are so many other photographers that you can’t move around! Mesa Arch in Canyonlands National Park or Bass Harbor Head Lighthouse in Acadia National Park comes to mind.

Photographers at Bass Harbor Head Lighthouse MainePhotographers at Bass Harbor Head Lighthouse on a quiet day #59012
Leave No Trace Ethics

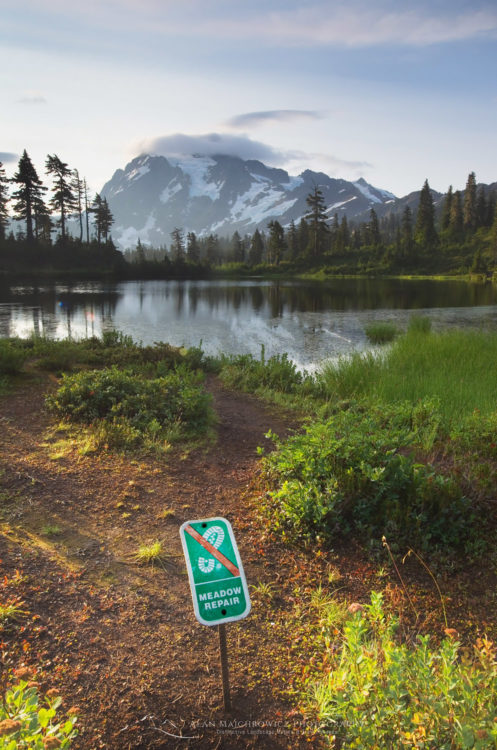
Here’s another very important consideration to keep in mind when scouting compositions. Don’t trample delicate vegetation, soils, or rock formations just to get that trophy photo! In many locations, there are signs and sometimes fences or other barriers. Usually, they are set in place to protect fragile environments. Please, please, please, don’t be that jerk that everyone hates who ignores signs and causes irreparable damage! Always follow the rule of Leave No Trace. Visible in the photo below is the erosion damage that thoughtless photographers have inflicted while trying to get a better shot.

Trail repair sign at Picture Lake Mount ShuksanMount Shuksan, North Cascades #54384
So here are my tips for today:

  1. Arrive early for scouting. A day ahead of time is ideal for complex locations.
  2. Explore the entire area. There may be an entirely different view or better compositions just beyond the site of the initial main attraction.
  3. Be mindful of safety hazards and fragile environments.
  4. Have your shooting plan ready and arrive with plenty of time to evaluate the light.
  5. Prioritize your compositions and be flexible, be ready to abandon a spot if another is looking more attractive.
  6. One spot may look better in certain light. A lower sun angle may reveal composition-enhancing patterns. Or a ray of light may fall on a special rock or tree.
  7. Get higher up or low down, don’t be afraid to get in a prone position.
  8. Change up formats, vertical may work better the horizontal.
  9. Keep working until the light is exhausted.

If you work all of these tips into your regular location workflow, I can guarantee that you will not only come back with much better images but with a greater diversity of them to boot!

Would you like to learn more about how to make better photographs? Contact me to set up a private instruction session for you and your friends!

Dead Horse Point State Park UtahDead Horse Point, Utah  #40240  Purchase

Purcell Mountains British Columbia

How to Boost Your Creativity Back to the Basics

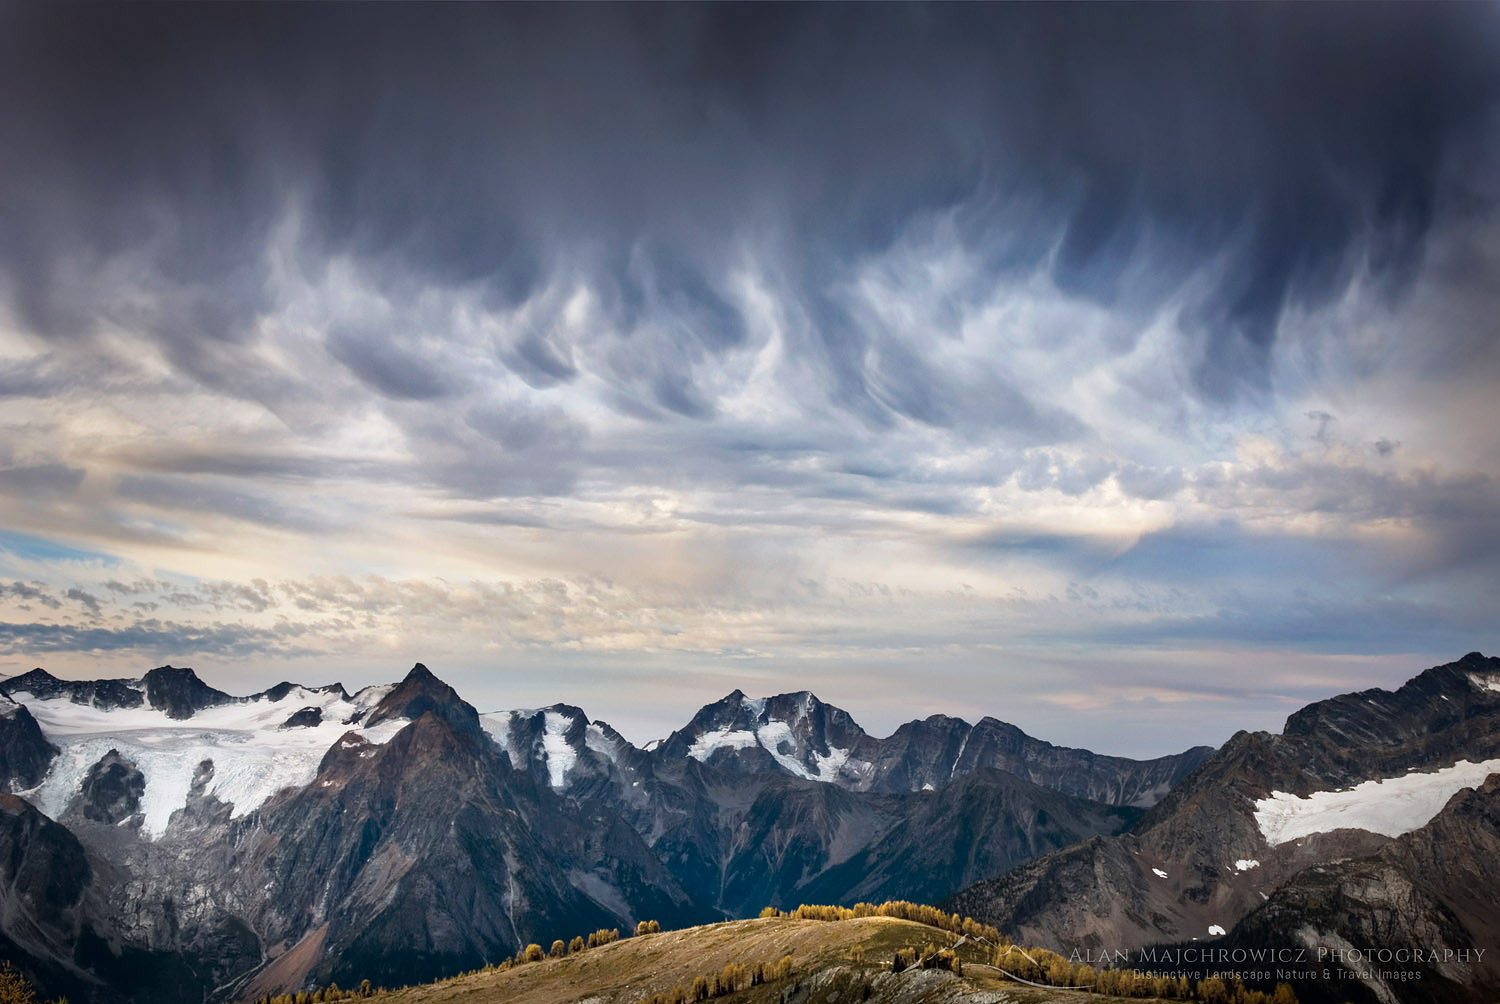
Purcell Mountains British ColumbiaPurcell Mountain Storm Clouds, British Columbia  #25556r  Purchase

How to Boost Your Creativity  Back to the Basics :  You hear it all the time in every field, from sports to science and everything in between. When you’re having difficulty being creative it always helps to start fresh and get back to the basics.

One of the first assignments I had way back in my days of art school was to go out and create images with only one lens. A 50mm focal length often called a normal lens. In addition the camera was to be set only on manual. Back then it wasn’t difficult to do since I only had one lens and my Nikkormat 35mm camera was manual only.

The point of this assignment was to learn the basics of exposure. By adjusting shutter speeds and f-stops, and not relying on technology to do the thinking for you. Limiting your choice of lens to only a 50mm also forced you to visualize your subject matter and compose more carefully.

Try this, find a small object, a flower, trinket, door knob, whatever. Set it up on a table and try photographing it with a normal lens. No filters or special lighting techniques allowed, just room or daylight. See if you can photograph it in a way that brings out an interesting aspect of the object. I  once worked with a woman who photographed through the bottom of drink glasses. A pretty dull subject matter, but she brought to life in a very creative way. I’ll always remember those beautiful colors and patterns.

In my art school drawing class we once had a pile of randomly arranged chairs which we had to draw over and over again for what seemed like forever. The point was to see shapes and patterns of interest in a seemingly mundane object. Not a lesson we enjoyed but effective nonetheless.

During my years working with large format view cameras these lessons paid off and further honed my skills. View cameras are basically just large boxes with a lens on one end. They have no form of auto exposure or auto focusing. In addition each sheet of film can be very costly both in itself and with processing. The result being a forced slowdown in methodology which sharpened my way of seeing more carefully.

Today with digital cameras it’s hard not to just jump in and let the camera do all the creative work for you. However if you want to be more creative turn off all those whistles and bells and put yourself in the driver’s seat for a change.

Another basic way to learn to see more creatively is to work in black and white. Monochrome photography strips the image down to the most basic of elements. It forces the viewer to see the subject in a more pure state. Take a look at your photos and do a quick conversion to black and white. You may notice that some images are pretty dull and lifeless when you strip out the color. You may also see flaws in the composition that aren’t as apparent with color distracting them.

Now this isn’t to say that monochrome is superior to color photography or vise versa. It’s just another way of seeing and a powerful tool creative every photographer can benefit from.

Of course boosting your creativity by getting back to the basics can be extended to post processing the film or digital files. But that’s a big topic for another post.

Imnaha River Canyon, Hells Canyon Recreation Area Oregon

How to Boost Your Creativity Learn From the Past

Imnaha River Canyon, Hells Canyon Recreation Area OregonImnaha Canyon Oregon #45023   Purchase

How to Boost Your Creativity Learn From the Past:  Here’s another easy way to boost your creativity. Study artists and photographers from previous generations. You can do this by visiting museums art galleries and book stores that specialize in art and rare editions.

A few years ago I made my first trip to the California coast. While photographing Big Sur I made a point of spending some time in Carmel. Carmel is the epicenter of early twentieth century landscape photography. It’s also the one time home to Edward Weston and Ansel Adams. I wanted to check out the galleries there to see original prints up close by many of those masters. Both the Weston Gallery and Photography West Gallery displayed numerous prints of both classic well known images, and many I’ve never seen before. I came away from there truly moved and inspired to go further in my own work.

Remember the Masters

In the over 150 years of photography there has been an enormous wealth of creativity that can offer lessons and inspire even the most jaded photographer. Of course everyone in landscape and nature photography knows Ansel Adams and Galen Rowell. However, how many know of Wynn Bullock, Minor White, Morley Baer, Don Worth and a host of others?

And what about photographers outside of the landscape genre? Does anyone remember Diane Arbus, Edward Weston, Imogen Cunningham, Robert Frank, Walker Evans and more? Does anyone also remember Alfred Stieglitz? He is the one man who did single handedly elevated photography as an artistic medium, equal to painting and sculpture.

These are just a few of the many who made their mark in photography. Their images have stood the test of time, and continue to inspire and move viewers generations later. If you are truly serious about your photography and you desire to move beyond clichéd images. Check out some of the names I mentioned here. You’ll soon realize that they are just the very tip of the iceberg. There are many newcomers to the field still pushing the boundaries of creativity. Have fun and enjoy the trip!

Lake Crescent Olympic National Park

How to Boost Your Creativity Second Tip

Lake Crescent Olympic National ParkLake Crescent Olympic National Park #53919  Purchase

How to Boost Your Creativity Second Tip

In my last post on How to Boost Your Creativity, I spoke of photo-sharing websites. In this post, I’m going to talk a little about stepping outside of your comfort zone. Once again I’m addressing primarily landscape and nature photographers. Although these tips will work for anyone in a creative rut.

Today’s tip is probably the most important in helping you boost your creativity. It’s also one of the easiest to do and nearly guaranteed to bring quick results, or at least get you thinking a little differently.

Tip #2: Look Beyond Your Genre. If you limit your online and print media exposure to magazines like Landscape Photography Outdoor Photography Nature’s Best, you’re going to end up with a severely myopic view of the natural world and what it should look like. Consequently, you won’t experience much creative growth.

To truly get inspired get out of your comfort zone! To create something new you must look beyond your genre of landscapes and nature.

My first suggestion is to look to the commercial photography field for a change in scenery. Commercial assignment photography is often looked at as a dull unimaginative field. A field where photographers record what the art director and or ad agency dictated to them. However, over the years commercial photography has grown in leaps and bounds creatively. Now many photographers have blurred the line between commercial and true fine art. One example is my current favorite photographer, Colin Homes. His excellent work has earned him a thriving business in both the fine art market and commercial photography.

Publications and Websites

One of my longtime favorites for creative inspiration is Communication Arts. CA has an extensive website, with resources for illustrators photographers, and designers. They publish lavishly produced annuals for these and other fields in the commercial genre. If you enroll for a subscription make sure it includes the printed versions of the annuals. The photography side of CA often shows a surprising number of creative photographers. Many are nearly unknown in the landscape photo-sharing circles. These photographers are creating astonishingly fresh images.

Another source I like to check out on a regular basis is A Photo Editor (APE). This site, built by Rob Haggart a former photo editor for several large magazines, showcases some of the more creative photographers working in both commercial assignment and fine art fields. Another aspect of this site I love is the regular sidebar feature of promotional mailers sent to Rob for review, lots of good stuff there.

While up to this point I focused on sources for inspiration in the commercial side of photography, it is also important to look to other segments such as editorial and traditional fine art. If you are strictly creating in color it would be a sore mistake to ignore what’s going on in the black-and-white world. Successful monochrome images utilize a different way of seeing that may not be apparent to those working in color, and some of those techniques are easily transferable.

A few more sources I like that may help I’ve you a creative boosts are Photographer’s Forum Magazine and LENSCRATCH, the latter of which will most definitely challenge your way of seeing the world. There are many more sources than those mentioned in this post in which you can check out with a little searching.

So in conclusion, if you want to boost your creativity try and look to different genres for inspiration! See you next time.

How to Boost Your Creativity Second Tip

Isle of Skye Scotland

How to Boost Your Creativity Tip One

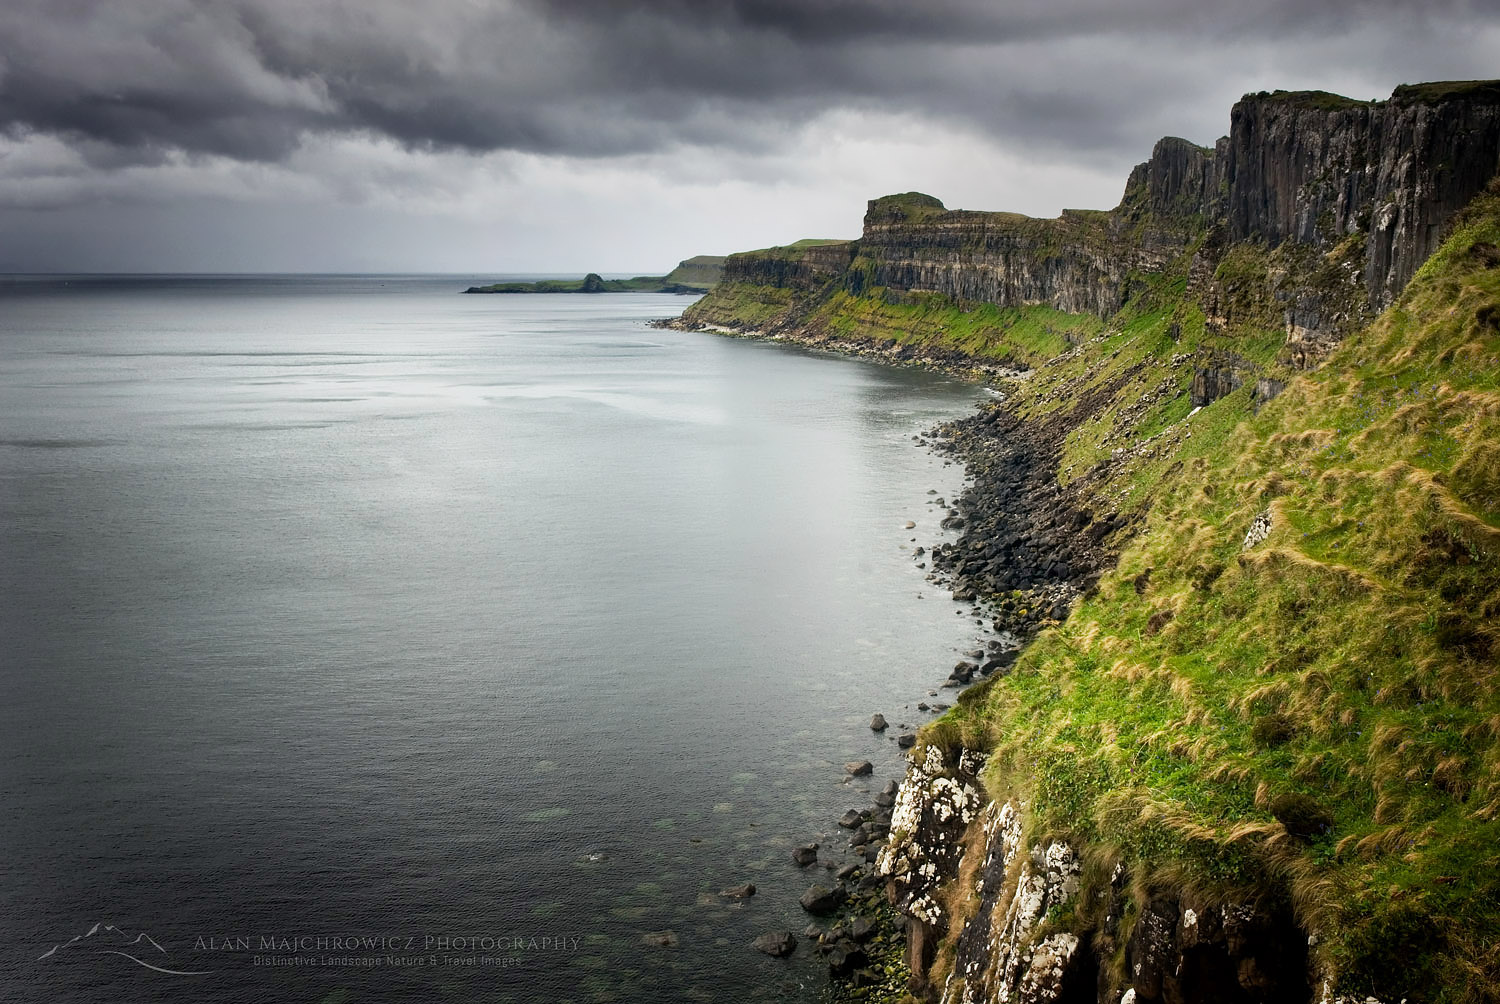
Isle of Skye ScotlandIsle of Skye Scotland #11807  Purchase

How to Boost Your Creativity Tip One

Everyone in the wide field of the Arts suffers from creative block from time to time. From writers and musicians to painters and photographers. No one is immune, and these periods can be very frustrating and occasionally depressing. Sometimes though only a small change of environment or way of looking at things is needed to get those juices flowing again.

In this and subsequent articles I’m going to address some ways photographers, specifically in the landscape and nature genre, can find inspiration. Ways to be more creative so their individual vision can shine through. Although I’ve been photographing quite a long time, and have a background, in the arts I don’t consider myself an expert by any means. These are just some tips and pointers I’ve learned throughout the years.

Define Creativity

Let’s start with the basics. What is creativity? Here is one definition:

creativity |ˌkrē-āˈtivitē| noun   The use of the imagination or original ideas, especially in the production of an artistic work.

Taking this definition in a strict sense is pretty tough. Yes, we all have an imagination, some bigger than others. But can we pull truly original ideas and concepts out of it on a regular basis? Hopefully some of these tips will give it a nudge in the right direction.

Tip #1: Use Online Photo Sharing Sites. Sites like 500px Instagram can at times be a wonderful source of inspiration to get your creative juices flowing. Be warned though, they can also be  an addictive trap that can stifle your creativity. Online photo sharing sites host a wide variety of talent. From photographers just beginning, to advanced professionals.

I mostly like to browse through some of these sites to research locations I may be visiting sometime in the future. It helps give me an idea of the photographic potential of an area. Unfortunately though I found that I rarely came away from these sites creatively inspired. There just isn’t much originality here.

Word of Caution

Spend even a short amount of time browsing through posted photos on these sites and you’ll begin to see a follow the leader mentality. Both in locations visited, and the trend of the day style of processing. One of the worst aspects of these sites, in my opinion, is that some have devolved into competitive venues. A forum where it is more important to accumulate Likes and Faves than it is to post creative content.

So yes, online photo sharing sites can be a good source of inspiration for your creative self. Just make sure it is only one of many tools in your kit. Don’t get sidetracked into a race to keep up with the next guy!