Photographing Newberry National Volcanic Monument
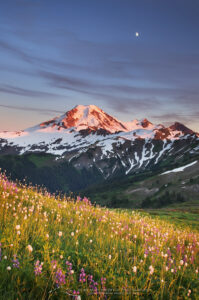
 Newberry Crater National Volcanic Monument #84062 Purchase
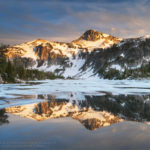
Central Oregon is a land that encompasses a wide variety of landscapes. The area includes the snowy Cascade Mountains, fragrant forests, rushing rivers, and high desert or shrub-steppe. Underlying and shaping all of these features is a long history of volcanic activity. In fact, it’s difficult to go anywhere in central Oregon without coming across volcanic features such as lava flows, craters, columnar basalt, pumice fields, or lava caves.
In the center of this vast area is Newberry National Volcanic Monument. Also known as simply Newberry Crater, it is the largest volcano in the Cascades Range. Newberry is even larger than nearby Crater Lake. However, it is not just a crater but a large caldera with many craters within. Furthermore, nearly every volcanic feature in the Pacific Northwest can be seen within its boundaries. Additionally, several hot springs along the shore of Paulina Lake unquestionably prove that Newberry is still an active volcano.
Photographers visiting the Newberry can find inspiration throughout the monument. Although some features can be difficult to photograph, they are worth the effort. In this post, I will touch on several interesting areas.
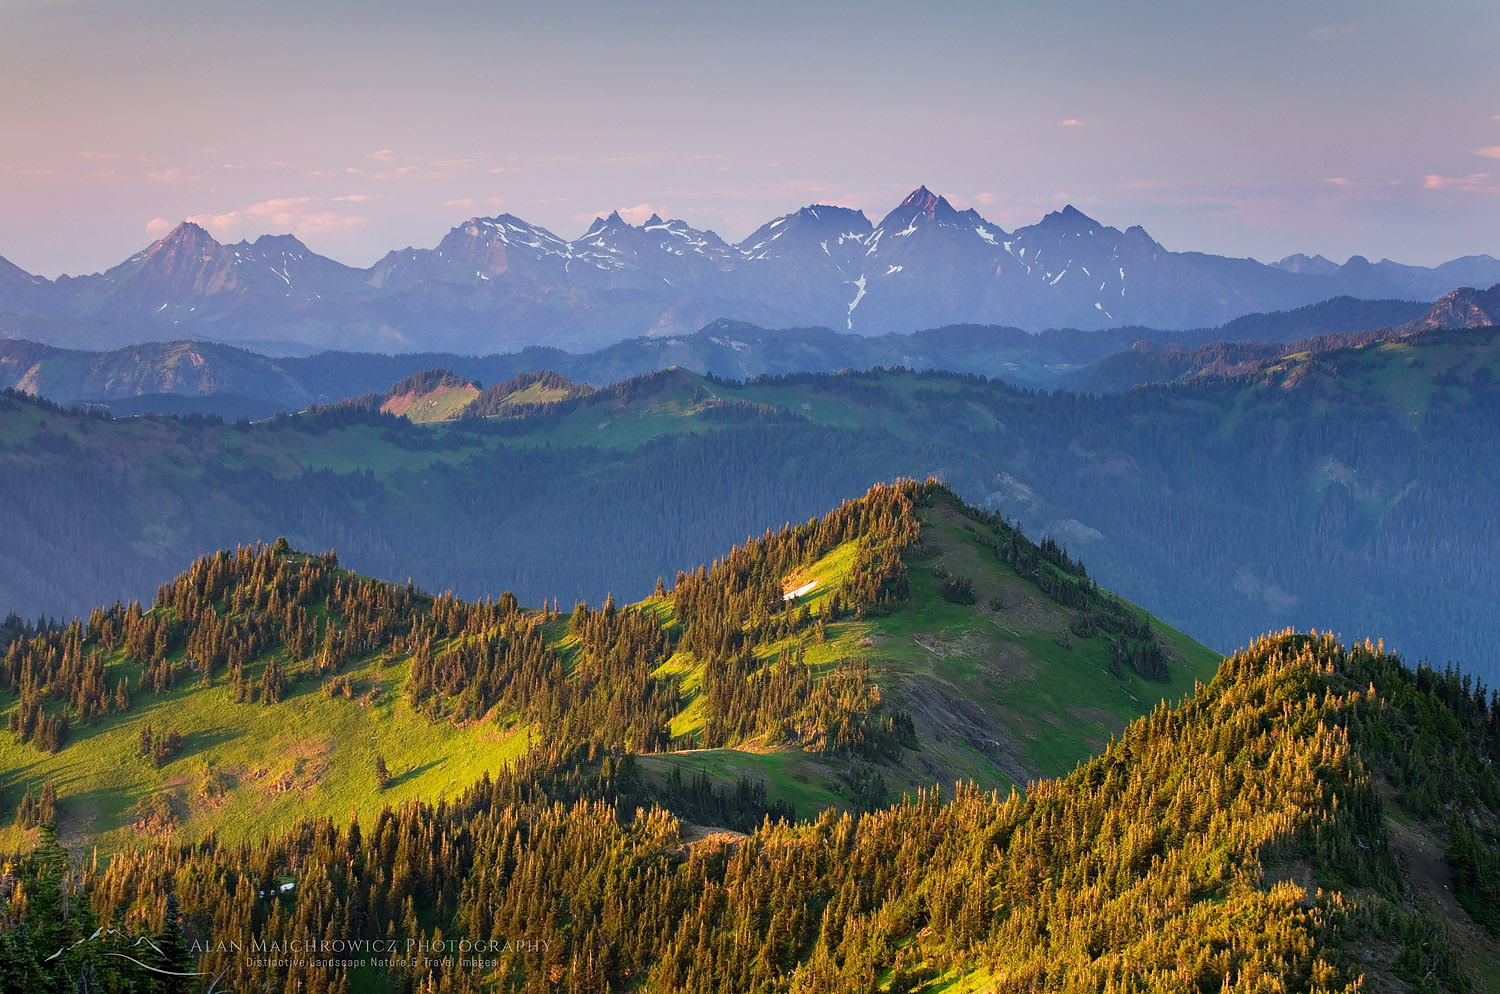
 Newberry Crater National Volcanic Monument #84094 Purchase
Photographing Newberry National Volcanic Monument / Paulina Peak
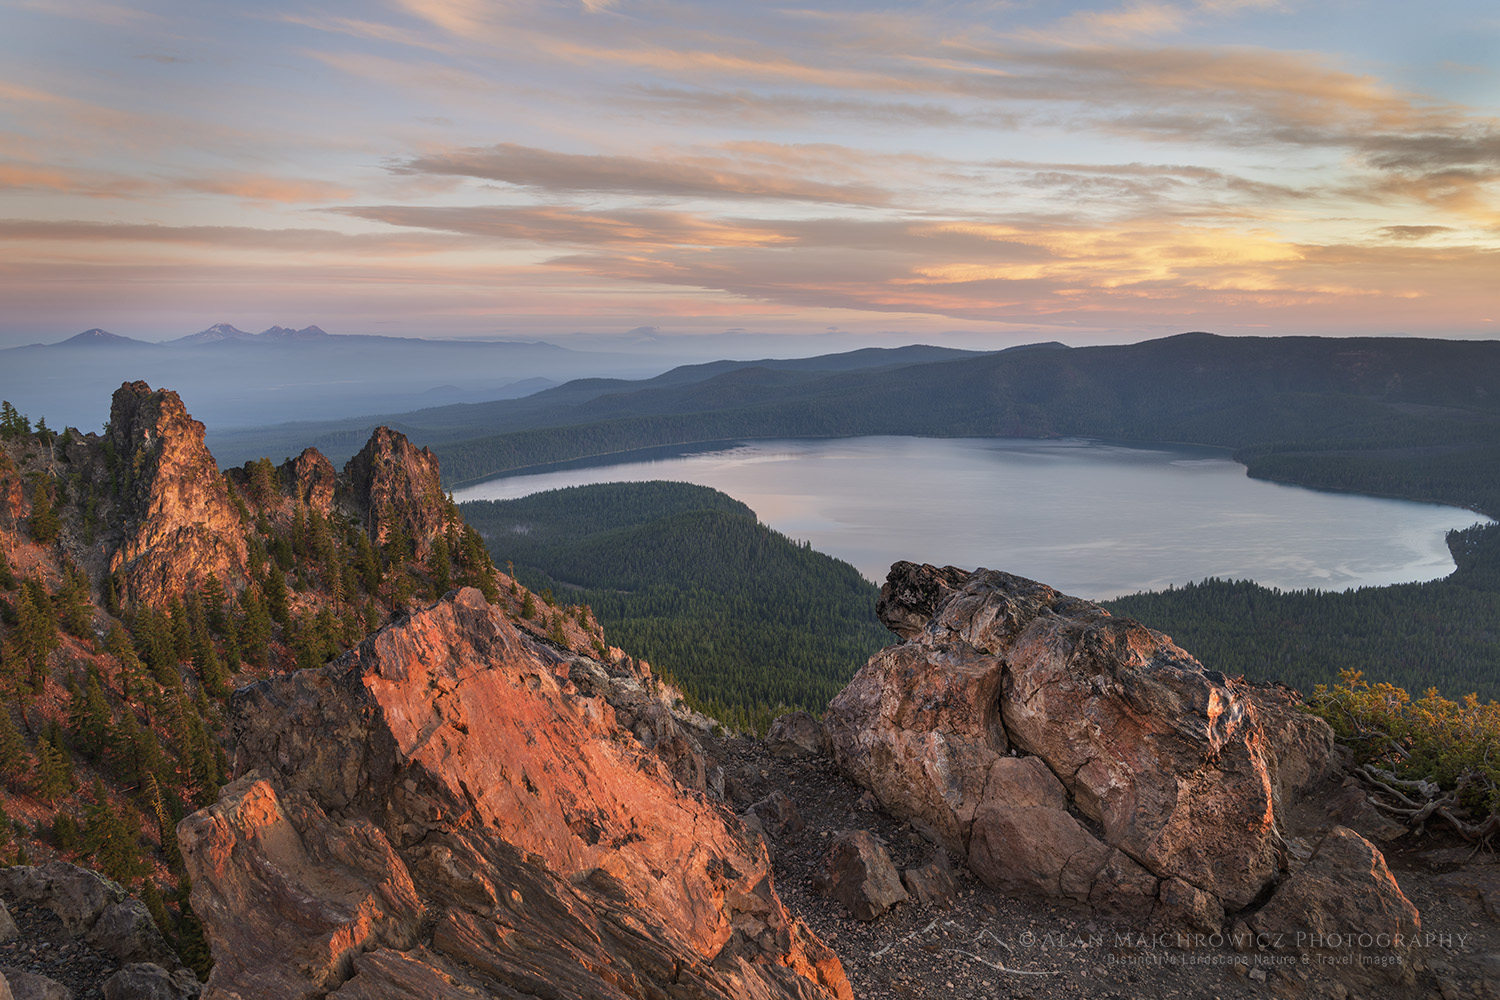
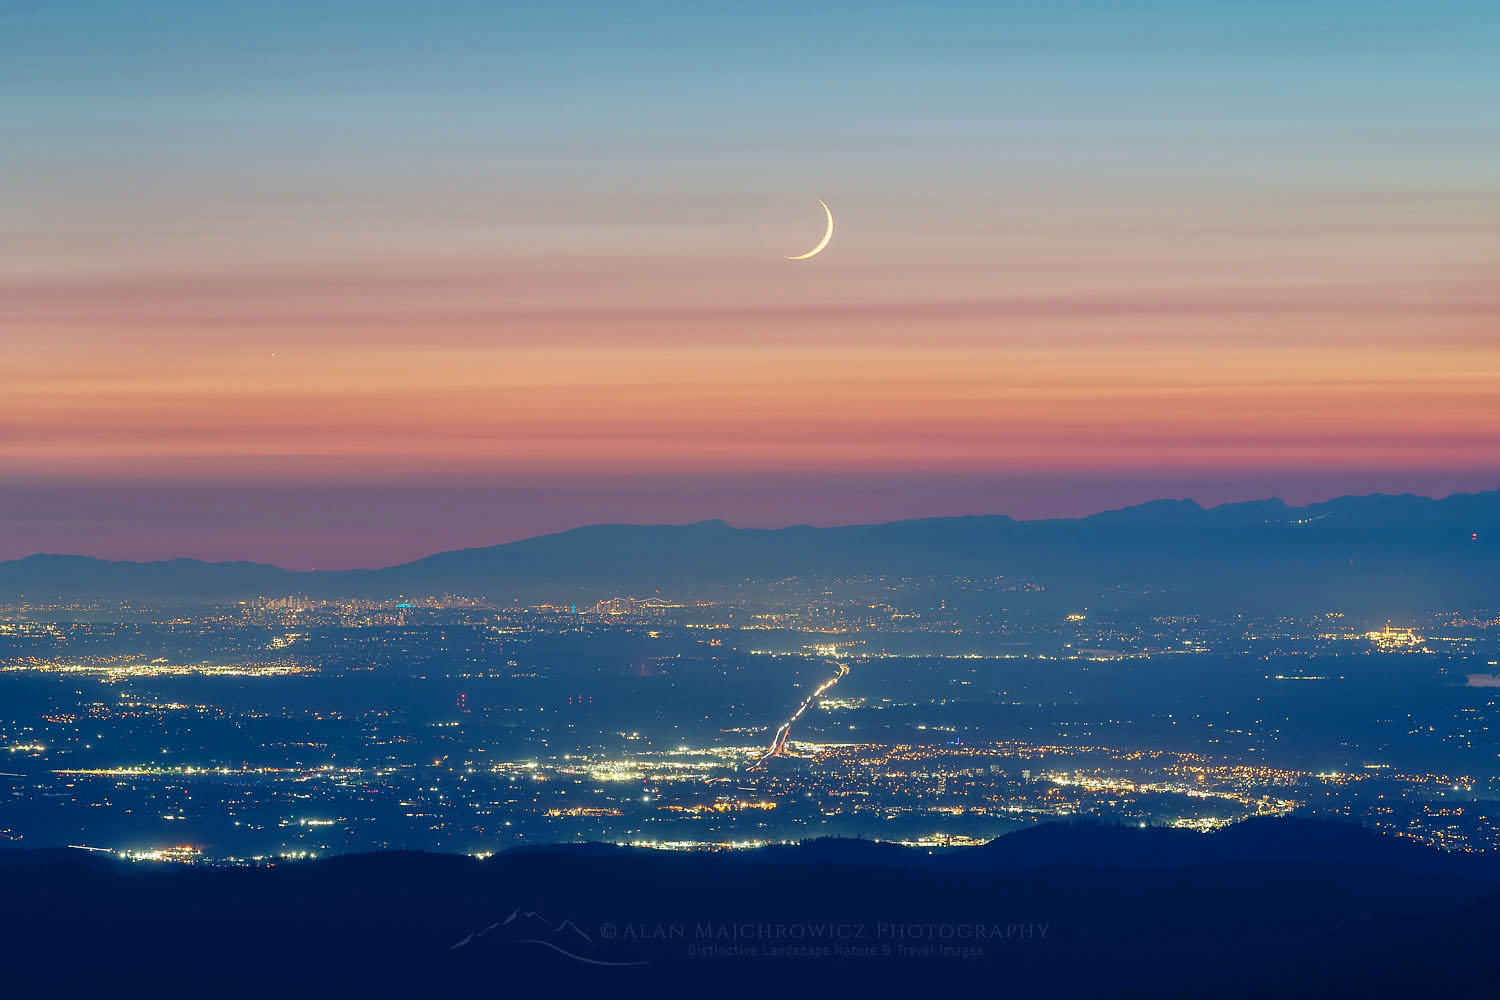
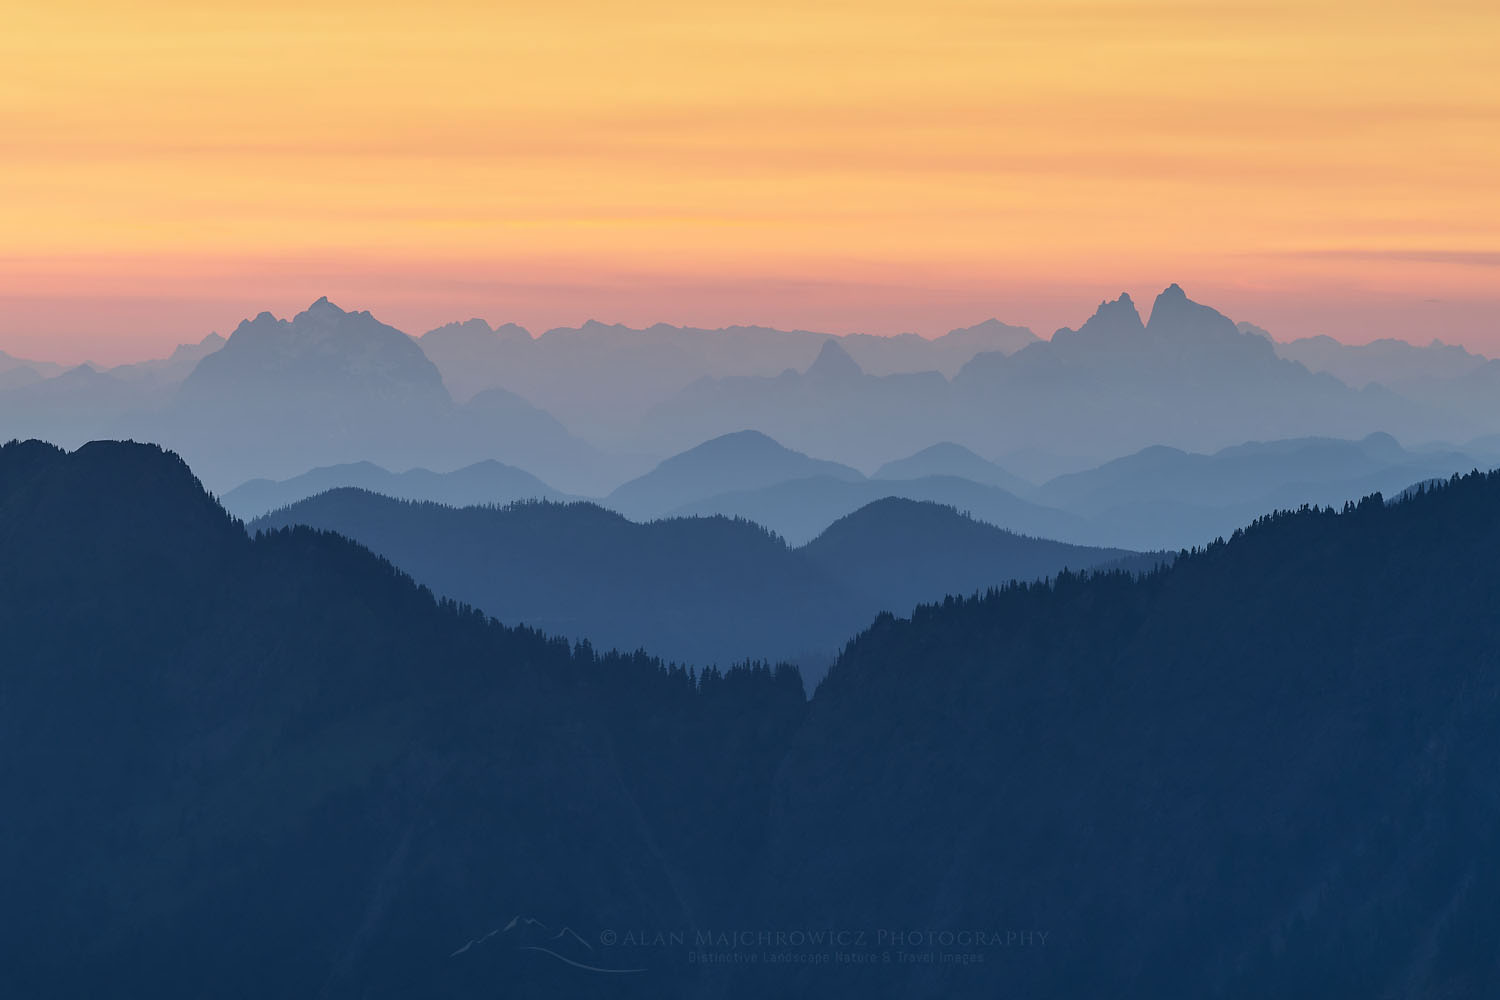
Photographers looking for a grand view should drive to the summit of Paulina Peak, which is 7984 feet above sea level. The views are seemingly endless in every direction. From the overlook, the entire caldera is visible. In addition, looking west, the snowy summits of the Three Sisters volcanos dominate the horizon.
Although most people drive to the summit, there is also the Paulina Peak Trail. The trail starts along the summit road near the base of Paulina Peak. It’s a 4.2-mile round trip with 1400 feet of elevation gain. It’s a pleasant hike to the top, although not very practical for photographers needing to be in place during golden hours.
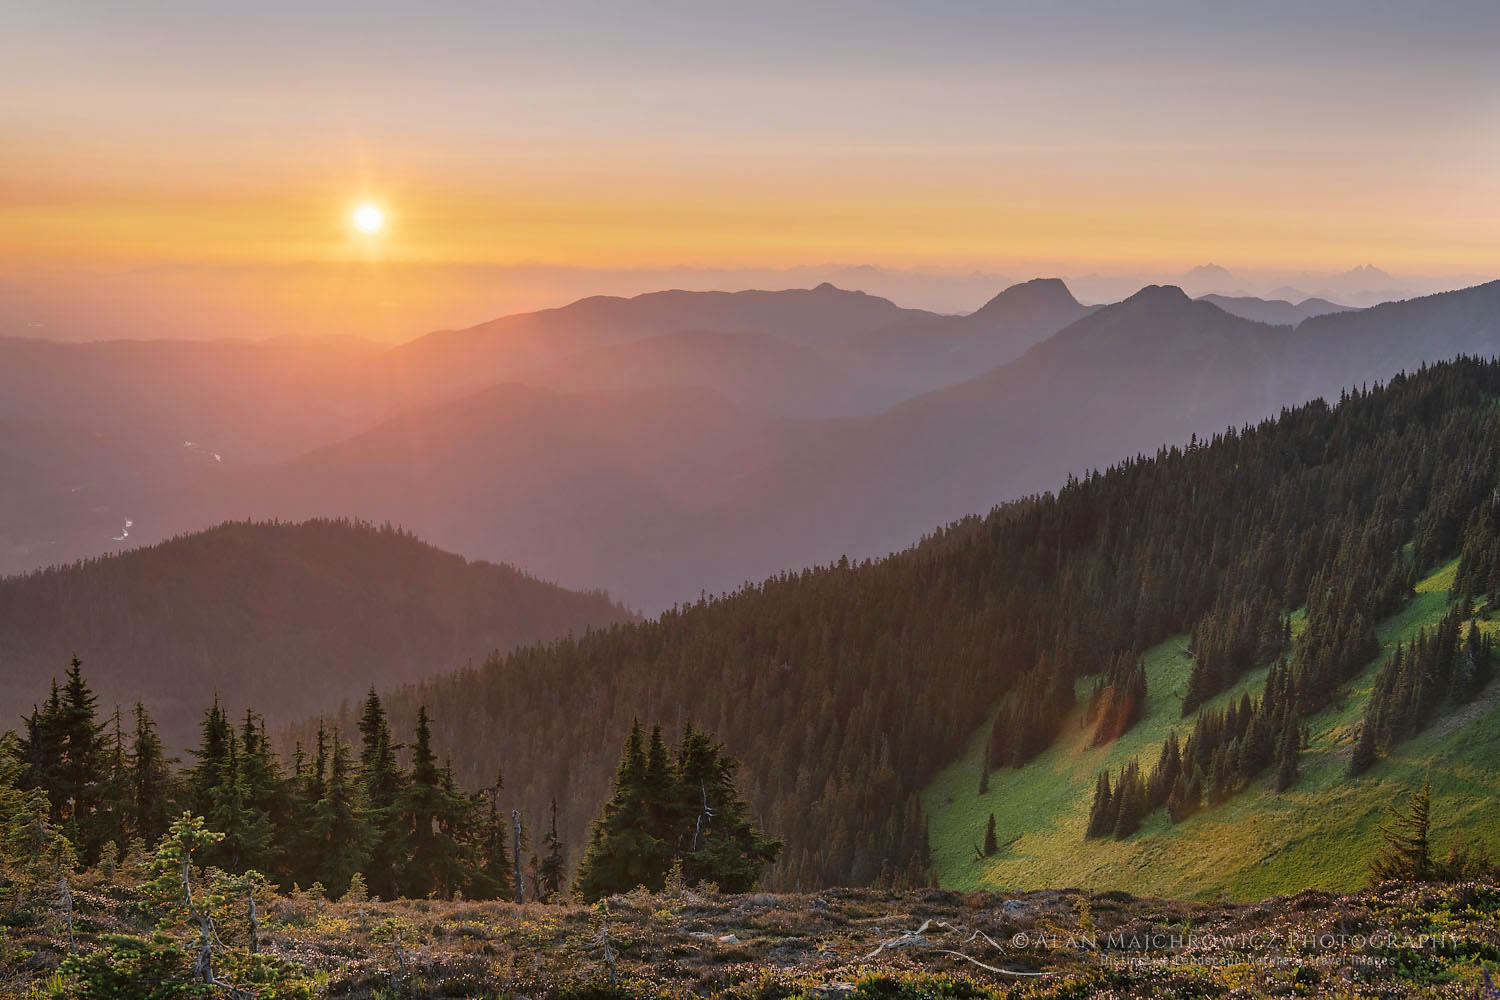
 Newberry Crater National Volcanic Monument #84105 Purchase
Photographing Newberry National Volcanic Monument at the summit of Paulina Peak is relatively easy. The large parking lot is right at the overlook on the summit. I say relatively easy because although the area is small, you’ll need to scout out interesting compositions and patiently wait for light. Even though the view alone is magnificent, you’ll need to add other elements to your compositions to create compelling images.
Besides the summit overlook, you can hike down the Paulina Peak Trail to scout for more interesting aspects. But use caution, there are many cliffs in the area and the rock is very loose and unstable.
 Big Obsidian Flow seen from Paulina Peak #84094 Purchase
Big Obsidian Flow
Another outstanding feature to visit and photograph is the Big Obsidian Flow. This sprawling volcanic feature is visible from the Paulina Peak summit and can be accessed by an interpretive trail along the Paulina Lake Road.
At only 1300 years old, this lava flow is the youngest in Oregon. It is also one of the few lava flows in Oregon where you can see obsidian up close. The 1-mile interpretive trail begins with a climb up the flow on stairs and then winds among the flow. Along the way are signs in key areas describing the fascinating history and geology of the flow.
 Big Obsidian Flow during Blue Hour #84174 Purchase
 Big Obsidian Flow during Blue Hour #84139 Purchase
Photographers will find Big Obsidian Flow to be a very challenging subject. It’s difficult to isolate good compositions, and the contrast between the black lava and the sky will require special exposure techniques. It is best to avoid sunny mid-day conditions where contrasts are extreme. Golden hour can bring warm, even light, although contrast levels can still be high. On the other hand, Blue hour light can be wonderful.
In addition, while it may be tempting to leave the trail and search further for compositions, this is not recommended. Obsidian is basically black glass, and its broken edges are razor-sharp. Everywhere on the flow blocks of obsidian and other forms of lava are unstable and extremely difficult to walk on. So obviously, it’s best to keep to the trail.
 growing in lava flow of Lava Cast Forest. Newberry National Volcanic Monument, Oregon #83934") Rabbitbrush in Lava Cast Forest #83934 Purchase
Rabbitbrush in Lava Cast Forest #83934 Purchase
Lava Cast Forest
Lava Cast Forest is another interesting but difficult area to photograph. There is a mile-long interpretive trail here with some fascinating subject matter along its length. The voids in the lava where trees once stood and were burned away are interesting. However, they aren’t the best subject matter.
 Lava Cast Forest #83922 Purchase
 Twisted Tree Lava Cast Forest #83922 Purchase
 Lava Cast Forest #83922 Purchase
In my opinion, the trees and plants growing in and around the edges of the lava flow are much more interesting. Since soil conditions in the lava field are harsh, many trees have grown into strange twisting shapes. Also, small flowering plants stand out in stark contrast to the black lava, making for fun nature studies.
 Lava River Cave #84177 Purchase
Lava River Cave
A trip to for photographing Newberry National Volcanic Monument would not be complete without visiting Lava River Cave, the longest continuous lava cave in Oregon. While the 2.2-mile roundtrip hike in the cave is fun, there are few good photo ops.
Unlike living limestone caves, Lava River Cave does not have interesting dripping speleothem structures such as stalactites or stalagmites. For the most part, the walls are smooth. But it is a fascinating cave, nonetheless.
 Lava River Cave #84177 Purchase
Photographers will need to bring a tripod as there is no lighting anywhere in the cave. If you don’t have a headlamp, one can be rented at the entrance, as you won’t be allowed to proceed into the cave without one. It’s a good idea to bring at least one extra headlamp or flashlight as a backup and also for light painting. Besides the lighting issue, it is also difficult to photograph in the cave because there is a constant flow of people.
Essential Tips for Photographing Newberry National Volcanic Monument:
- Scouting is an essential, but often overlooked, technique for better photography. Always scout out the best locations in advance by spending the day thoroughly exploring the area. Make notes of the best spots and how long it will take to reach them in the morning and evening golden hours
- Always allow enough time. One of the most important considerations when planning a photography trip to any location is time. Good photography rarely results from a hurried schedule. Likewise, chasing light is stressful, stay in one place and let the light come to you!
- Photographing in lava fields may require exposure stacking techniques to deal with the high contrast.
- Likewise, avoid polarizing filters on sunny days, they will increase the contrast and render lava empty as black spaces.
- Recreation passes are required for entry into Newberry National Volcanic Monument. Either a Northwest Forest Pass or any of the Interagency passes will work.
- Lava River Cave is open only from early May through mid-September. Reservations are required, and tickets can be purchased at Recreation.gov
- Several great campsites are available in Newberry, but during the busy summer season, reservations are required. Outside the monument, random camping may be found on national forest or BLM land.
- The town of Bend is only about ten miles north of the monument. A variety of accommodations and amenities are available there.
 Paulina Falls Newberry National Volcanic Monument #84180 Purchase
Leave No Trace
Please, Please, Please! Don’t plan a trip to this or any other national park, monument, or wilderness area unless you are prepared to follow Leave No Trace guidelines (LNT). National parks and wilderness areas worldwide are under incredible pressure from the growing number of visitors. So, please do your part to help preserve these precious areas for future generations!
To learn more about the principles and practicing LNT please take a few minutes to visit the Leave No Trace Center for Outdoor Ethics. Your children and grandchildren will thank you!
LEAVE NO TRACE SEVEN PRINCIPLES
1. Plan Ahead and Prepare
2. Travel and Camp on Durable Surfaces
3. Dispose of Waste Properly
4. Leave What You Find
5. Minimize Campfire Impacts
6. Respect Wildlife
7. Be Considerate of Other Visitors
© Leave No Trace: www.LNT.org
Learn about how to protect the places we love to photograph
Visit the Nature First Website

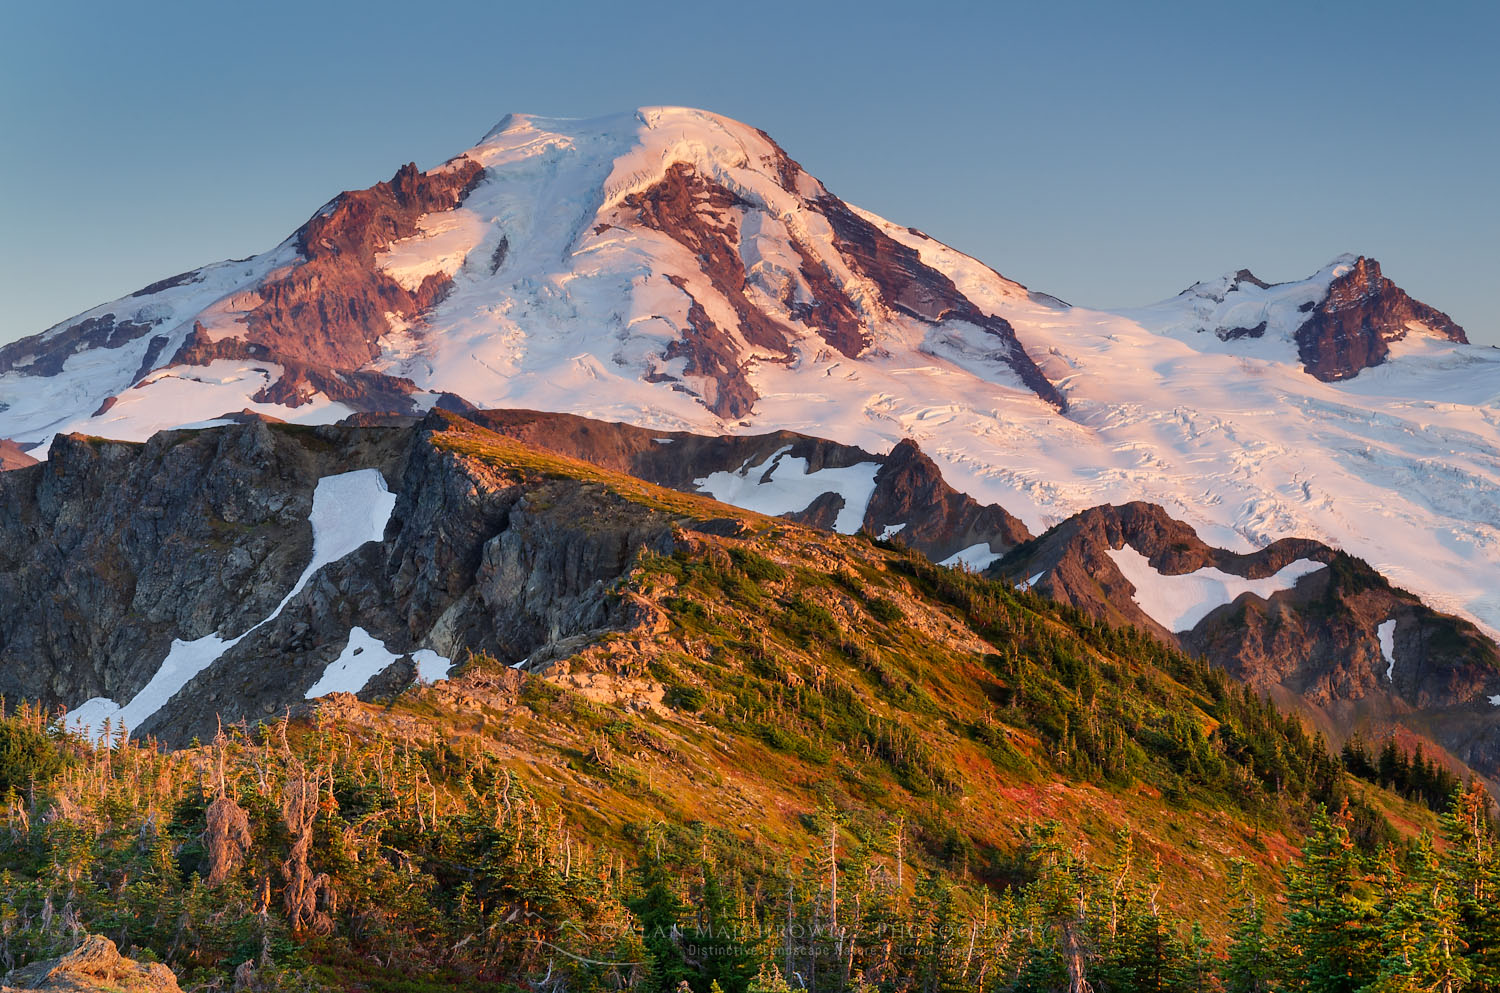
 Newberry Crater National Volcanic Monument #84033 Purchase
All photos appearing in Newberry National Volcanic Monument are available for Commercial Licensing and Fine Art Prints. Click on any image to purchase, or contact me for more info!


 is in the foreground. Mount Rainier National Park Washington #73108or")


 Tatoosh Range in Winter #5019


")
 and Baker Lake, North Cascades Washington")