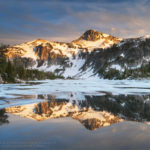
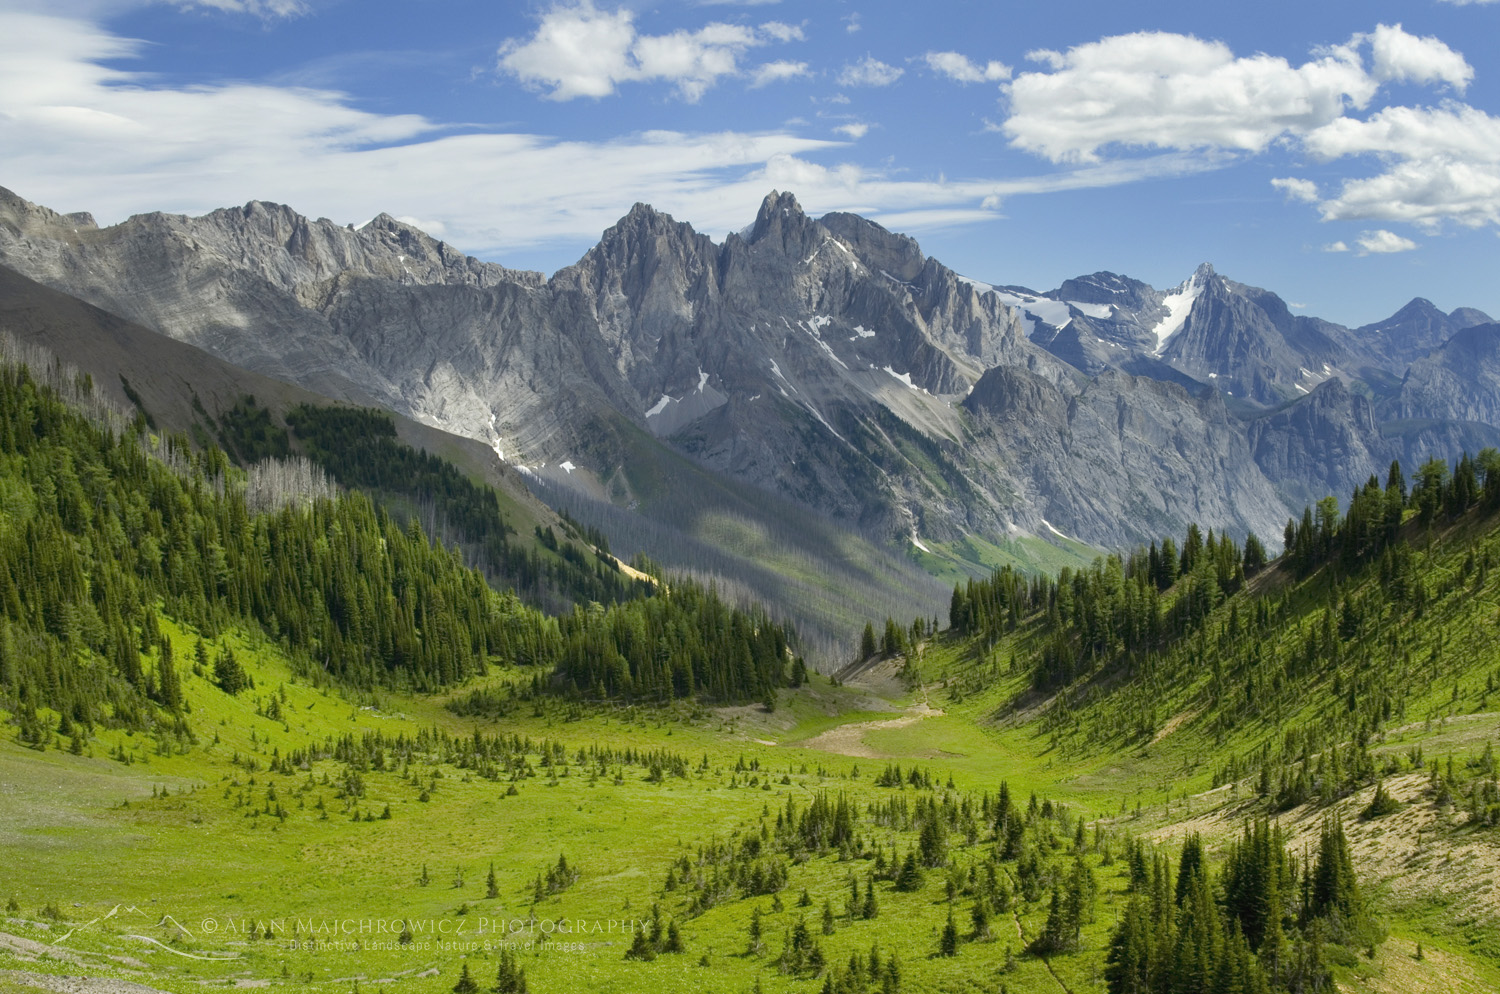
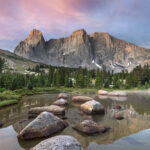
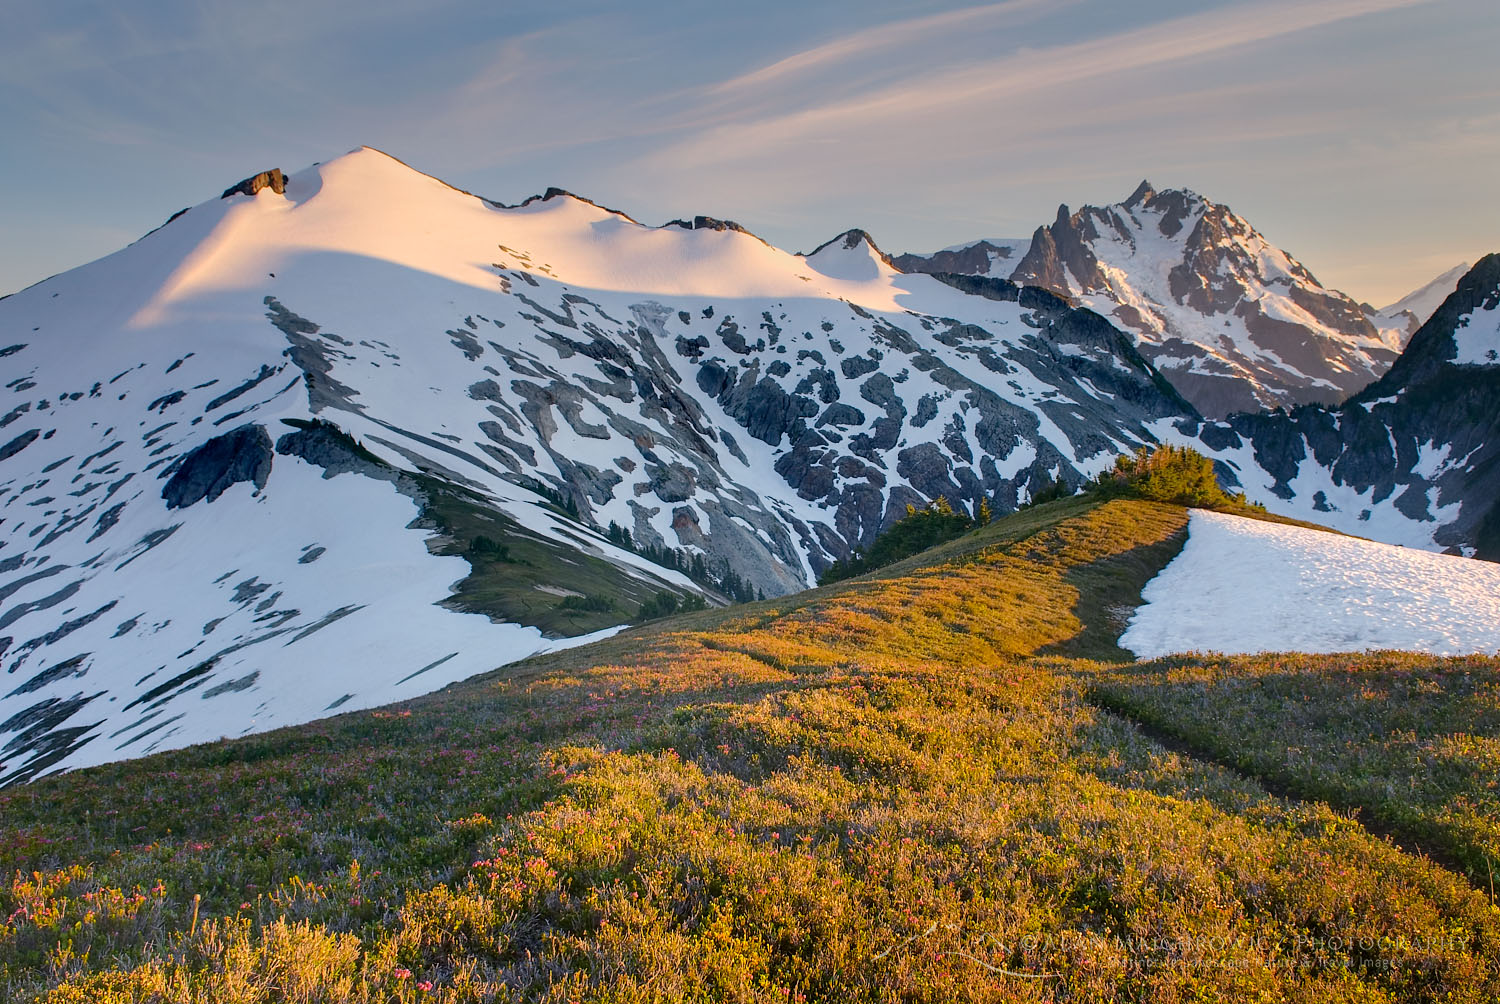
Russell Peak and Limestone Lakes #86593 Purchase
Limestone Lakes Height of the Rockies Provincial Park
Limestone Lakes, in Height of the Rockies Provincial Park, is a dream destination for backpackers and photographers who really want to get away from it all. In today’s era of advance reservations, lottery-style permits, and crowds, this location offers a taste of wilderness freedoms rarely seen anymore. Here, in the middle of the Canadian Rockies, you can experience a level of solitude amid grand landscapes seldom found outside the most remote locations on Earth.
Height of the Rockies Provincial Park is a small, little-known park in the Canadian Rockies. It is located on the west side of the continental divide, just southwest of Mount Assiniboine. There are a couple of reasons for the park being so little-known. The first is its remote location. The main access to the park is an unpaved road about 40 miles in length. Although the road is generally in good shape for ordinary vehicles, it is a very long and dusty drive. Another reason is the park’s relatively few maintained trails. These trails are mostly user-maintained and are often little more than routes. Reaching the fabulous alpine areas requires lots of work and determination. Limestone Lakes is, perhaps, the main destination in Height of the Rockies Provincial Park, which is accessed by one of those trails.
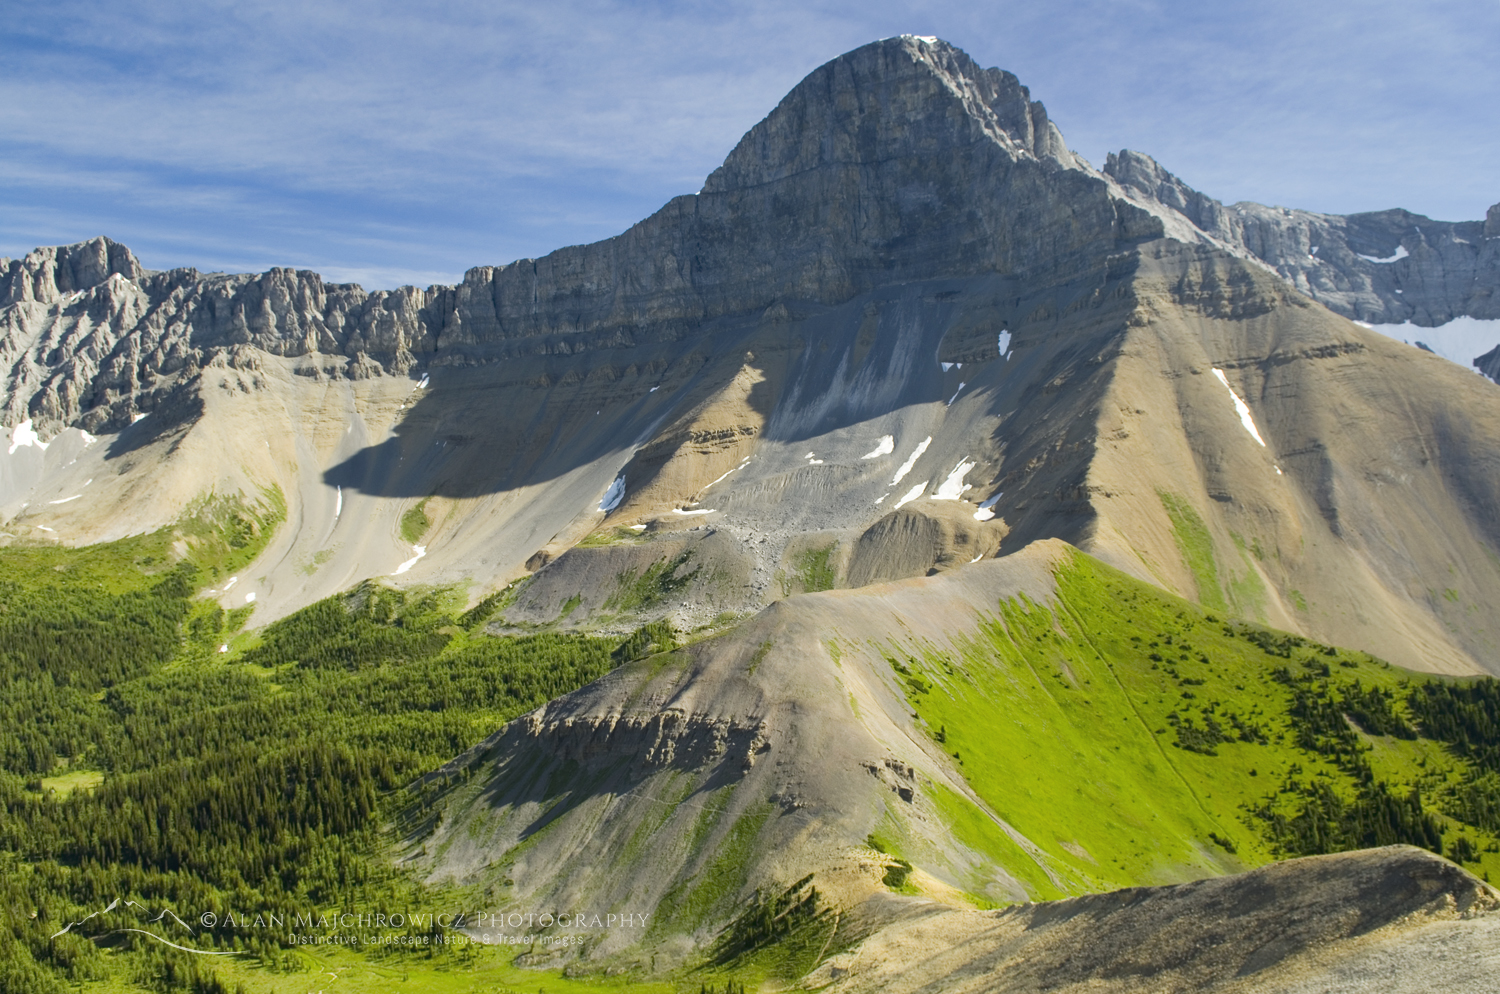
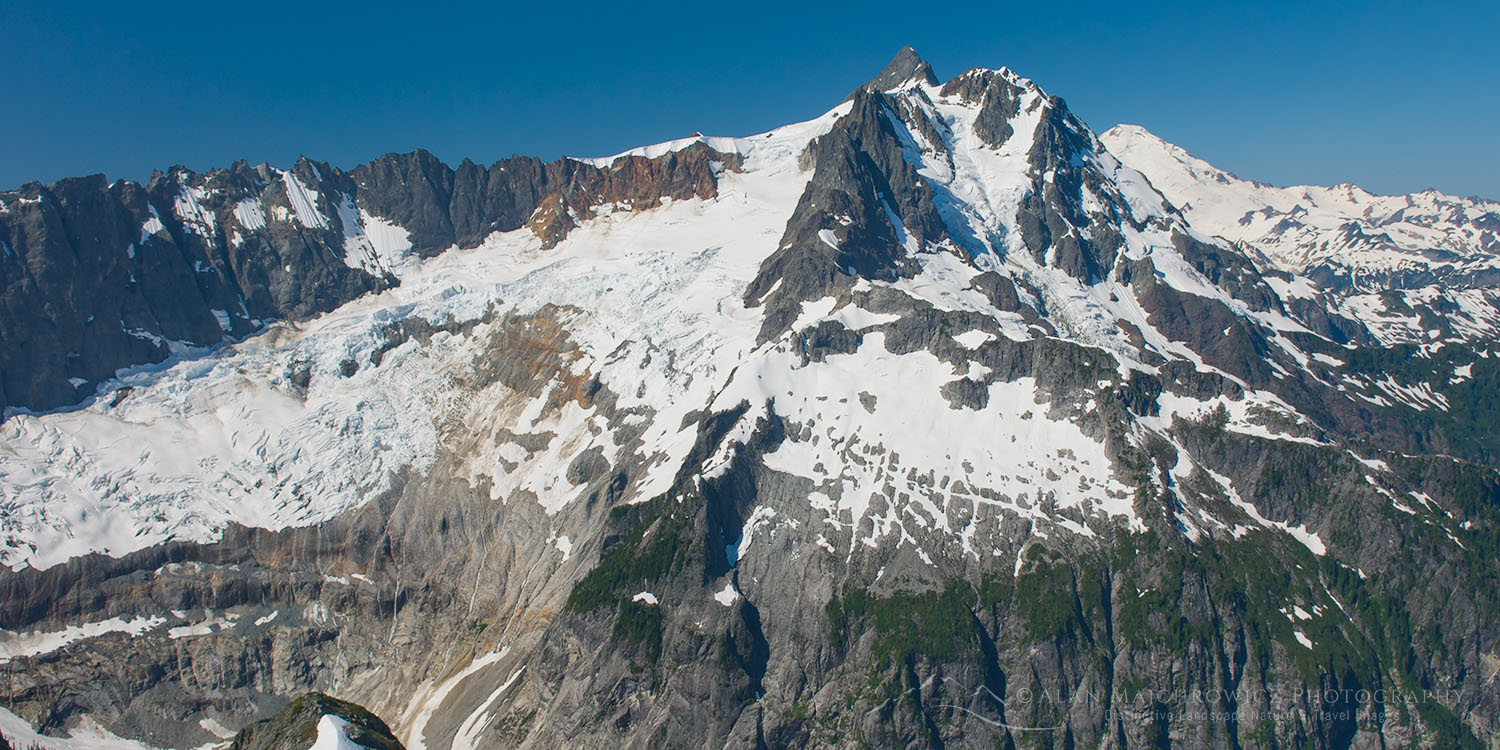
 Lower Limestone Lakes and Russell Peak #86447 Purchase
Limestone Lakes Difficulty Level
*Before I go any further, I must impress the fact that a trip to Limestone Lakes is definitely not for novices to backpacking or wilderness travel. However, those who are accustomed to cross-country wilderness travel and mountaineering will find the trip relatively easy. From the first step at the trailhead, the entire trip is an arduous undertaking. About half of the distance is on a long, steep, brushy, and poorly maintained trail. In some long sections, it is merely a boot-beaten route. The second half is an unmarked cross-country route across difficult alpine terrain.
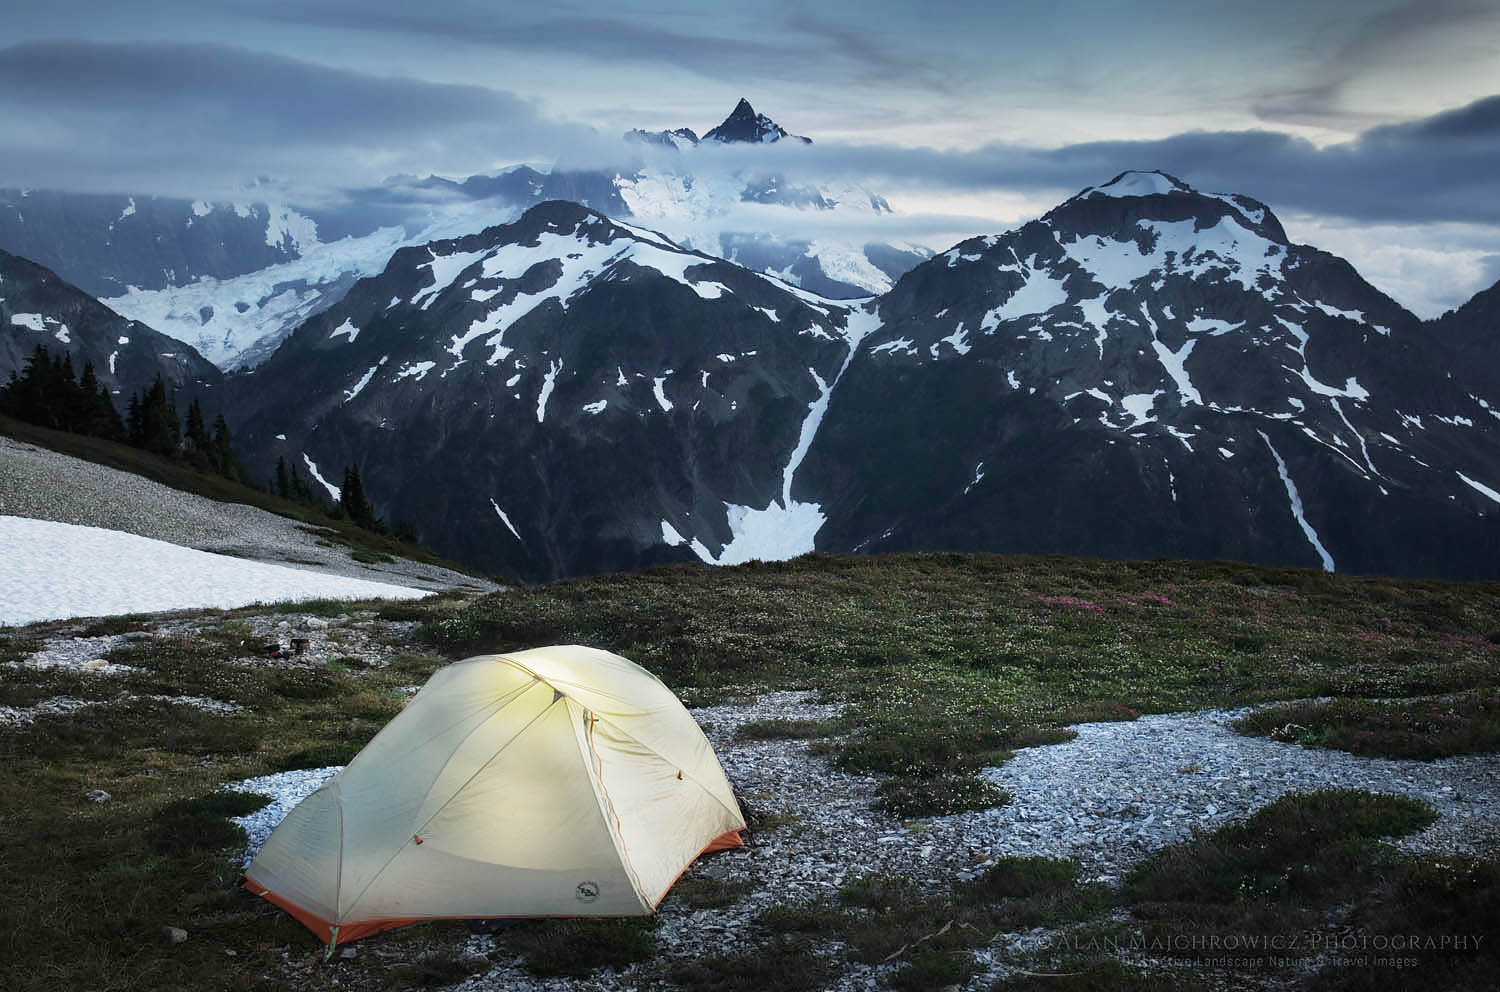
A reasonable trip to Limestone Lakes would require at least three days. Given that, to truly explore and enjoy this magnificent location would require four to six days.
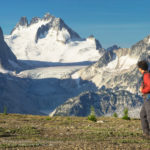
To this date, I have made two wonderfully memorable trips to Limestone Lakes. The first trip was solo, and the second was to guide a fellow wilderness lover. Through both trips, I have learned a few lessons that I can pass on to others wishing to visit this area.
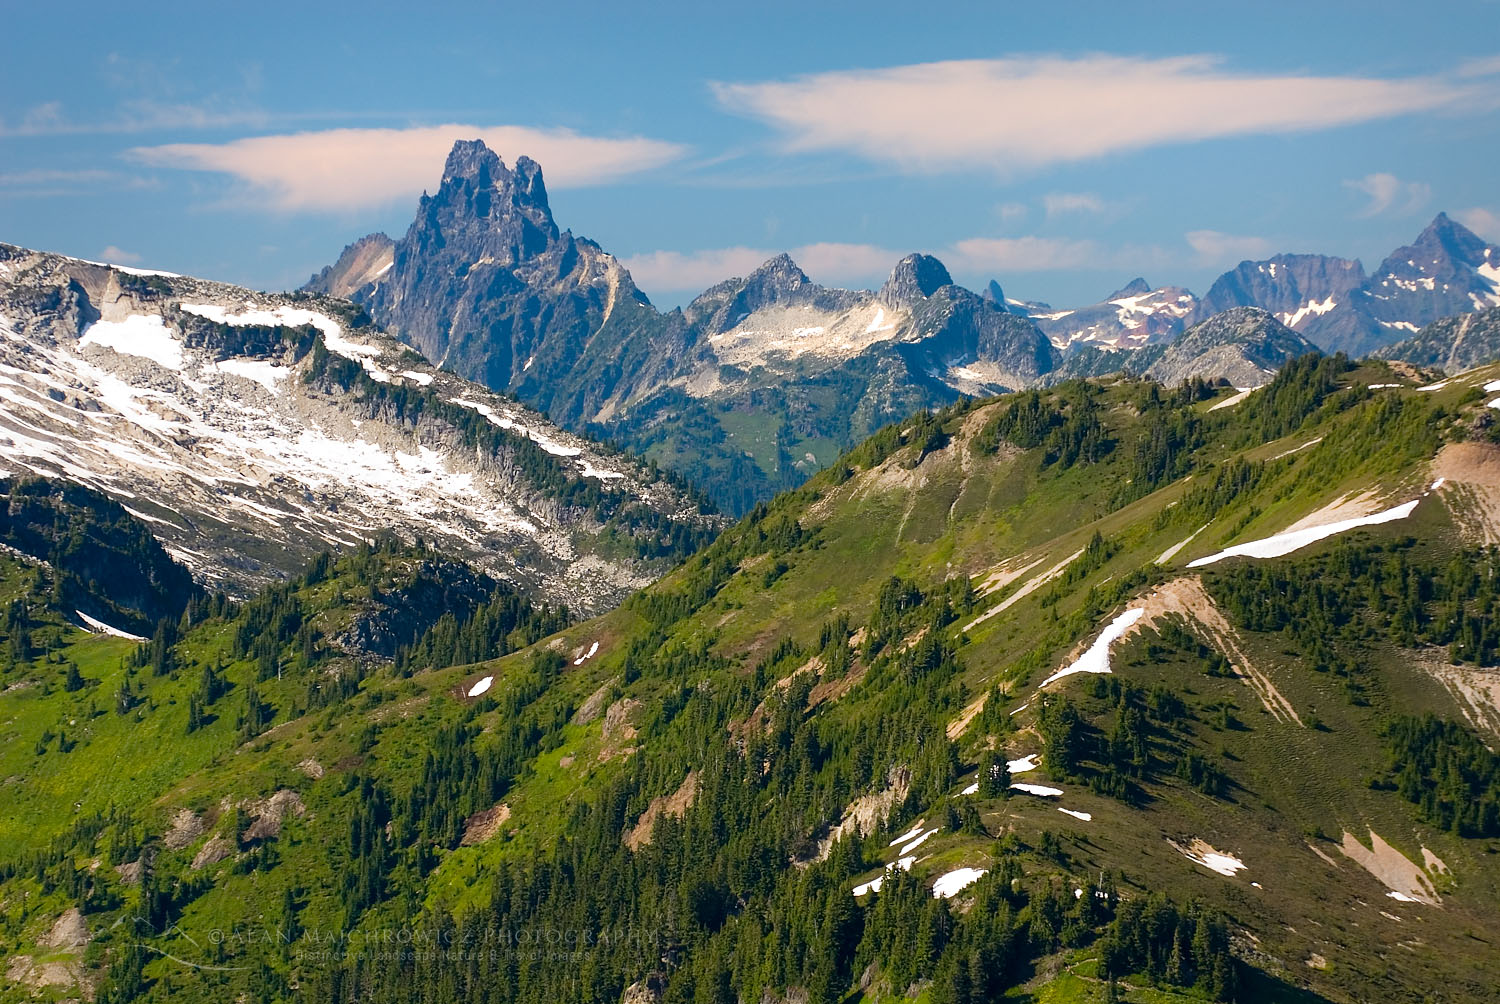
 View north to the Royal Group from Sylvan Pass
When to Visit Limestone Lakes
Early July through mid-September are optimum times to visit Limestone Lakes. By early July, the alpine areas are generally snow-free, but creek crossings can still be challenging. September will see the end of flying insects, but there is an increasing risk of early-season snow.
I won’t get into specific details regarding elevations, distances, or GPS coordinates. I don’t use a GPS or other wilderness travel apps, although most will find tham handy. I’ve always relied on plain paper maps and common sense wilderness travel skills, acquired over many years of hiking and backpacking. However, readers will get a good general overview of what to expect.
For more details, please refer to the Height of the Rockies Provincial Park website and Mat Gunn’s excellent guidebook: Hikes Around Invermere & the Columbia River Valley.
 Height of the Rockies Provincial Park British Columbia") A local resident of Limestone Lakes #86491
A local resident of Limestone Lakes #86491
Pro Tip: Do not attempt this trip in poor weather! During my most recent trip, it rained for the first two days, and the trail to Sylvan Pass was a nightmare. The hip-high brush was dripping wet, and within minutes, we were soaked to the skin. After miles of this misery, we arrived at a campsite below Sylvan Pass, nearly hypothermic.
In addition, by the time you reach the lakes basin, you are a long way from your vehicle in a vast trail-less alpine arena. Limestone Lakes is not an enviable place to be stuck in case of poor weather with limited visibility! Plan very carefully and be prepared! And don’t forget that in case of bad weather there is nor shame in bailing!
 Looking south from Sylvan Pass
Joffre Creek Trail
The trailhead is located at the end of the long drive on the Palliser River Road. Here is where the fun starts. The trailhead kiosk sports an enticing photo of the beautiful Limestone Lakes Basin. It also states the trail itself begins a short way up the road on the left, amidst an old burn. It’s very easy to miss this poorly marked spot. And, on my second visit, we couldn’t find it and opted to continue where the trail started on my previous trip. This then entailed a bit of bushwhacking and route-finding.
Whether you find the true trail or not, your second obstacle, and possibly a deal-breaker for some, is crossing Joffre Creek. There once was a sturdy bridge crossing the creek. But nature has a way of obliterating man’s designs. Where there once was a pretty creek running through a dense forest, there now is a wide expanse of downed trees and channels choked with rocks and boulders. Needless to say, there is no longer a bridge. Unless a log jam is found, travellers will need to ford a swift and often deep creek over hidden slippery rocks.
Once on the other side of Joffre Creek, you’ll need to locate the beginning of the true trail. There may be cairns marking it, but if you cross up or downstream, the trail can be difficult to find. It is imperative to travel southeast near the creek to locate it. The start of the Palliser River Trail is also here, so if you start hiking a trail in a northerly direction, you’re on the wrong one.
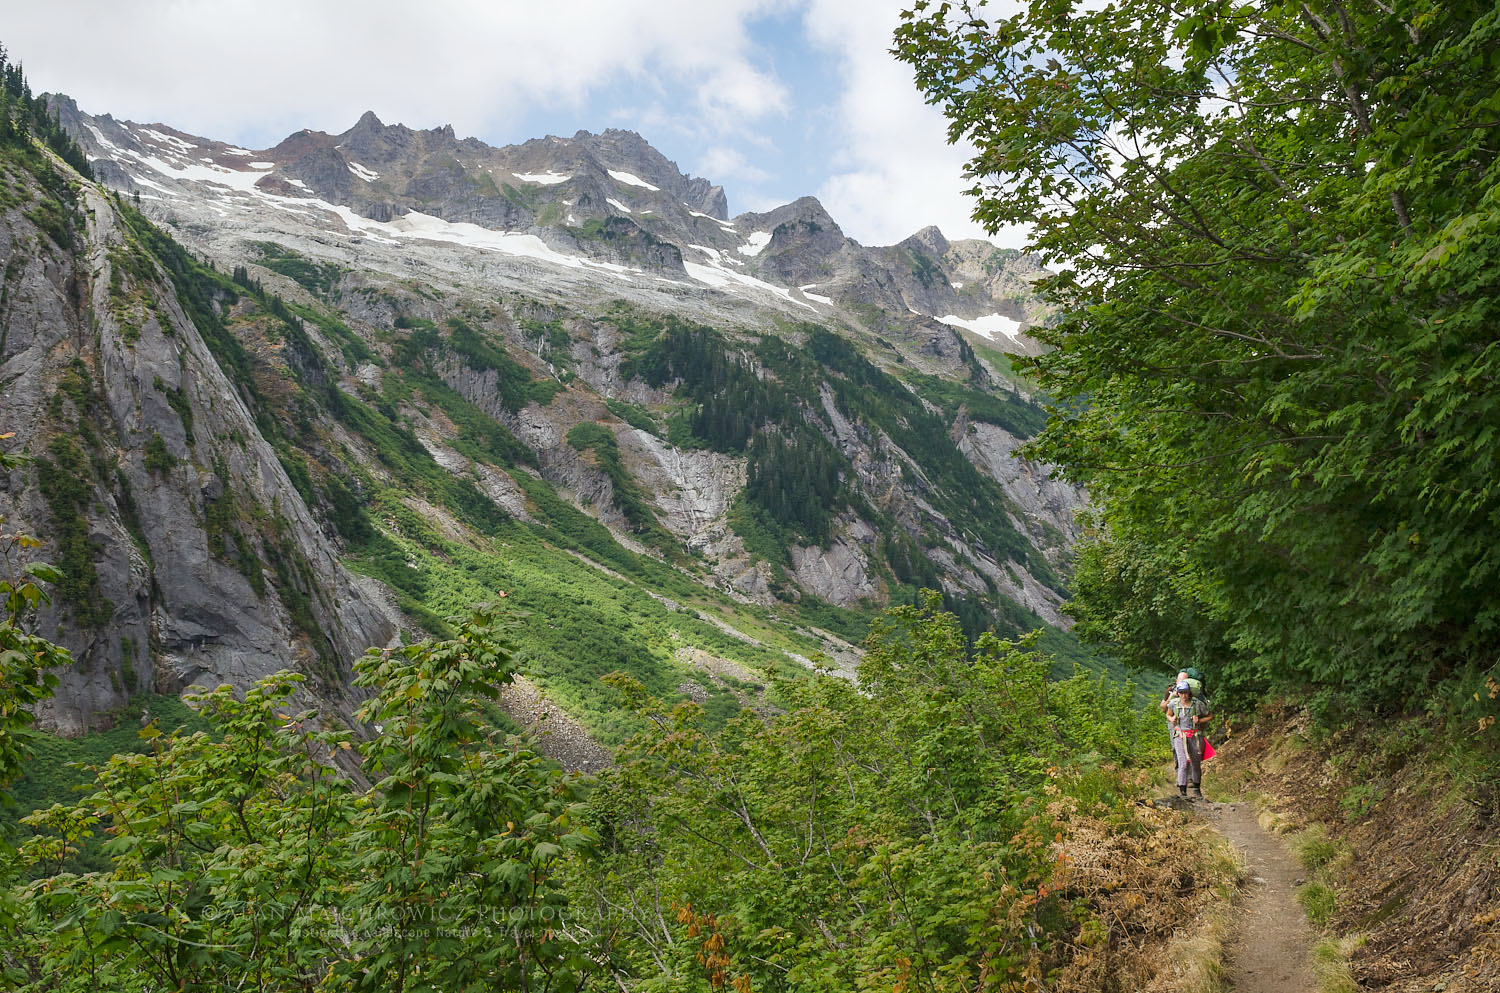
After a short level stretch through the forest, the trail begins climbing up to the pass in earnest. For the next seven miles, it continues relentlessly up to Sylvan Pass. Along the way, several long, very steep sections are encountered, another major creek crossing, long, marshy boot-soaking stretches, and lots of thick brush where the trail can’t even be seen.
Since this trail receives only a minimum of maintenance, hikers will also encounter plenty of downed trees and other obstacles to negotiate.
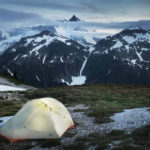
It is also important to note that the only suitable campsite before Sylvan Pass is at about the halfway mark. If you get a late start, this would be the place to stop. It is right on the trail just before a long marshy stretch. If you decide to base-camp here and day-hike to Limestone Lakes, you’re still in for a long, arduous day, with little opportunity to enjoy the lakes basin.
 Joffre Peak and Sylvan Pass, bottom center
Sylvan Pass and Alternate Route
After about 6 miles of hiking, hikers will reach a trail junction where an important decision must be made. At this junction, you are just entering the subalpine zone, with trees beginning to thin out. Here, you can either continue another mile or so on the trail to Sylvan Pass, or take the right-hand junction to an alternate route to Limestone Lakes.
The first option to Sylvan Pass is my personal recommendation. It involves more elevation gain and route-finding, but it is all above timberline and definitely more scenic. It also offers an excellent view of the route across the karst plateau, which you must cross to reach the lakes. On the downside, after climbing the nub above the pass, hikers will need to descend considerably and negotiate some moderate ledges and cliffs to enter the extensive karst basin.
On the other hand, the alternate route at the junction is a bit more direct, but it involves lots of ups and downs. In addition, it is a very rough trail, nearly always in the forest, and, in addition, affords no views. I recommend taking the Sylvan Pass route on the way in and the alternate route on the way out.
Continuing along the trail to Sylvan Pass, the terrain finally opens up into a pleasant sub-alpine meadow. There are very few established sites to pitch a tent, therefore choose a spot in the trees away from the fragile meadows. From here, Sylvan Pass is visible, about one-half mile further up from the meadows.
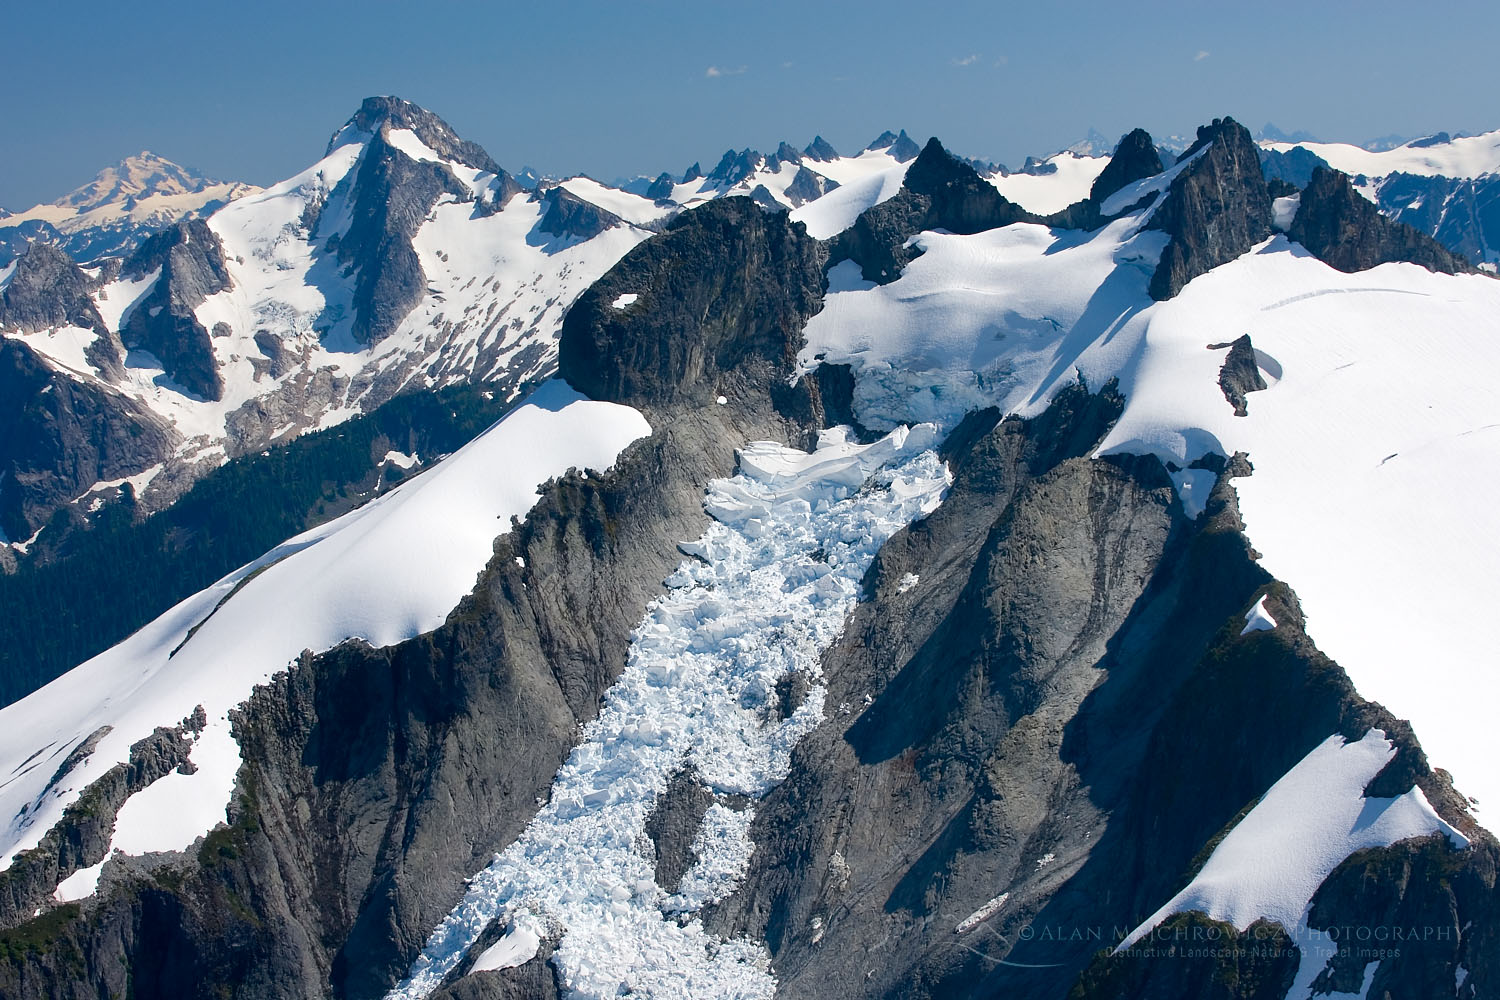
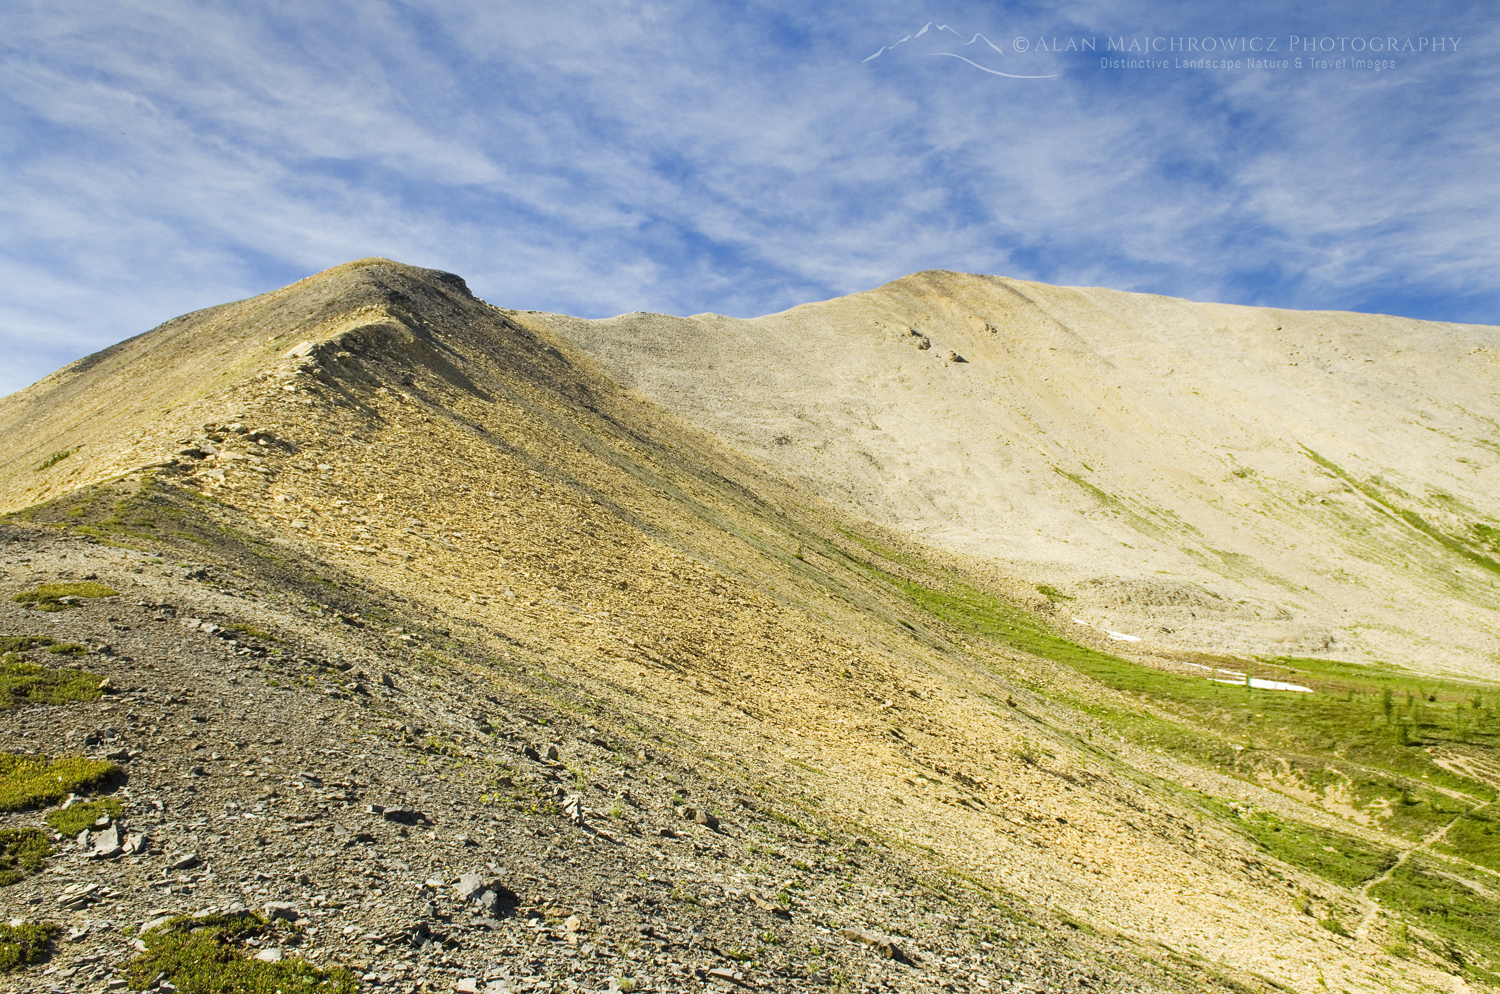 8300′ nub seen from Sylvan Pass
Sylvan Pass to the Karst Plateau
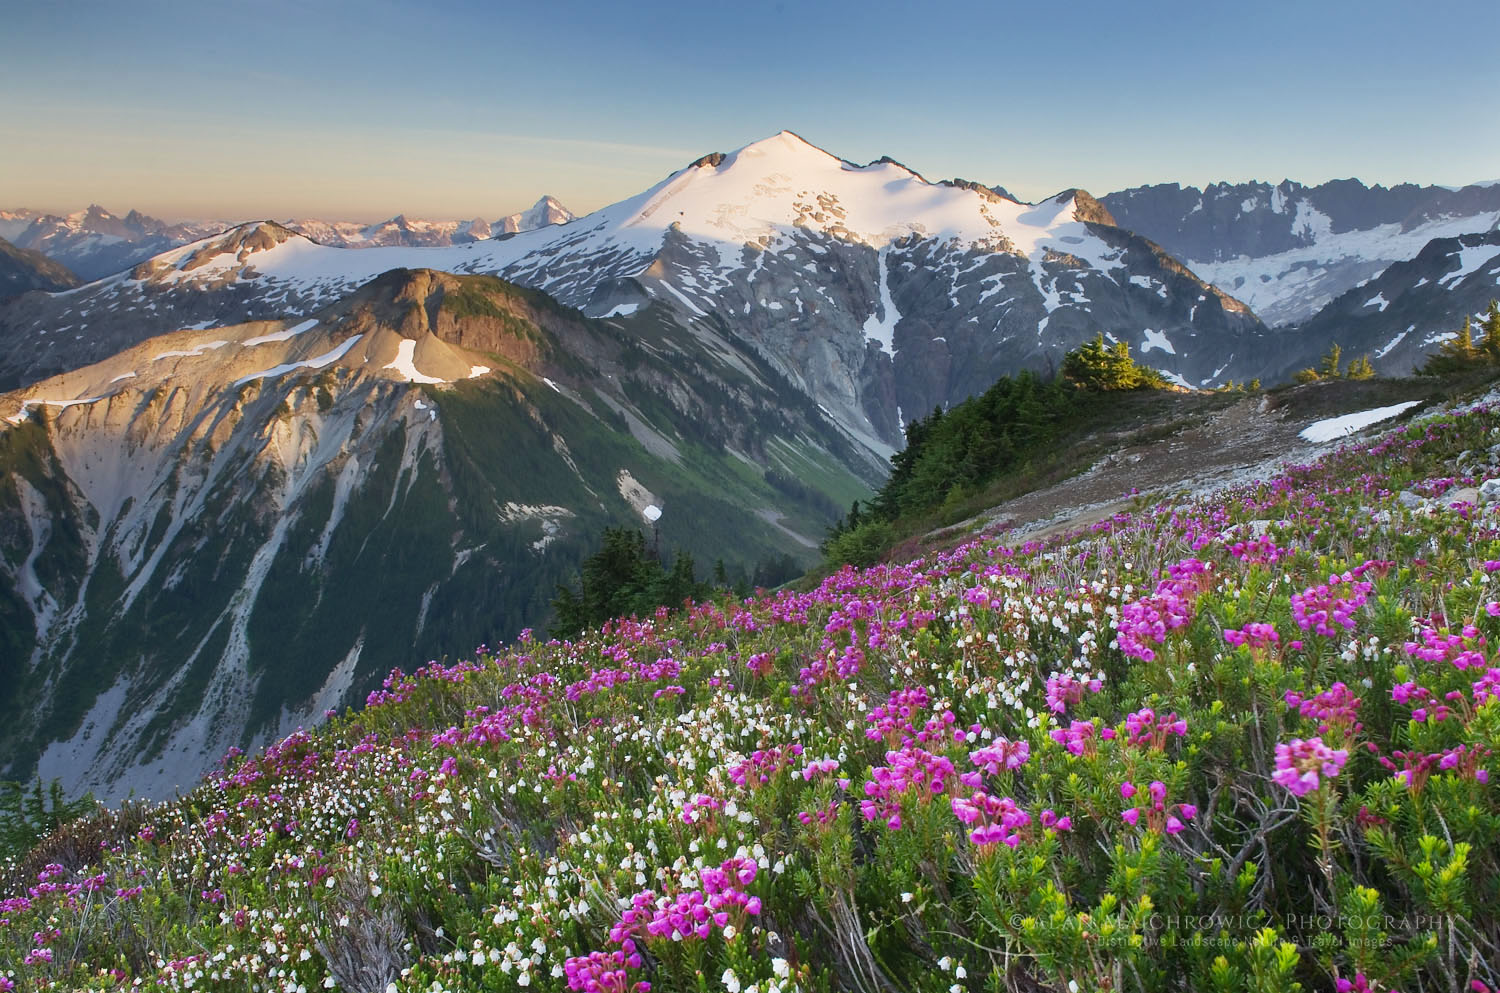
Upon reaching Sylvan Pass, you are rewarded with a beautiful vista of rugged mountains, glaciers, and valleys. From here, your route is all cross-country route-finding, except for a few, although possibly misleading cairns.
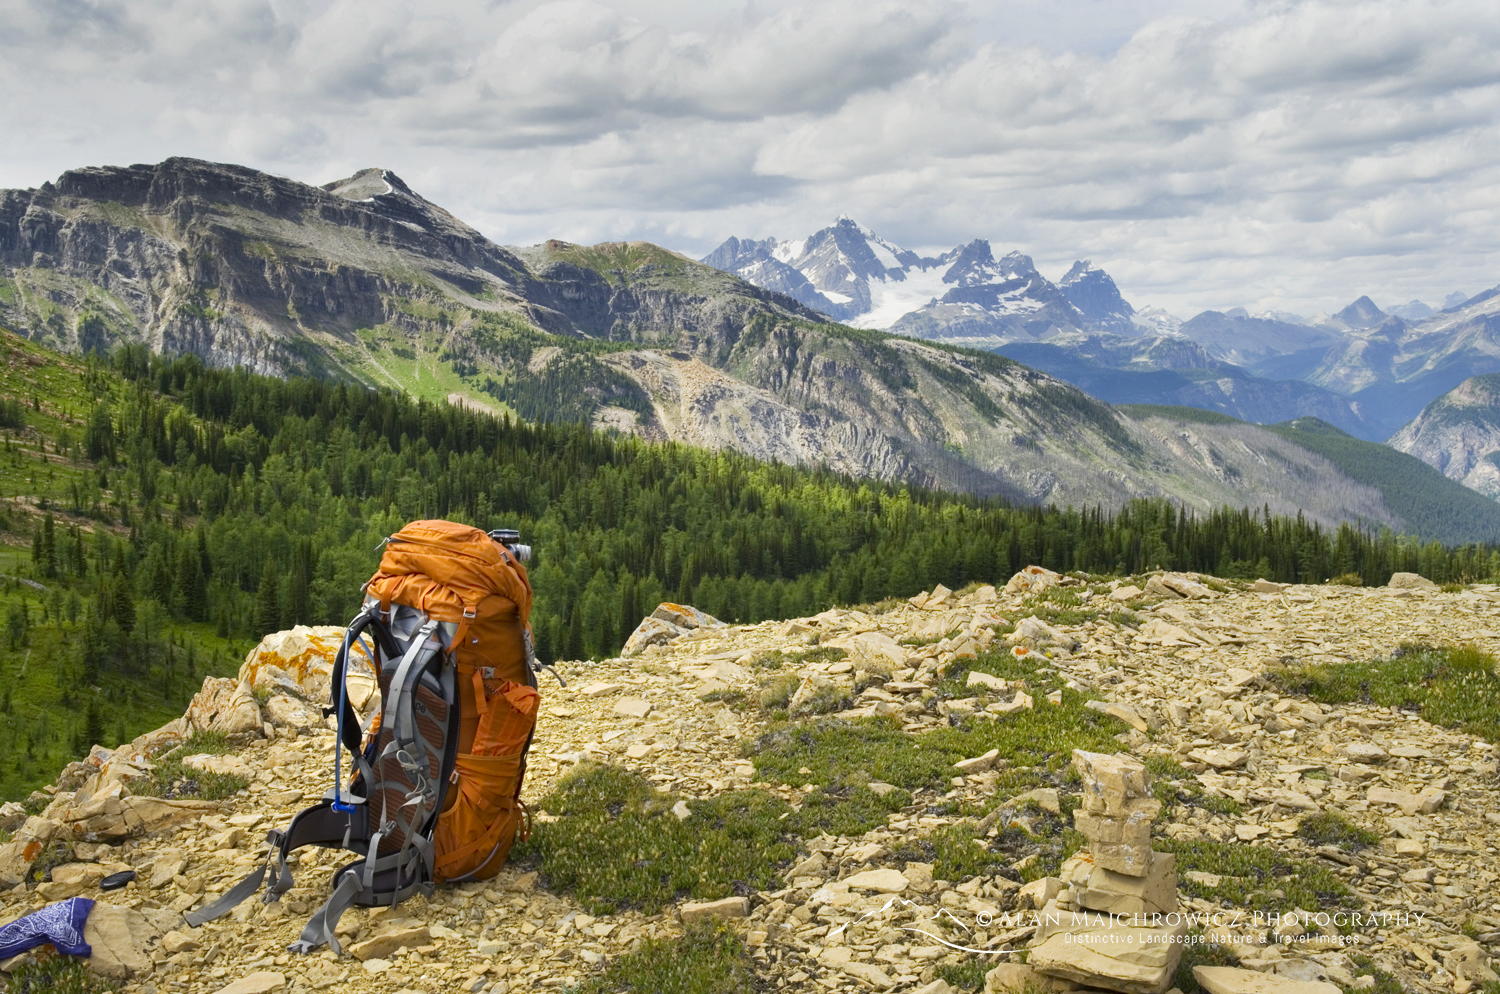
After a brief rest at the pass, hike west up steep, loose talus to the summit of the 8300′ nub. Catch your breath and take in your first views to the southwest of Russell Peak and Limestone Lakes Basin. From here, you have approximately five miles of pure alpine wilderness to negotiate.
Continue to the lakes in:
Limestone Lakes Height of the Rockies Provincial Park Part 2
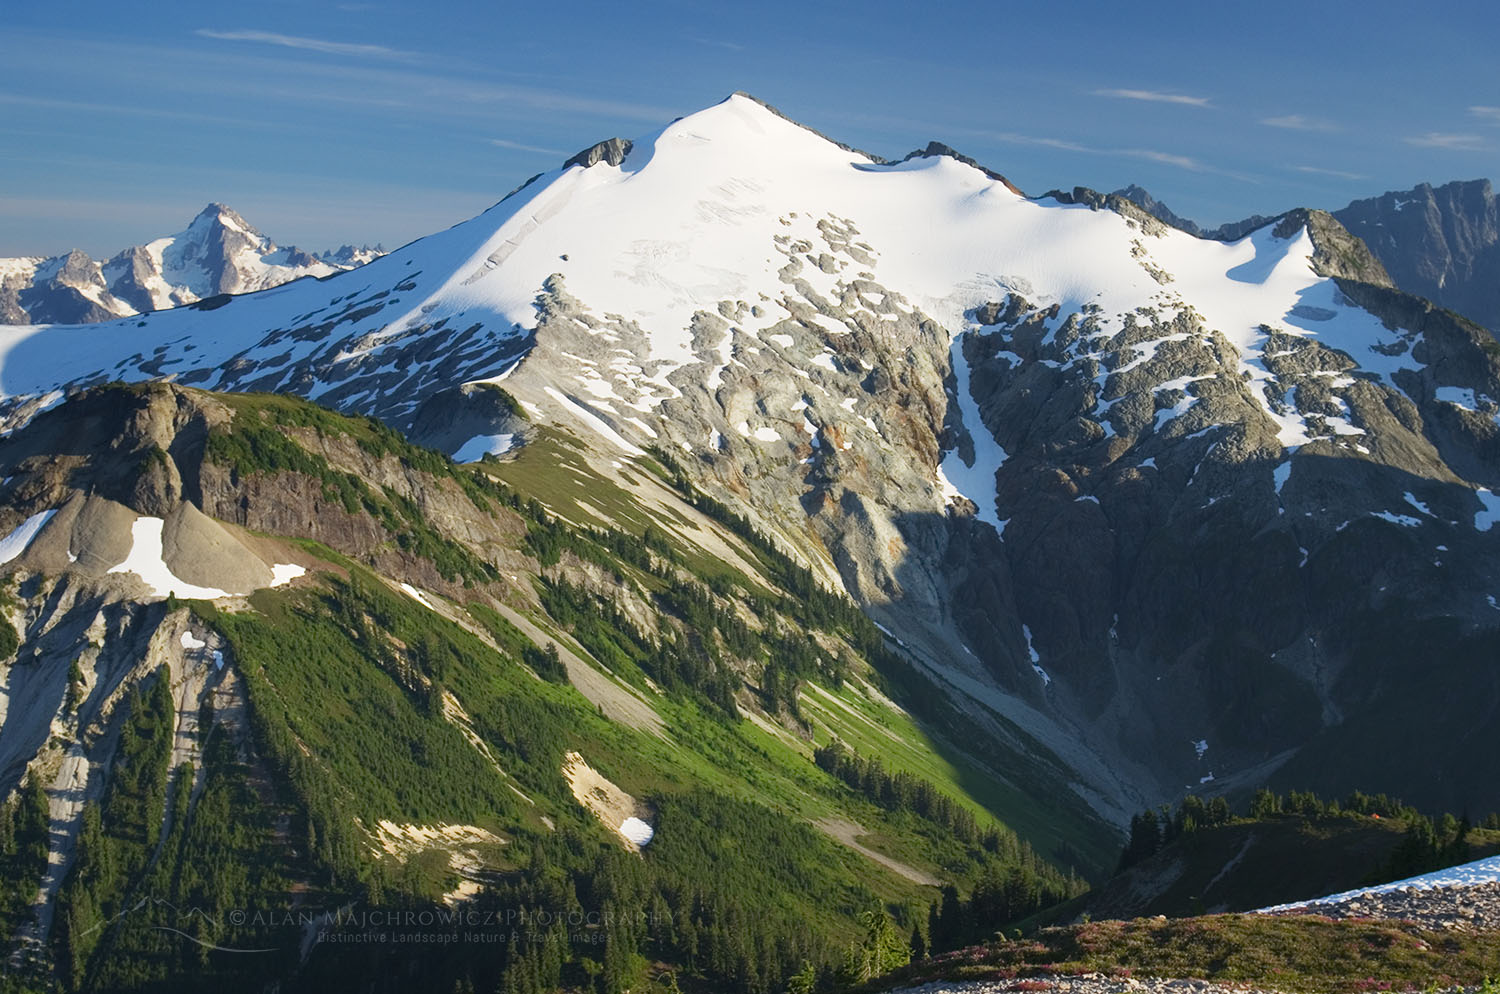
 First view of Russell Peak (far left in distance) from the nub
Limestone Lakes Basic Info:
Trip length: 30 miles, round trip
Elevation Gain: 5600′
Permits: None needed as of 2026
Wildlife: On both of my trips, I saw nothing more than marmots. Although this may be true, it doesn’t mean bears are absent. The entire length of the Canadian Rockies is grizzly bear country. There are very few trees available to hang food bags in the lakes basin. Bear canisters are advised.
References: Height of the Rockies Provincial Park
Mat Gunn’s excellent guidebook: Hikes Around Invermere & the Columbia River Valley.
For tips on preparing for a backpacking and or photography trip to Limestone Lakes, check out these posts:
Leave No Trace
Please, Please, Please! Don’t plan a trip to this or any other national park, monument, or wilderness area unless you are prepared to follow Leave No Trace guidelines (LNT). National parks and wilderness areas worldwide are under incredible pressure from the growing number of visitors. So, please do your part to help preserve these precious areas for future generations!
Please visit the Leave No Trace Center for Outdoor Ethics to learn more about LNT’s principles. Your children and grandchildren will thank you!
LEAVE NO TRACE SEVEN PRINCIPLES
1. Plan and Prepare
2. Travel and Camp on Durable Surfaces
3. Dispose of Waste Properly
4. Leave What You Find
5. Minimize Campfire Impacts
6. Respect Wildlife
7. Be Considerate of Other Visitors
© Leave No Trace: www.LNT.org
Learn about how to protect the places we love to photograph
Visit the Nature First Website

All photos appearing in this post are available for Commercial Licensing and Fine Art Prints. Click on any image to purchase, or contact me for more info!
Limestone Lakes Height of the Rockies Provincial Park: Part 1


 at Boulder Pass")


 Glacier National Park")